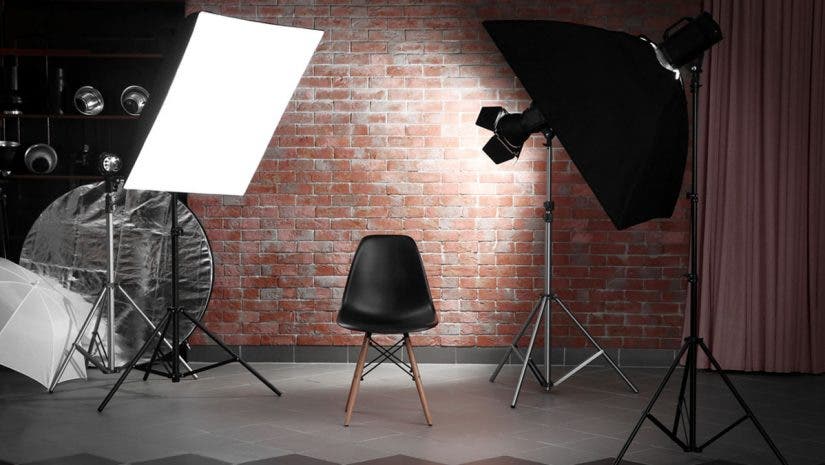
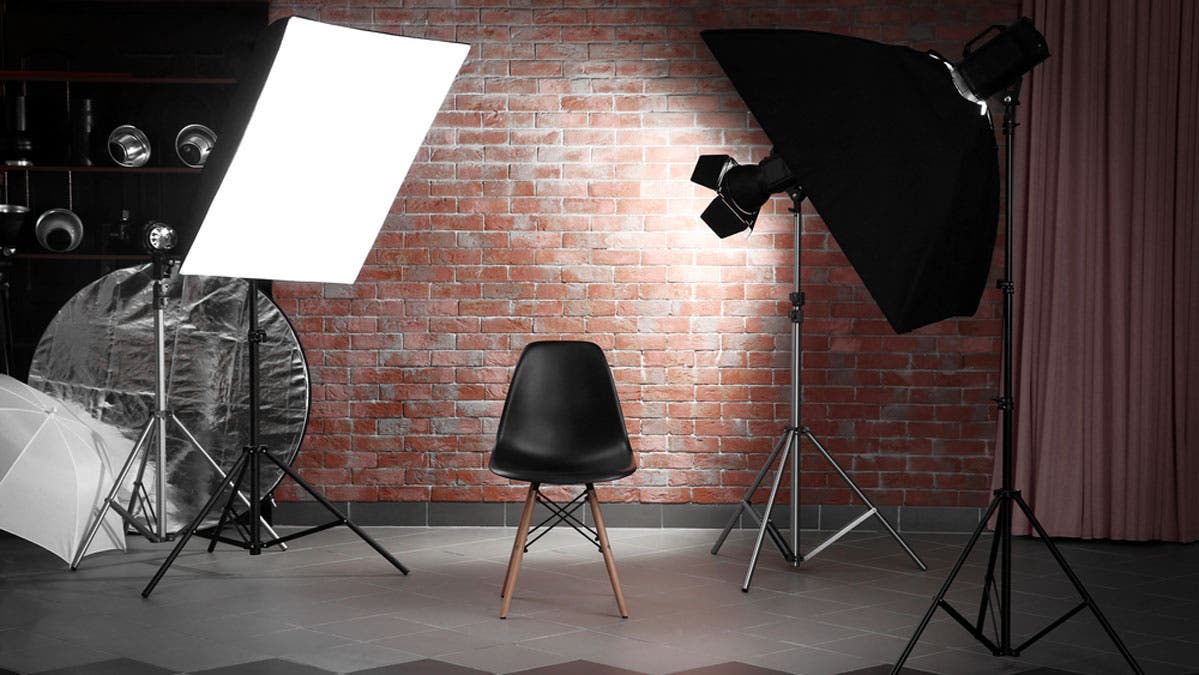
You need two things to set up a home studio: First, the physical space to place the gear, and second, the will to do it, which is often the only thing standing between you and setting up a home studio.
People think of all the reasons—excuses, really—why the space they have is not up to the job. It’s too small, the ceilings are too low and it’s cold, hot, or just plain ugly. I can tell you from experience that none of them is a good excuse. Why? Because for years I shot in an 8×9-foot space in my unfinished basement that was jammed between a model train layout and an old sofa. The ceiling was low, less than eight feet high, and I had to carefully crop in camera because of a drainpipe at the left edge of the frame.
Setting up a studio in the space you have teaches you to be flexible, matching the tools to the situation, not an idealized fantasy of how big-time shooters work in a 25,000 square foot studio. So if you’re a student and think you don’t have enough room, think again. Yes, follow along with me and you’ll learn how you can even set up a temporary studio in your dorm!

My first in-home studio was in an unfinished basement with ceilings less than eight feet high. It was jammed between my model train layout, an old sofa, and a drainpipe on the left edge of the space. Yet I published a couple of books and dozens of magazine articles using portraits shot in this tiny space. © Joe Farace

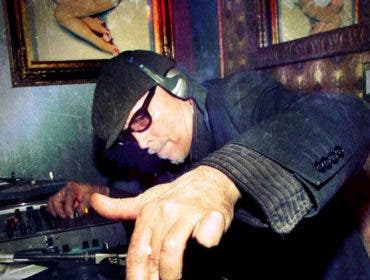
This portrait was made in my original 8×9 foot basement studio using the lighting setup shown in the above photo. Camera was a Canon EOS D1 Mark IIN with a Canon EF 75-300mm f/4-5.6 III lens (at 140mm) and an exposure of 1/160 sec at f/5 and ISO 640. © Joe Farace

Here I am shooting in my friend Jack Dean’s Studio, which occupies most of a 2,500 square foot steel building that he built behind his home. Many of us do not have the space, budget or talent—he built the entire building himself—to create this kind of shooting space, but you can make a temporary studio out of any room from a living room to a kitchen to a dorm. © Jack Dean
To get started, you’ll need studio equipment that fits a tight budget and the shooting space that’s available, so let’s take a look at the basics:
Flash: There’s an old photographer’s saying that “light is light” so it doesn’t matter what you use to light your portraits, whether it’s a monolight, power pack and head system, or even a speedlight. Some photographers opt for speedlights but there are drawbacks: The modeling lights on traditional studio gear lets you preview how the lighting will look on your subject. Speedlights, if you don’t already own one, can be expensive and have a longer learning curve than a monolight. The Nikon SB910 User’s Guide contains 136 pages, while the Flashpoint DG600 monolight’s manual is two pages. Either way, you’ll need a meter to measure the flash or use your LCD screen and histogram to get to a final exposure via trial-and-error.
Continuous light: The upside of using a continuous source is that it’s showing you the light falling on the subject and you can use your camera’s meter to measure the exposure. No flash meter required. While some continuous lighting systems can be expensive—as much as electronic flash— others, such as Flashpoint’s Fluorescent Lighting kit costs just sixty bucks including a lightstand, umbrella, and bulb. Many continuous sources are not as bright as even the least expensive studio flash, so you’ll have to shoot at higher ISO settings. Which one to choose? Let budget be your guide but keep your aspirations in mind too.
Light modifiers: The simplest and most inexpensive light modifier is the umbrella with some available for ten bucks. They’re easy to use because the source is broad and you just need to point them at a subject but umbrellas are also versatile. You can use them in traditional bounce mode creating a broad soft light source or you can reverse a white umbrella (without a black, unless it’s removable, back cover) in the holder and use it in shoot-through mode creating a strong, directional yet diffuse light effect for your portraits. Umbrellas are available in many sizes with large umbrellas capable of producing a really broad light source. The Glow 60-inch White Parabolic Umbrella costs $49.95.
Reflectors: If you’re only going to have one light, you’ll need a second source to control a portrait’s contrast but that second source can be a reflector. You can make you own reflector from a piece of white foam core board or purchase an inexpensive one like Glow Portable 5-in-1 (translucent, white, black, silver and gold) Reflector Kit, which brings me of the most important rules in setting up a home studio…
Lightstands: You can never have too many lightstands. While you can skimp on some components, lightstands are not the place to go bargain hunting. Because they get lots of use and abuse, buy the tallest and sturdiest lightstands you can afford. Those last three words are important. Over time you may replace/upgrade most of the gear in your home studio but probably not the lightstands, so start with the best that your budget permits.
Backgrounds: It’s hard to beat seamless paper as an affordable background. A 53-inch roll of Savage Seamless Background Paper sells for around $25 and is available in 67 different colors, including a versatile Focus Gray that photographs from a light, to middle grey to almost black depending on where you place your lights. Savage Paper comes in four sizes: 26, 53, 107, and 107-inch widths with the 26-inch rolls a headshot bargain at less than $15 a roll.
Background stands: You can always throw together a makeshift background stand using two lightstands and a length of PVC pipe or electrical conduit from Home Depot, but it’s a false economy once you factor in the cost of a couple of good lightstands. Background stands can get pricy but the Flashpoint 10-foot Background Support Stand costs $89.95 and comes with a nice carrying case. If the back of your studio is a wall you can skip this step and gaffer tape—no duct tape please—a sheet of seamless paper cut from a roll onto the wall.
Like all of the other gear, be a bargain hunter and look for used gear from trusted sources or professional photographers who are upgrading their equipment. When my wife and I started our studio all our backgrounds and lightstands were purchased from another shooter and we used them for several years before upgrading and passing them along to an aspiring pro. Recycle. It’s good for the environment and your wallet too.
Additional research by Mason Resnick. Updated August 29, 2014.
Keep the conversation going: Where do you have your studio set up? Leave a comment below!


