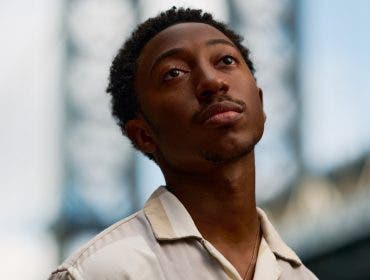
Headshots are one of the most common types of portrait photography. Whether your client is a professional in need of corporate headshots or an actor looking for materials for auditions, respecting a few key details will help maximize the quality of your shoot. Let’s get you ready for some easy and successful headshot photography sessions.
What is a Headshot?
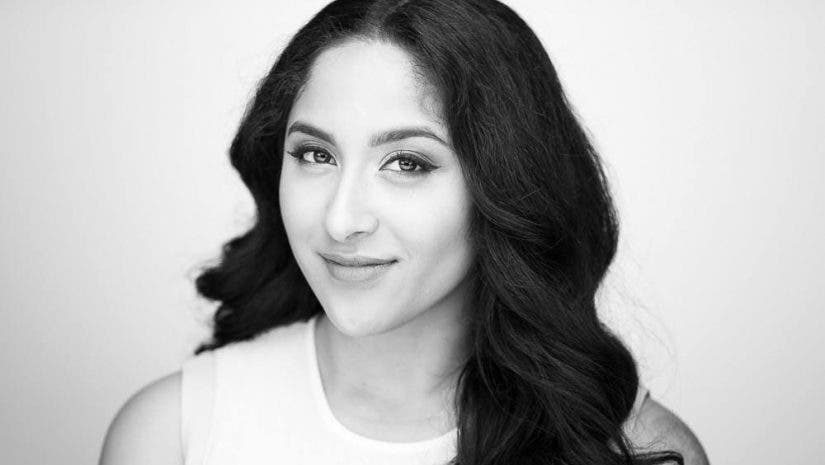
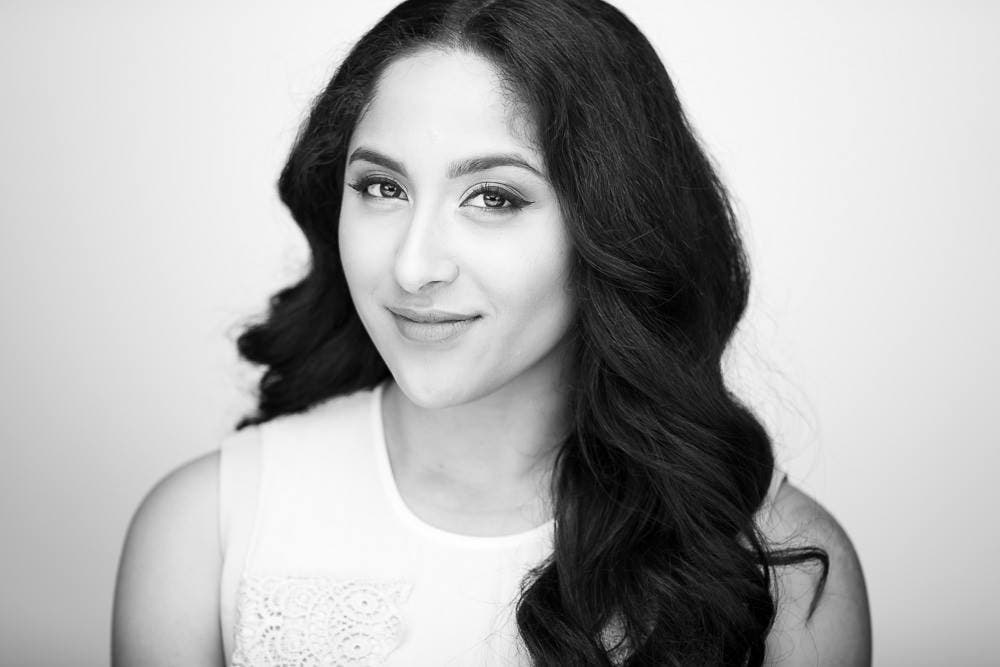
A headshot is a portrait photo of a single person featuring the subject’s head and shoulders. Headshots are commonly used in settings where you want to make a good first impression, including acting auditions, dating apps, LinkedIn profiles, and “about” pages on business websites.
Professional photographers can achieve good headshot photography either in a photography studio with backdrops and lights, or on location using natural, ambient lighting, and fill flash.
Posing, framing, and lighting for headshot photography is more consistent and predictable than with other varieties of portrait photography. This makes it easy for a beginner photographer to figure out their personal style and technique, and repeat it for a variety of clients.
Most quality headshot sessions feature a range of facial expressions and posing so the subject can choose their favorites for different applications.
What Equipment Do I Need for Headshot Photography?
The goal for most headshot photoshoots is to create high-quality, flattering portraits that showcase your subject’s personality. Using the right gear will help you create the best images possible. These are some of the most important things to think about when choosing your gear as a headshot photographer.
1. A Camera Suitable for Headshots
The best headshots require more than just a point-and-shoot camera. Pick a camera with interchangeable lenses, the ability to shoot in RAW, a high resolution, a wide ISO range, a hot-shoe for flash compatibility, and the ability to shoot while tethered to a computer.
You may not use all of these features at first, but it’s nice to have them when you’re ready to level-up.

Image via Shutterstock
2. A Lens That Makes Your Subject Pop
The ideal camera lens for headshots will have a wide maximum aperture. Look for something in the f/1.8 to f/2.8 range. Wider f-stops use shallow depth of field to separate subjects from their backgrounds and draw more focus to them.
The most flattering focal lengths for portraits are between 40mm and 85mm. Many portrait photographers like to use a fixed focal length lens for an attractive bokeh and tack sharp focus.
3. Lighting Equipment
You can take great headshots in either natural light or studio lighting. If you’re using natural light, look for areas of open shade to avoid shadows or dappled light on your subject. A reflector is also useful for bouncing light to fill in shadows on your subject’s face.
In the studio, you can use multiple sources of light in your lighting setup to fill in shadows, create separation from the background, and really flatter your subject. Pay attention to the direction of light to avoid creating harsh shadows that will turn the perfect headshot into something else entirely.
Headshot Camera Settings
For the most professional headshots, you want your images to be tack sharp. Shoot at the fastest shutter speed you can to make sure there’s no camera shake or subject movement. If you’re shooting with studio lighting, make sure your shutter speed is slower than your camera’s sync speed.
Your f-stop should be wide enough to have a shallow depth of field from the background. But it’s important to have the subject’s full face in focus. Check your progress and if the subject’s nose or eyes are out of focus, choose a narrower aperture.
Shoot in RAW so you can adjust colors and other settings in post processing using Lightroom or Photoshop. Extra flexibility with your images is always helpful. Don’t worry too much about blemishes, because you can fix those later.
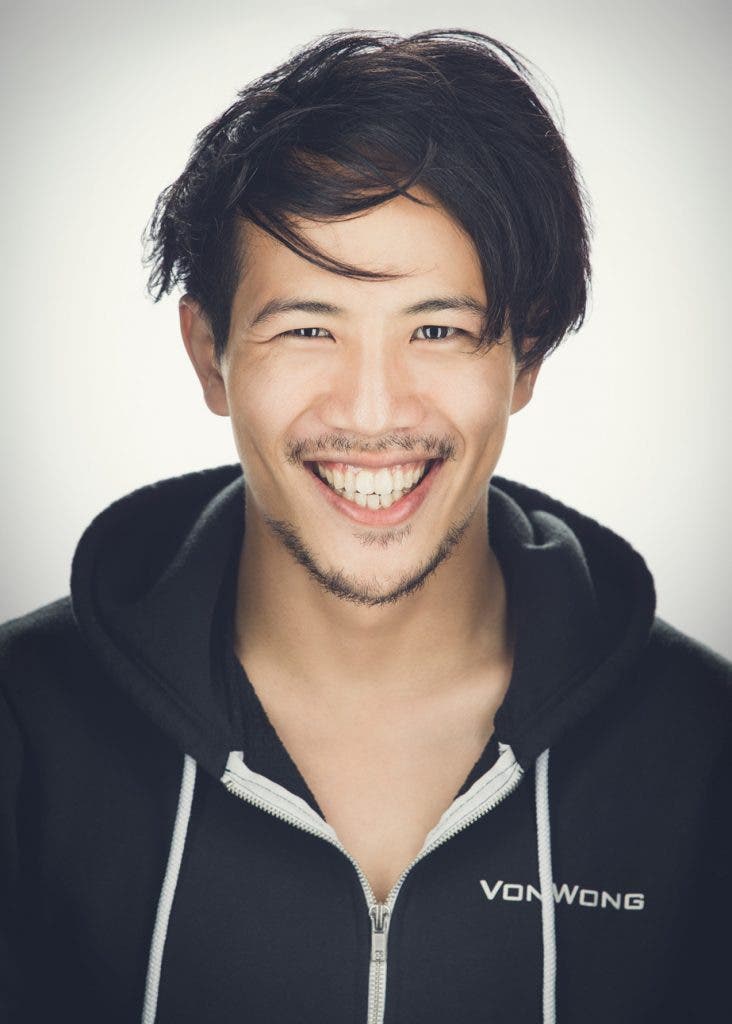
Lighting for Headshots
Studio lighting for headshot photos can be as simple or as complex as you prefer. There are a few great lighting looks to consider with one, two, or three lights.
We’ll cover some of the most common and popular lighting looks, but first, check out our video tutorial on lighting techniques for headshots.
One Light
If you use a single studio light, you need to select the right modifier like a softbox or beauty dish so you can achieve the most attractive lighting possible.
Two of the most effective single light looks are butterfly lighting and loop lighting, and they both work well for headshots.
For butterfly lighting, place the light in front of your subject and at a high angle above them. For loop lighting, place the light on a 45° angle to the side and high above your subject.
Two Lights
A two-light setup is a simple upgrade for headshot photography. It allows you to evenly light your subject with minimal shadows and ensure there’s good definition on their features.
When shooting with two lights, use one as your main light and the other as your fill light. The main should provide ample illumination and be positioned on a 45° angle to the side of your subject, while the fill should simply fill in the shadows from the other side.
Three Lights
Adding a third light to your headshot setup lets you either illuminate your background for a bit of separation, or create a highlight on the subject’s hair.
When working with a backdrop, you can place your background light behind the subject and aim it directly at the backdrop. This will create a vignette effect behind the subject for a more finished look.
If you prefer to use the third fixture as a hairlight, place it high above the subject’s head and aim it down at the top of their head for the most attractive effect.
Helping Your Subject Prepare for the Photoshoot
The type of headshots you shoot will dictate how your subject should be styled. Business portrait subjects should wear professional clothing that is clean, wrinkle-free, and flattering. For social media headshots or dating app profile pictures, casual is key.
Ask your subject to bring a few different outfits, so they can change as needed for more variety. Tell them to arrive with their hair and makeup styled (if applicable) to save time during the shoot.
We recommend that you talk to your subject about the different backgrounds you can offer. Bold coloring in clothing looks great on black or white backgrounds. If your backdrops feature vibrant colors, make sure your subject’s clothing won’t clash with the background.
For more tips on running the photoshoot, check out our helpful video below.
Working With Your Subject
The most important thing to keep in mind for a winning headshot session is to keep your subject feeling comfortable. Try to make a connection with them and encourage them as you go, so they feel positive about the experience. If you stand silently behind your camera, they may feel self-conscious and their images won’t look as natural or relaxed.
Shoot a variety of poses. Not all poses work with all subjects. Many common options seem very natural for some, but they’ll be awkward for others. If you shoot plenty of variations, you can pick the ones that best flatters your subject later. It’s always good to overshoot and know you’ve covered your bases.
The more headshot photography sessions you have and the more subjects you work with, the more comfortable you’ll feel. If you’re just starting out, consider practicing with friends and family before working with paying clients.
Headshot Poses
When you have a new headshot session coming up, plan some potential poses in advance. Some first-time subjects may feel very comfortable in front of the camera, but if your subject is shy, they’ll really appreciate your posing guidance.
Posing the Head and Neck
The first step in posing is establishing attractive and comfortable positioning for the head and neck.
Make sure your subject doesn’t have to strain to look up or down at the camera. You should also ensure that their face isn’t turned so far away from the camera that it looks awkward or unnatural. When possible, make sure they don’t have to look at the camera from the corner of their eye.
Also try to avoid angling the top of the head toward one shoulder as it can make your subject look immature or unsure.
Posing the Body
Prepare a few standing poses and a few seated poses. As you shoot, pay attention to how their clothing hangs. If the clothing bunches or looks awkward, standing may solve the problem.
Crossed arms, hands on hips, and hands in pockets are common beginner poses to try. For a more sophisticated and professional look, try angling the body slightly away from the camera and using asymmetrical poses instead.
Conclusion
When you’re running a headshot photography session, you need to pay close attention to several variables. You must keep track of the lighting, the posing, and the camera settings, all while ensuring your subject feels comfortable.
Fortunately, with a bit of experience you’ll develop your own workflow and go-to techniques for a successful headshot session.
Continue learning about how to run a successful shoot with this eye-opening video.
