HDR Photography has been around for a long time now. Although both the tools and the creative results have changed dramatically over the years, the technical aspects, and the ultimate goal, have always remained the same.
What Is HDR Photography?
HDR (High Dynamic Range) Photography refers to the capture of an entire image scene that has both bright highlights and dark shadows. In other words, instead of capturing highlights that are clipped and pure white, and/or shadows that are lost to total darkness, your image depicts visible detail in all areas.
The History of HDR Photography
A decade ago, achieving this goal usually required capturing bracketed exposures, often 3, 5, or more, including a middle exposure and then two more exposures with +2EV and -2EV compensation to fully capture details in the shadow and highlights, respectively. Then, in post-processing, you would’ve combined the shadows, highlights, and mid-tones from the different images in order to “see” the whole scene.
However, the latest cameras can capably capture incredible dynamic range in a single exposure, and you can often capture an entire high-contrast scene with a single shot! Does this still count as HDR photography? Maybe some photographers will say no because they think of “HDR” as requiring multiple exposures, but that isn’t an official definition. So, perhaps we can think of it this way: many cameras can now capture HDR imagery with a single click.
Editing HDR Photography
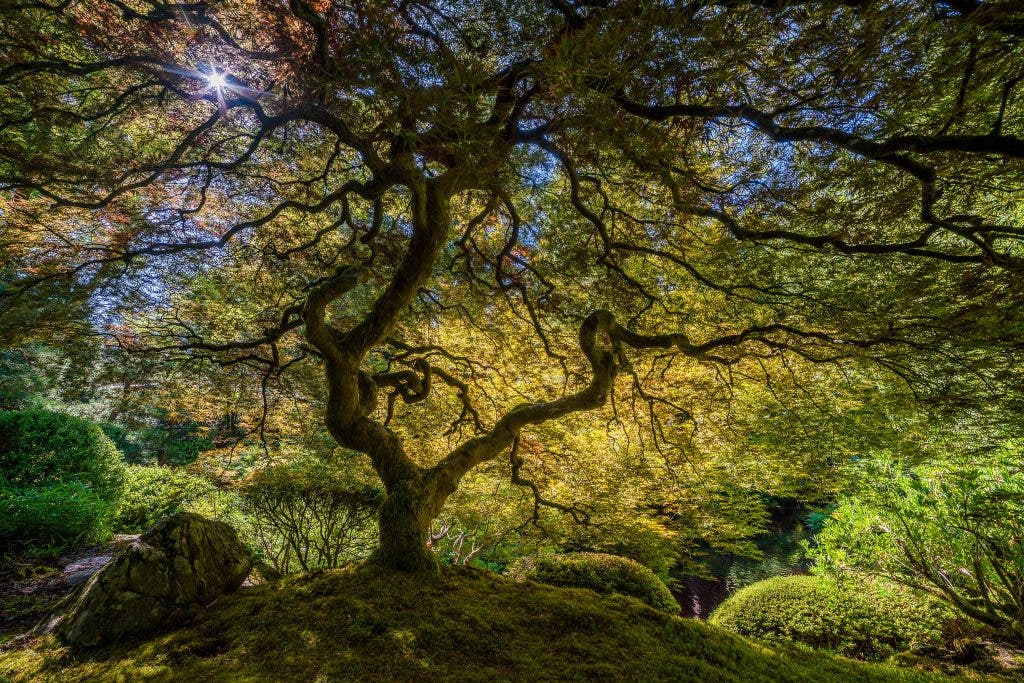
HDR photography revolves entirely around the final result, which you control through your highlights and shadows. It is in the post-processing of the RAW image, even a single exposure, that the dynamic range of a scene is brought out.
If you capture a “perfect” exposure, you can achieve incredible results in a basic RAW editor such as Adobe Lightroom by sliding both your Highlights and Whites down to -100, and pushing both your Shadows and Blacks to +100!
You may be surprised to see no clipping in the highlights and very little noise in the shadows. Of course, it is very important to capture your exposure “perfectly,” and many photographers still capture bracketed exposures in 1EV increments, even if they only plan to use/edit one of those exposures.
What Type Of Photography Is HDR Good For?
You may be wondering if HDR photography is something you should learn about. The question is, what type of photography do you do, and what is your creative style? Here are my thoughts on a few of the most popular types of photography, and if HDR imagery is something you should consider mastering.
Landscape HDR Photography
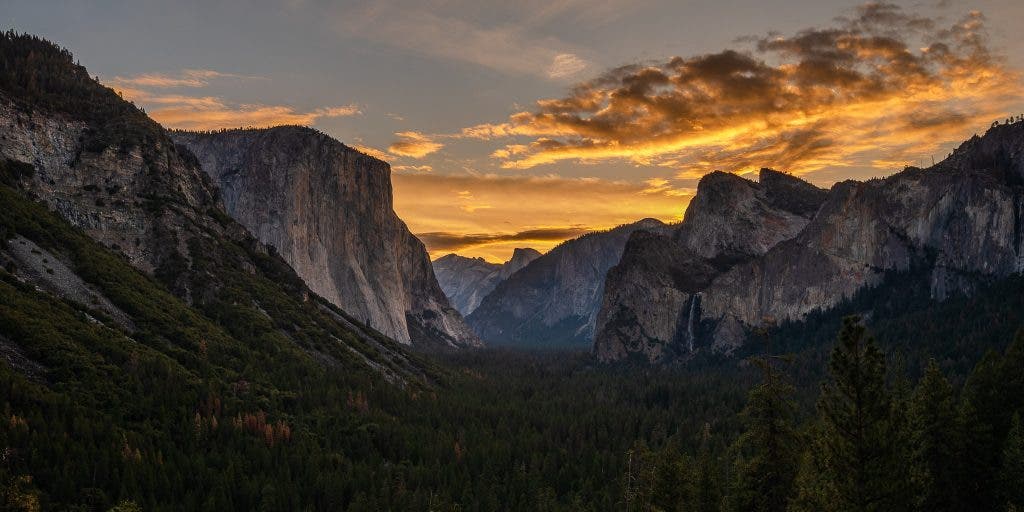
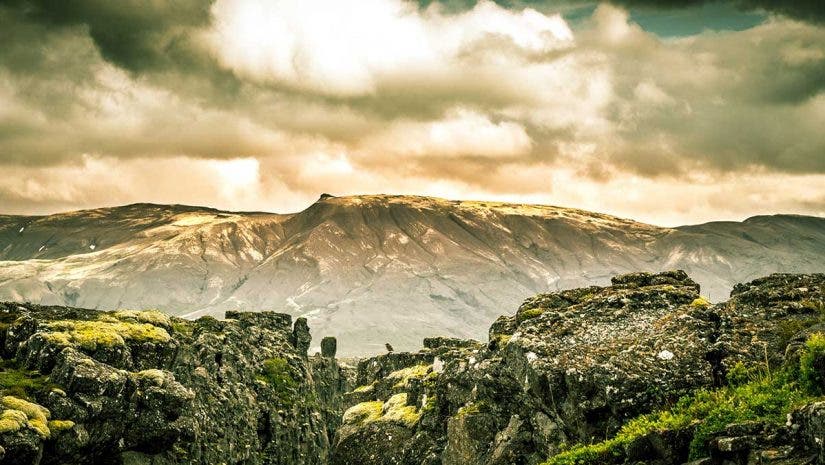
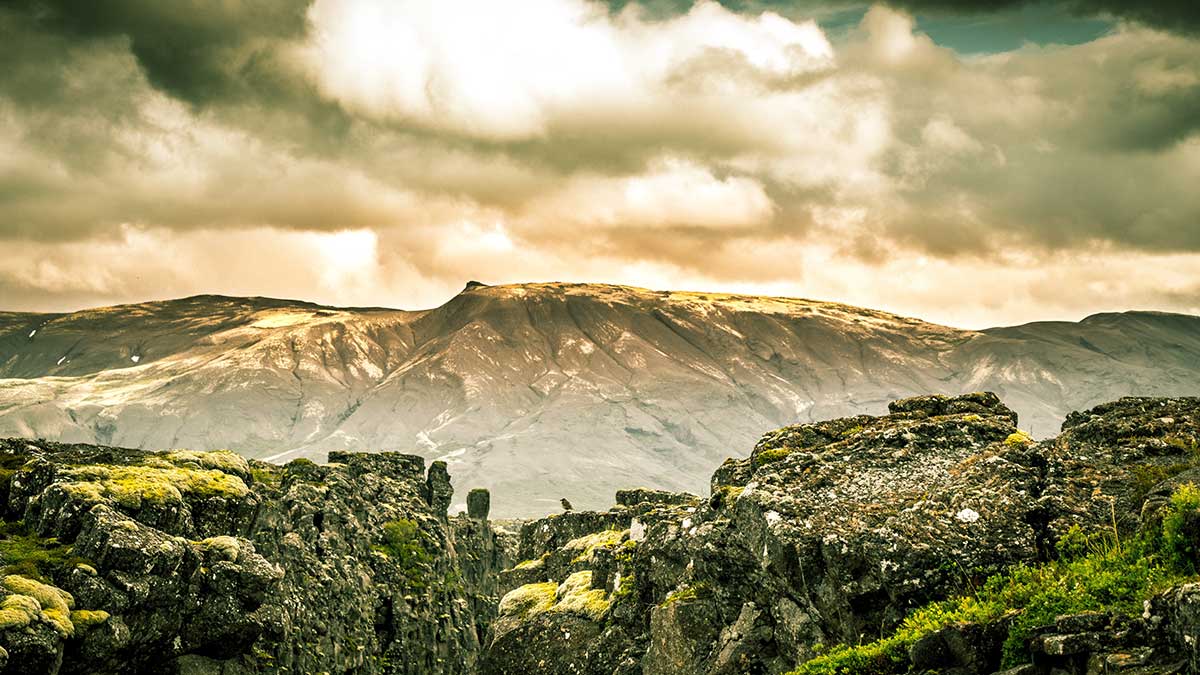
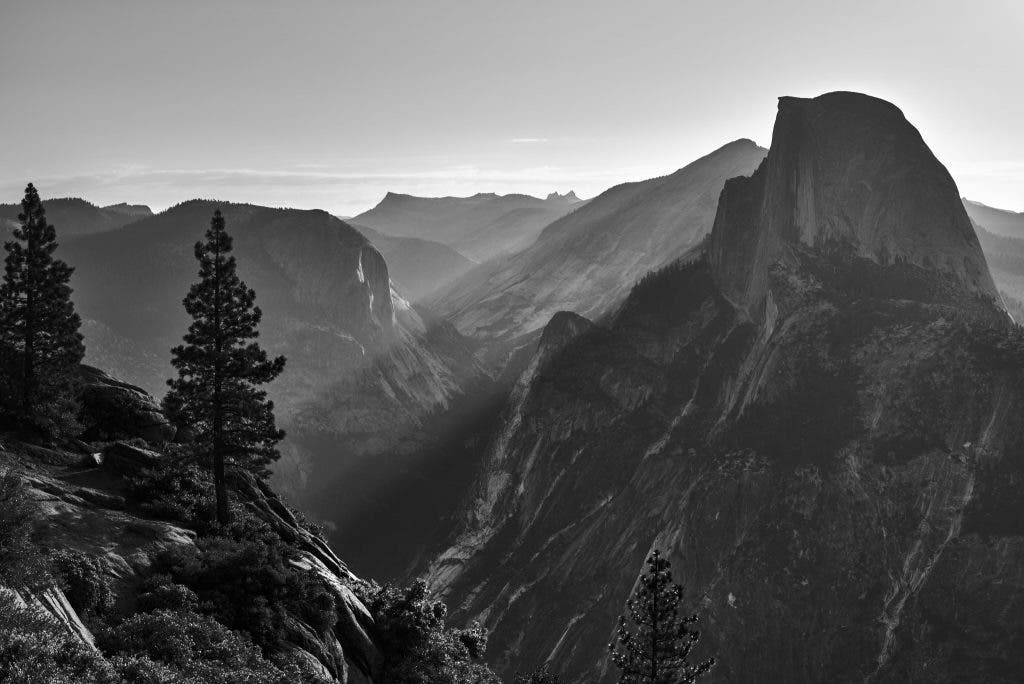
Of course, traditional landscape photography will always be the most common genre that uses HDR techniques. Simply put, photographing a dramatic sunset isn’t easy because it presents one of the most high-contrast natural light scenes in existence! Also, many landscape photographers use tripods, which makes exposure bracketing very easy to capture and post-process.
Cityscape, Seascape, and Nightscape HDR Photography
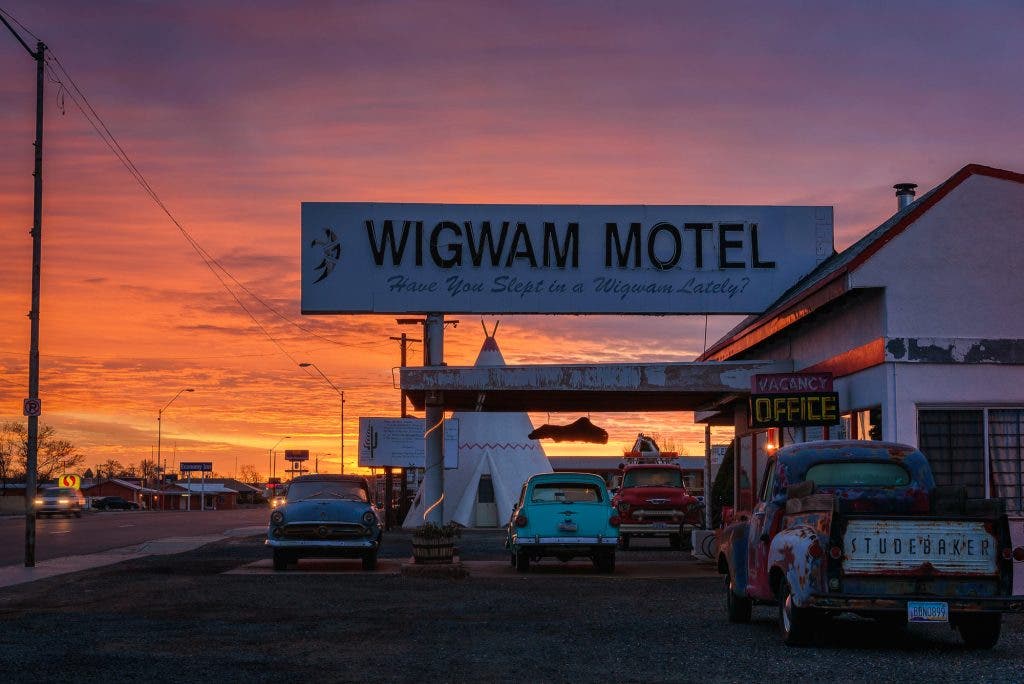
Along with landscape photography comes cityscape, seascape, and even nightscape photography, all of which are types of photography that involve similar scenes and lighting conditions with extremely bright highlights and dark shadows.
Whether you are hand-holding a cityscape, or you are doing long exposures on a tripod at night, learning the basic processes of bracketing exposures and blending them in Lightroom or Photoshop will be very useful!
Wedding & Portrait HDR Photography
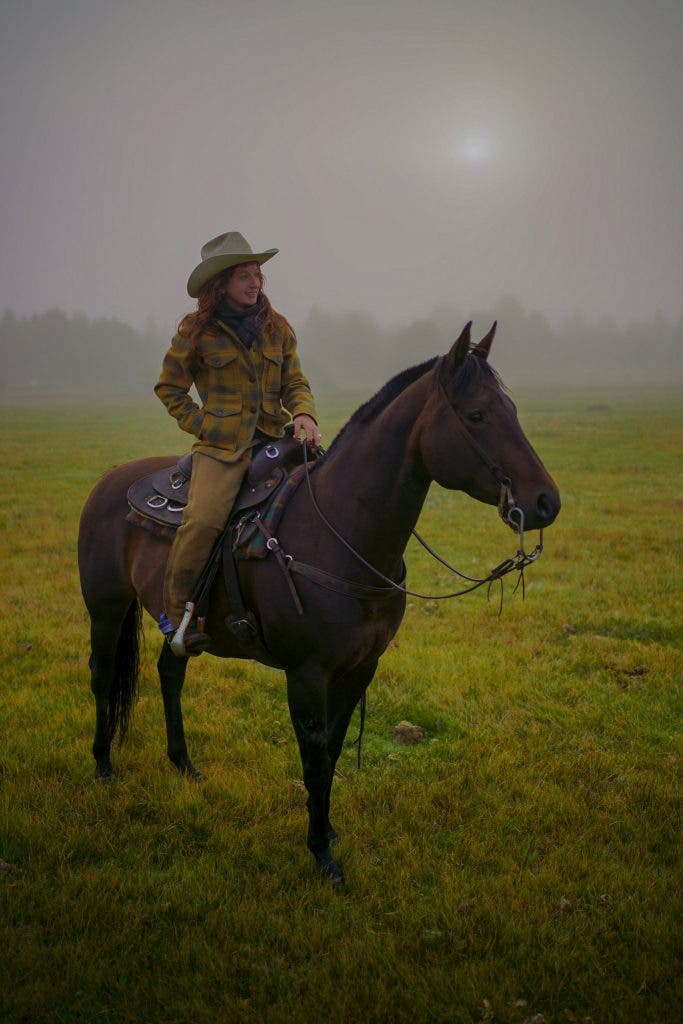
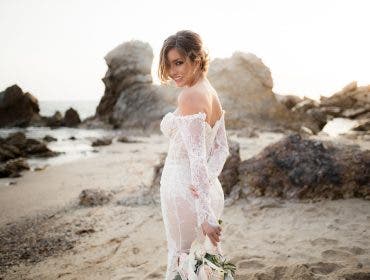
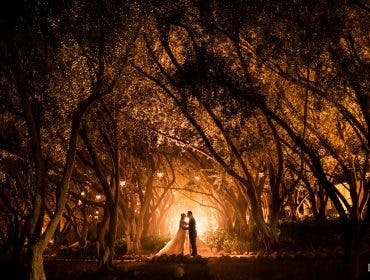
What about other types of photography that you might not think of doing traditional HDR imagery for? Honestly, as a wedding and portrait photographer, I still apply the basic concepts that I learned from traditional HDR methods.
That is, I carefully choose an exposure that just barely “fits” in details in a bride’s white dress and a groom’s black tuxedo, or whatever the high-contrast scene involves. Then, in post-processing, I carefully recover the highlights and shadows so that detail is visible in both.
The final result may not look like an HDR image. In fact, the goal often centers on making the image appear natural and realistic. However, understanding the fundamentals of capturing a high-contrast scene is still essential. More importantly, the trick lies in knowing when to use an HDR technique, and when to make the creative decision to allow shadows to be dark, or to allow highlights to become pure white. Some of the best portraits are often very high-contrast images!
The same basic HDR techniques can be applied to any genre of photography, really. In some cases, you may still want to consider bracketing exposures! This can often be done hand-held these days, too, if you’re steady and use alignment software in post-production.
HDR Photography Techniques
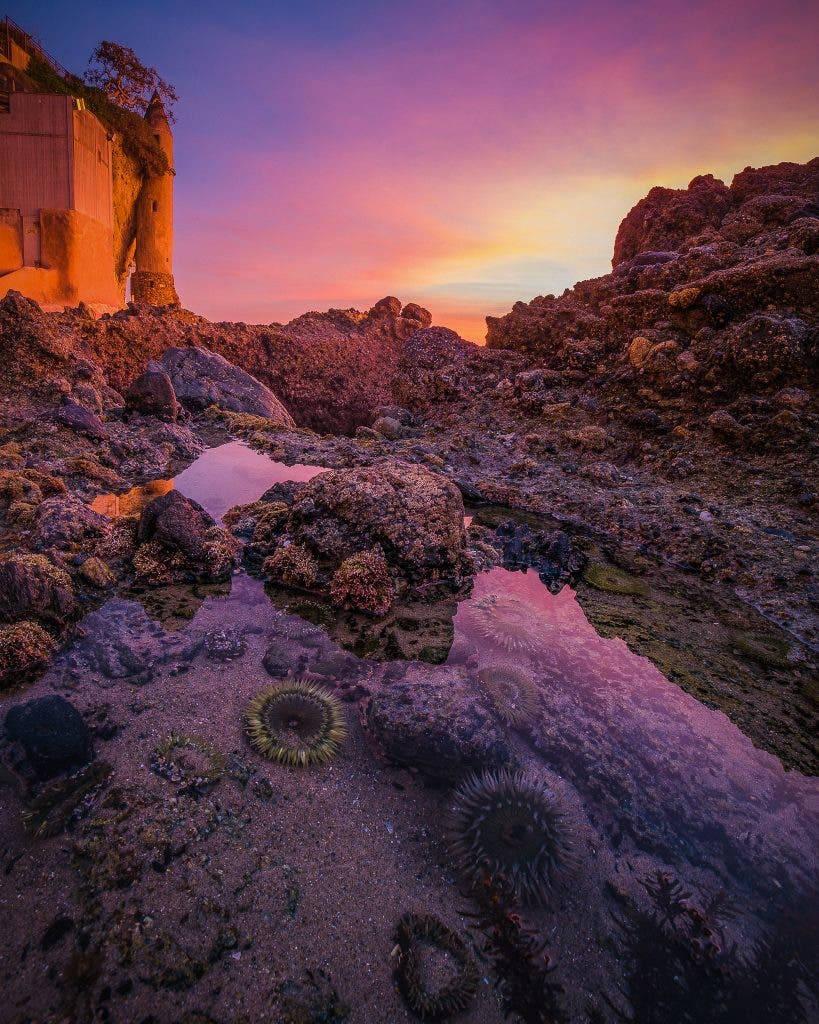
How do you actually create an HDR image? There are a few different techniques, and a few terms you should know:
HDR Bracketing
This is the foundation of HDR photography, of course: capture different exposures, and merge them in post-production.
In-camera, you can use auto-bracketing (usually AEB) to capture 3+ frames in quick succession automatically, resulting in, for example, a “correct” (0 EV) exposure, and exposures with +2 and -2 EV compensation. Depending on the scene, this should ensure the capture of detail in both highlights and shadows between the 3+ exposures.
In some extreme cases, with truly “impossible” scenes, you may even choose to capture not just one highlight and one shadow exposure, but as many as 5, 7, or 9 total exposures, often in 1EV or 2EV increments. This will capture immense dynamic range and create the smoothest transitions between each tonal range.
HDR Tone-Mapping | HDR Software
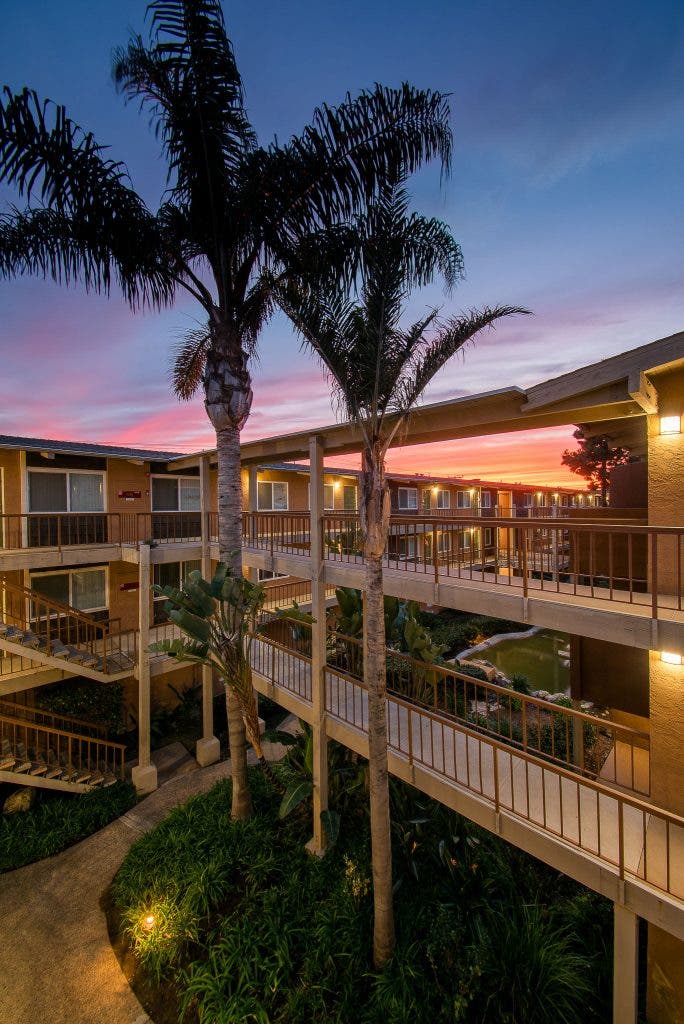
Once you have captured bracketed exposures, how do you merge them together? Again, a decade ago, you could only accomplish this task with special HDR software. Thankfully, things are different today, so let’s cover them briefly!
What Is HDR Tone Mapping?
In popular software such as Photomatix Pro, the technique of “Tone Mapping” was/is often used. Simply put, the HDR software takes the raw image data and combines all of the exposures, discarding missing or “bad quality” tones in clipped highlights and noisy/clipped shadows from certain over/under-exposed images. The tone-mapped final image will have smooth tones. Essentially, a scene that may have had 15 stops of actual dynamic range is processed to “fit” in a final image that appears to only have a few stops of range on the final histogram.
HDR Photography Software
Today, HDR software has advanced quite a lot, and you can create a merged HDR image within raw conversion, even. Lightroom, Capture One, and a few others are capable of creating a single raw file (in DNG format) that combines the highlights, mid-tones, and shadows of your bracketed exposures!
When it comes to dedicated HDR software, Photomatix is still my top choice for HDR imagery, because it has been around for a long time and has the best options for blending or “tone-mapping” numerous bracketed exposures. Most photographers won’t need special HDR software, though.
HDR Luminosity Masking
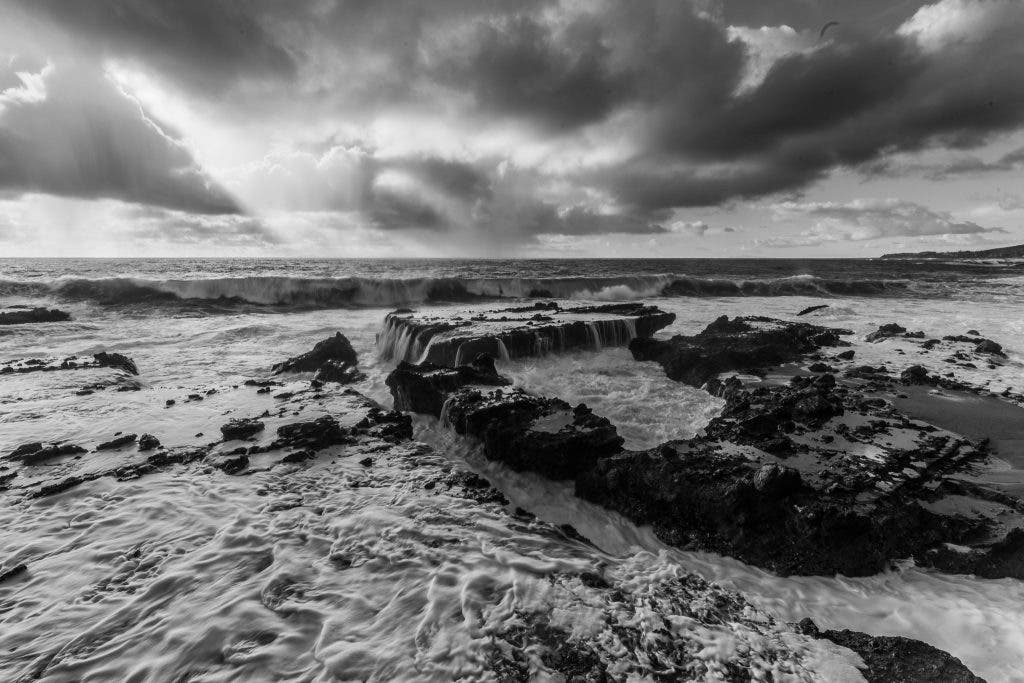
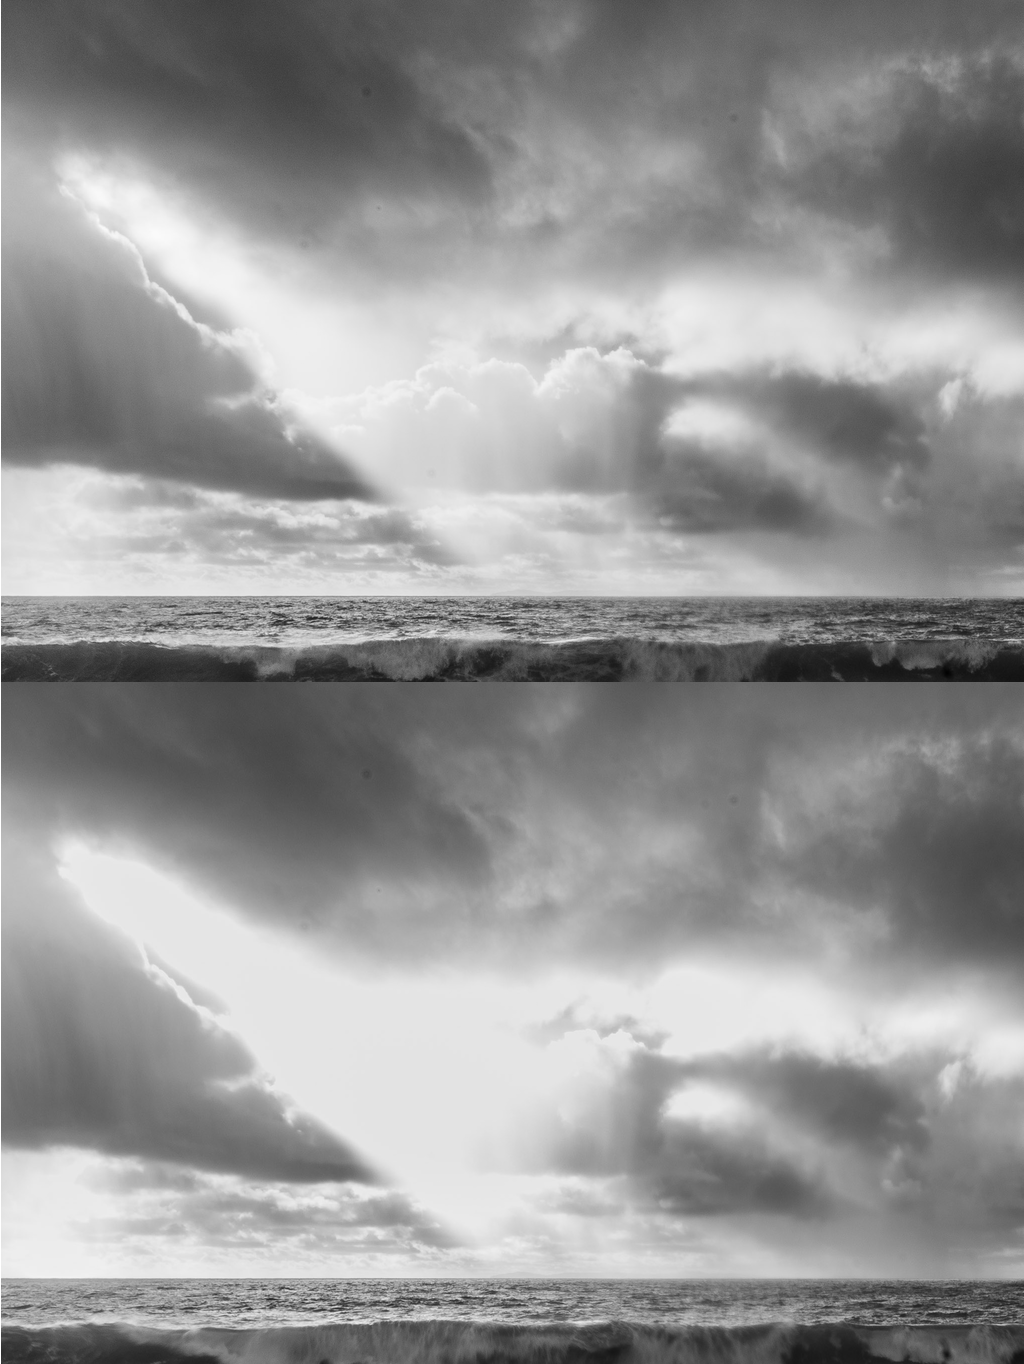
One technique that is both cutting-edge yet rather simple is the luminosity masking technique in Photoshop. This could be its own tutorial, but here’s the basic idea. In your raw software, process two different exposures of the same scene. Make them look as identical as possible except for clipped highlights in one and/or noisy shadows in another.
Next, you layer the two images in Photoshop and use a Luminosity mask to hide the highlights or shadows of one image, to reveal the image below.
Using the “Blend If” layer option, you can create smooth tonal transitions in the layer mask, seamlessly creating an excellent HDR image with truly realistic, natural-looking results.
Is HDR Photography Still Relevant?
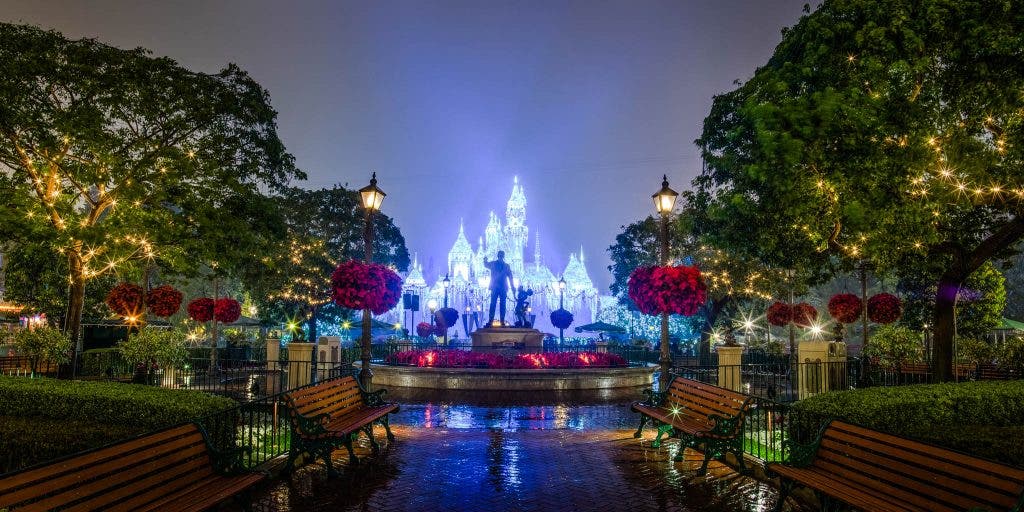
In summary, no matter how much dynamic range your camera sensor may have, or what high-contrast or low-contrast types of lighting conditions you may be capturing, understanding the basic concept of HDR photography is still useful.
When the scene before you features extremely bright highlights and deep, dark shadows, you might want to capture bracketed exposures. If your camera can capture the scene in one exposure, you’ll still want to understand highlight and shadow recovery. You can use it to make an image appear natural and “realistic”, or, if you prefer, surreal and imaginative!
