As photographers, one of the first things we learn is that it’s all about light. The light in your image is not just a technical aspect that dictates your exposure, it is also a major part of the creative process. With this in mind, one of the most common questions we get is about hard light vs soft light. Is either type of light good or bad?
What is “good light,” though? As you’ll learn in this article, “good” is relative, indeed. When it comes to hard light vs soft light, there are some very important general rules that you should follow, usually. Of course, these are just a foundation upon which to build, and they’re easy to bend or break. So, with that said, let’s dive in!
What is Hard Light?
The best way to identify hard light is by the hard, sharp shadow it casts! We can use many other words to describe hard light, but they all require further explanation: harsh, direct, strong, specular, and so on.
Simply put, hard light should be categorized as any light that creates an abrupt, visible edge in its contrast between lit and unlit areas. The sun is, of course, a great example of this. Its light is very bright, strong, and direct, but what really makes it hard light is the fact that it creates abrupt, well-defined shadow transitions.
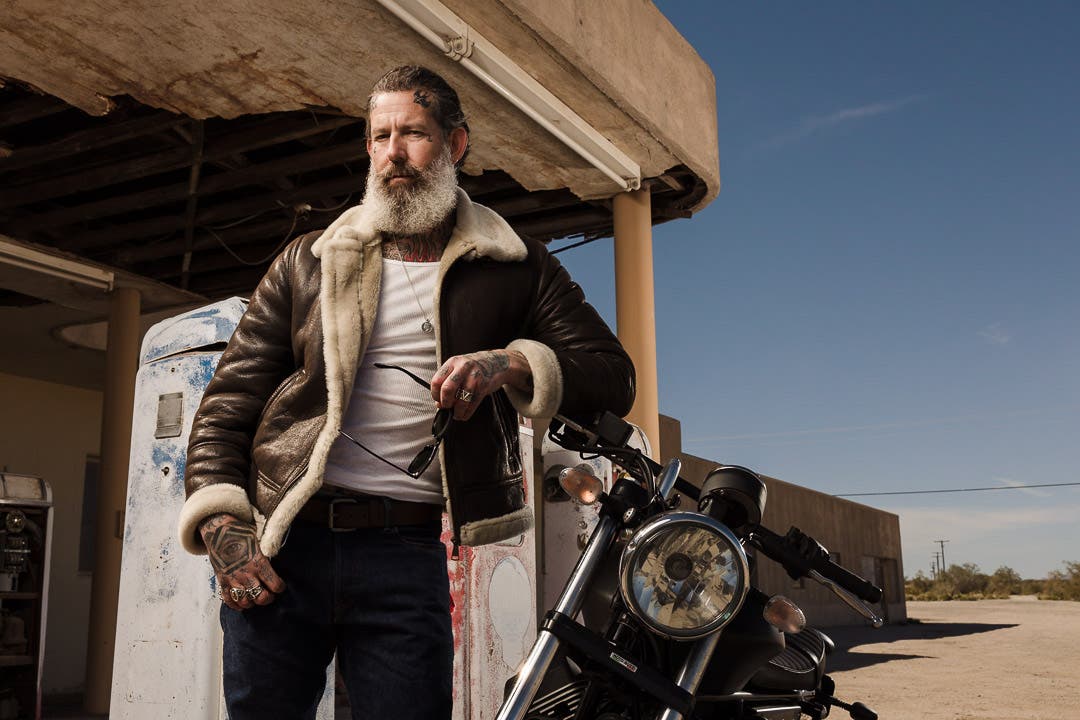
Other sources of light can be considered hard light, too. A “bare” camera flash or strobe without any diffusion, or a spotlight on a stage is very hard, indeed. Also, unfortunately, most man-made light fixtures, indoor and outdoor, create rather hard light. This is because they are very bright, small, singular points of light.
What is Soft Light?
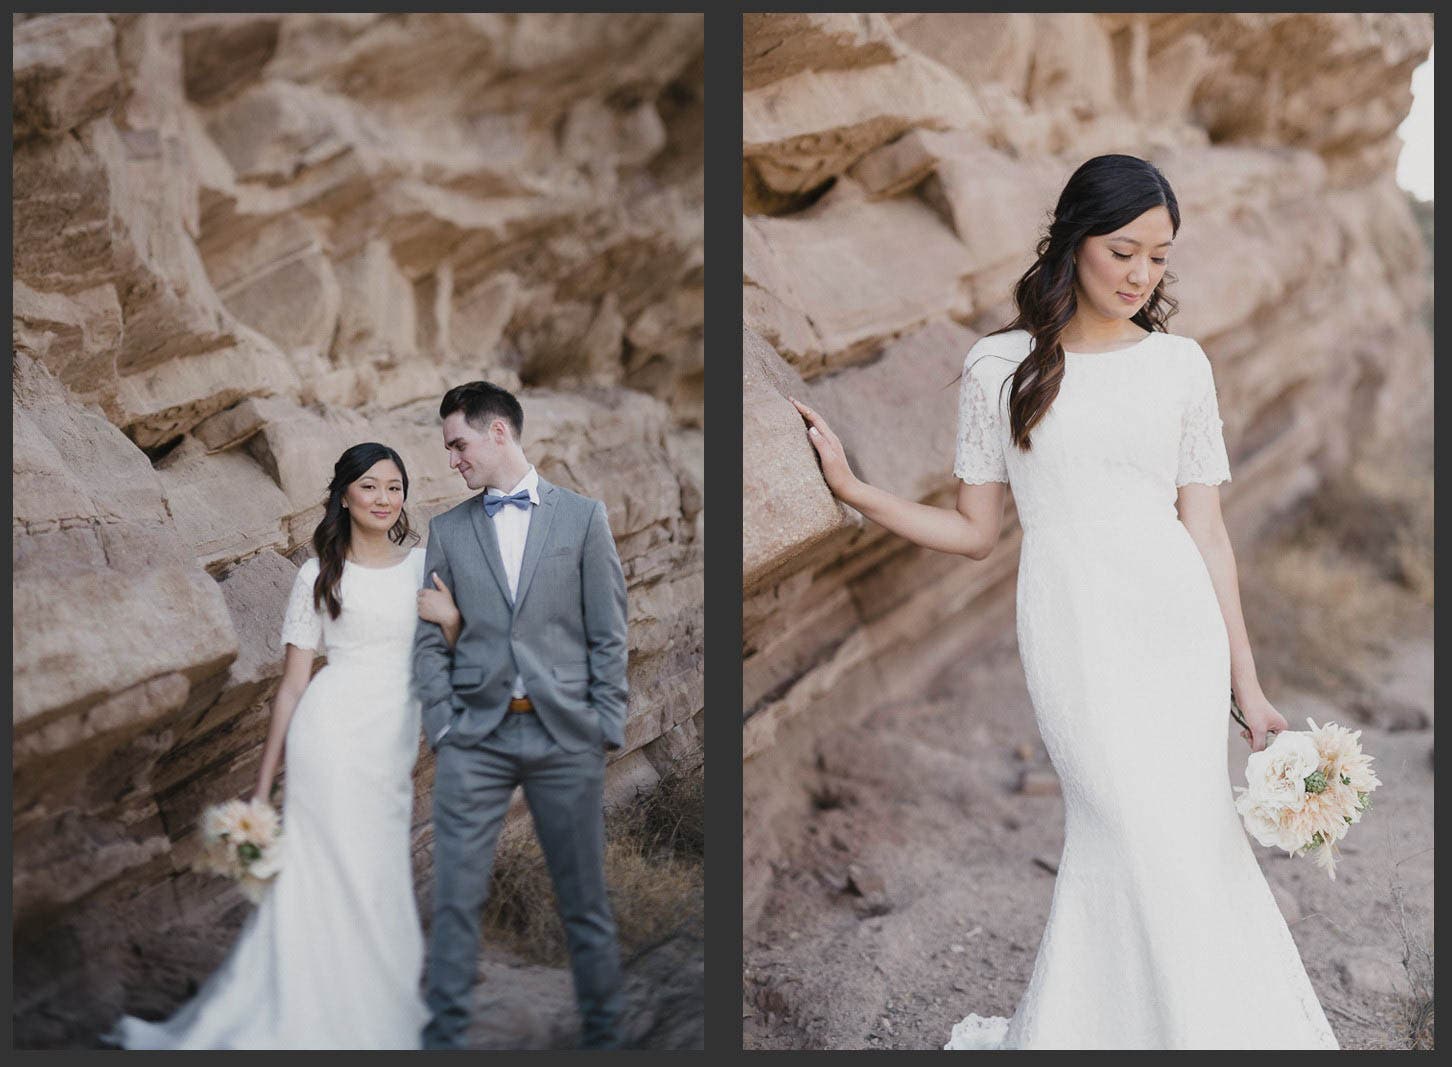
Soft Light, as its name implies, is any light that lets the transition from light to shadow appear very gradual and smooth. In fact, the “most soft” types of light will seem to create no shadows at all on a subject!
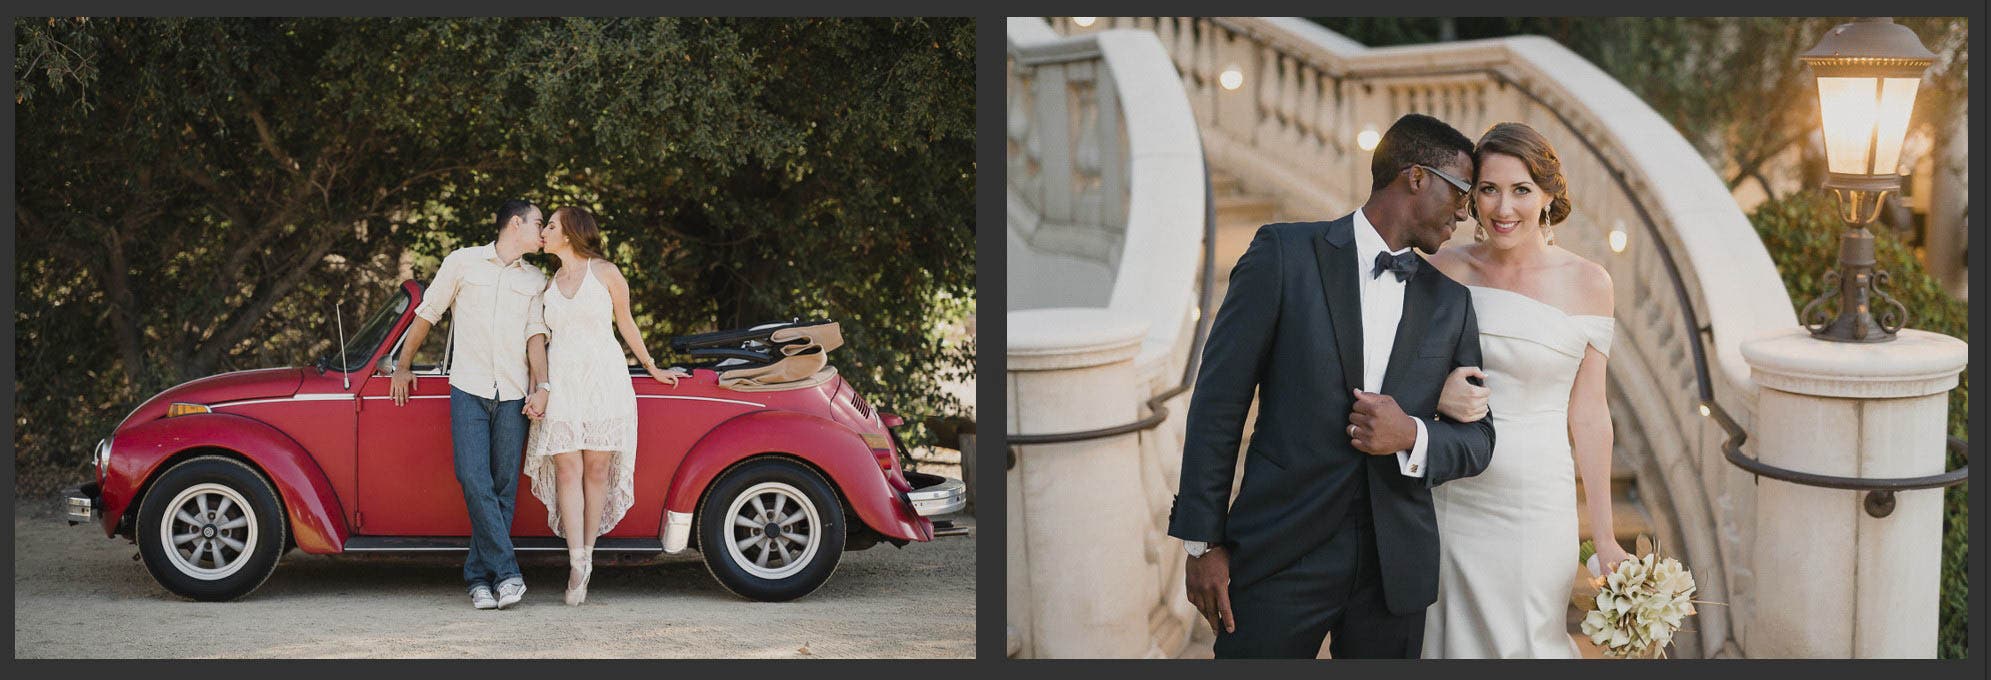
Soft light is primarily created by a light source that is very large and very even in its brightness. Indeed, the best soft light is as large as, or larger than, the subject it is illuminating.
For a video from Adorama TV about hard light VS soft light, click here!
How To Tell The Difference Between Hard Light vs Soft Light
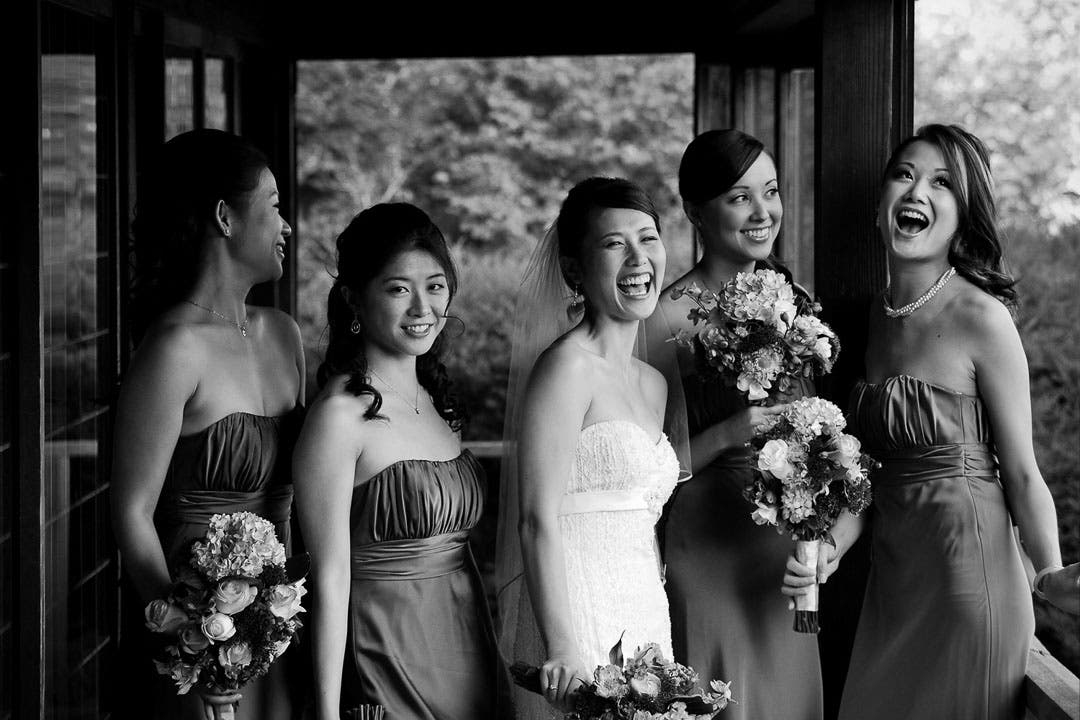
One of the best ways to determine if you’re working with soft light or hard light is to simply look for shadow edges. If they are well-defined and “sharp,” then you’re working with very hard light. Oppositely, how do you know if you’re working with the softest possible light?
Here is the best way to determine just how soft light is. Can you tell what direction the main light source is coming from? For example, if you look at the face of a portrait subject and you can’t really see harsh shadows, yet you can still tell that the “key” light is coming from the left or right, or above/below eye level, then you’re working with somewhat soft light. However, if the light seems to be coming from every direction equally, and there are zero shadow edges on your subject, then you’re working with the softest light!
When Should You Use Soft Light?
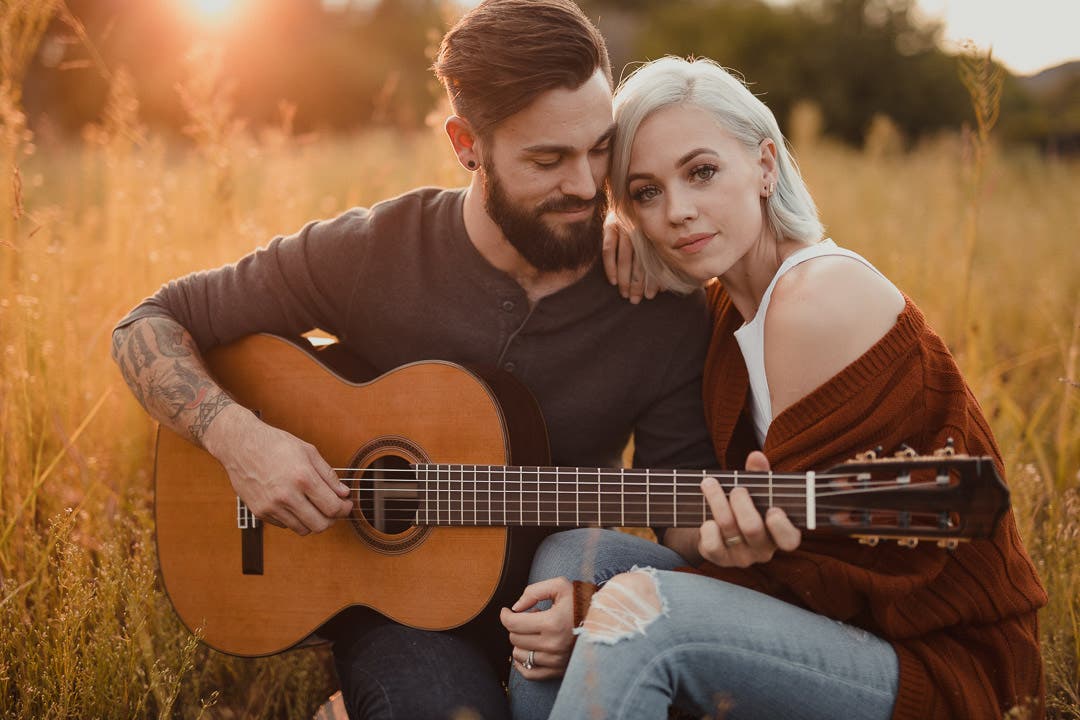
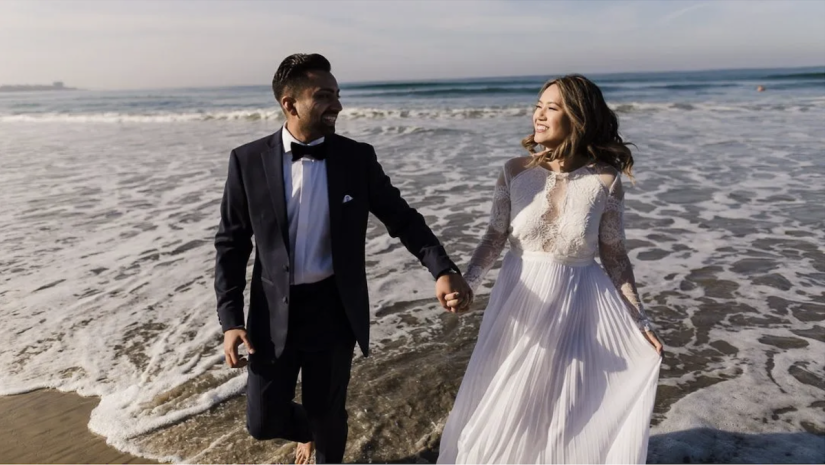
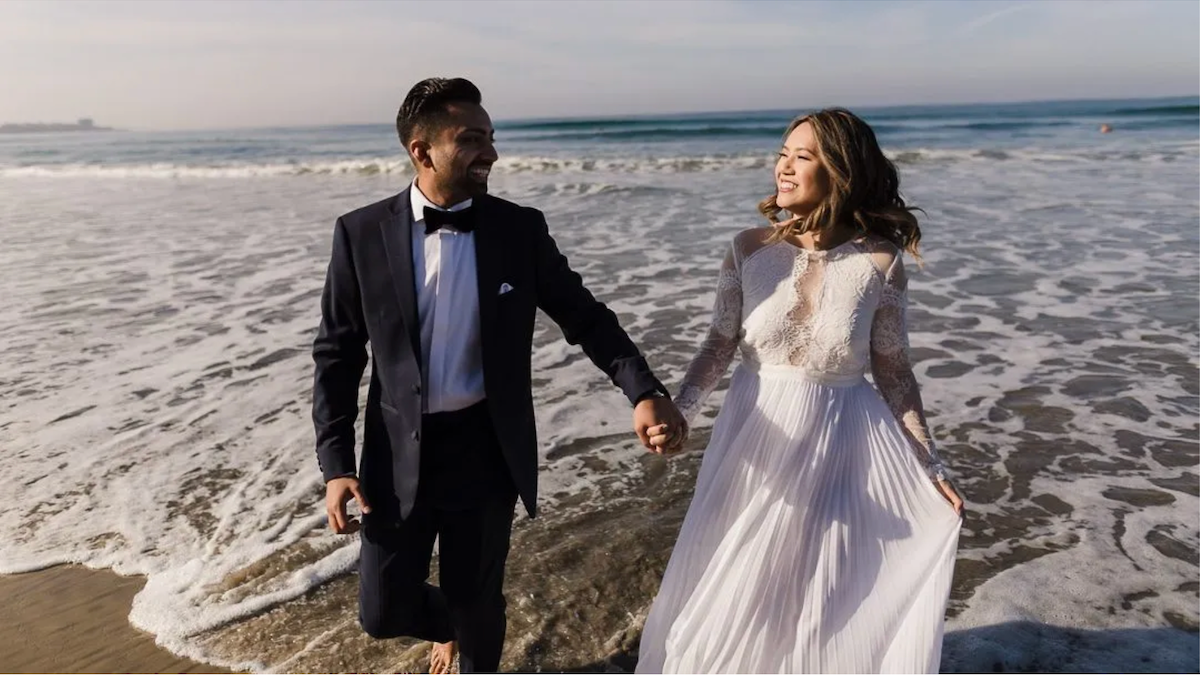
One of the biggest benefits of soft light is that it is gentle and usually flattering to a subject. So, it is highly useful for many portrait and wedding photographers! Indeed, it is our go-to default for most portraits.
Here is one of our best general rules for when soft light is absolutely necessary, or at least highly recommended: is the subject smiling and looking directly into the camera? If so, then soft light is almost always a good idea.
Of course, after you capture that soft light version, feel free to experiment with harder/harsher light, and see how it looks! Learning by doing, and comparing your own images, is immensely helpful.
Soft, Directional Light
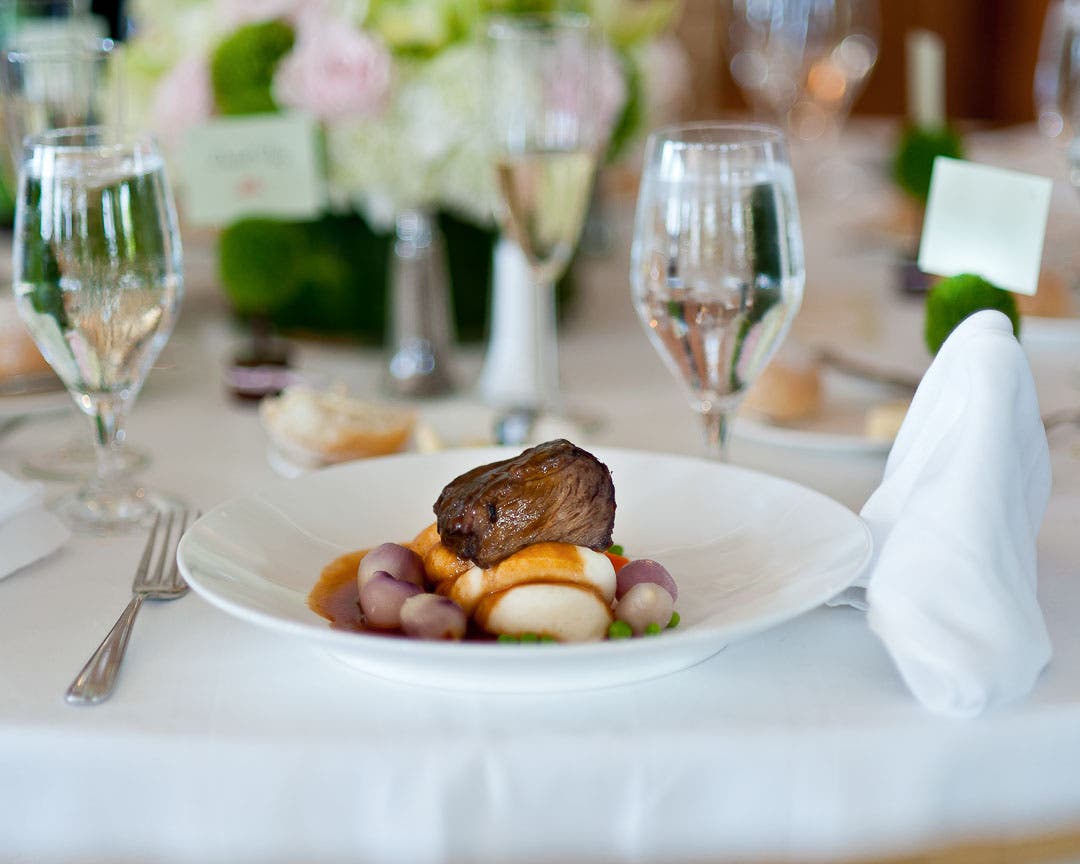
Whenever possible, though, we do prefer to have at least a little bit of directionality to our light. It is almost always flattering for a subject if there are at least some shadows, to accentuate shapes, figures, lines, etc.
This isn’t just about portrait photography, of course! Soft, directional light is one of the most beautiful conditions for almost everything from landscapes and wildlife to architecture and real estate.
Personally, at our wedding photography studio, we start with soft light for many of the photos we take and then get creative from there. It doesn’t matter if we’re photographing a piece of plated steak or a close-up of a bride’s jewelry. Soft (but directional!) light is a timeless go-to choice.
When Should You Use Hard Light
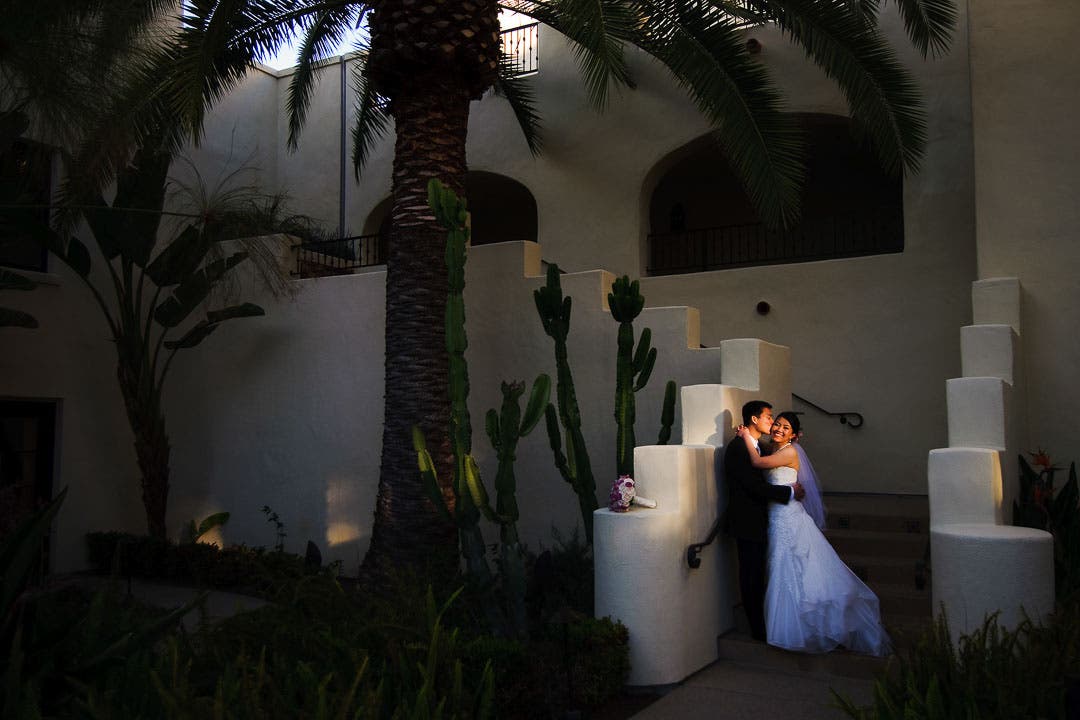
Hard light can be useful, too. Indeed, it can sometimes be the best choice! As a general rule, the best uses for hard light are in scenes where, you guessed it, the subjects are NOT looking directly at the camera. These are wider-angle, larger scenes, in which the subject is merely being highlighted by the hard light itself.
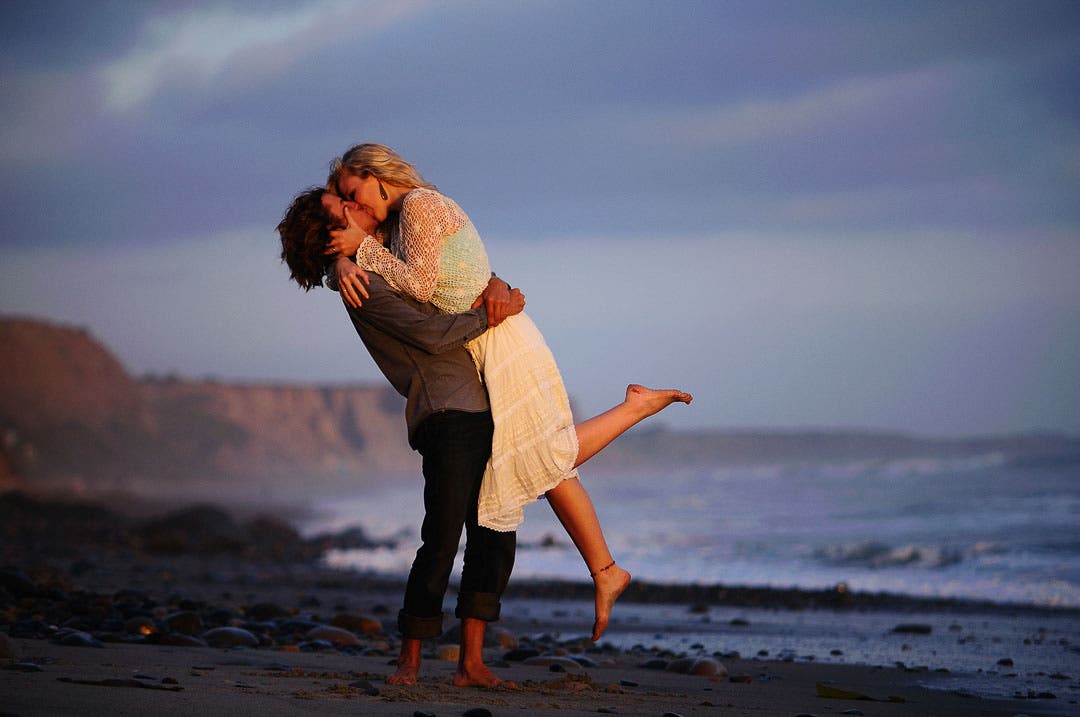
This is where experience and wisdom, plus your creative style, will lead you better than anything else. For example, late afternoon sunlight is still very direct, yet it has a slight softness to it which really creates beautiful results. So, as the sun dips toward the horizon, don’t be afraid to look in unexpected directions for beautiful opportunities!
Hard Light vs Soft Light In Landscape Photography

In landscape photography, sometimes the softest light is actually the worst! Soft light can still work, however, when you’re working with such large, grand subjects across so much distance, having strong directional light can be breathtaking.
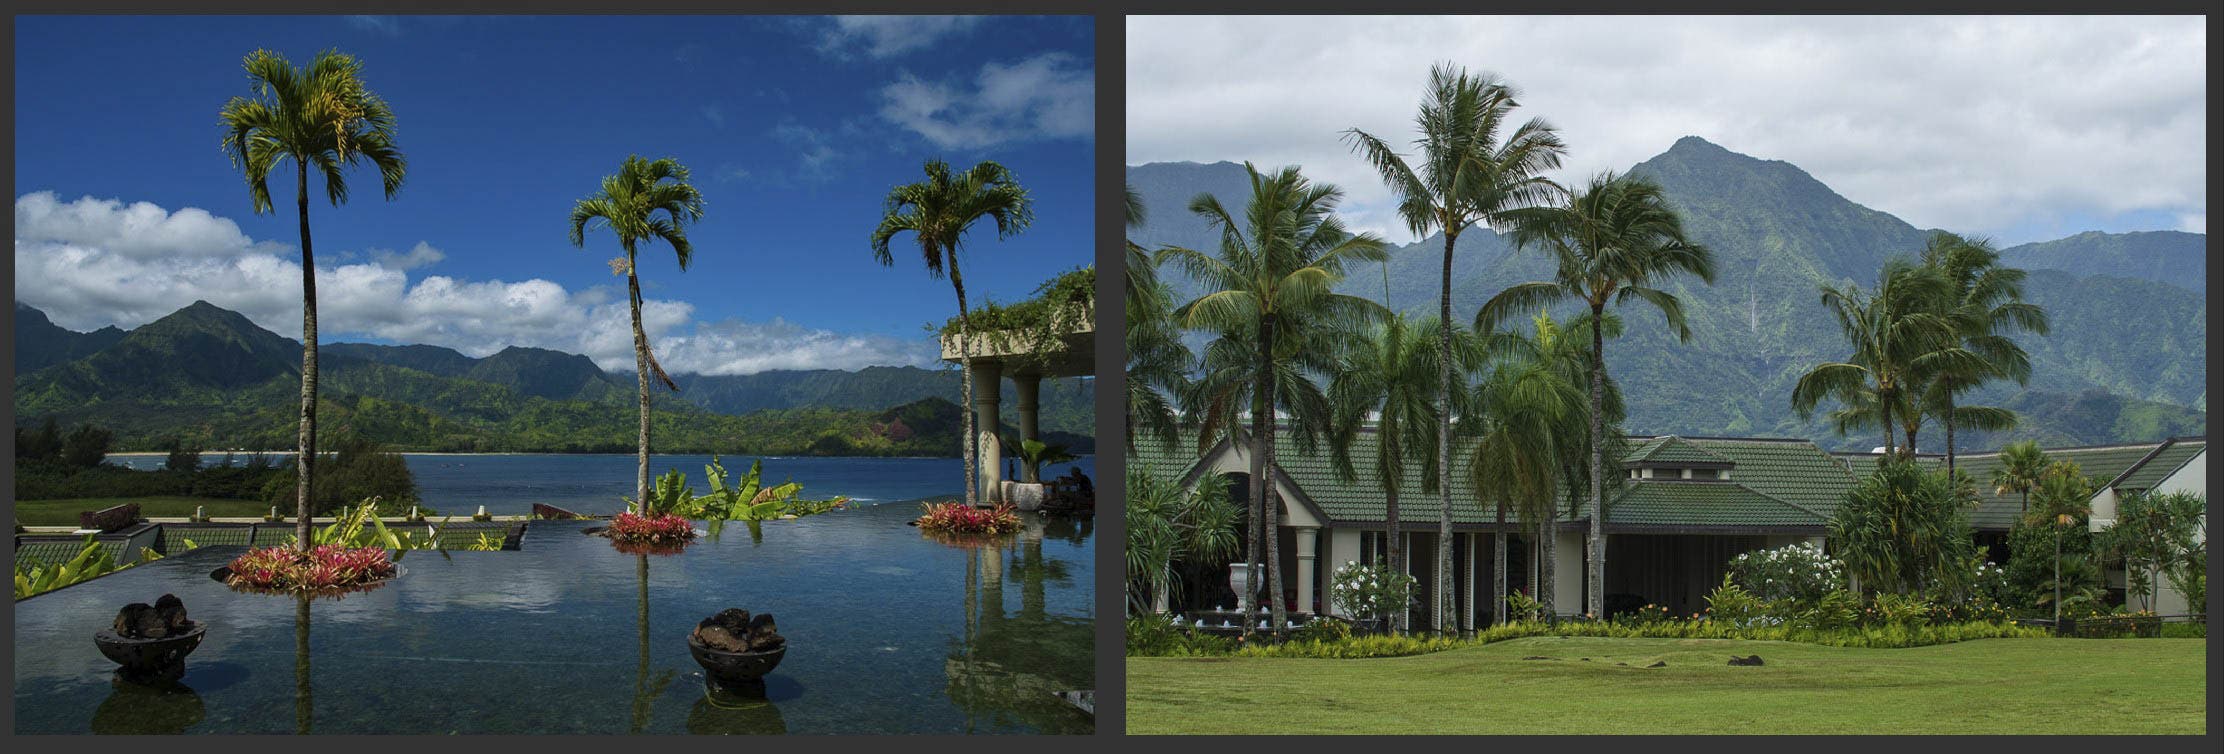

Having said that, soft, directional light can still be ethereal and flattering to a quieter landscape scene, too. Of course, landscape photography is one of the genres where you really don’t get to control the light! This is simply a waiting game. You wait to be in the right place at the right time, predicting the weather so that you know when a beautiful opportunity may present itself.
Quick Portraits Anywhere: How To Find Soft Light In Harsh Sun
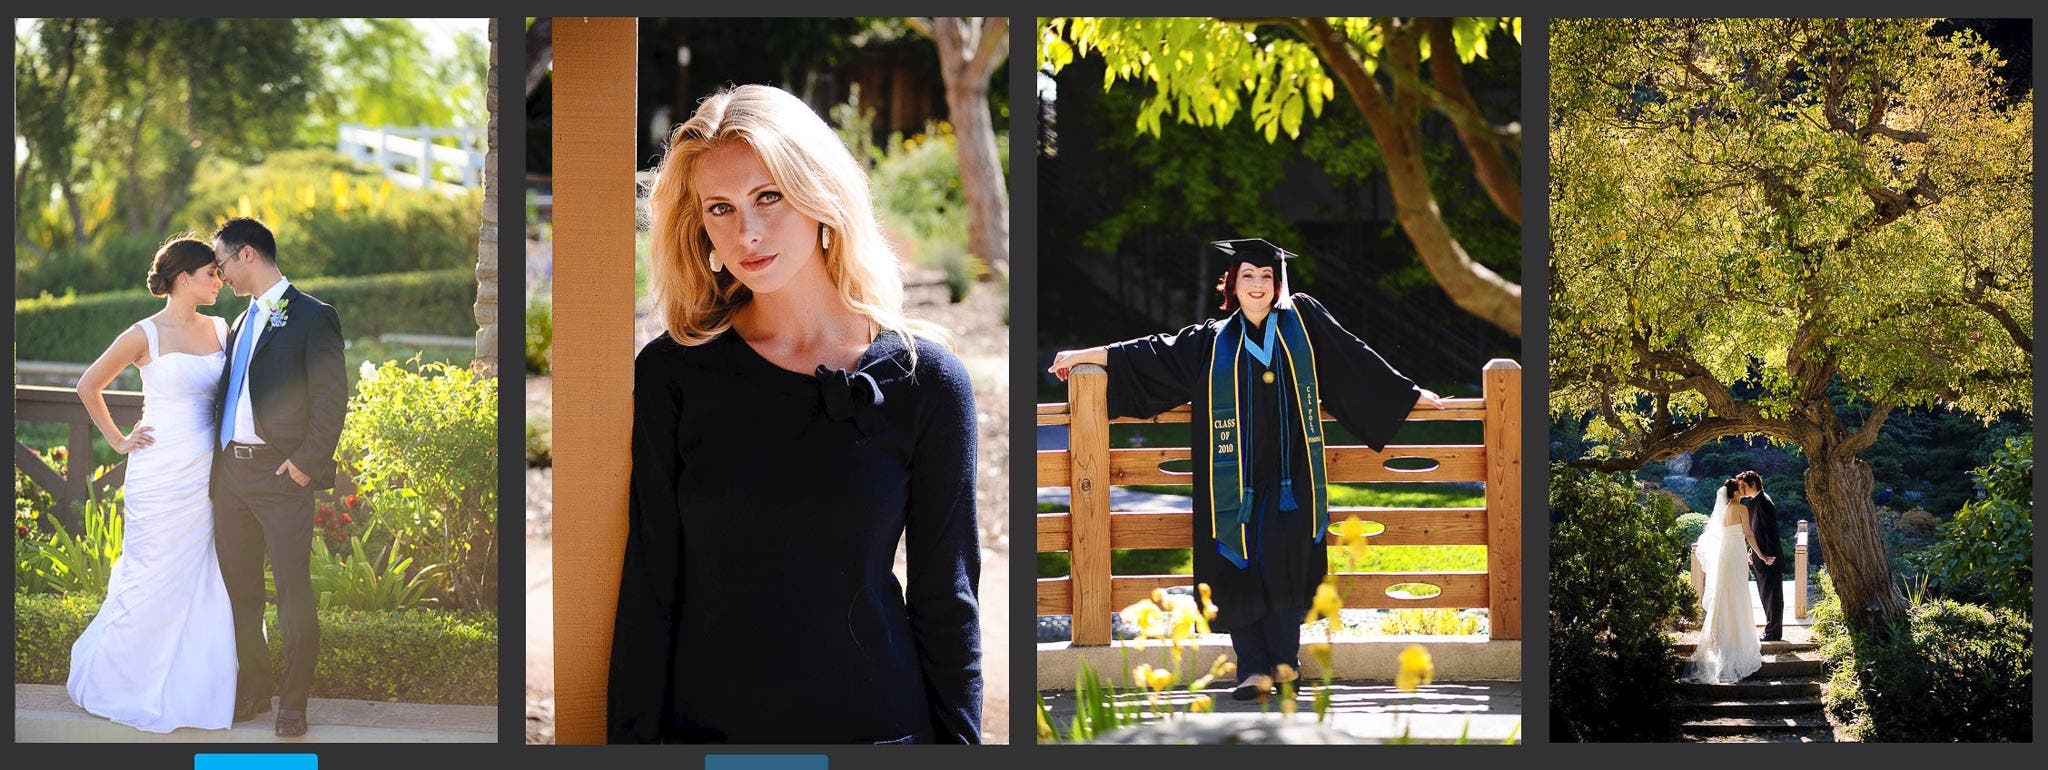
One of the most common challenges for portrait photographers in particular is this. How do you quickly find soft light when you’re doing photos on location? Sometimes, you have plenty of time (and gear) to set up a perfect lighting scenario, but many times you simply need a go-to trick for capturing flattering images even while literally standing in the harsh sun. Well, here is that trick, and it works for almost every type of portrait subject!
Start by simply having your subject face away from the sun. Unless the sun is literally directly overhead, you’ll at least get the sun off the subject’s face almost completely. Then, try to find a wall, surface, or anything that is causing at least a little light to bounce back toward your subject’s face.
Next, whenever possible, find a background that is relatively dark. (This is the secret trick that can make a HUGE difference!) A telephoto lens is great for de-cluttering a background and isolating a subject’s outline against a shadowy background. This isn’t absolutely necessary. The most important thing is to focus on the light that is hitting (and not hitting) your subject’s face.
You have effectively created a soft-lit image, yet with the beautiful touch of harsh light outlining your subject! Creatively, we actually prefer this exact lighting scenario for many of our portraits and wedding photos. The reason is it’s more dramatic and eye-catching, and yet still flattering to the subject.
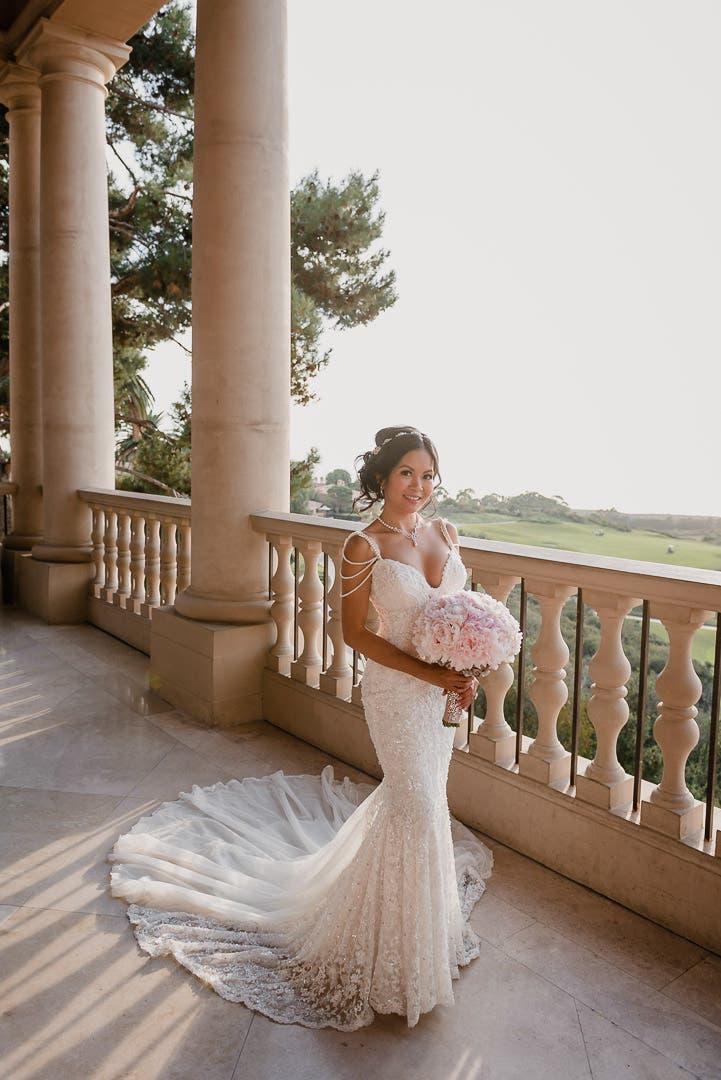
If you’re working with a wide-angle scene, or an “empty” sky for a background, don’t be afraid to let the subject speak for itself and fade the background to white or near-white.
Hard Light VS Soft Light | Your Creative Style
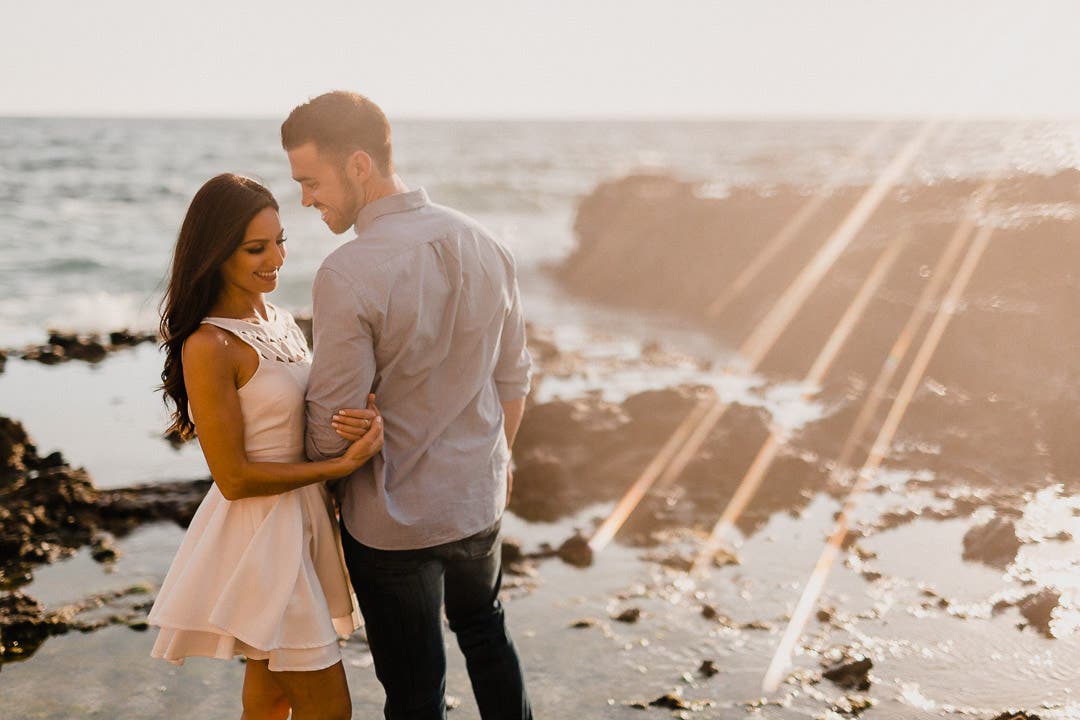
With these general rules/foundations in mind, it is very important to now mention your own creative style. Did either type of light, or the image examples, stand out to you?
There are innumerable photographers who almost exclusively work with one specific type of light. Of course, this is understandable if the genre causes the lighting to be out of your control. Such is the case with stage and theater lighting. Or, maybe you do headshot portraits exclusively, and your clients are all looking for a specific type of result. That’s totally fine!
However, for most photographers, we think it is far better to fully understand, and practice using, both hard light and soft light. Simply put, the more versatile you are, both technically and creatively, the more you’ll be able to create beautiful imagery.
The Best Light For Portraits Is Not Always The Same
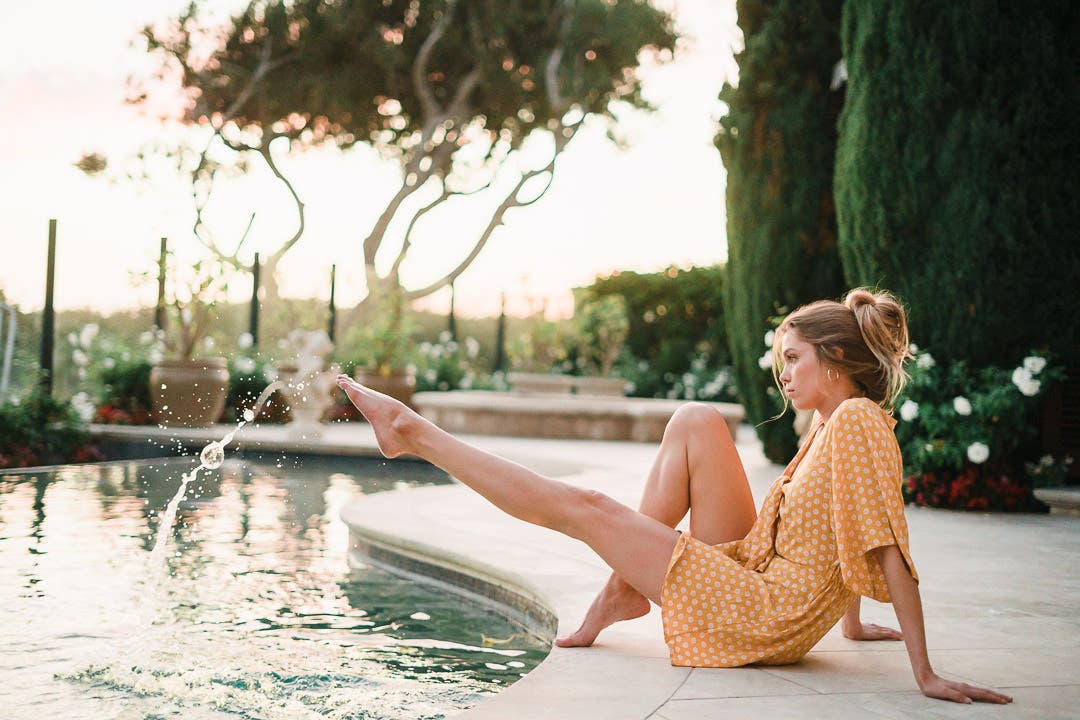
As the biggest takeaway from this article, remember this one thing. The best light for portraits is different, and it depends on the subject you’re photographing, the scene you’re working in, and of course, your own creative style.
This is not a matter of “learn the rules just so you can break them!” Honestly, these guidelines should probably be kept in mind at all times. As we mentioned, it is most likely your subject matter and personal creative style that will push you to seek out one type of light more often than another.
Conclusion
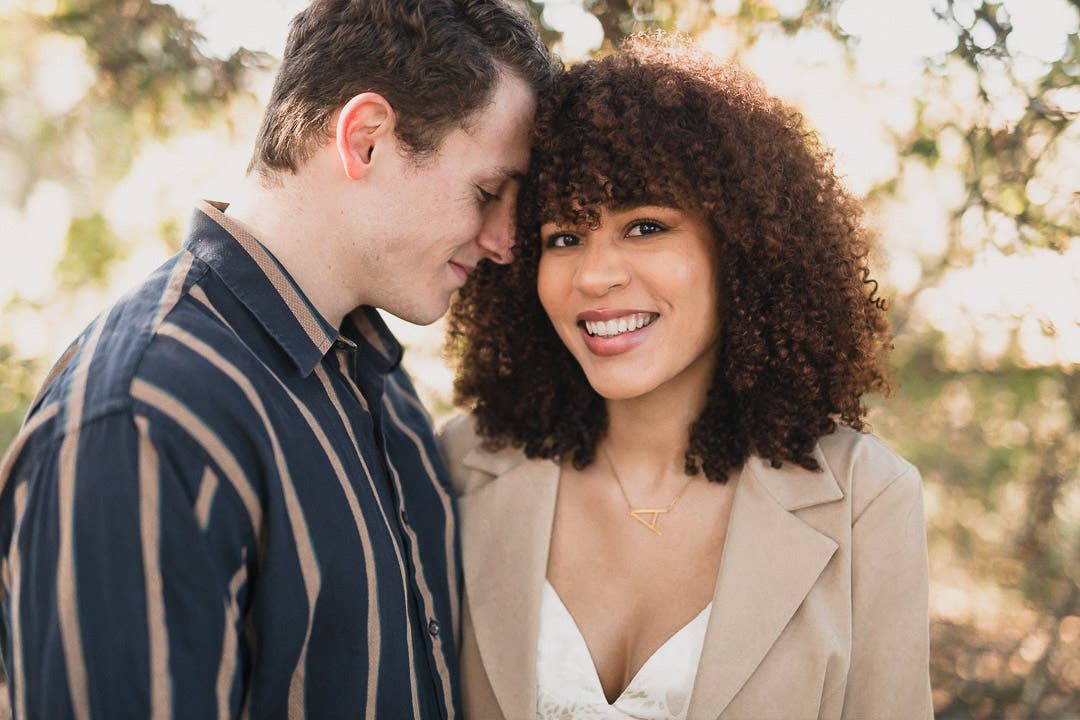
If you glance at the images in this article again, you’ll see a wide representation of lighting conditions and styles. You are now ready to not only tackle any kind of light but also, hopefully, know when to simply tell your subjects, “we should find different lighting!”
Either way, don’t think of hard light vs soft light as if one is always unacceptable and one is always optimal. Each lighting condition (and subject, and creative style) is unique!
