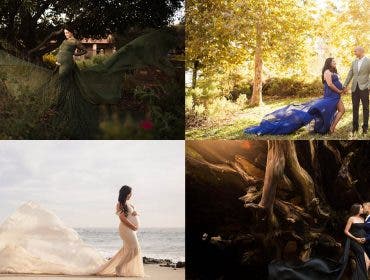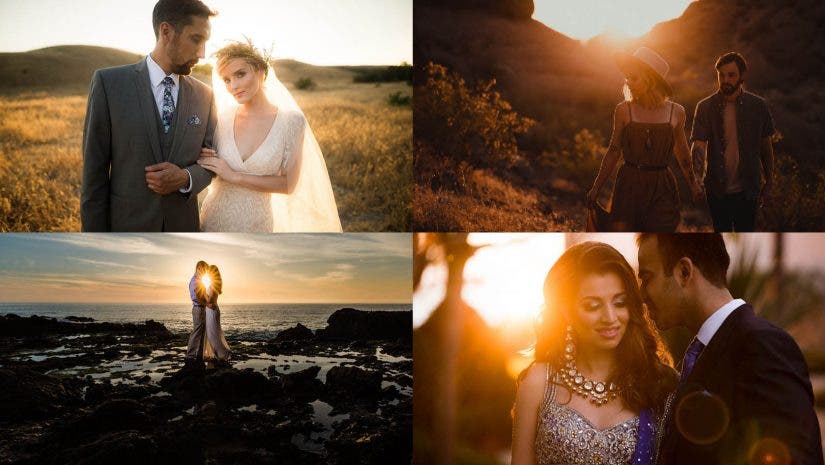
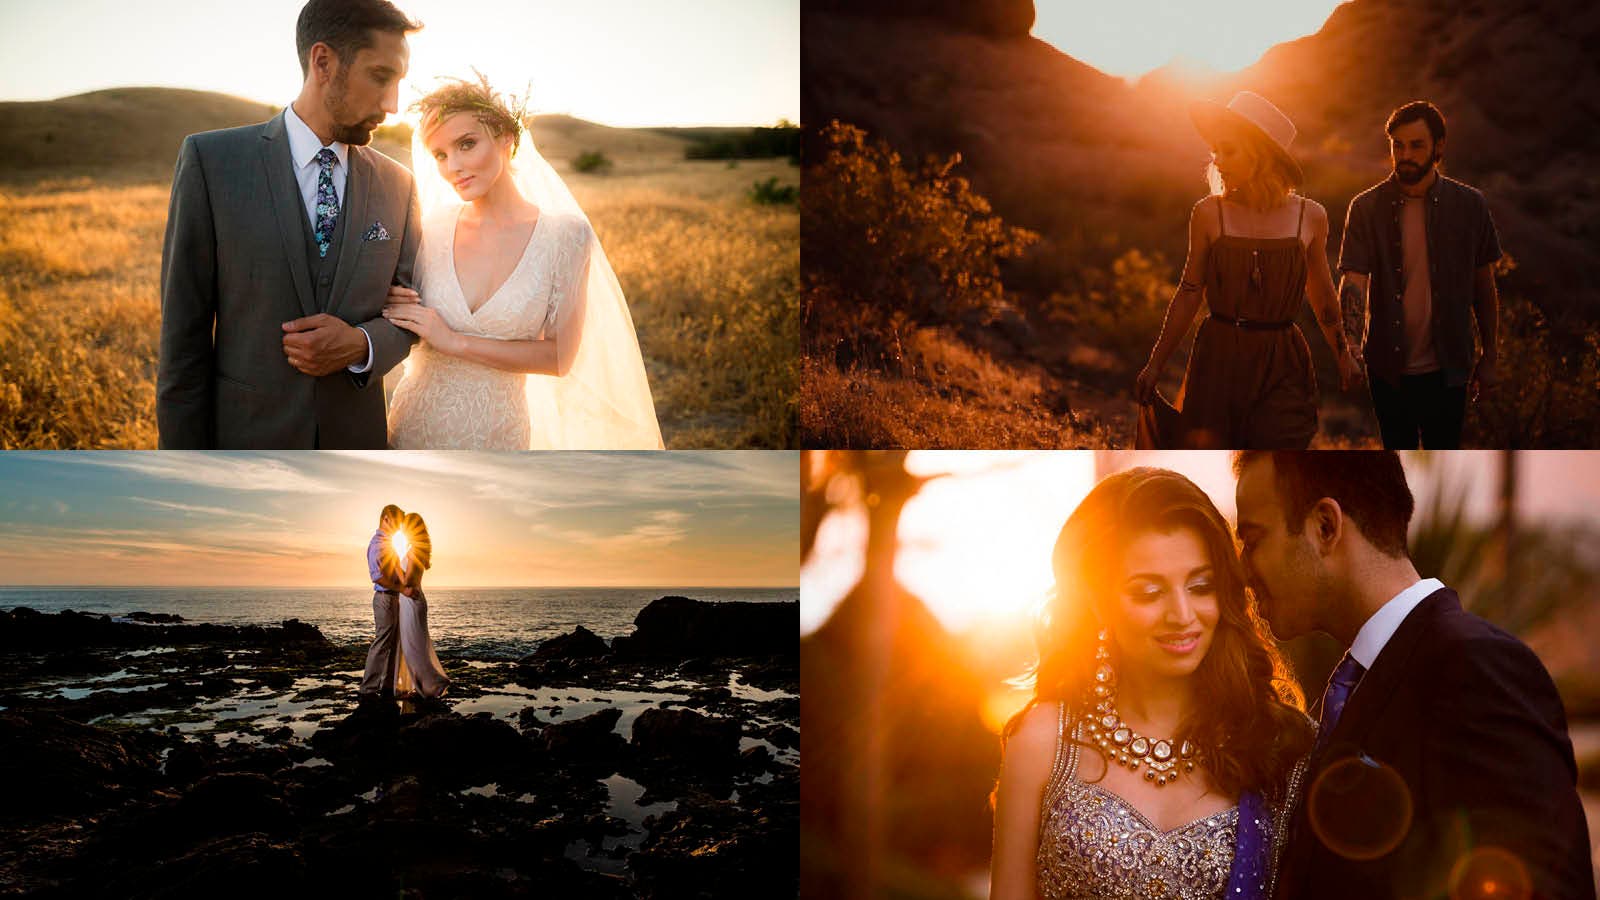
Golden hour. As the name suggests, this magical time of day for capturing portraits under the golden glow of the rising or setting sun is short-lived. The flattering effects of its warm, soft light, however, make it infinitely popular. In fact, most portrait photographers I know schedule outdoor photography sessions around golden hour because their clients want that look. While the light in its natural beauty sets the stage for incredible portraits, capturing it well requires strategic planning. In this article, I’m going to share 8 golden hour photography tips to help you capture the best golden hour photos possible, even when the sun isn’t available.
What Is Golden Hour?
Golden hour in photography refers to photographs taken around sunrise and sunset. Although often the subject of the photographs is the mesmerizing walk of the sun in the sky, golden hour photography may have any other subjects from people to landscapes to architecture.
To understand what the golden hour is, you need to imagine the colors of sunrises and sunsets. Think of those stunning shades of orange, red, pink, and purple, and you’ll understand why it got the name golden hour.
When Is Golden Hour?
Many people ask at what time the golden hour is, but the answer is not that easy. Sunrise and sunset happen at a precise time each day, but not at the same time each day. The hours change throughout the year. Furthermore, golden hour doesn’t refer to the exact time at which the sun goes above or below the horizon.
The golden hour time is considered to be the first hour after the sunrise and the last hour before the sunset. But you can slightly prolong the period and try golden hour photography a little bit before sunrise or after sunset. The colors will still be there.
Why Is Golden Hour So Good for Photography?
Once you know when the golden hour is, you know that you don’t have that particular sunlight quality at any other time of the day. Golden hour photography relies heavily on low-intensity, highly saturated sunlight and outstanding sky colors. The light polishes everything with golden shades, enhances contrast, and creates a special mood. It also flatters the skin and improves portraits.
8 Golden Hour Photography Tips for Magical Photos
- Know When to Schedule Your Session for Golden Hour Photos
- Scout the Location
- Shoot RAW Images
- Backlight Your Subjects
- Expose to Highlight Golden Hour (Not the Skin)
- Control the Flare
- Re-Create the Sun when Necessary
- Finish Your Golden Hour Photos in Post
Tip #1: Know When to Schedule Your Session for Golden Hour Photos
So, what is the golden hour in photography? In reality, the golden “hour” varies from minutes to hours depending on your location and the time of year. The golden hour effect, however, happens as the sun moves between six degrees above and 4 degrees below the horizon. This happens twice per day, around sunrise and sunset, and typically lasts less than an hour. If you’re capturing landscape or personal images, then you can decide to wake up early and catch a sunrise. Most clients, in my experience, prefer to schedule their sessions around sunset.
Dedicated Apps
To ensure you don’t miss golden hour, I recommend checking out dedicated apps like Photo Ephemeris or PhotoPills that will allow you to plug in your location and view the lighting conditions for the time and place of your shoot. These apps include an augmented reality feature that uses the camera on your device to map the sun’s location and light direction at any time of day, which is helpful for scouting and planning shoots. They can also let you know if conditions won’t allow for capturing natural light golden hour photos that day. On such occasions, refer to tip #7 below for re-creating the sun.
Tip #2: Scout the Location
Whether you plan to capture golden hour photos or shoot under midday sun, always scout your locations in advance. That is a golden rule no matter the occasion. When it comes to golden hour photography, in particular, the brief window of opportunity makes it absolutely necessary to prepare ahead of time. If you’re unable to access the location before the session, take advantage of apps, like those mentioned above, or look for the location online to get a feel for the lay of the land.
Why is scouting so important? Consider the variables. A city skyline will introduce challenges you won’t find in wide open fields for golden hour photos. You’ll need to anticipate when the sun might duck behind a row of buildings. More objects in a scene will also introduce more shadows, which open up a variety of creative possibilities. It’s also important to keep in mind the position of the sun when looking for spots to frame your shots. A perfect backdrop won’t do much good if it faces the sun. We’ll dive more into this in tip #4 below.
Tip #3: Shoot RAW Images
Shooting in RAW format, rather than JPEG will give you a little extra wiggle room to fine tune your images. This is true no matter when you’re shooting, but it’s especially helpful for golden hour photography. Even though the light is soft, it’s still a high contrast lighting scenario and it’s easy to lose details, as I mentioned earlier. A compressed JPEG will only give you so much control in post, whereas RAW image files will retain much more detail and allow you to make major edits.
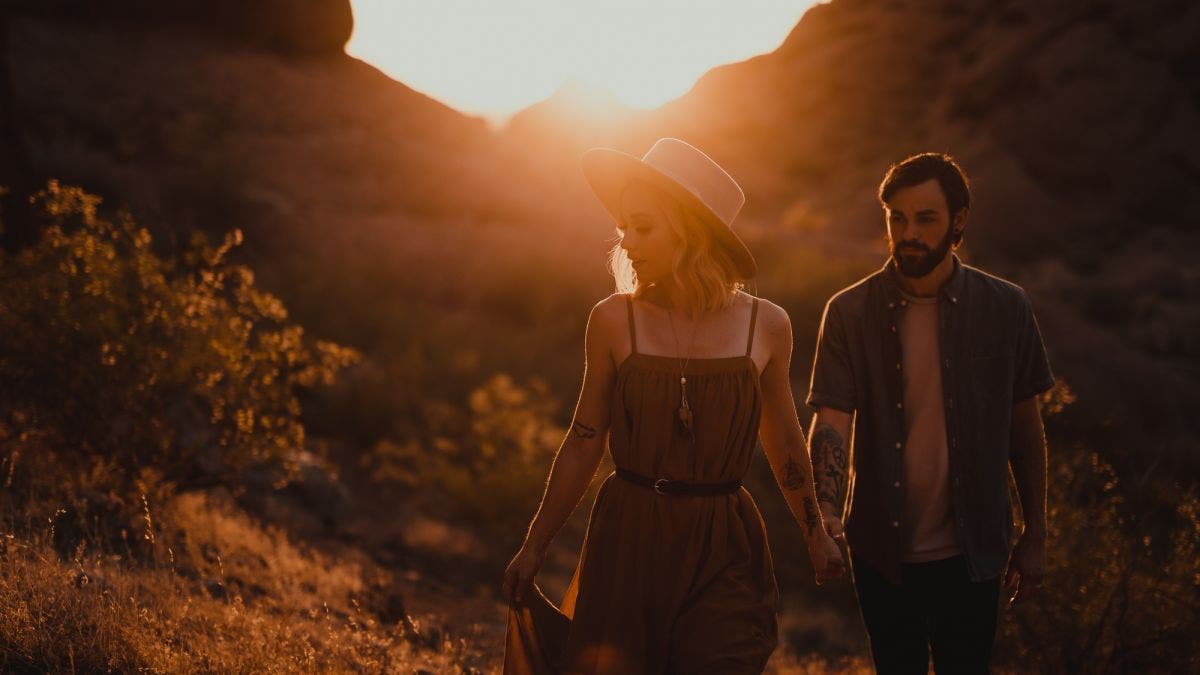
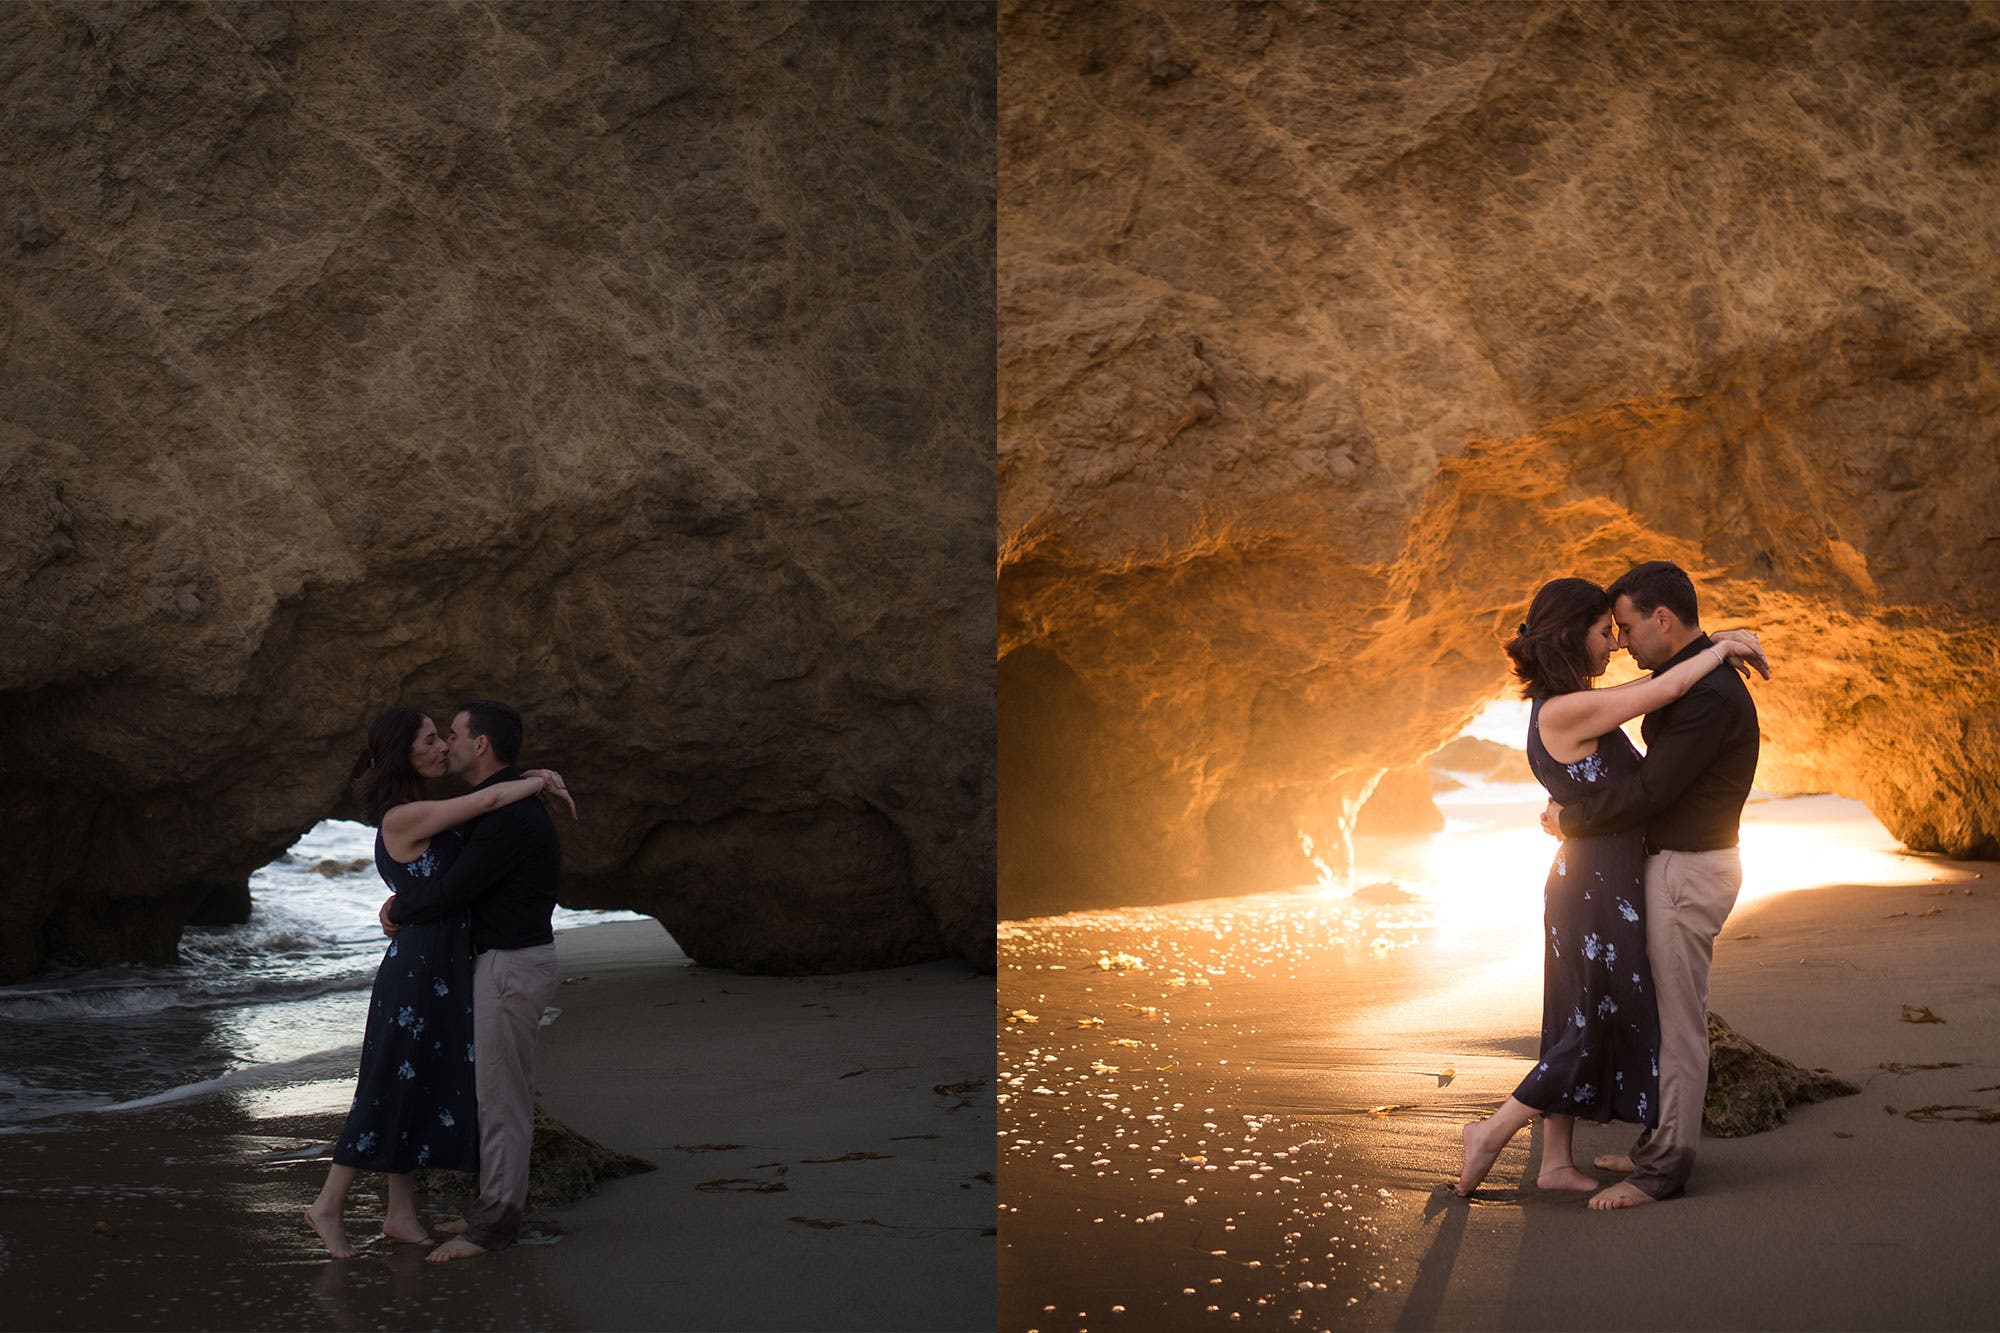
Tip #4: Backlight Your Subjects
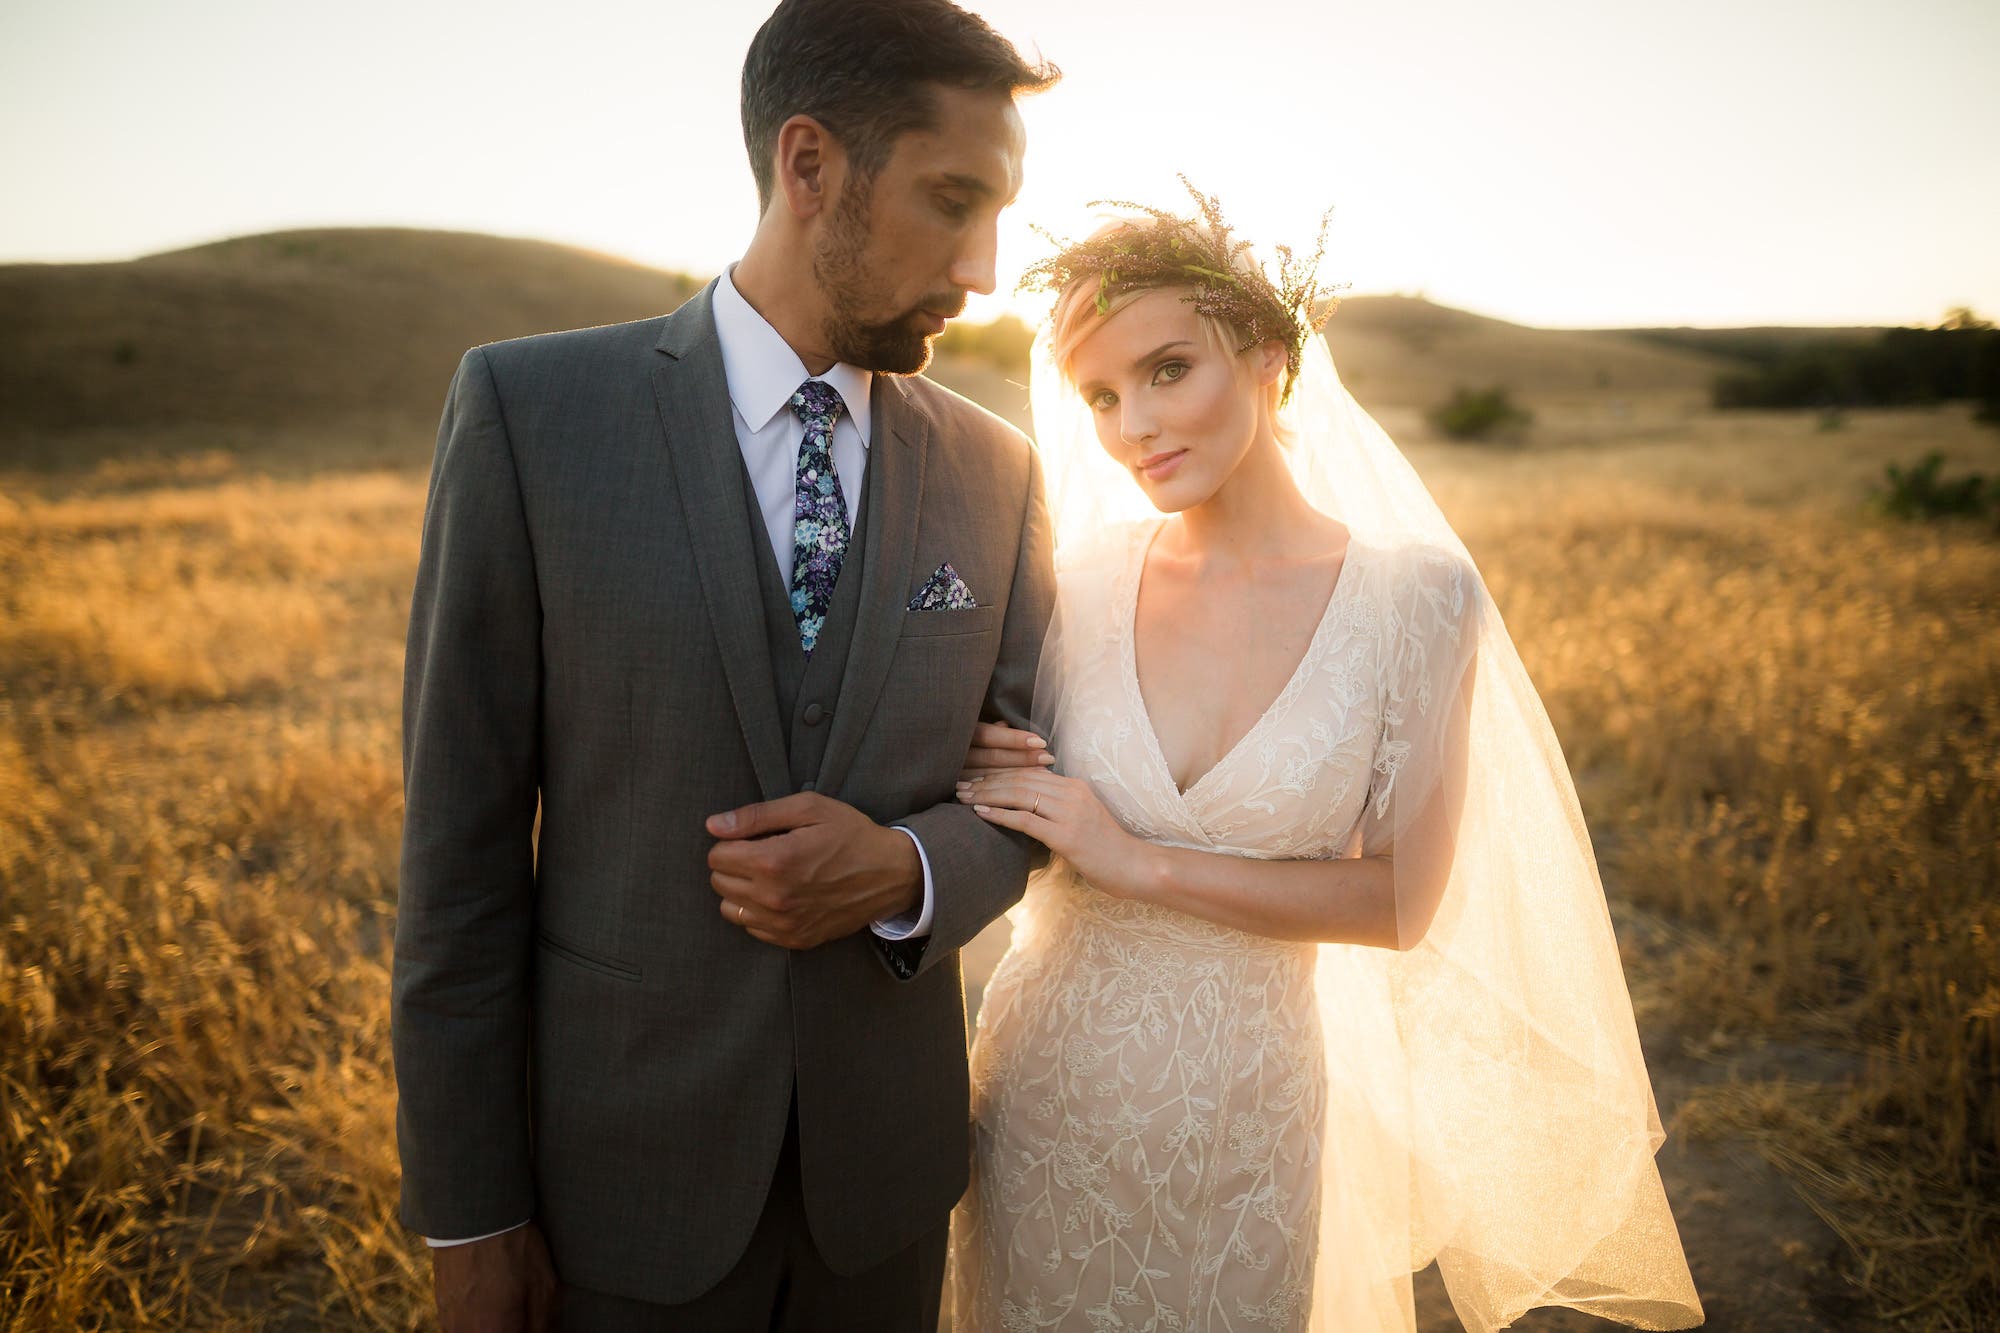
You can use the setting sun as a main light and even capture dramatic portraits with creative angles, but I recommend backlighting your subjects for stellar golden hour photos. Backlighting will give your subjects a gorgeous glow and soften the shadows on their faces.
It’s okay to push for a darker exposure here, especially when creating a silhouette. In order to keep detail in the background as well as on your subject’s face, however, you’ll need to add fill light. A simple 5-in-1 reflector should do the trick. I recommend using the white side of a reflector to keep the fill light soft.
Tip #5: Expose to Highlight Golden Hour (Not the Skin)
This is really an extension of the tip above. If your subject is backlit and you expose for the skin, you’re going to blow out the highlights and destroy the magic of golden hour. Although we typically expose for the skin, doing so here won’t allow us to maintain the rich colors associated with golden hour. Instead, we want to retain the highlights as much as possible. Again, if your subjects disappear in the shadows, use a 5-in-1 (or similar) reflector to push light back onto them (as mentioned above), or otherwise recover more shadows in post.
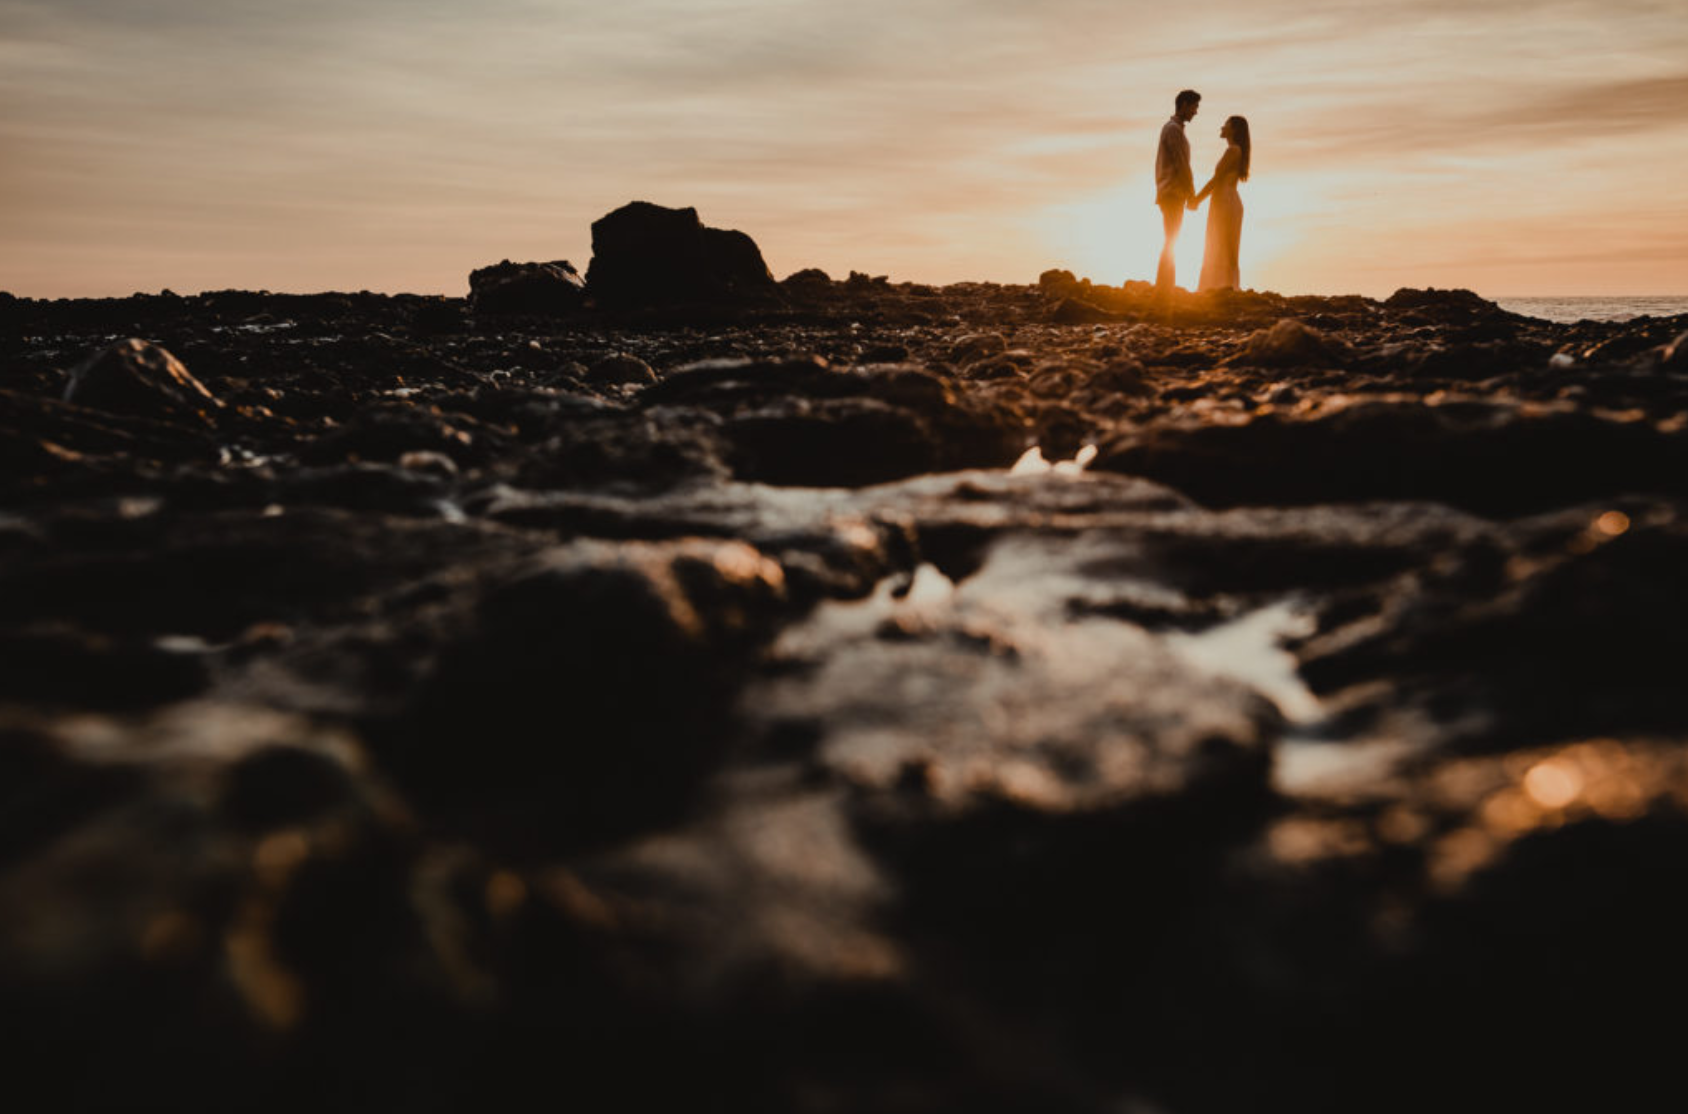
Tip #6: Control the Flare
When shooting into the sun, it’s easy to overwhelm the frame with blooming light, often at the expense of detail in your subject’s face. To better control the flare in your golden hour photos, carefully place the subject between the camera and light. Then, slowly adjust your position to reveal more light, allowing just enough light for the perfect capture. So long as the flare barely bleeds through, you can maintain highlight details next to the subject’s head. I recommend capturing multiple shots to increase your chances of getting the shot you’re after.
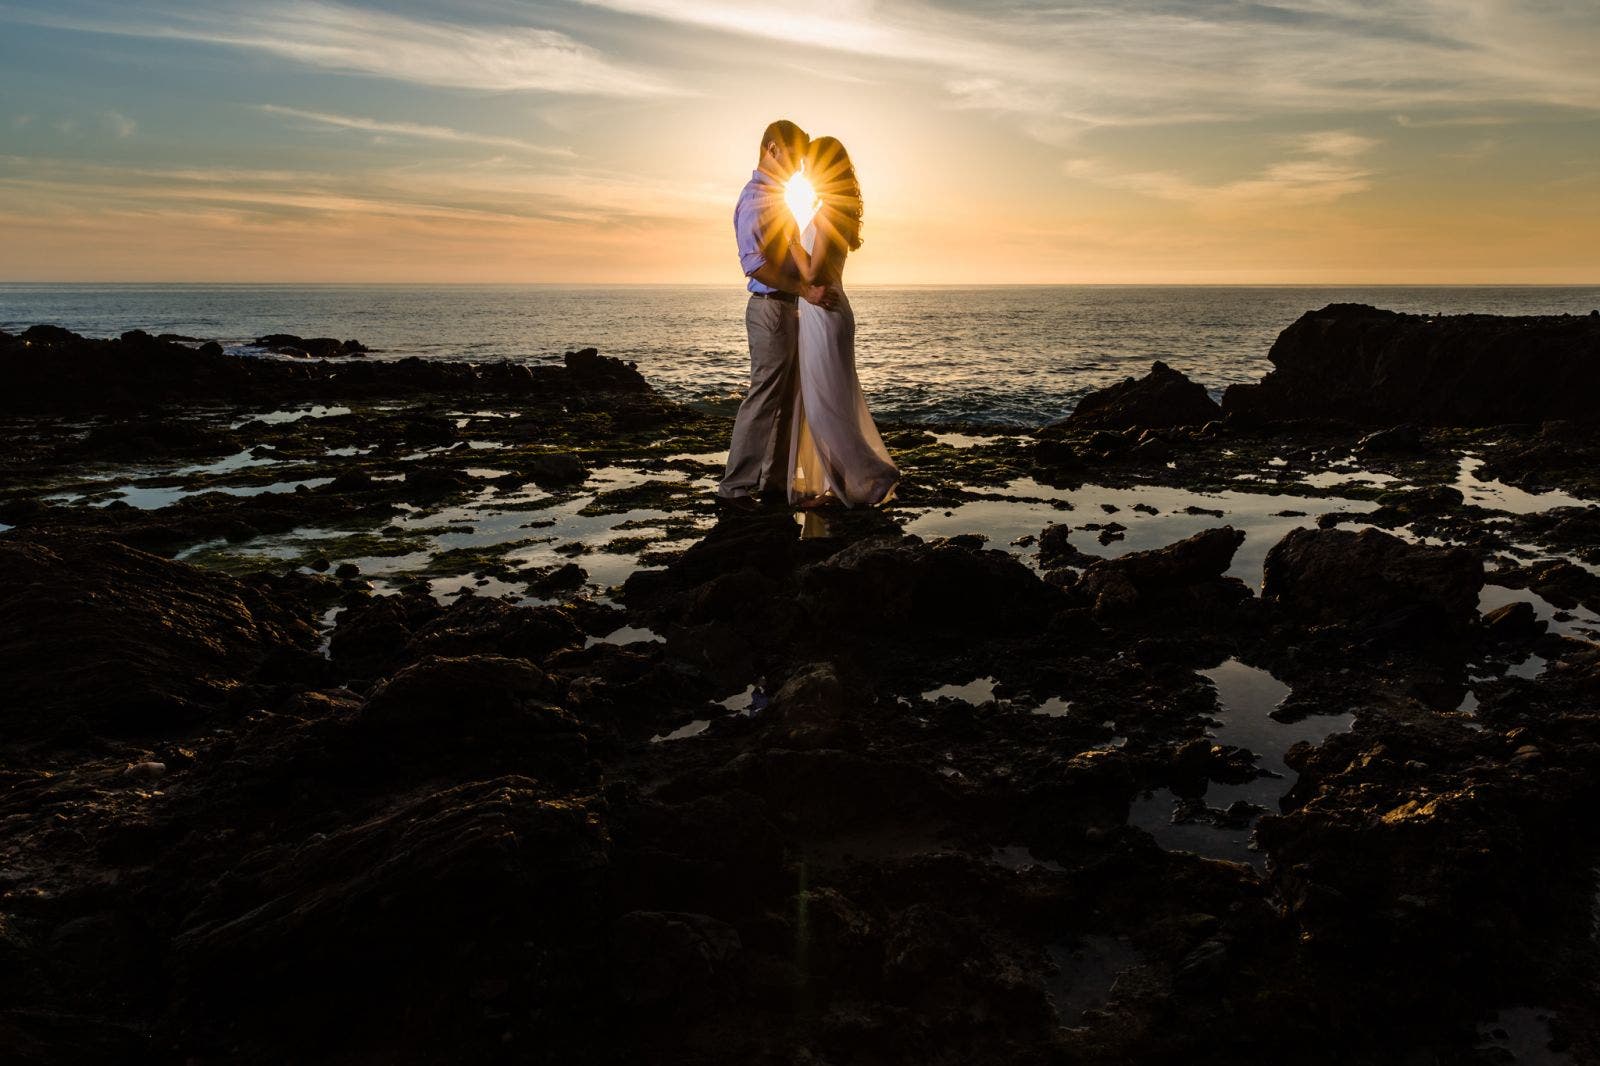
You also have the option of stopping down your aperture to change the shape of the flare (see the image above).
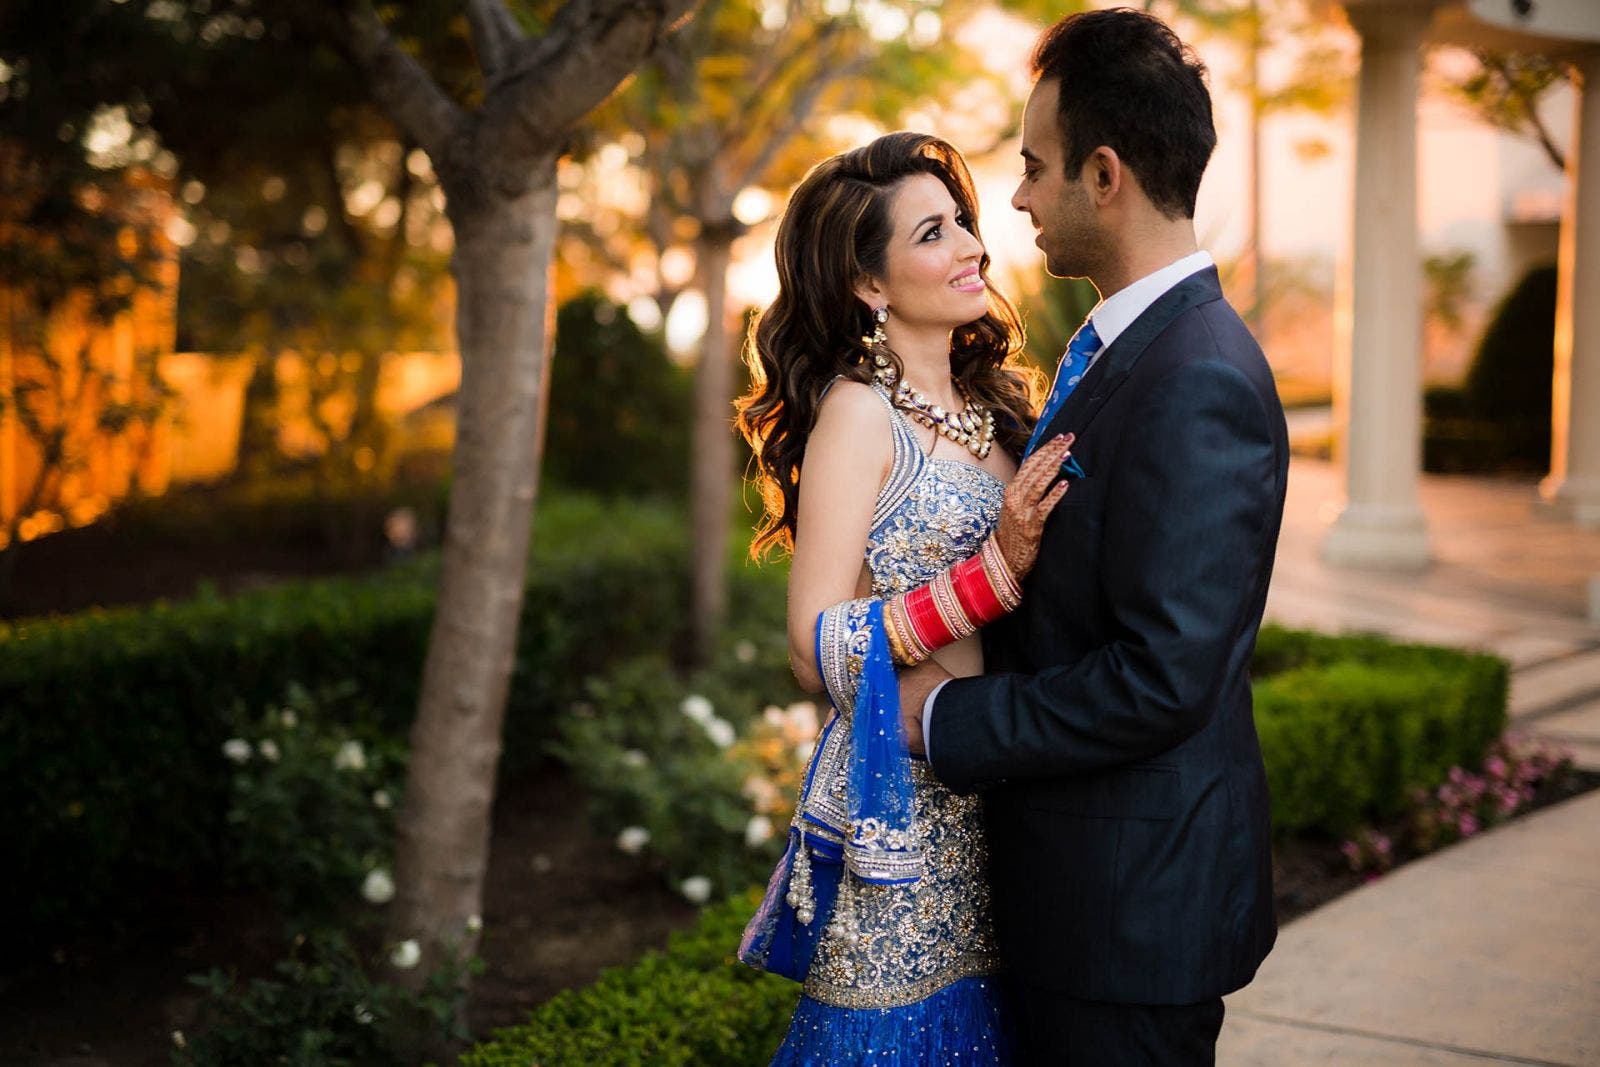
Tip #7: Re-Create the Sun when Necessary
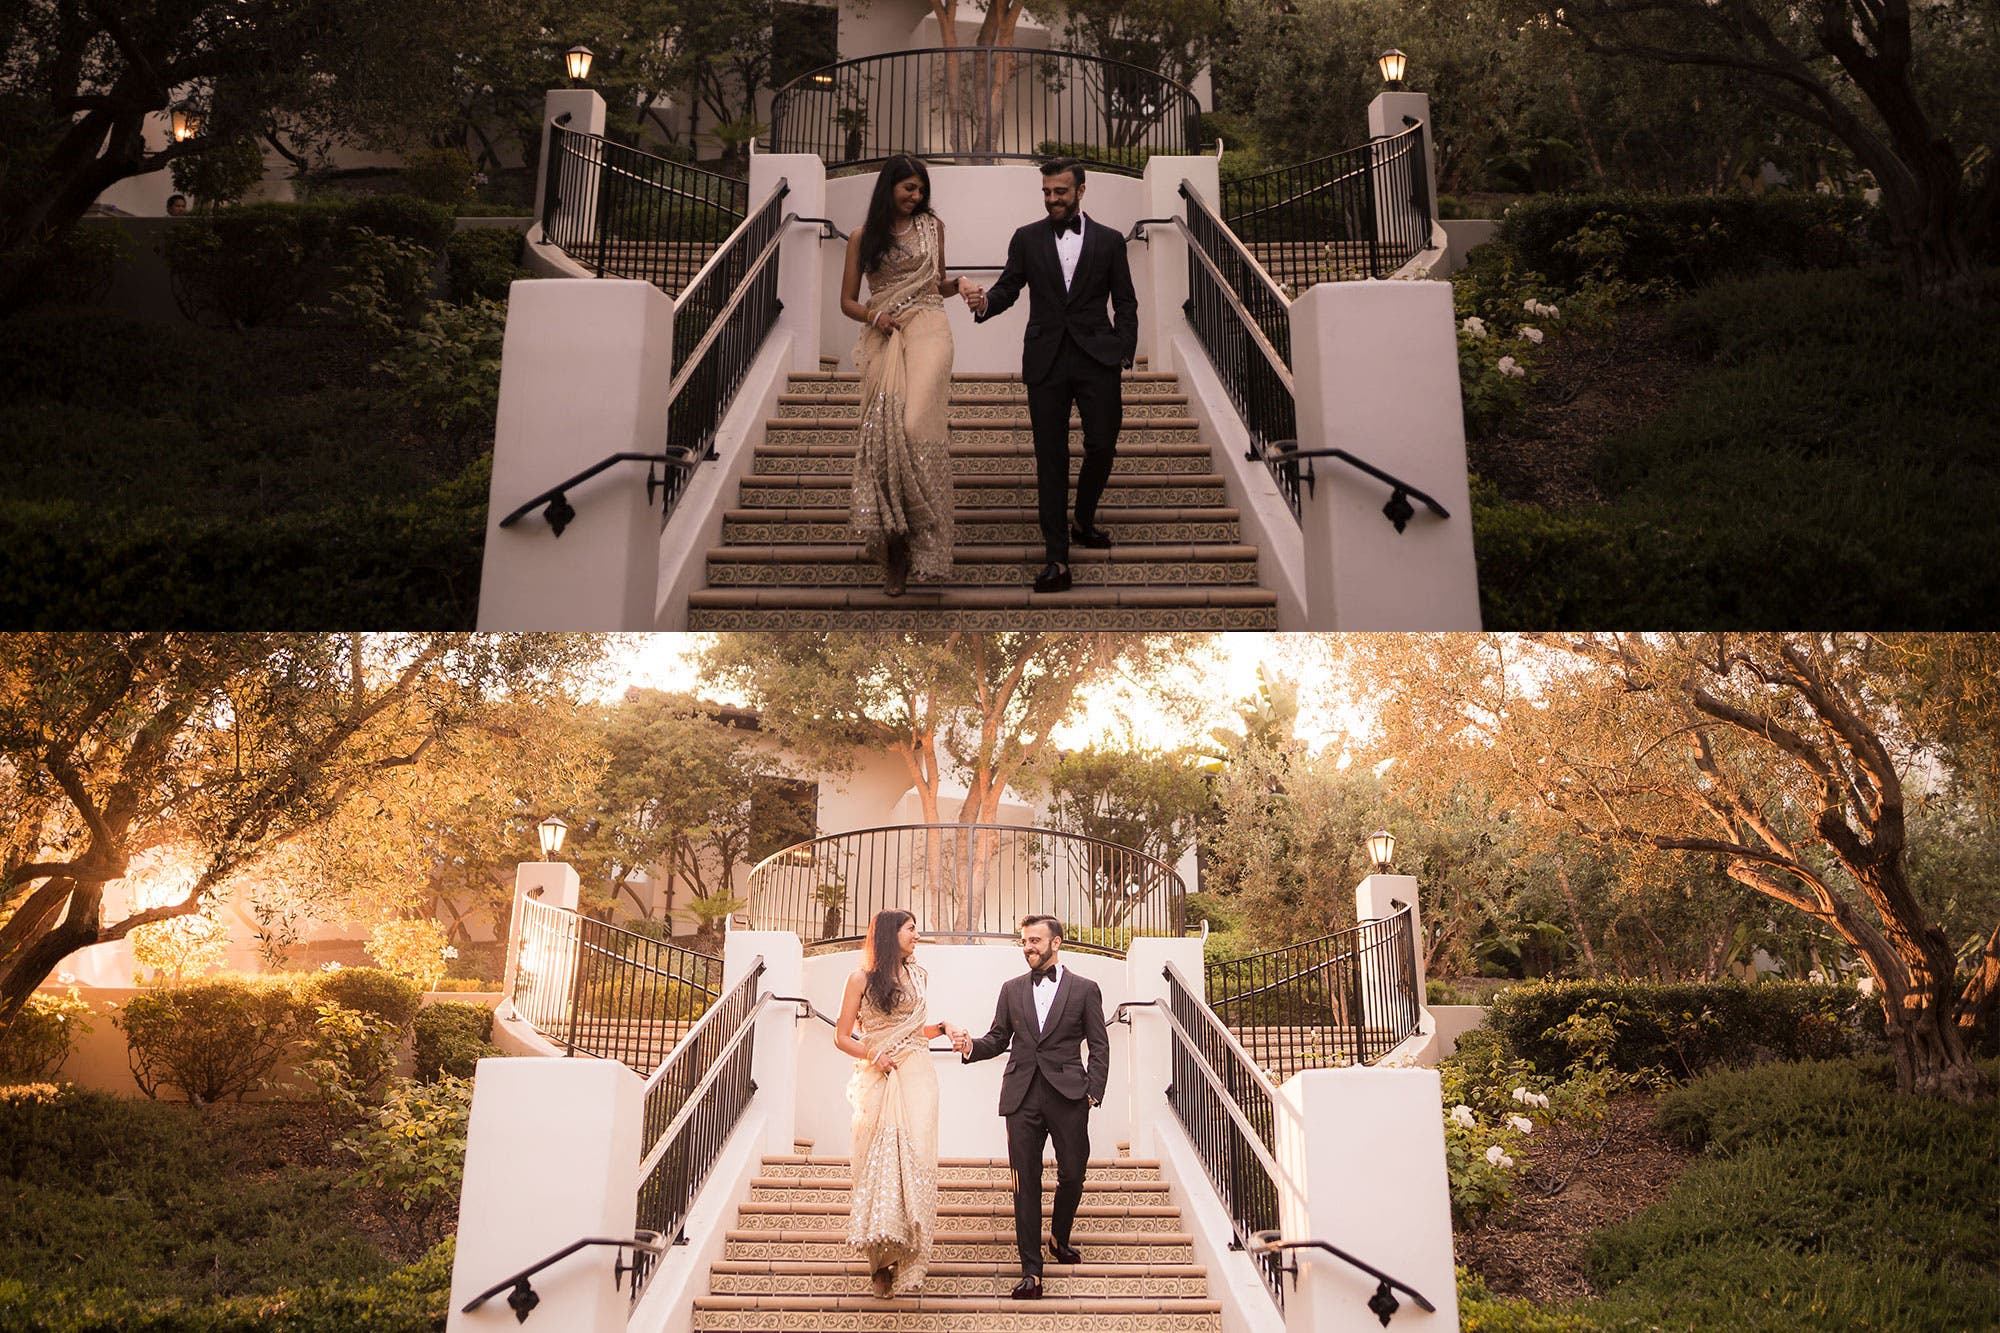
Sometimes, we simply do not have ideal lighting conditions and trying to capture natural light golden hour photos is not an option. That doesn’t mean, however, that we can’t re-create golden hour lighting on our own. With a basic detachable or external camera flash or off-camera flash equipment and these golden hour photography tips, we can convincingly re-create golden hour and capture images that will wow your clients every time.
Here’s a list of gear you’ll need (with multiple options) for re-creating golden hour in your photos:
Pocket Flashes
- Canon Speedlite 600EX-RT
- Yongnuo Speedlite YN600EX-RT
- Flashpoint Zoom Li-on X R2 TTL On-Camera Round Flash Speedlight For Canon (Godox V1)
- Profoto A1
Strobes
- Flashpoint eVOLV 200 TTL Modular Strobe (AD200 Pocket Flash)
- Profoto B2 250Ws Off Camera Flash (OCF) Head
- Profoto B10 AirTTL Off Camera Flash Head and Continuous Light
- Profoto B1X 500 AirTTL To-Go Kit, Flash Head, Battery, Battery Charger and Bag
- Flashpoint XPLOR 600 HSS Battery-Powered Monolight with Built-in R2 2.4GHz Radio Remote System – Bowens Mount (AD600)
Remote Triggers
- Canon ST-E3-RT Speedlite Transmitter
- Yongnuo Wireless Speedlite Transmitter
- Flashpoint R2 Pro MarkII 2.4GHz Transmitter for Canon
- Profoto Air Remote TTL-C Transmitter for Canon, 2.4GHz Bandwidth, 8 Channels, 3 Groups, Mini-USB
Accessories
- MagMod MagGrip for Flash Modifier System
- MagGel Standard Set
- MagRing
- Manfrotto Nano Plus 3-Section Light Stand
Light More than Your Subjects
Although the sun is relatively small in the sky, its reach is vast. It does not fall upon your subjects the way a focused off-camera flash does. Instead, it touches the trees and other structures that comprise the background in your frame. The wider your shot, the more real estate you’ll need to backlight.
This means you’ll likely need to use a more powerful flash when revealing more of the scene. To cover about 10-15 feet between you and the subjects (such as a bride and groom), you’ll likely need 50-150 watt-seconds, which you can achieve by using 1-3 flashes, or a single medium strobe. Whenever possible, use a tighter lens (85mm or 70-200mm) to compress the background and minimize the number of elements in the field of view. You want to avoid seeing areas of the image that your light did not cover.
Follow the Natural Light Direction
Even after the sun has set, the area in which the sun went down will remain the brightest area in the sky for some time. Be sure to place your light in that position relative to you, and shoot toward that direction. Doing so will allow you to more accurately represent the light you’d capture during golden hour.
Boost Your ISO
Simply put, boosting your ISO will make the sensor more sensitive to light and increase the effectiveness of your flash power.
Use a CTO Gel to Warm the Color of the Light
A bare bulb flash typically produces daylight color, somewhere around 5500 Kelvin. The golden hour hue is much warmer and compares more closely to Tungsten, which falls somewhere around 3200K. Adding a CTO (Color Temperature Orange) gel to your flash will allow you to warm up the light color for more realistic golden hour photos. Just be sure to take a test shot or two to check your white balance in camera and then make any necessary adjustments.
Control the Flare
This tip applies to natural light golden hour photography as well as off-camera flash photography. See tip #6 above for more pointers on controlling flare in your golden hour photos.
Bonus Tip: Use an ND Filter
If you find yourself shooting in the middle of the day but still want that golden hour look, it can be done. Add an ND filter to your lens to reduce the available light and then follow the tips above. You’ll need a bit more power from your flash to compensate for the darker exposure. The trick is balancing your flash power with your ambient light setting to achieve a convincing look. You can see how Mark Wallace uses an ND filter while faking golden hour in this video from AdoramaTV.
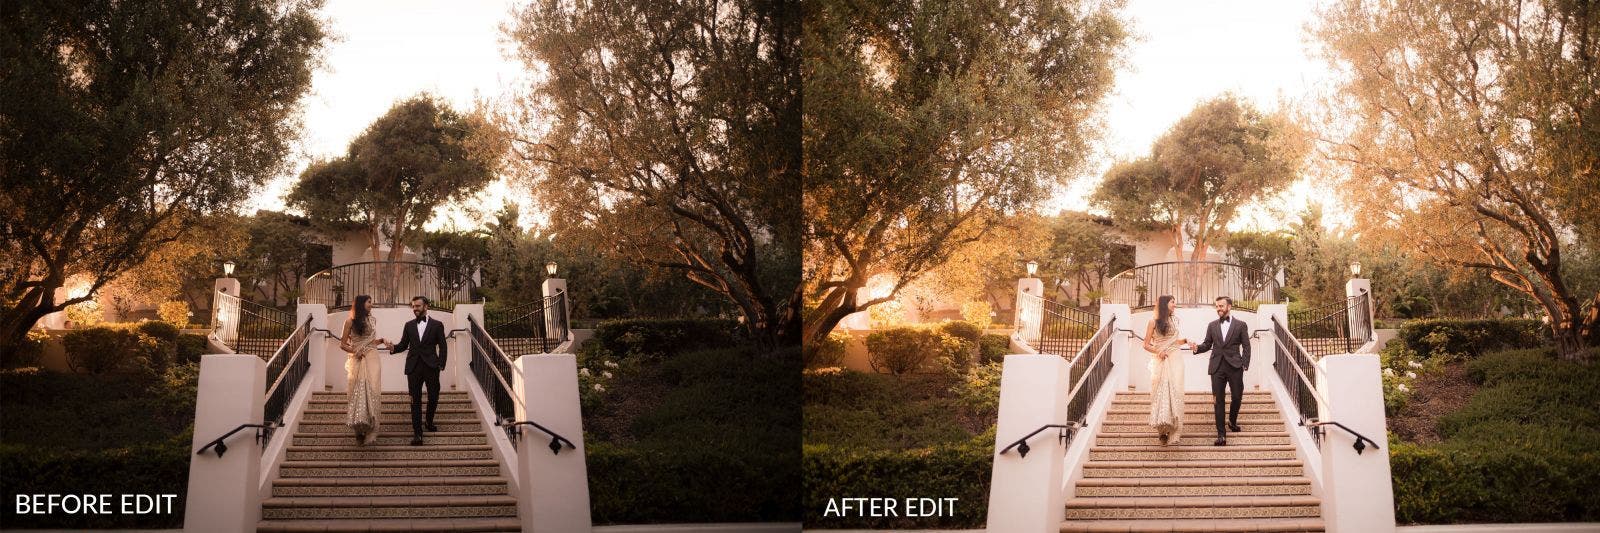
Tip #8: Finish Your Golden Hour Photos in Post
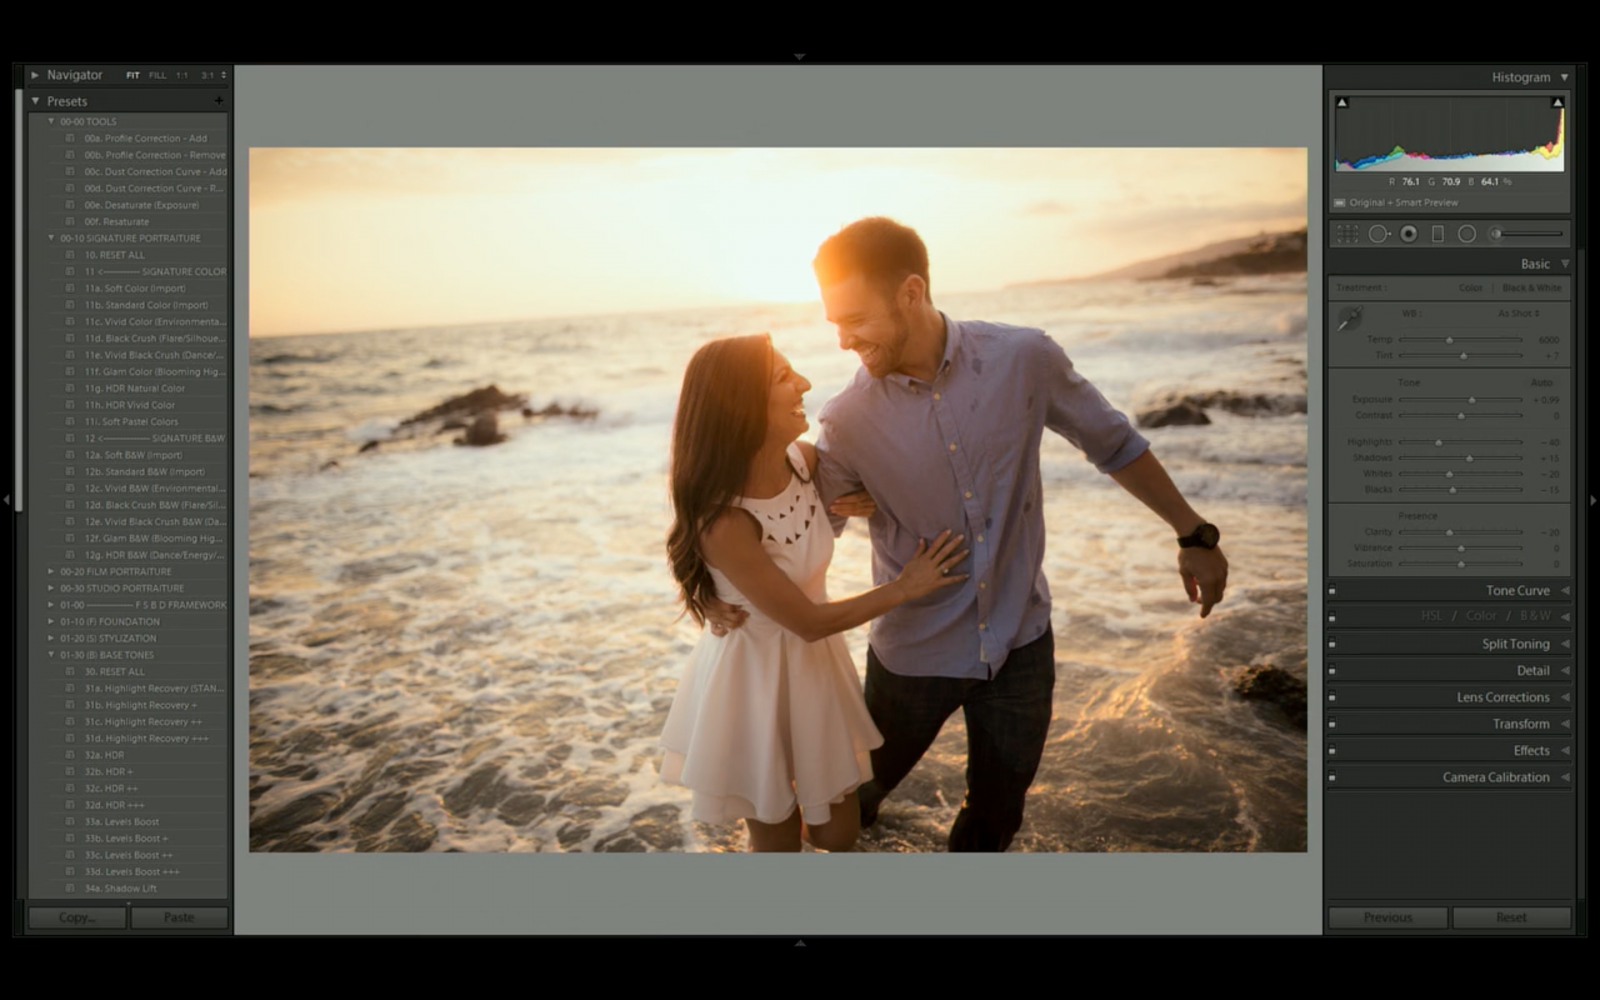
Whether you’re using natural light or off-camera flash in your golden hour photography, add some final touches in post. How much or how little you edit the photo will vary depending on how you shot it and what it needs. Most images, however, will benefit from at least a little touch up.
Here are a couple of quick tips for adjusting your golden hour photos in post:
- Bump up exposure to brighten subject’s skin
- Warm up the white balance
- Adjust the clarity and contrast to recover details on your subject if necessary (depending on the blooming effect of any flares that may be present)
- Apply a radial burn around the subject in tighter shots (use the radial filter tool and set the exposure to -.50 to start)
What Should Camera Settings Be at Golden Hour?
Because of the special qualities of sunlight at sunrise and sunset, golden hour photography requires attention to camera settings. First of all, for golden hour photography, you work with low light intensities and need a way to compensate. You can either open the aperture (use a smaller f-number) or slow down the shutter speed. Alternatively, you use a higher ISO value but pay attention to the noise. ISO 800-1200 should be the highest value you use for golden hour photography, depending on your camera.
Don’t take camera settings for golden hour photography for granted. For example, if you want a deep depth of field, you can’t use large apertures. You’ll have to keep the aperture in the middle of the range and adjust shutter speed or ISO to compensate for the lack of light. On the contrary, without a tripod, you can’t use slow shutter speeds because you’ll blur the photos. You’ll have to keep a fast shutter speed and adjust the rest of the parameters.
Conclusion
I hope you found these golden hour photography tips for magical photos helpful. Golden hour photography is in demand, and for good reason. It adds an incredible dynamic to portraits with its soft, golden glow. For those who prefer to (or exclusively) shoot with natural light, it’s hard to top the light quality of golden hour. Having access to this beautiful light for only a small fraction of the day, however, makes it necessary to plan accordingly. Fortunately, we can somewhat easily re-create this look when it’s otherwise unavailable. With a little effort, there’s really no reason to not deliver quality golden hour photos any time your clients request them.