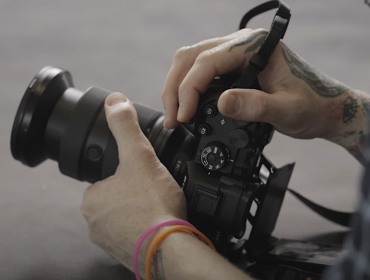
Sometimes a camera has a will of its own and manages to add elements to your composition you didn’t initially intend. And although ghosting in photography can be explained by the law of physics, such as reflection and refraction, it is nonetheless surprising and interesting.
It’s something you see only after you’ve taken the shot and is visible only in your photo — not in the scene you photograph. In most cases, ghosting is unwanted, but it may have an artistic quality that photographers appreciate. Therefore, it’s helpful to know how to predict it and set up your camera to produce it.
What is Ghosting?
Ghosting refers to elements that appear in a photographic image that look like a flare (a light symmetrically opposite to the real light source with orbs, shapes, and colors around it) or haze (a fog that spreads across the image and reduces its contrast).
The spread and intensity of the ghosting will vary from one situation to another, and are difficult to predict. The type and amplitude of the effects have to do with the lens’ geometry, camera position to the light source, shooting angle, light source intensity, and camera settings.

What Causes Ghosting?
Ghosting has one main cause: light reflection.
Light reflection is responsible for ghosting that produces both lens flare and haze effects. When a strong light source is in front of the lens or at an angle, chances are the lens will reflect the light into the scene. The camera will then capture it and it shows up as visible artifacts in the photo. Another possible scenario is to have a highly reflective object that reflects the light toward the lens.
The geometry of the lens (e.g., how many elements it has), lens coating, aperture, and focal length also influence the phenomenon as well and dictate the orbs, shapes, and colors of ghosting. For example, telephoto lenses are more prone to create ghosting than wide-angle lenses. Wide apertures also increase the chances of ghosting because they allow more light to enter the lens.
Low-quality lens coating is another factor that causes ghosting. Having a lens with many elements increases your chances of ghosting because there are more reflective surfaces. Also, dust, dirt, and grease spots on the lens may be reflective, which makes a dirty lens a cause of ghosting.
Ghosting and Motion Blur
Ghosting and motion blur are often confused because both produce a dreamy, blurred effect. However, ghosting is unintentional and unwanted most of the time and is caused by light reflection. Motion blur, on the other hand, is intentional most of the time and is caused by photographing moving subjects at a slow shutter speed (long exposure). The result is also aesthetically different. Ghosting creates a soft haze that blurs the subject, while motion blur duplicates the subject or its moving parts.
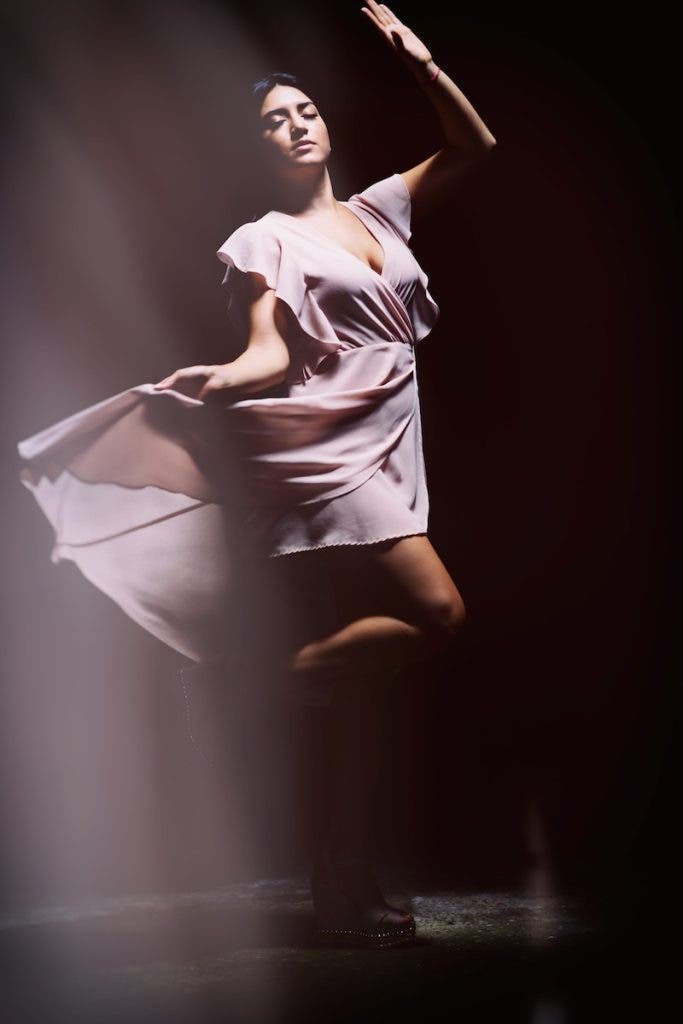
Ghosting may be emphasized by long exposures. By prolonging the exposure, you get more light into the lens, smooth surfaces, and intensify the light source.
There is also a third effect, which is neither ghosting nor motion blur but looks like them. For artistic purposes, photographers overlay two or more different exposures and make one of them transparent and ghost-like. It’s usually used to convey spirituality, remembrance, or dreams.

How to Prevent Ghosting While Shooting
Changing the shooting angle and the camera position relative to the light source are the most common methods to prevent ghosting. With a digital camera, you can quickly preview your photographs and make adjustments to get rid of ghosting effects.
As a rule, avoid pointing the camera directly at the light source. If the light source is still in front of the camera but at a slight angle, a lens hood may save your photos. If you don’t have a lens hood, try blocking the light with anything you have at hand, such as a tree branch or trunk, your hand, a hat, etc.
Avoid shooting through glass (e.g., windows) when sun rays come straight through it. Framing highly reflective objects may create flares (e.g., water, metal, and glass surfaces).
Also, ensure you use high-quality lenses with anti-reflective (AR) coatings that prevent any flare issues, fewer inner elements, internal focusing, and short focal lengths. AR coatings add a thin layer of refractive material onto the surface of the lens and reduce reflections. Having fewer lens elements also reduces the number of optical elements that reflect the light. Internal focusing means the lens doesn’t move during focusing, which also prevents reflections.
If you have filters mounted on the lens, take them off because they are additional optical elements that can reflect light. Remember to thoroughly clean the lens and remove any dust particles, dirt, or grease.
Narrow apertures (high f-numbers) help too. They allow less light to enter the lens and reduce reflections. However, avoid using slower shutter speeds to compensate for narrow apertures. Instead, slightly increase the ISO value. All these camera settings require switching the camera to manual mode. Don’t use any automatic or semi-automatic mode because the camera won’t be able to make the right decision.
How to Fix Ghosting in Post-Processing
If you can’t help but take a photo with ghosting, you can still make it work in post-processing. Advanced photo editors, such as Photoshop or Affinity Photo, provide all the tools you need. However, the result depends on the spread and color of the ghosting and the scenery’s detail level. Don’t expect to be able to fix any ghosting in any image or fix it using just one tool. Often, you need to apply several corrections before arriving at a satisfying result. Here are some tools to try when fixing ghosting in post-processing:
Clone Brush Tool
This tool allows you to use pixels from near the ghosting flare to cover the artifact. It’s useful when the area you need to cover is small, compact, and relatively similar to the surroundings. To use the Clone Brush Tool in Affinity Photo, select it from the Tools panel, set width, opacity, and flow, select a source by pressing the Alt key and clicking on the desired pixel, and then brush over the ghost. This works — more or less — similarly in Photoshop.
Healing Brush Tool
Similar to the Clone Brush Tool, the Healing Brush Tool uses pixels from near the ghosting area to cover it, but it is much softer and adaptable to the image content. It’s useful when you want to remove a large ghost or clear a detailed area. To use the Healing Brush Tool in Affinity Photo, select it from the Tools panel, set width, opacity, and flow, select a source by pressing the Alt key and clicking on the desired pixel, and then brush over the ghost. Again, you can also do this in Photoshop.
Inpainting Brush Tool / Remove Tool
This tool does everything by itself. It is content-aware and designed to remove imperfections by reconstructing the image from information gathered from the surrounding area. To use the Inpainting Brush Tool in Affinity Photo, select it from the Tools panel, set width, opacity, and flow, and then brush over the ghost. In Photoshop, it is called the Remove Tool.
Haze Removal
Affinity Photo provides a filter for removing haze, which can be helpful when the ghosting effect affects a large area. All you have to do is select Haze Removal from the Filters menu and set distance, strength, and exposure correction. If you don’t want to apply the filter to the entire image, you can work with layers and masks and remove the haze only from the affected area. In Photoshop, the equivalent tool is hidden as an Adobe Camera RAW filter, as the Dehaze slider.
Conclusion
Most of the time, ghosting is considered a mistake. In essence, it is an unwanted reflection usually produced by the lens that manages to get into the frame. Photographers try to prevent it when shooting or remove the effect in post-processing using tools such as Clone Tool and Content-Aware Fill.
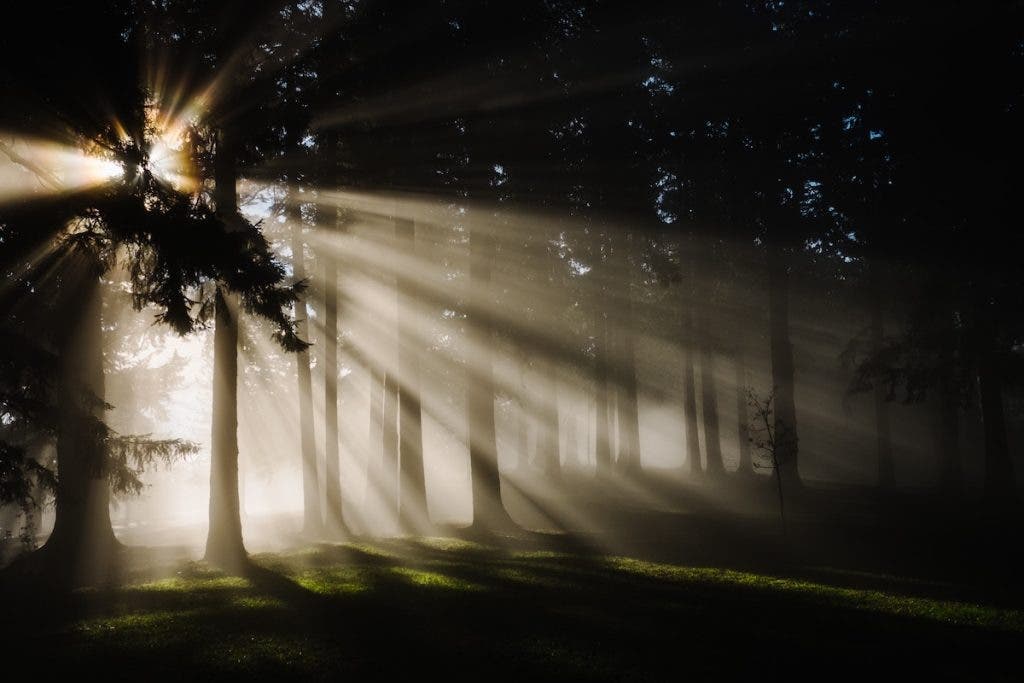
But something is appealing about it that makes us embrace it for artistic purposes. Especially when it’s produced by sunlight, ghosting is warm and nostalgic. It has something from nature’s energy and conveys joy and optimism. Those bright flares and haze create an atmosphere and send us dreaming of summer holidays, endless forests and fields, and fairytales. So don’t close all the doors to ghosting. Understand how it works and why it appears and learn how to prevent it, but keep in mind that you can use it when in need of a magical mood. Not all photographs have to be technically perfect.
