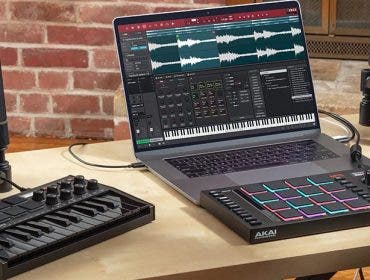
GarageBand is a fantastic program for writing and recording music and audio. It includes a massive sound library with a wealth of different instruments, synthesizers, drum kits, and more.
Most Apple devices come with GarageBand preloaded. Whether you’re using an iPhone, an iPad, or a MacBook, you’ll be able to start taking advantage of GarageBand’s digital audio workstation right away.
If this is your first time using the software, here are a few simple steps to follow while you create your first GarageBand project.
1. Launch GarageBand

Find the GarageBand app on your macOS or iOS device. If GarageBand didn’t come preloaded on your device, you can easily download it for free from the Mac App Store. Once you download and install it, double click the icon to launch the program.
If you’ve never opened GarageBand on your device before, it will ask if you’d like to download a collection of Apple loops and samples. It’s a good idea to do this so you have access to some great free content.
2. Create a new empty project
When you first open GarageBand, you’ll see the New Project window pop up. In this window, you can choose to explore instrument collections, create voice tracks, or create an empty project. An empty project is the ideal starting point for new GarageBand users because it doesn’t preconfigure the sound or style of your track. Every detail is up to you.
Once you double click on Empty Project, GarageBand will prompt you to add an instrument. You can select Software Instrument for a digital instrument like guitars or keyboards, Audio for recording with a microphone or line input, or Drummer for adding a drumline to your musical creation.
For the purpose of this GarageBand tutorial, let’s select Software Instrument and move on to the next step.
3. Exploring GarageBand’s workspace
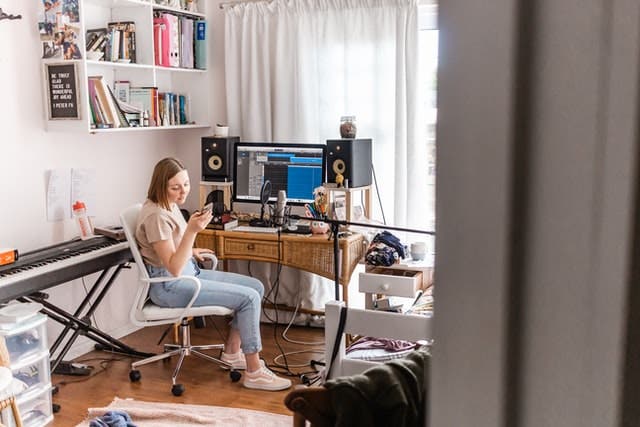
For first-time users, the workspace may seem overwhelming, but it’s actually very intuitive once you figure out where everything is and what it does.
The Musical Typing Keyboard
The first tool you should explore is the Musical Typing Keyboard. It will usually pop open on its own when you view the workspace, but if you don’t see it, use the Command+K keyboard shortcut to open it. Because it’s a floating window, you can drag it to any location you prefer.
The Musical Typing Keyboard lets you use your regular keyboard to play piano keys. Or, if you’re using a device with a touchscreen, you can tap the keys right on the screen to play. If you own a USB MIDI keyboard, that’s another great option for controlling the Musical Typing Keyboard.
The Library
On the left side of the screen, you’ll see another important component of your workspace: the Library. This is where you’ll select the instrument you’d like to play. By default, GarageBand selects the piano, but you have lots of other options to choose from. Select the instrument you’d like to play first.
The track list
The track list will be visible next to the library sidebar. As you add each instrument, it will be added to the track list so you can visually keep track of all of your instruments, loops, beats, etc.
The menu bar
At the top of the screen, you’ll see a menu bar with lots of controls for recording music and playing it back. This is where you’ll find the record button, play button, rewind button, metronome, and other useful tools and controls for your digital recording studio.
4. Start creating music
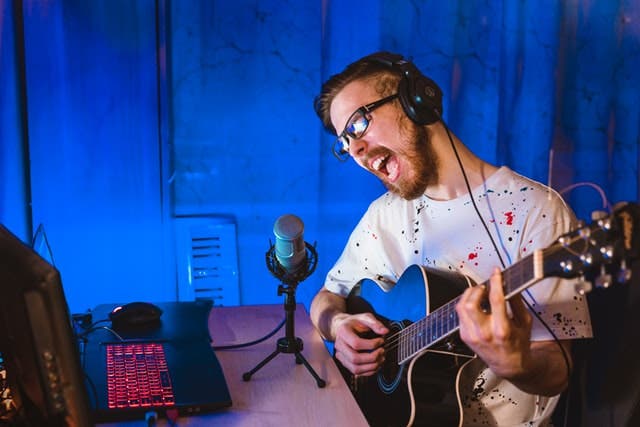
While there are a few different ways to make music in GarageBand, the easiest is by playing with the free samples Apple includes with the software. Click the Loop button in the top right corner of the menu bar to open the loops collection. Click loops to preview them before adding them to your track.
Once you’ve found the loop you want to use, drag it to your project, and GarageBand will create a new track for the loop. From here, you can add additional instruments to go with your loop. Try using the Musical Typing Keyboard to add a piano line to your track, or select a drum beat from the library to add drums to your composition.
Most users find GarageBand to be an easy program to use after a little practice and experimentation. The more you play with it, the better you’ll get. To learn how to record guitar on GarageBand, check out the Adorama Music Youtube video below.
