You can take bird photos with everything from your smartphone all the way up to a DSLR or mirrorless camera. Don’t forget your lens, as well. Bird photography requires dedicated equipment that can handle the fast movement of these avian creatures.
Bird Photography Equipment
When it comes to a lens for bird photography, go with one that has at least 300mm. When it comes to cameras, look for one which has decent frames per second (FPS) rate and if it’s a point and shoot camera, an optical zoom of at least the equivalent of 600mm as compared to a 35mm camera. You’ll find this information in the spec sheets for each camera.
Bird Photography Basics
Now that we have the equipment done let’s talk about the basics. As simple as this may seem, get to know your camera. What I mean is read the manual and learn all the functions your camera is capable of. Once you have that down there are several things to consider in order to make a good picture.
Shooting Modes
You’ll notice that most of the cameras give you several choices. Often there’s landscape, sport, program, shutter priority, aperture priority and manual modes. I know it seems confusing. To get started I would recommend using program mode. The camera will choose both the aperture and shutter speed for you based on available light. It will usually do a very good job for you.
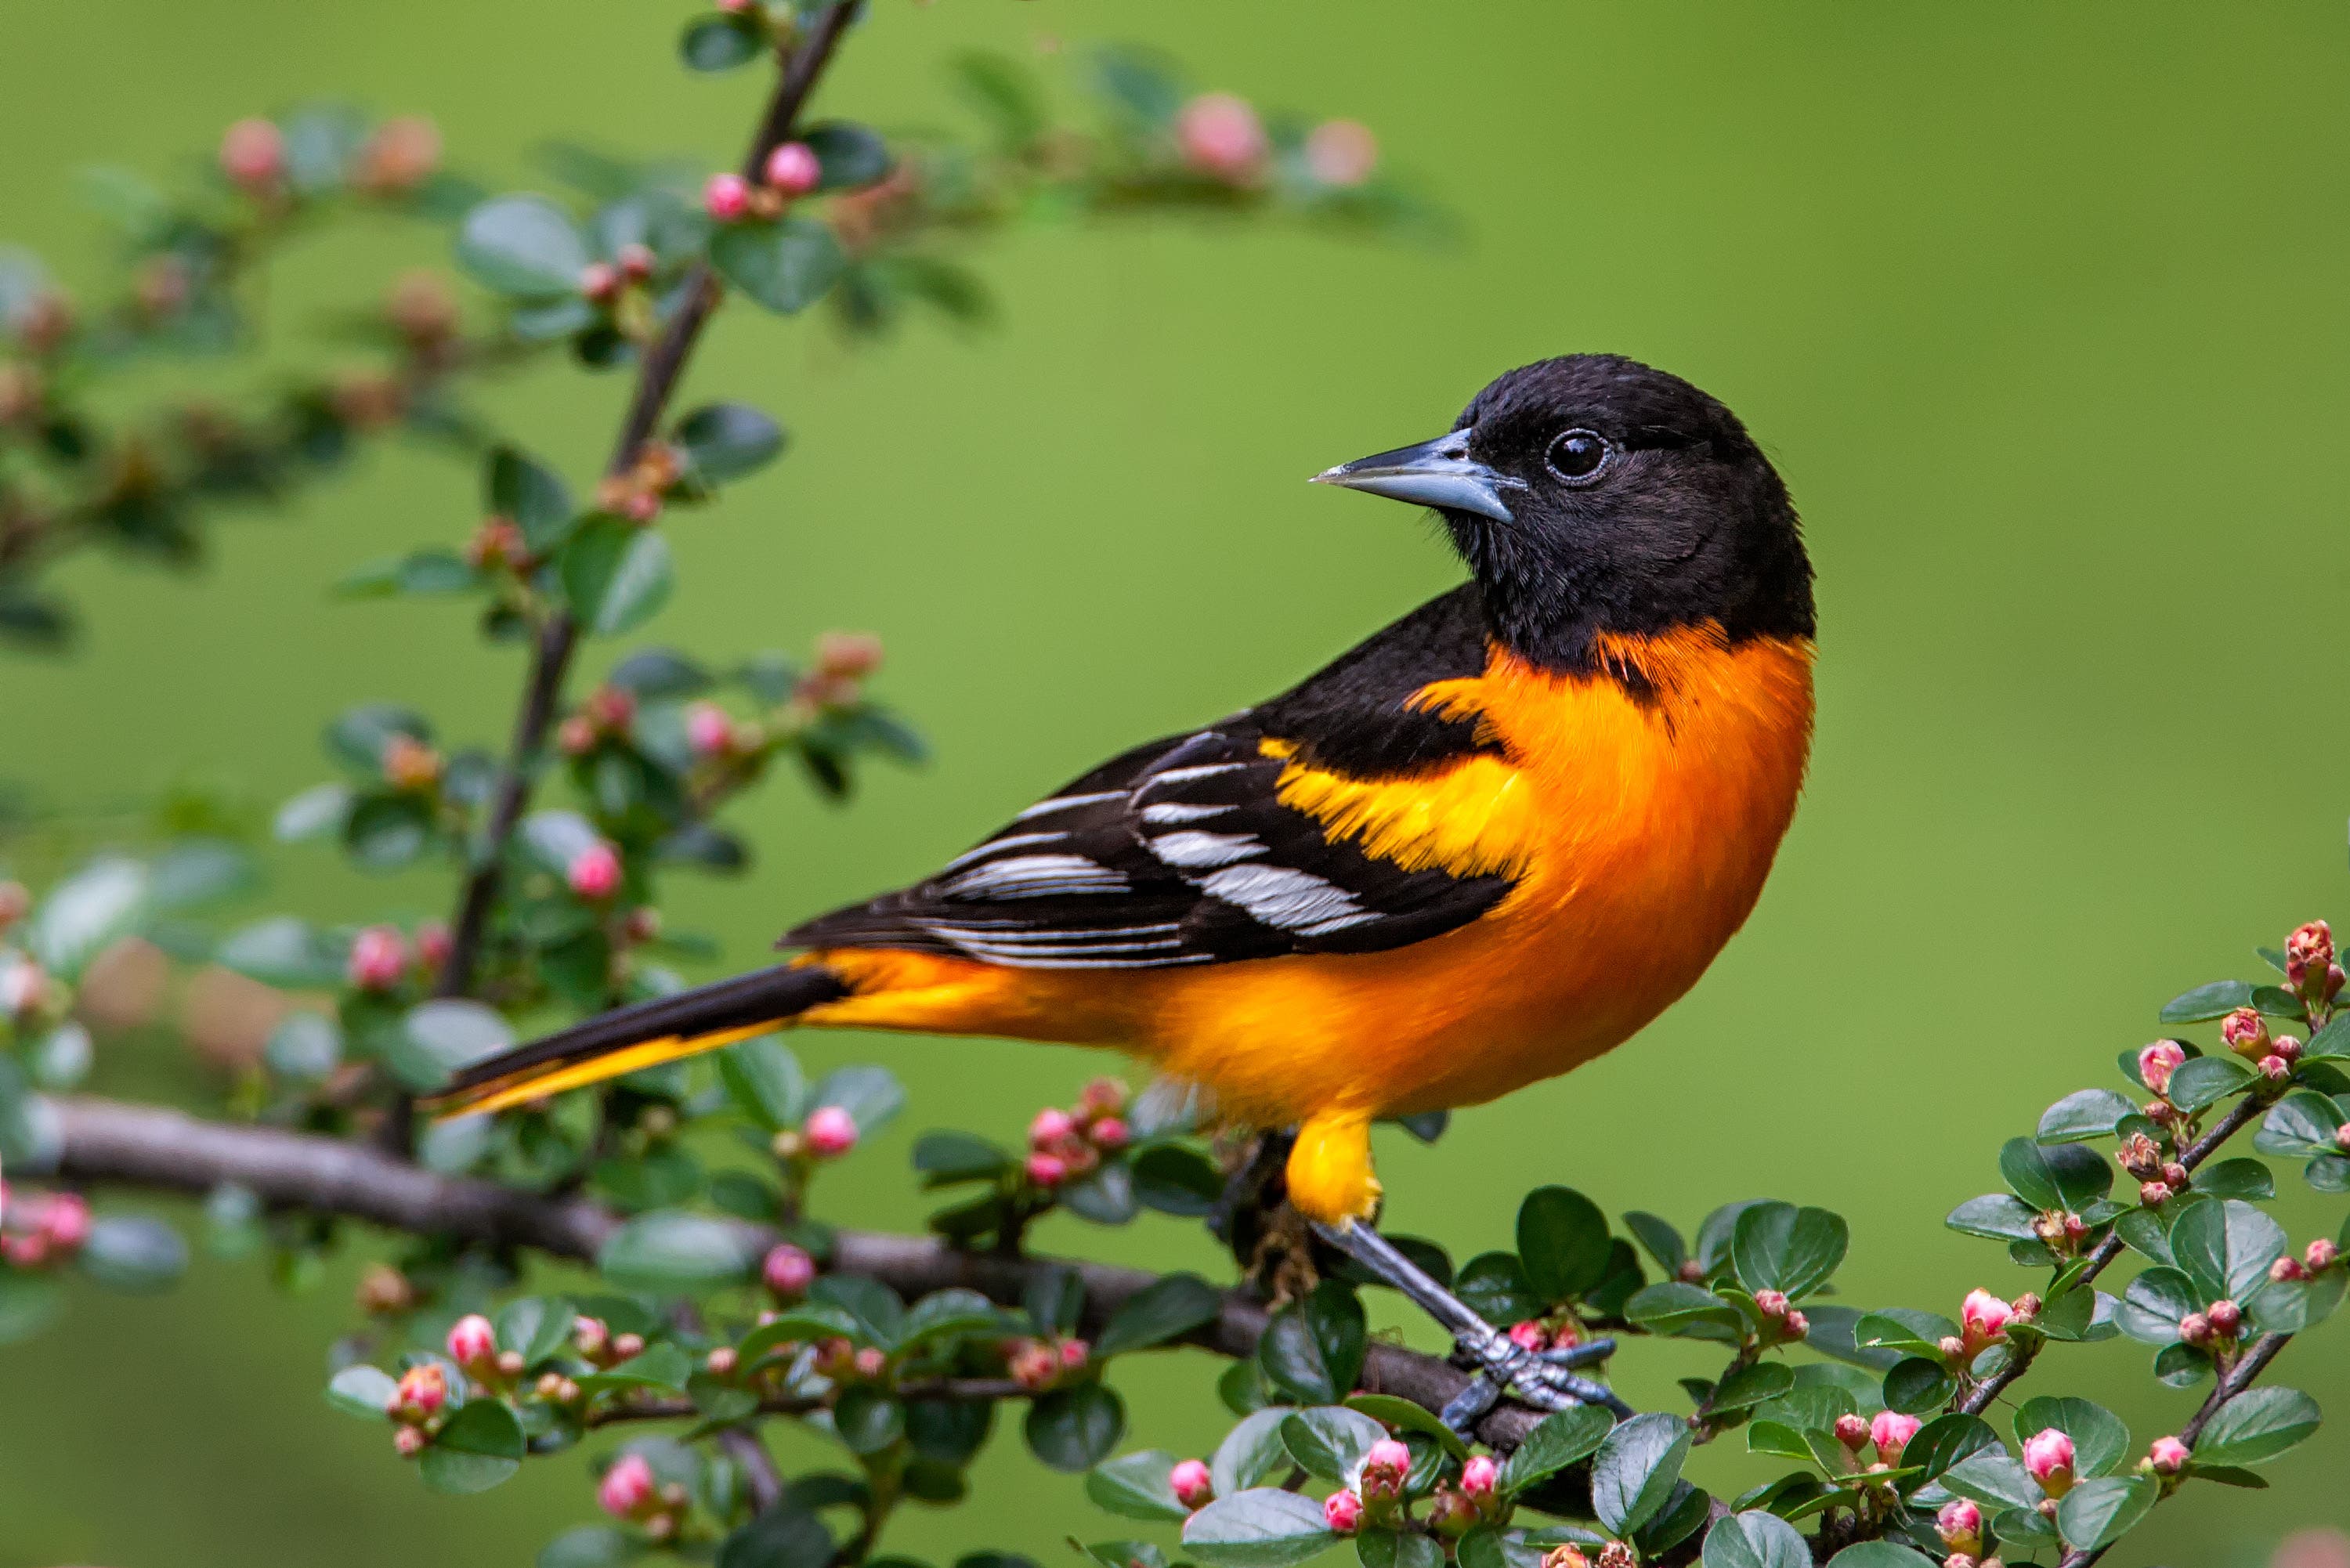
Let’s talk about aperture and shutter priority modes. Personally of the two, I’d use Aperture Priority. When using this mode, you’ll choose which aperture you want and the camera will choose the shutter speed. This is really good for taking creative photos, as you can figure out how much depth of field you want. In bird photography blurred backgrounds make the subject stand out more. To achieve this look you need to open up the lens as much as possible. By this I mean go to f/2.8 to f/5.6. On the other hand, stop it down to f/11 to f/16 to get a lot of DOF.
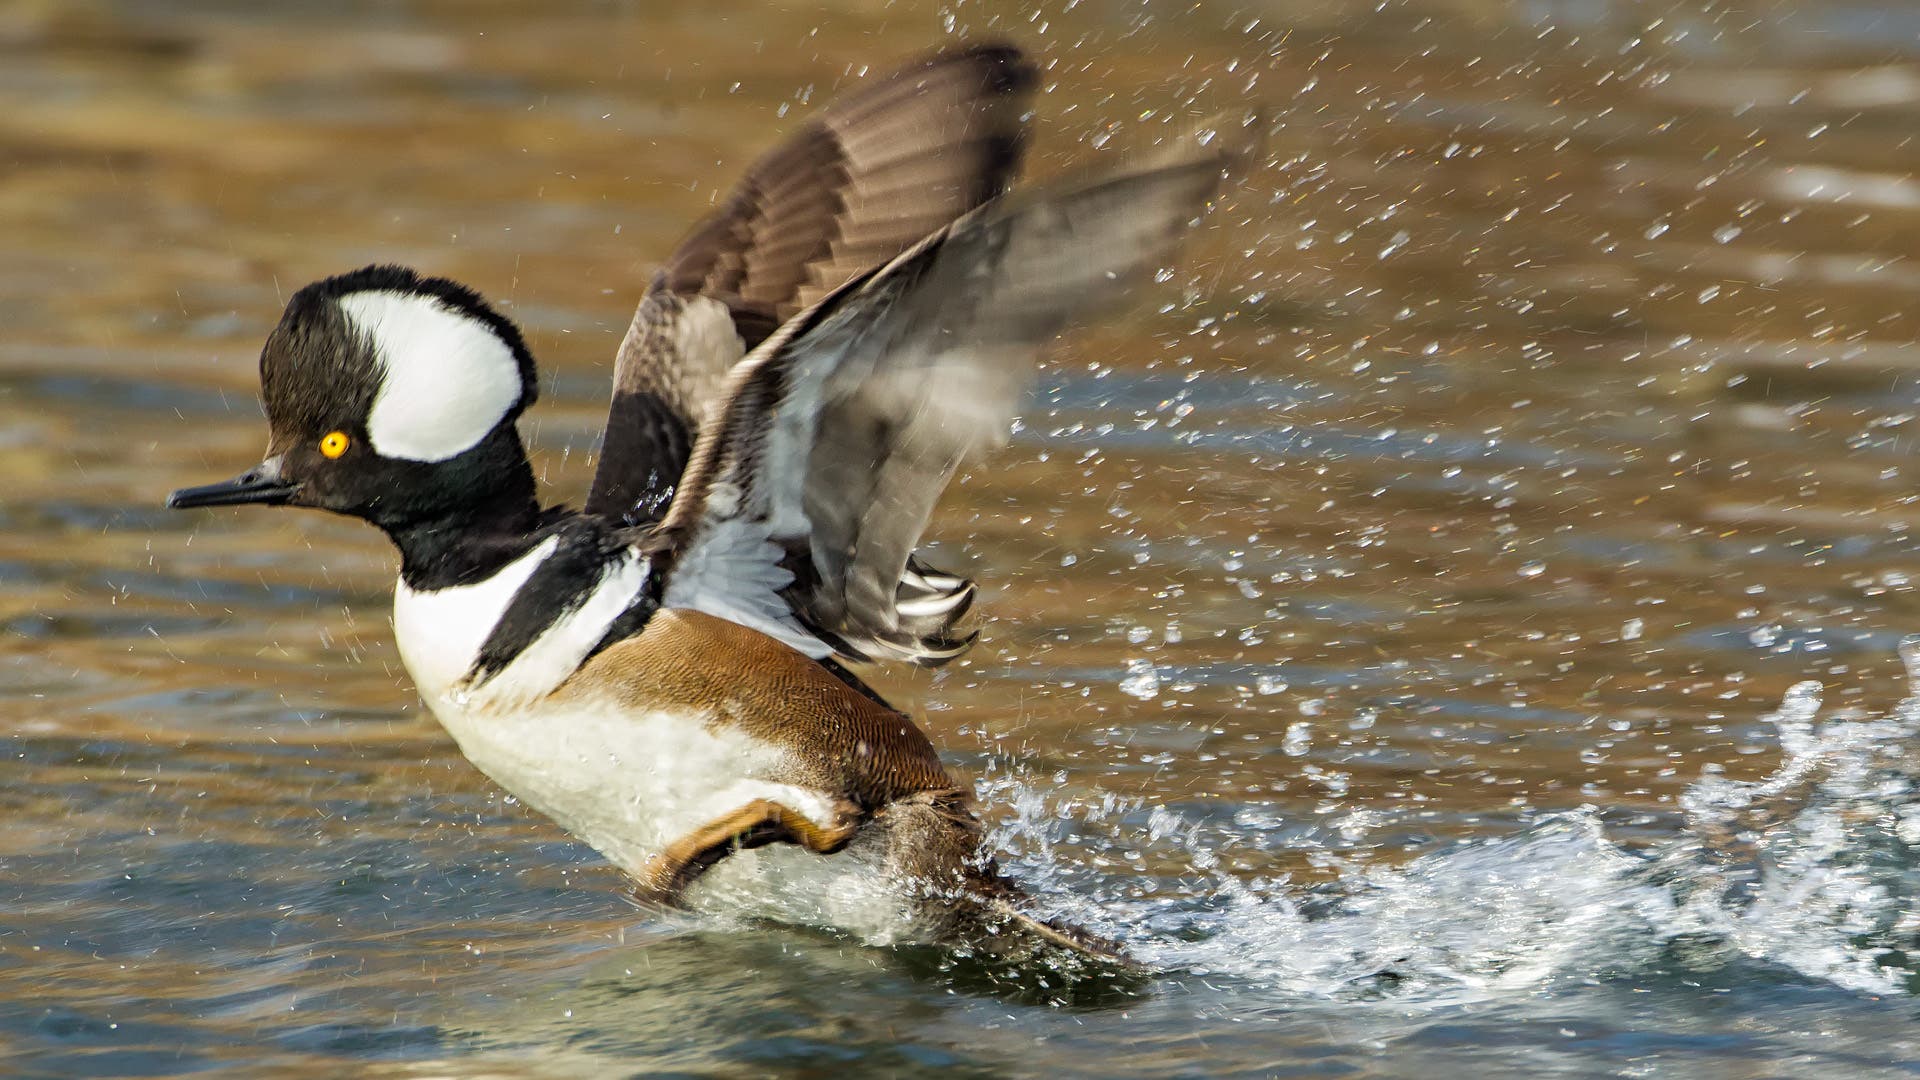
Shutter priority is the opposite. You choose the shutter speed and the camera will choose the aperture. This is good if you’re shooting fast moving objects that you want the camera to freeze.
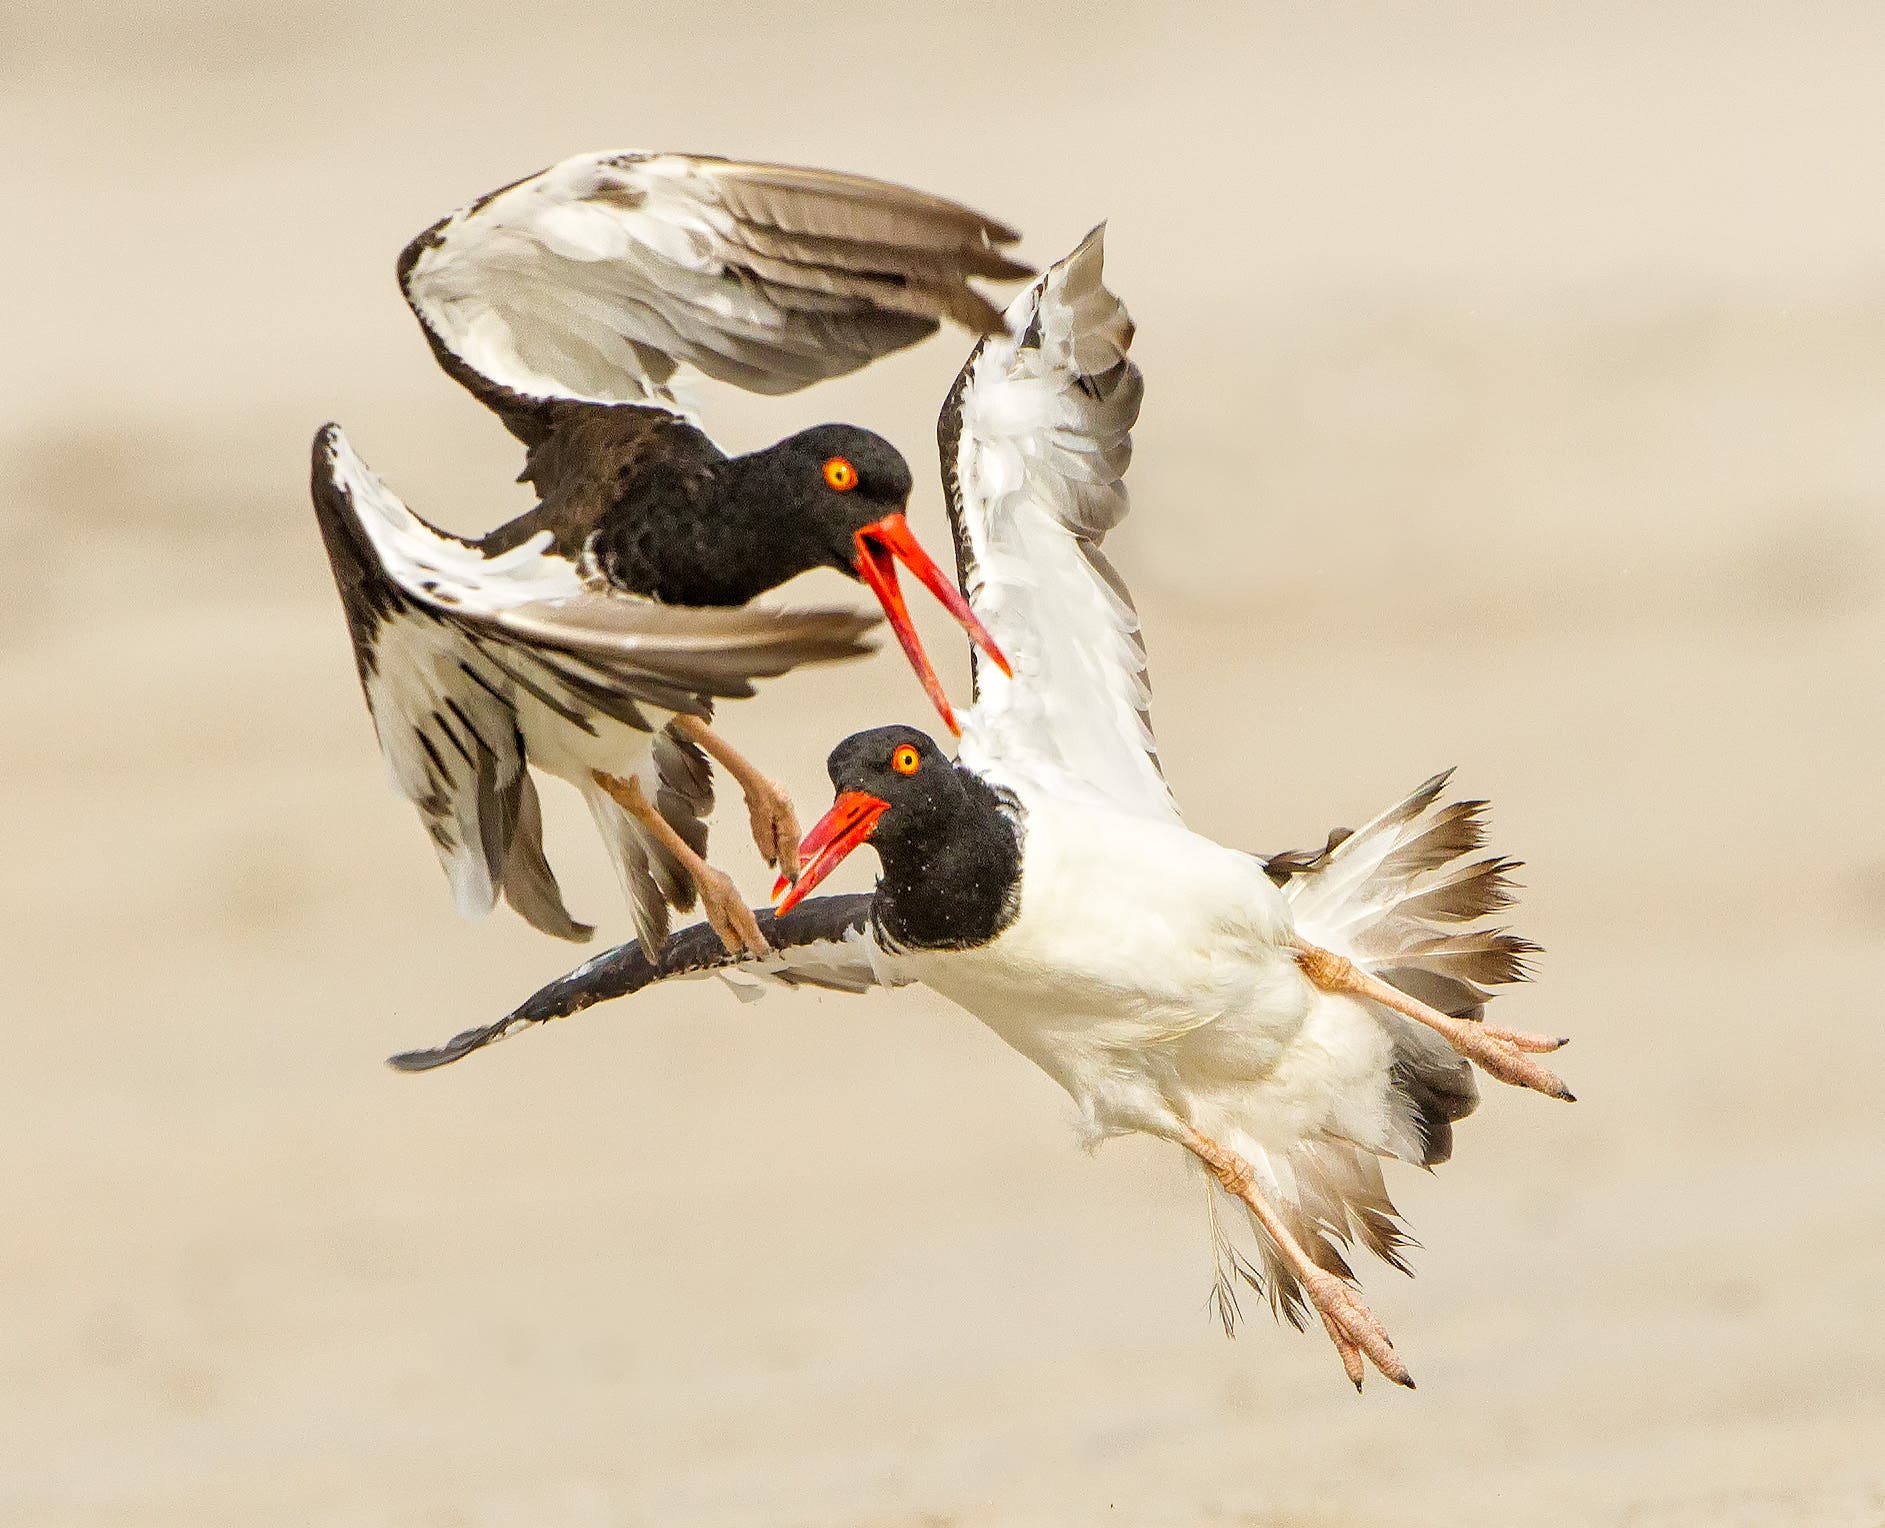
Although I shot in Aperture Priority for many years, I switched to manual mode. This gives me the complete creativity I strive for.
ISO
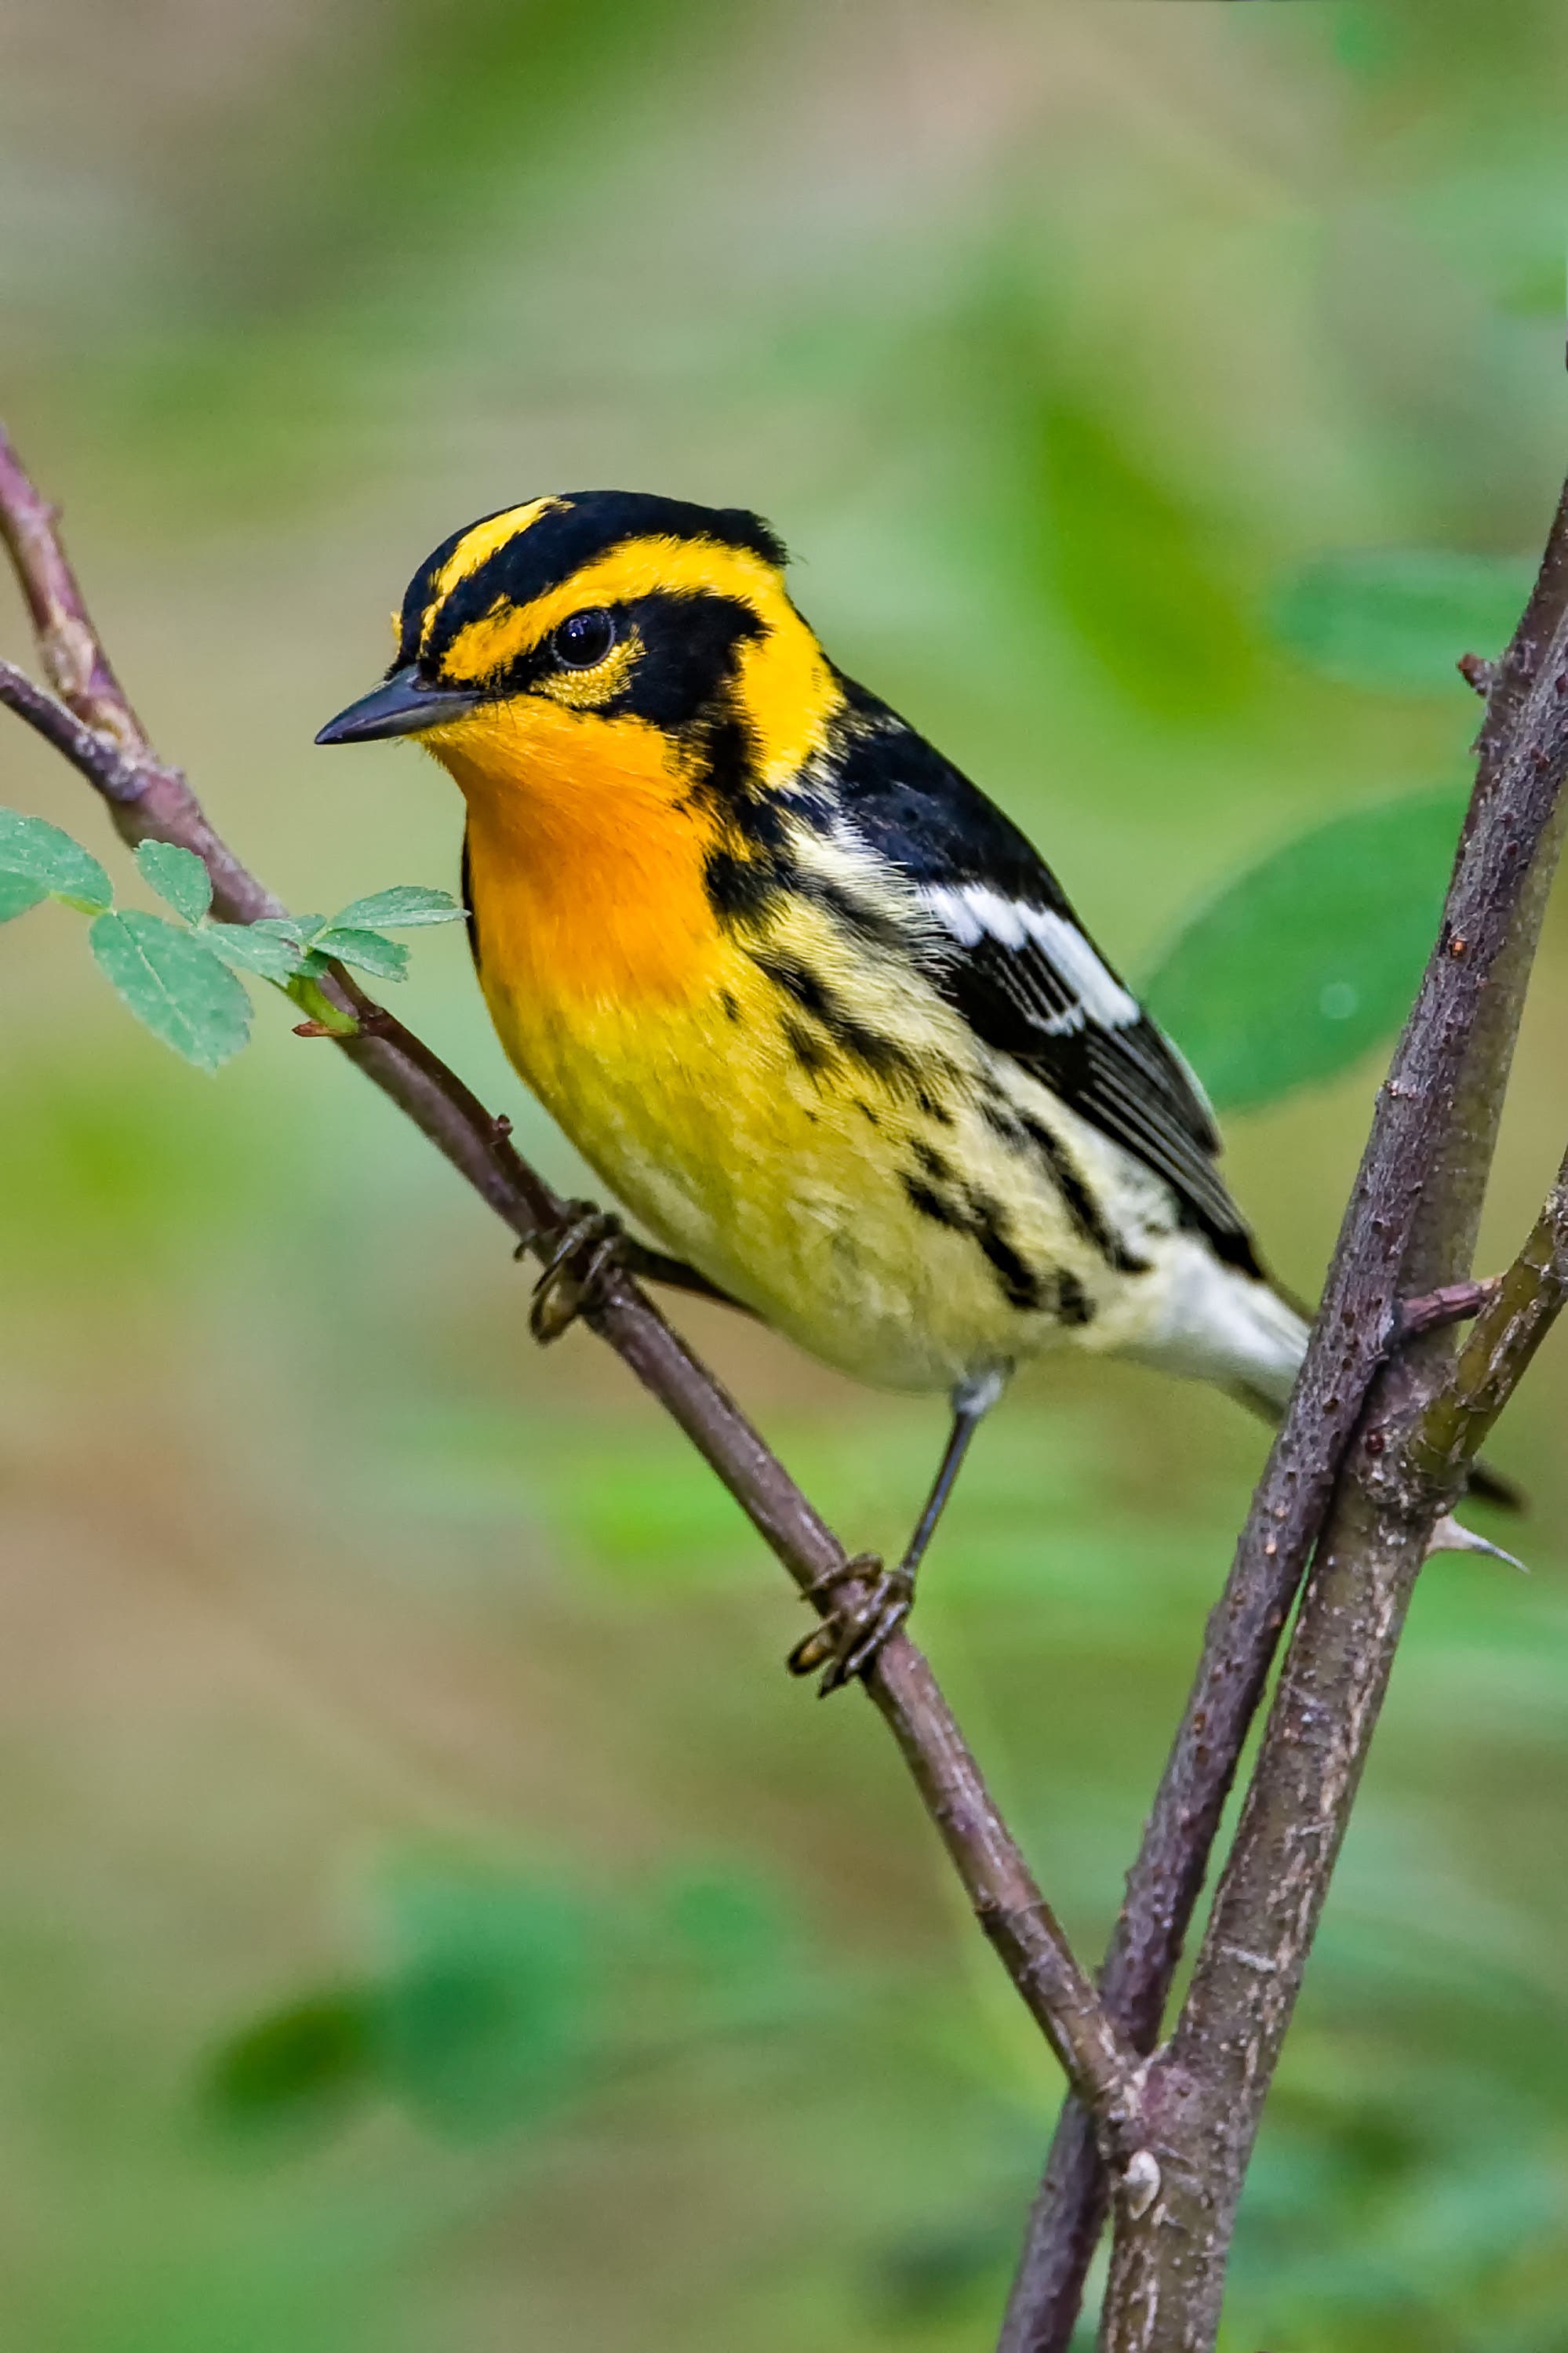
Now we’ve talked about shutter speed and aperture. There’s a third factor in getting a properly exposed image and that’s ISO. Most of today’s cameras can go as high as 400 ISO and many can go to 800 to 1600 without creating much noise. Noise is what used to be known as grain in the old film days. Simply put ISO relates to the sensitivity of the image sensor. The lower the number the less noise you’ll have. Going to higher numbers affords you more speed in low light situations.
JPEG vs RAW
I know this article is mostly technical but we have one more thing to go over. This is the dreaded JPEG vs RAW discussion. If you’re just taking snapshots then by all means shoot JPEG. It uses much less of your available memory. Just be aware that the camera is basically throwing away information that it deems non-critical in order to reduce the size of the file. In most cases, you won’t realize it. If you’re shooting subjects that you want to work on in Adobe Lightroom or Adobe Photoshop (there are other programs available as well) to fix missed exposure etc. then you’ll want to shoot in RAW. Don’t be intimidated. It only requires one extra step. Use a RAW converter like Lightroom to convert the image. Here all your pixels are intact and you’ll have a much wider latitude in the things you can do in processing your images.
Bird Photography Tips
Now for the non-technical info:
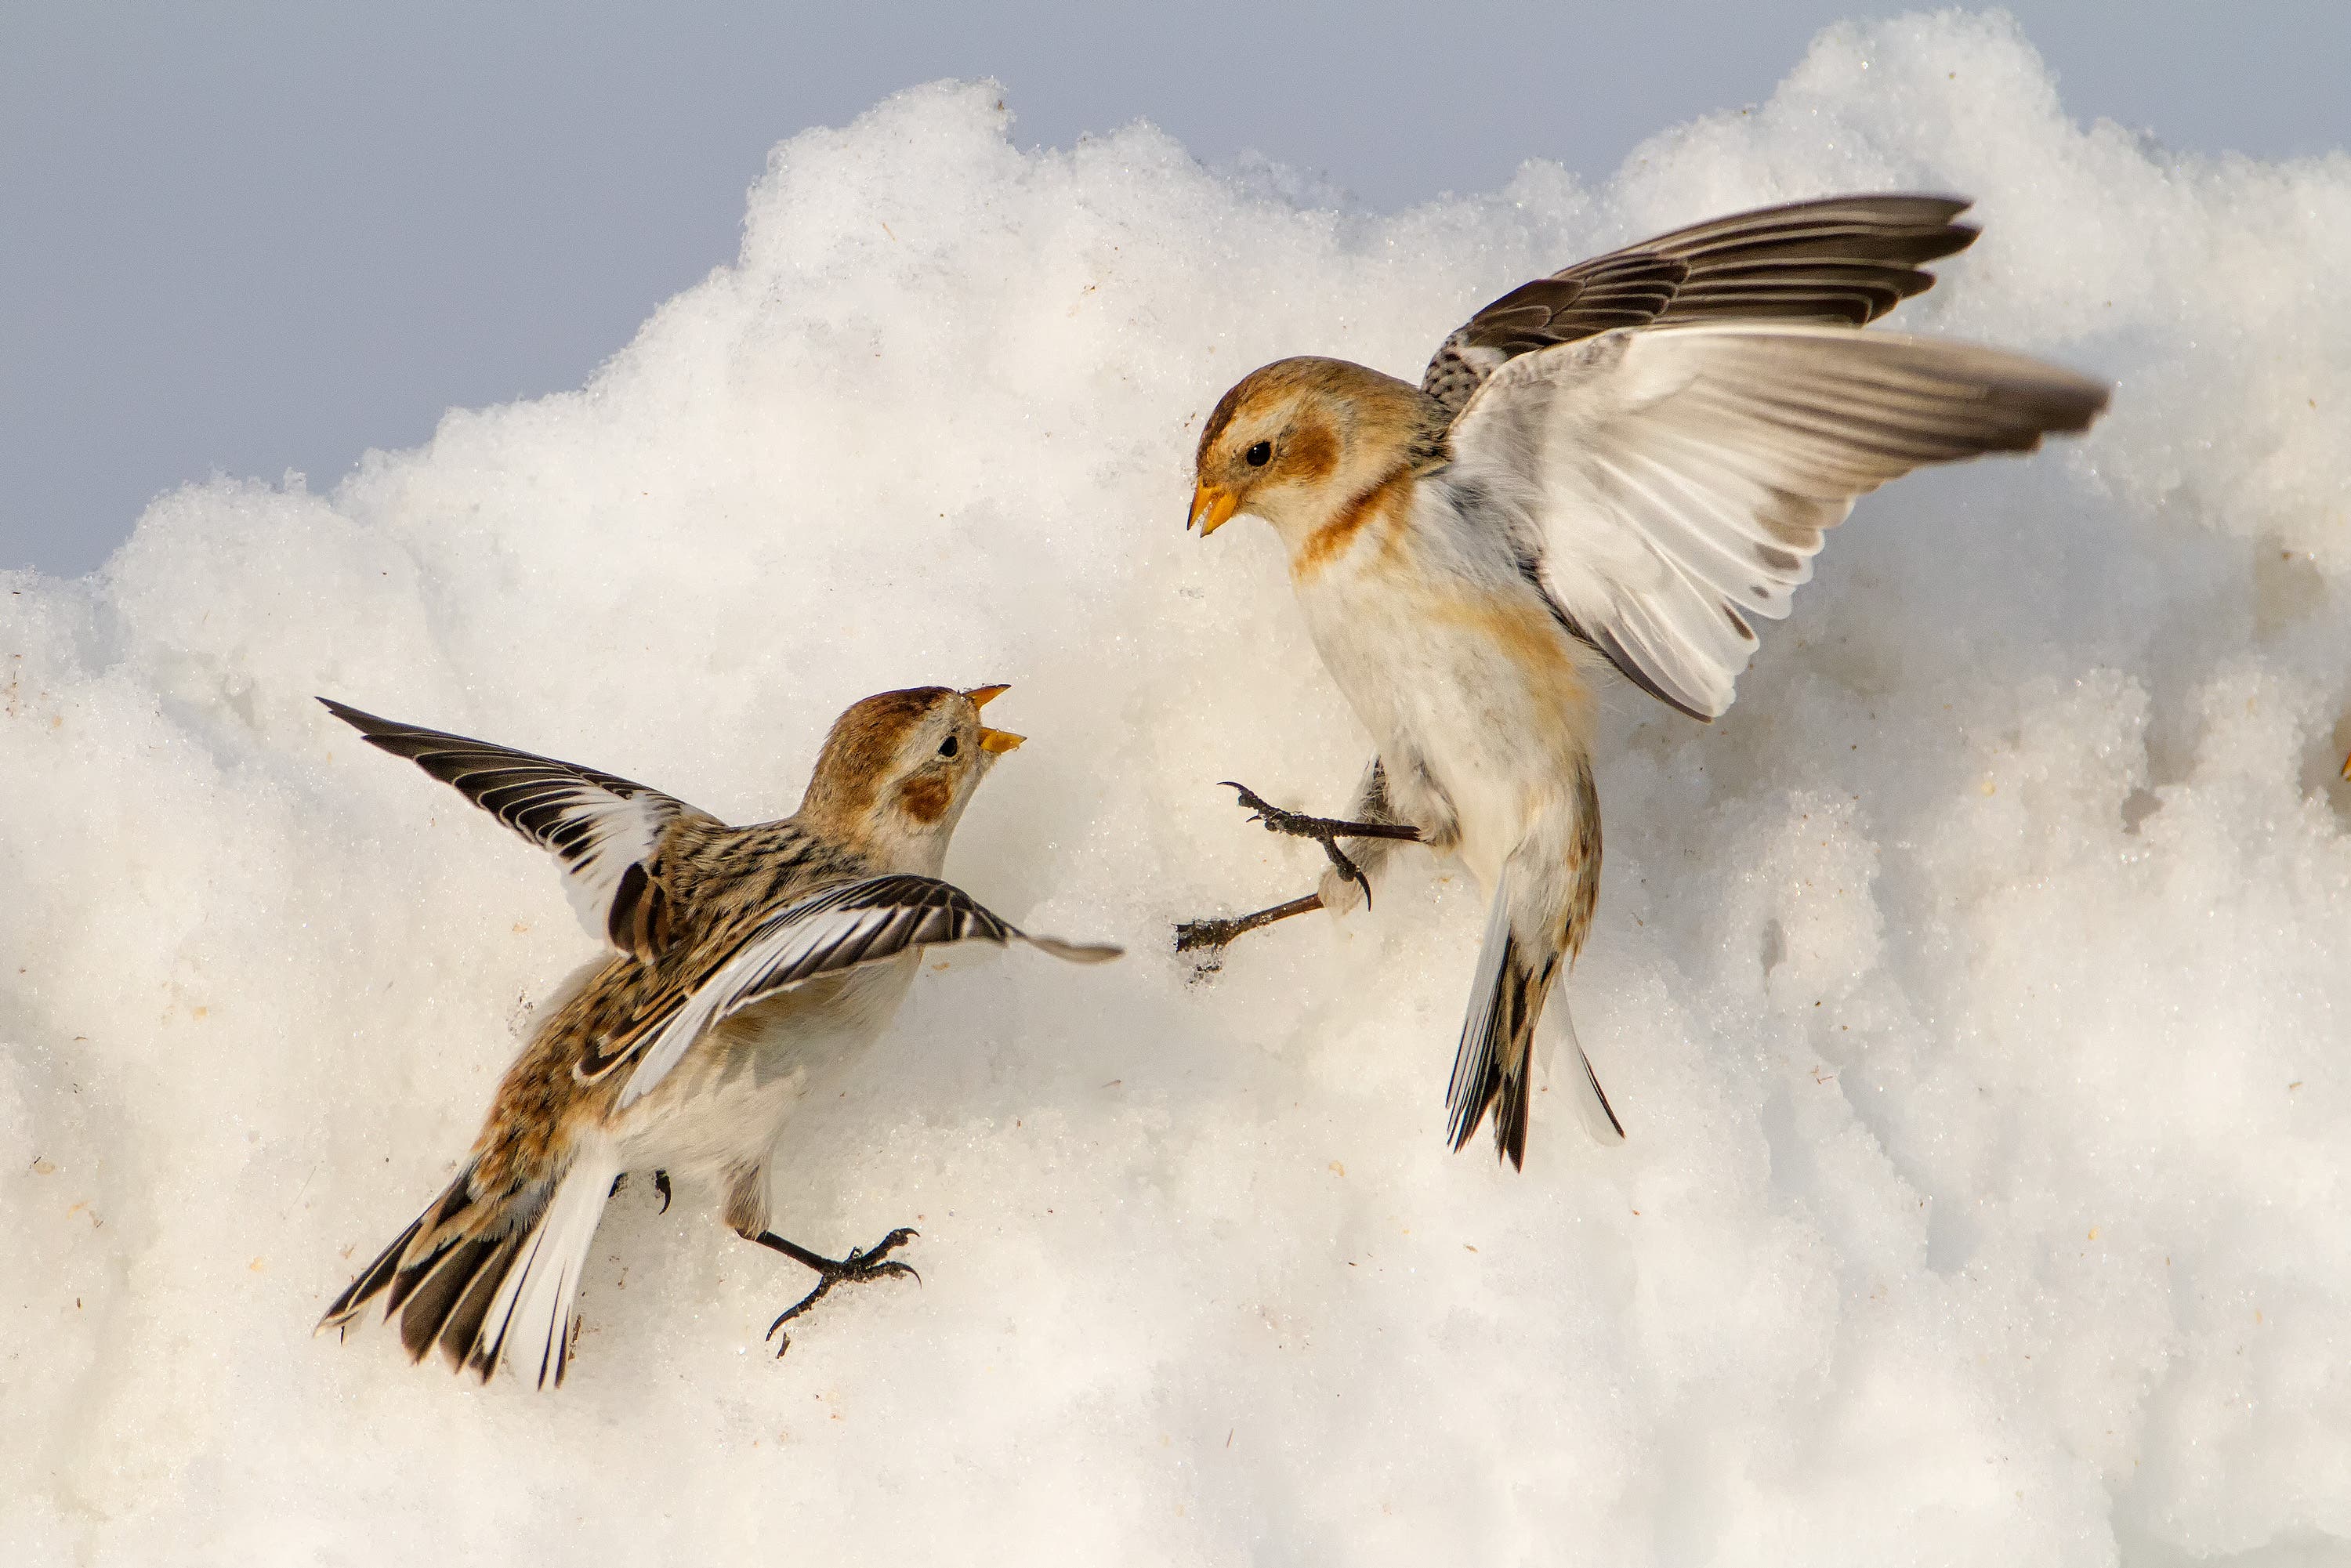
- The more you learn about your subjects the better photos you’ll take. The simple reason is you’ll be able to anticipate the movements of the birds.
- Move slowly and deliberately towards your subject. Fast movements will generally chase the bird away.
- Be patient. Sometimes it might take several minutes before the bird comes into complete view.
- Notice your backgrounds. They are equally important as the subject. Sometimes moving a foot or two to the left or right might make a more pleasing picture.
- Don’t get frustrated. Other than taking large birds that don’t move a lot, bird photography might be the most difficult of all. Most of the time you’ll be shooting small birds that move often and quickly.
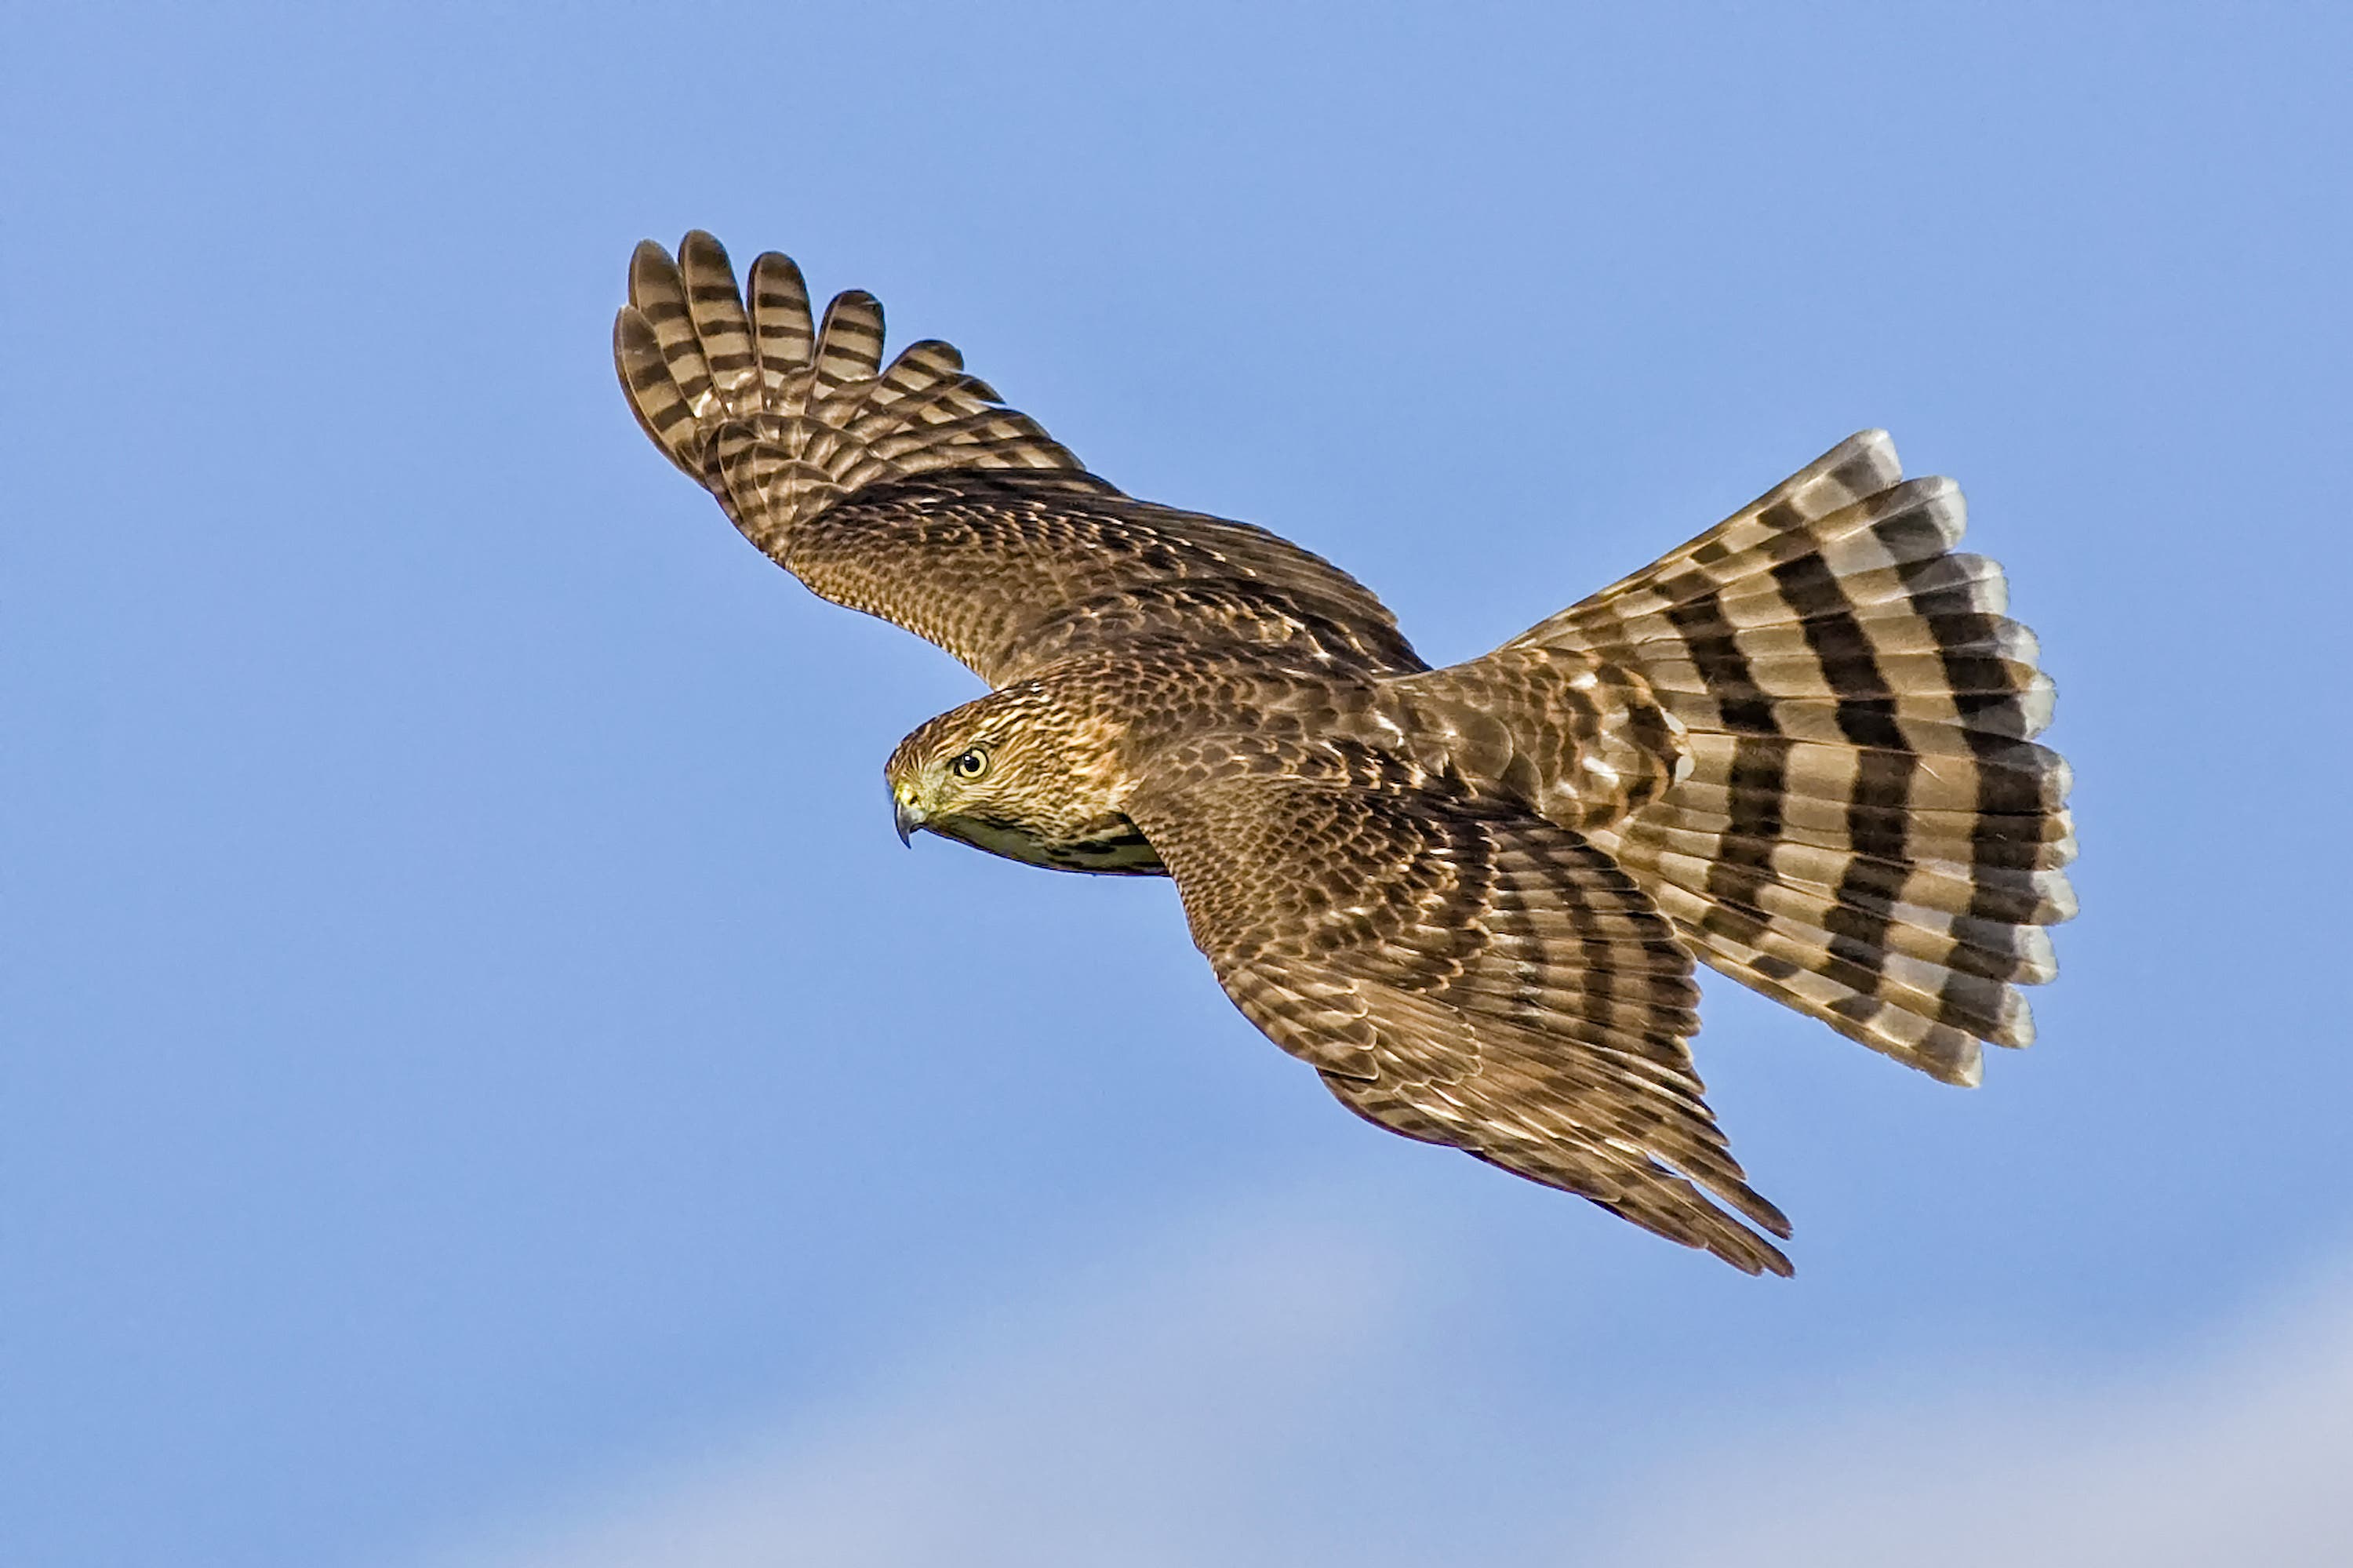
I hope this article helps you with decision making regarding getting started in bird photography. Adorama is a go-to store for all your photographic needs.
