A follow-up to 4 Ways to Create a Professional Self-Portrait (Not a “Selfie”) – Part I from back in May.
Self-portraits have been a form of portraying oneself that goes very far back in time through not only photography, but sculpture and paintings as well. It has only been recently that it has morphed into an arms-length version called a “selfie”. The more classic version of a self-portrait, allows endless possibilities of how you tell your own story. In general, a self-portrait should be a reflection of you, your ideas, your tastes, your interests and your personality. How you communicate these things is where the fun begins.
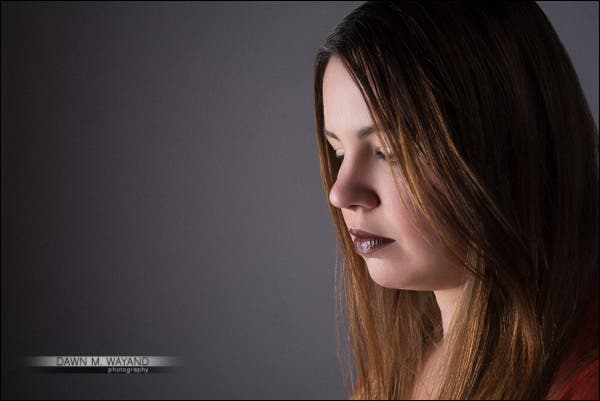
A simple pensive self-portrait.
Why Self-Portraits?
It fuels creativity. When you have all the time in the world to create a portrait without the pressure inconveniencing someone else’s time to create it, and no boundaries set by a subject other than yourself the possibilities are endless with how creative you can get with your self-portraits. The less pressures that inhibit you, the more creative you can become.
Perspective In Front of the Camera. Self-portraits gives you a sense of feeling of what it’s like to be in front of a camera – rather than behind it – making you more aware of how your subjects feel in front of your lens.
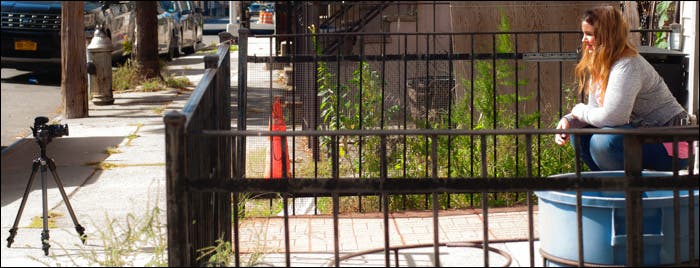
Self-portraits give you perspective in front of the camera.
Behind the scenes image courtesy of Gil Aldrin
Giving Direction and Posing. This form of photography can also help you learn how to direct your next subject or model as oftentimes you need to mimic the pose to translate to the subject/model what you want them to do.
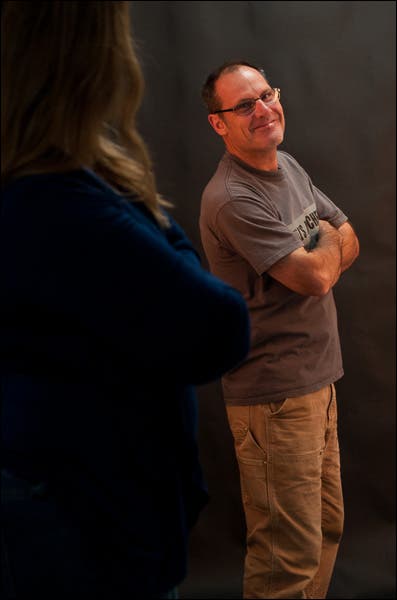
Giving direction for posing.
Behind the scenes image courtesy of Gil Aldrin
Self-expression. Self portraits are also a good form of personal self-expression. Yes, we can put a personal touch on a portrait of someone else, but using yourself as a subject adds a whole new level personal expression.
Ideas & Experimentation. It’s difficult to find friends and family who are patient enough to sit for you when you are only beginning learn lighting techniques or you want to experiment with a new idea. I resorted to using a mannequin when learning lighting but I found that using myself as a subject also worked and improved my photography tenfold.
You Can’t Find a Model. You know what they often say, “you can only depend on yourself…”. Sometimes you fall short of time and end up without a model and sometimes your model is late or just doesn’t show up at all. No one is more available than you.
Coming Up With Ideas
Inspiration for self-portraits is all around you, you just have to open your eyes, be aware and seek it out. It’s also important to reach deep within for inspiration that is unique to only you. Some places I have learned and practiced to find inspiration are:
- The works of other artists: photography, paintings, sculpture or any other type of art;
- TV or films;
- Listening to music has helped me to conjure up ideas;
- Locations – perhaps a specific location might help you to conjure up ideas for a location shoot; and
- Light itself – different lighting patterns with shadows might also spark an idea.
Hobbies. You are a photographer, so there is a theme right there! Let your hobby be expressed in your self-portrait through the use of locations and props. For example, as a photographer, be sure to include your camera as a prop for a self-portrait.
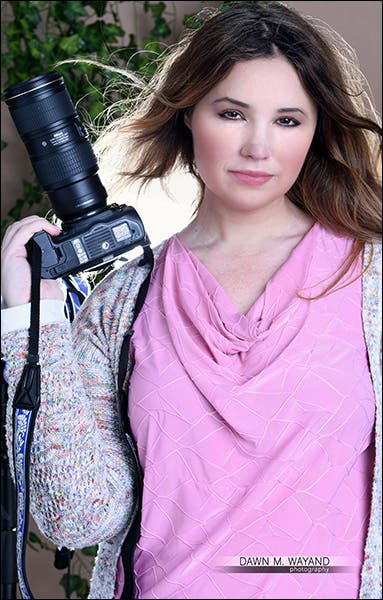
A quick self-portrait of me in my home studio using a remote.
Profession. What you do for a living can also be expressed in a self-portrait. It is usually successfully portrayed only if it is something you love and enjoy doing for a living. For some, your hobby and your profession might be one in the same. In my case, while photography has only more recently become a profession for me, my long-time career has always been as a paralegal. For this, I might shoot a self-portrait of myself researching and writing in a library or maybe just a classic headshot in front of law books.
Location. Tripods will always be your best friend when shooting self-portraits. They are mandatory. They are also a portable tool to take with you to shoot yourself on location. Including your favorite hangouts and/or quiet spots in your self-portraits can sometimes add to the ambiance of the photograph and reflect part of your personality.
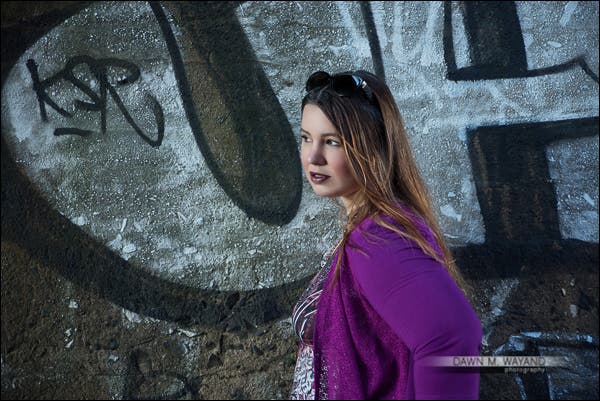
My favorite graffiti location.
Physical Abilities. Play sports or a musical instrument? Including something you are able to do in your self-portrait is a great way to convey your personal interests and extracurricular activities.
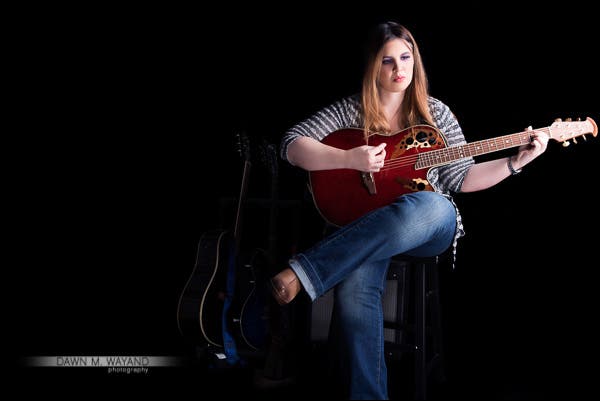
I don’t play enough, but when I have time, I love to play guitar.
Your Actual Physical Features. If there’s a part of you that you favor more than the rest or perhaps have been the topic of others’ conversations (in my case, it’s my long hair), focusing on this can make for an interesting self-portrait.
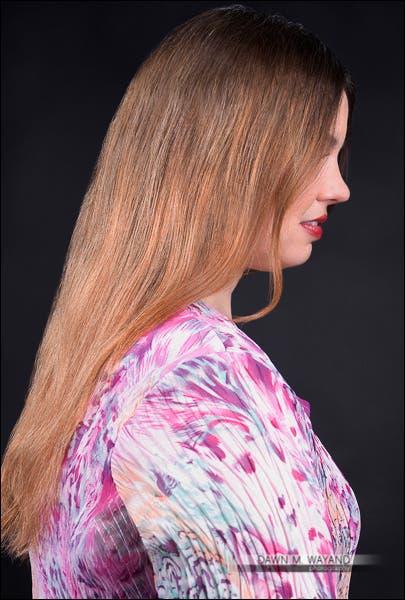
I consider my long hair one of my prominent features.
Wardrobe. If you a fashionable person, photographing yourself in your best rags can also reflect your tastes – especially in fashion.
Objects of Your Affection. We’re taught as portrait photographers that the best way to get a great personal image of a disinterested teenager is to include an object of their affection in the picture. You are no different. For me, not much comes before my cat and my guitars.
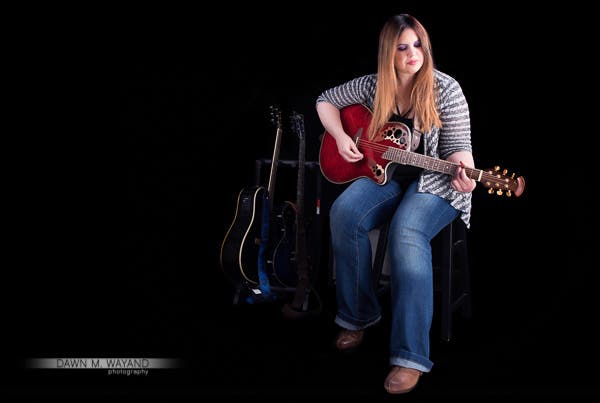
My other dream, as a rockstar.
Theme. Like any photoshoot, sometimes it is good to conjure up a theme and let it go from there. Have a favorite color? Create a monochromatic image using only that color around you. Maybe you are into cosplay? Dress up in your favorite costume, find a good location, set up your tripod, grab your remote and shoot. If you can create a theme for a party, you can certainly create and shoot a theme for you.
Capturing “You”
The Classic Headshot. We’ve already discussed how to create a classic headshot in my last article, 4 Ways to Create a Professional Self-Portrait (Not a “Selfie”) – Part I, so we’ll move onto other fun ways to get more creative with your professional self-portrait.
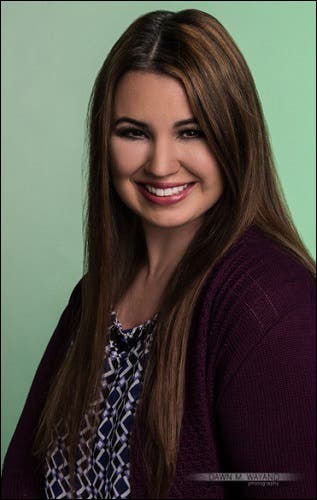
Here is a classic headshot I took as a self-portrait using a mouse on my knee and the Lightroom capture button.
Your Reflection. You’ve probably tried this before in your own bathroom, in museums where there are mirrors present or even in Chicago at “The Bean” statue, but since you are a photographer, using a mirror to shoot your reflection showcases you engaging in your personal hobby or profession.
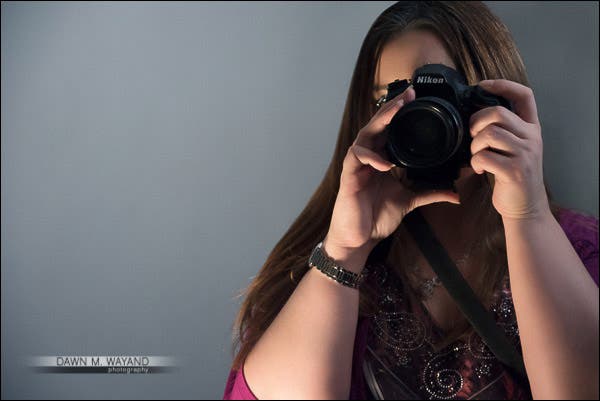
Shooting yourself in front of a mirror is an easy way to create a self-portrait.
Just make sure you don’t have your flash on and watch your borders!
A good tip for a better self-portrait using a mirror: be mindful of your background. Check out every inch of your frame before taking the shot to make sure anything unwanted is not in the image. Also, if desired, be sure to flip your camera’s logo in post. 🙂
A creative tip: place a mirror behind you to add a repeating effect.
Without a Face. Shoot only part of you – instead of all of you – and I don’t mean a headshot only. I’m sure you’ve seen images of expectant mothers that creative photographers shoot that include only the chest and down to emphasize the beauty in a mother’s body during pregnancy. We might not all be able to be pregnant right now (if at all) so try shooting only your feet, only your waist-down or only your neck to waist.
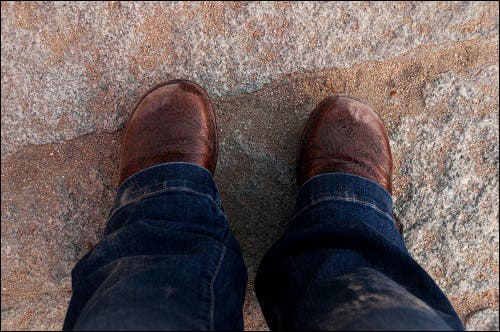
Most people know I am a world traveler and love this image entitled “I am here” taken in Madrid, Spain.
Location! Location! Location! Switch it up and take your shoot outdoors, to a garden, to a zoo, to a library – anywhere but the plain four walls of your home.
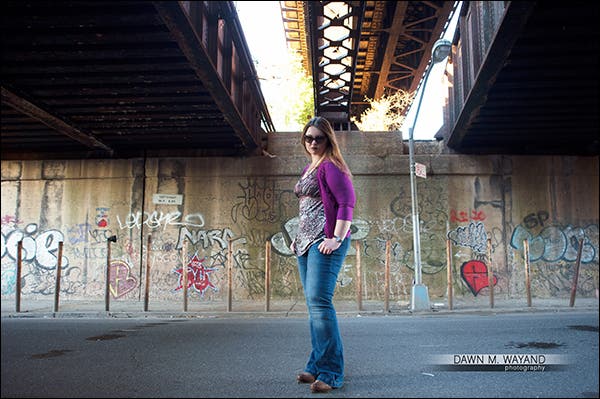
Under train tracks right down the street from my apartment.
Capture Your Dark Side. Create a silhouette of yourself by using backlighting without any front or side lighting.
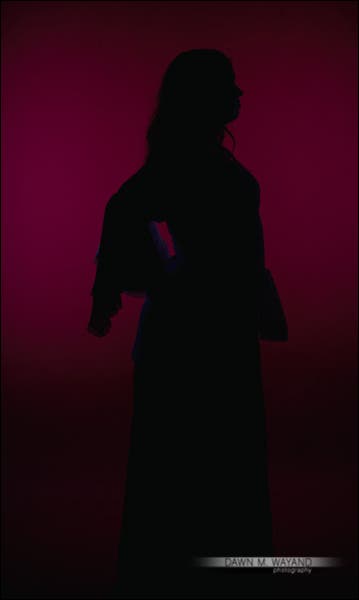
Here I’ve created a quick silhouette example in the studio using red background paper.
Get a Move On! Incorporate motion into your self-portrait. Dance around, shadowbox – get into a groove and set your camera’s shutter speed on a slightly slower speed to capture a range of motion.
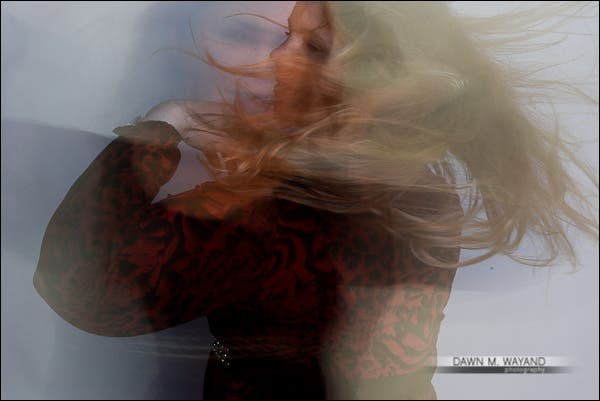
While I can’t say that I can really dance anymore, this self-portrait of me twirling in song did turn out pretty cool.
Don’t Be Afraid of Your Own Shadow. Your shadow in the morning and midday sun can make for an interesting, unique image. Shadows can also elongate your body depending on the position of the sun.
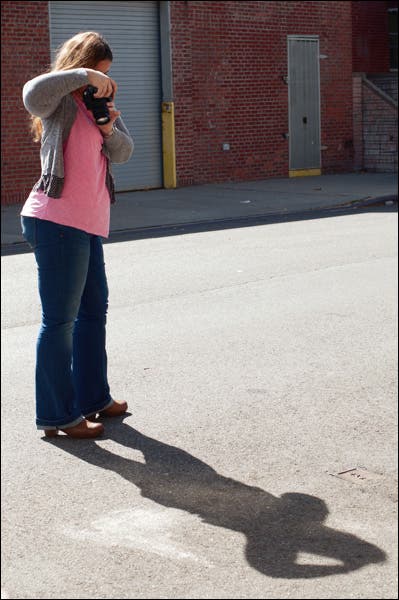
Shot around 3pm.
Behind the scenes image courtesy of Gil Aldrin
Work Your Angles. Shoot yourself from different angles. Set your tripod low and shoot up. Stick your camera on a lightstand via your tripod ballhead and position it up above you and shoot down on yourself.
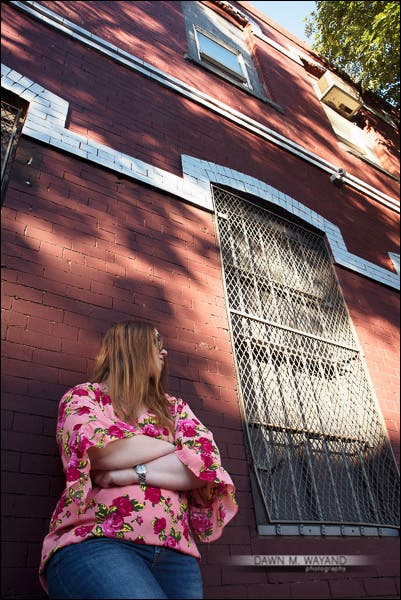
Shot from below. I love the shadows on one of my favorite shooting backgrounds in my neighborhood.
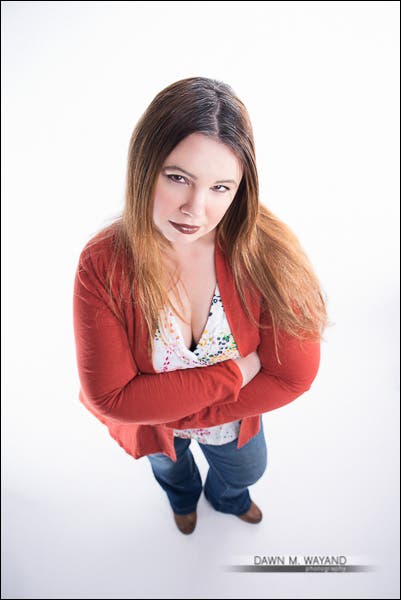
I secured my camera to a light stand and used a remote to shoot from above.
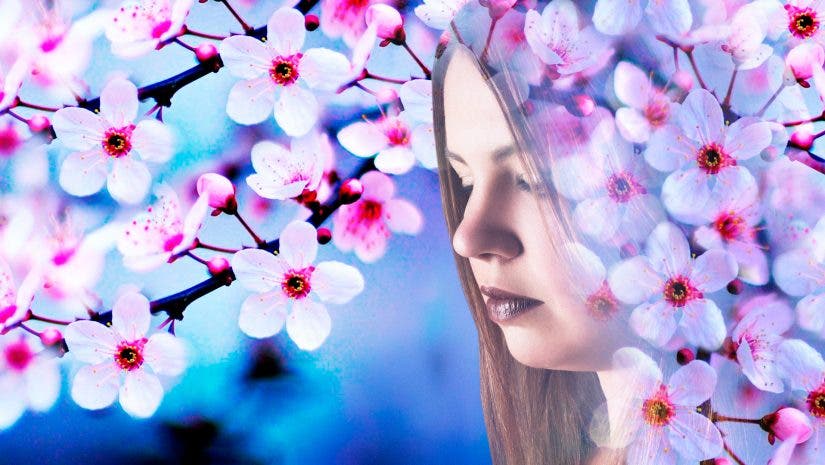
Creating a Mirage. So this may take a little bit of Photoshop skills, but combining two images into a double exposure can make for a pretty spectacular image. Here, I took the initial profile image in this article and combined it with an image of one of two of my favorite flowers – cherry blossoms.
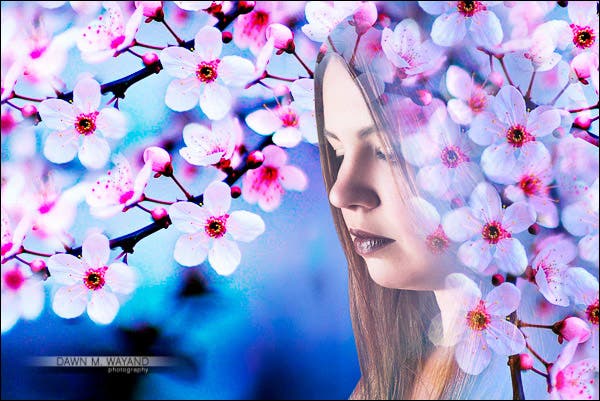
Here I combined a self-portrait with one of two of my favorite flowers – the cherry blossom.
Create Enough of You to Go Around. A fun self-portrait to create, which also takes a little bit of Photoshopping skills, is to composite several images of you together to create a “multiple-you” image. Here, I took advantage of my most used space in my home (aka. my “woman cave”) and created four separate images leaving the tripod in the exact same place for each shot. Each image was of things I pretty much do daily, creating a pretty accurate representation of me.
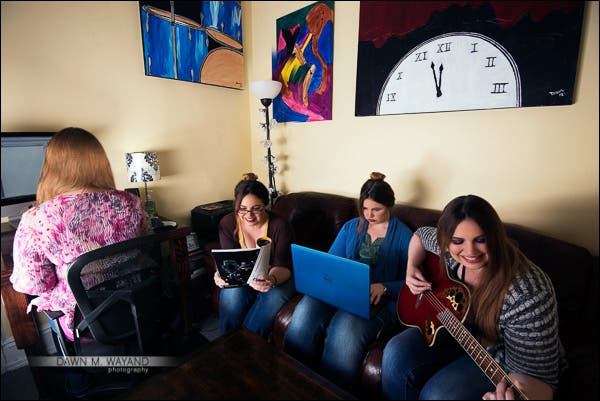
Here is a composite image of everything I like to do in my woman-cave.
The Honest Truth. Capture yourself doing an everyday task around the house or outdoors. You don’t even have to be looking at the camera. In this image, I captured a natural image of myself on my front doorstep in the industrial area of the SE Bronx.
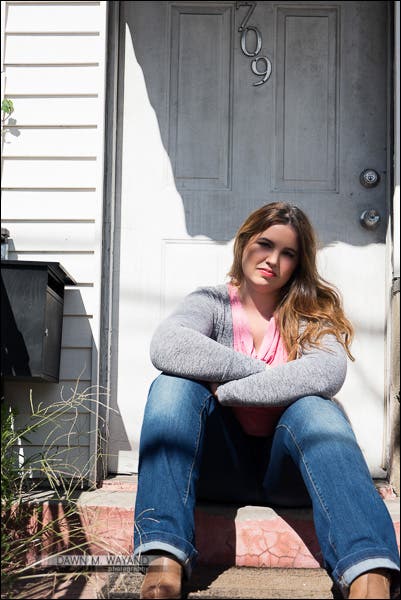
Just be yourself.
Equipment Needed for Self-Portraiture
The Basics
Camera (DSLR preferred). I prefer a DSLR camera because I can generate RAW images to work with, I can tether to a computer or laptop, I have a lot more lens choices and because if I shot with film – this project could get very expensive! I have a few suggestions on DSLR cameras in my article: Building the Home Studio Part 1: Space and Essential Shooting Gear.
Tripod. A tripod is a must for self-portraits otherwise you will be very limited by using any available level surfaces. Imagine, if you had a tripod (with a ballhead), you have a choice of all available surfaces plus a decent height and just about any angle. I have several suggestions for choosing the right tripods in my article: Tripods: Choosing the Right Support for Your Investment.
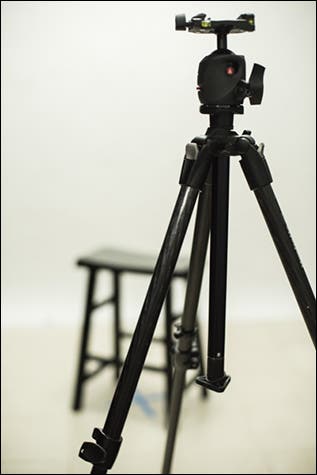
A tripod is pretty much vital to creating a self-portrait.
Camera Remote. It just makes things much more simpler than running back and forth to the camera to set the timer over and over again…
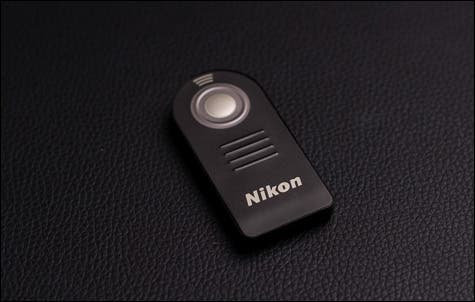
A simple remote for my Nikon D750.
Image courtesy of Yann Bizeul
Light Source. A light source can consist of available light, a speedlight, a continuous light, a monolight or strobe. You can really get by with any of these, though you can create an endless variety of results and achieve them much faster with the use of some sort of flash light source (speedlight/monolight/strobe) due to positioning, brightness and modifier used.
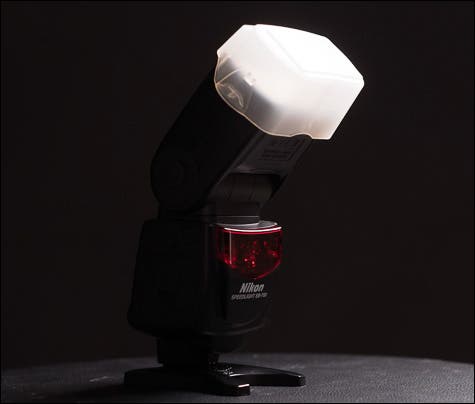
To start, a speedlight can work just fine. This is my old Nikon SB-700 Speedlight.
Image courtesy of Yann Bizeul
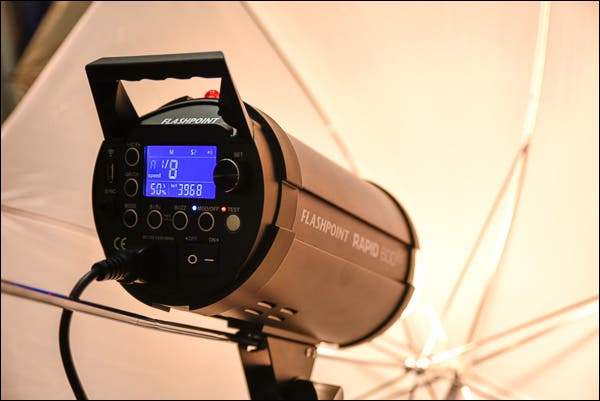
The Flashpoint Rapid 600 HSS Monolight is a good choice for a monolight.
Light Stand(s). If you are using any light source other than available light, you’ll need light stands for your lights. Don’t skimp on these. They are what are supporting your $300-500 flash or $500-3,000 monolight or strobe. I have a few recommendations for light stands in my article: Building the Home Studio Part 2: Continuous Lights and Light Stands.
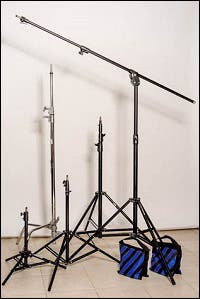
Light stand(s) and sandbag(s) for support.
The Superstar Setup
Laptop or Desktop. The bare essentials are completely fine for creating self-portraits, but you’ll eventually need a laptop or computer to edit those images. One or the other is also key if you plan to tether while you shoot. I do have an old 27” iMac but if you are considering going the iMac route (which I highly recommend for any graphics or photography-related use), don’t skimp here – like I did, or you’ll be sorry – like I am. If you can’t afford what you really want – wait and save for it, otherwise you’ll be stuck with a computer that doesn’t run fast enough or have enough memory for your needs. For photography-related work – especially if you shoot RAW (which you should!), be sure to choose an iMac with the latest processor (currently the Intel Core i7), at least 1TB of memory, but more if you can swing it, and at least 8GB of RAM. My heart is currently set on upgrading to the Apple 27″ iMac with Retina 5K Display, 5120×2880, Intel Core i7 Quad-Core 4.0GHz, 16GB RAM, 3TB Fusion Drive + 128GB Flash, AMD Radeon M295X which is currently available at Adorama for $2,900.
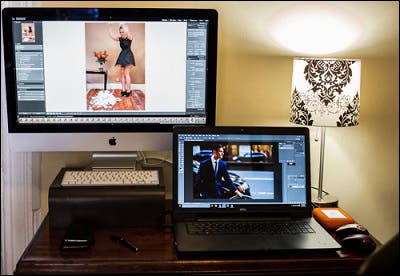
My iMac and my Dell 17” XPS Inspiron laptop.
Tethering Cable. If you choose to use a computer and tether, you’ll need a good tethering cable – one that does not lose connection a lot or fall out of your camera port more times than the number of frames you’ve shot thus far. The Tether Tools Starter Kit is a pretty useful and reliable tool for tethering.
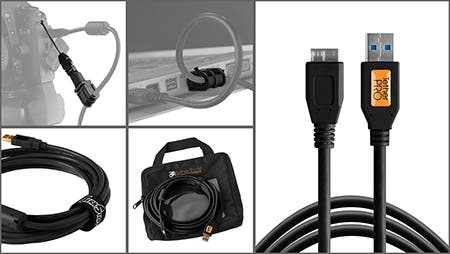
Tether Tools makes a great line of custom tether cords.
Image courtesy of Tether Tools
I wrote a pretty lengthy article on tethering a little while back called: Preview While You Shoot: The What, Why, When, Who and How on Tethered Shooting that you might find useful on this topic.
Adobe Lightroom or Other Tether-N-Edit Software. Using software that allows you to tether so that you can review and edit your images as you shoot on the big screen saves a lot of time and incorrect assumptions that might happen if you rely only on the LCD screen on the back of your camera. Adobe Lightroom is probably one of the best all-inclusive tools out there for both tethering and editing and is the first tool I use before exporting it for fine tuning to anything else, if even needed. If you plan to use it for tethering, be sure to check to see if your camera is compatible for tethering to the software first. If for anything, it is “magic” and easy to use for organizing and editing your images during and after a shoot. You can get in on the Adobe Creative Cloud Photography Plan, which includes both Adobe Lightroom AND Adobe Photoshop for one low annual price of $119 and you will always be up to date on the version you use.
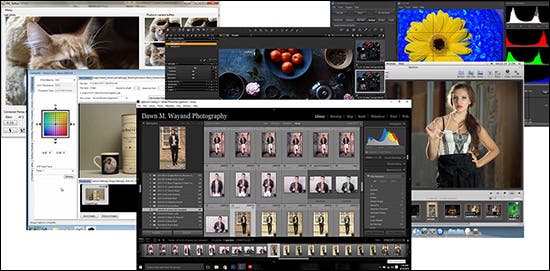
There are several programs available out there for tethering, some of which also allow you to edit in post.
Adobe Photoshop. You may need Adobe Photoshop to do some finer adjustments or to just do some completely creative edits to your images. Again, you can get in on the Adobe Creative Cloud Photography Plan, which includes both Adobe Lightroom AND Adobe Photoshop for one low annual price of $119 and you will always be up to date on the version you use.
Other Stuff
The number of things you can use to help create your self-portrait is endless, but here are a few obvious choices.
Background. Whether it’s seamless, your living room, your backyard or down the street in the park, you will need some sort of non-distracting background to put yourself in front of.
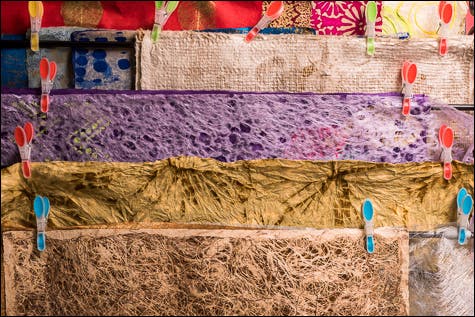
I sometimes use creative art papers for backgrounds.
Image courtesy of Yann Bizeul
Unique Wardrobe. What you’re wearing, or not, can sometimes be the center of the intention for the image.
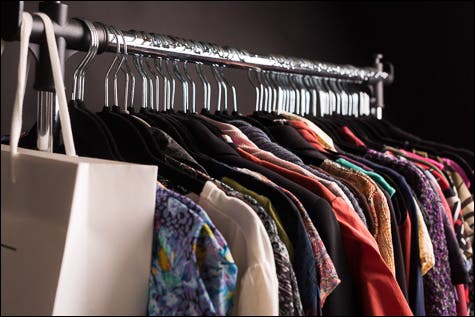
It helps to have some unique pieces in your closet.
Image courtesy of Yann Bizeul
Props. Adding in a wig, facial hair, a baseball bat, baton, bicycle, car or other prop can only lend to telling the viewer more about you and things that interest you.
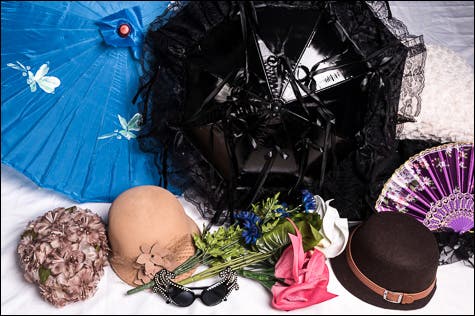
Just a small fraction of the props I’ve collected over the last few years.
Image courtesy of Yann Bizeul
Additional Light Sources and Stands. You can do a lot with one light source but your options can open up even more with added monolights, strobes or speedlights to create multiple light setups.
Patience. If you are aiming for things like your eyes to be perfectly sharp, you will be shooting the same shot, let’s just say… A LOT, before you get it just right.
Creating a Picture Perfect You
Creating a self-portrait, whether for business purposes and/or for fun can be a great release of self-expression and showcasing the real (or not so real) you. Creating self-portraits of ANY kind will take a lot of time and practice, even for a skilled photographer. The images in this article took a great deal of time and effort to create. Whatever you do, don’t get frustrated if you are shooting and not getting exactly what you want. Number one, your frustration show in your images and number two, it will happen – just keep shooting and shooting and shooting until you get exactly what you are looking for. Using some of the ideas and tools above, you can come up with an endless number of ways to reinvent yourself digitally, and most ideas without the need for heavy photo editing.
