Do you like long exposures? Of course, you do! You definitely need filters to get long exposures, right? No! But I guess you knew that since you clicked on the title. This technique is great for when you have forgotten your filters, or if you have a super wide angle lens that doesn’t accept filters.
Keep it steady
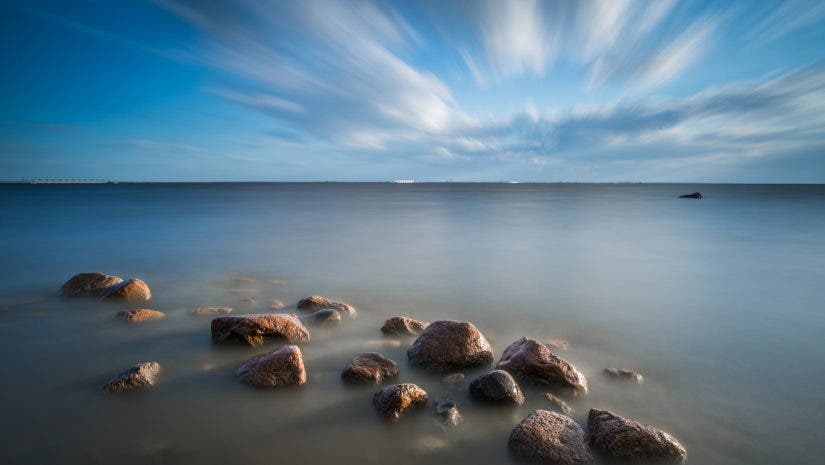
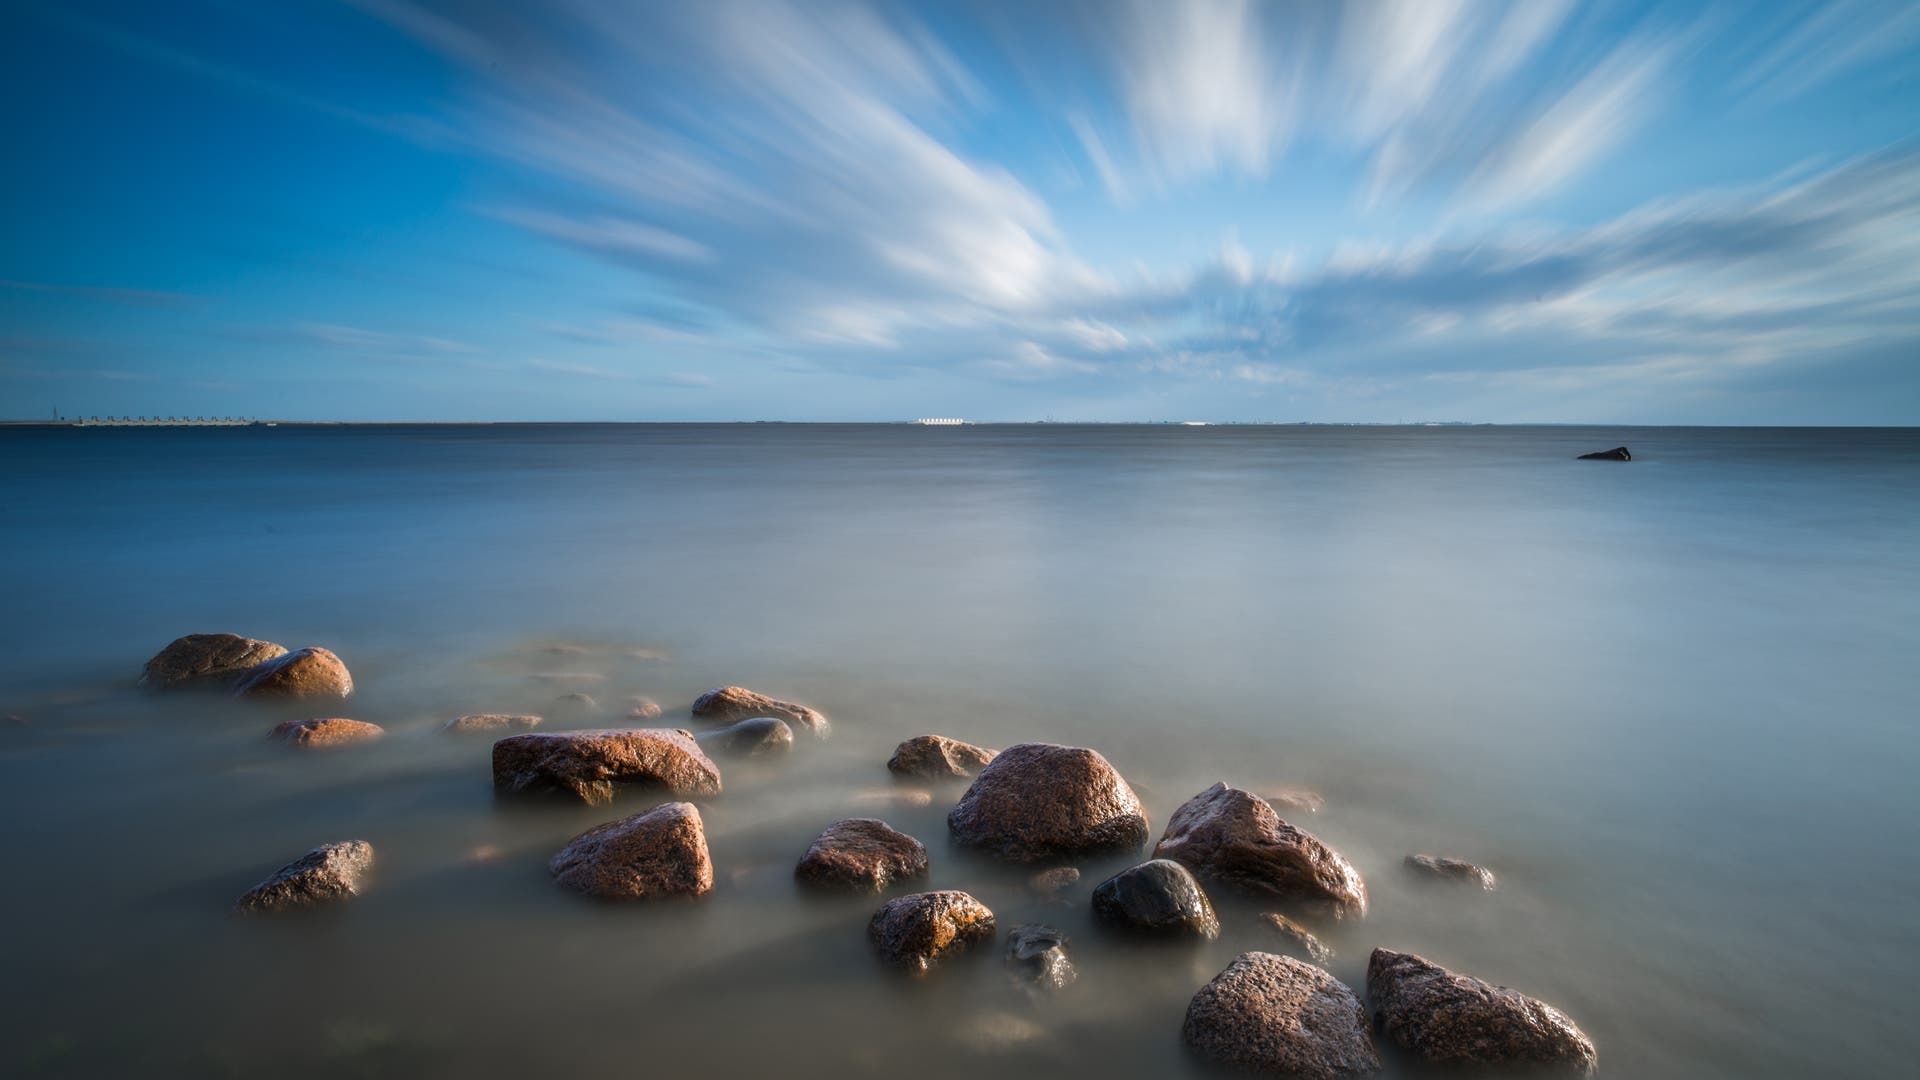
You will definitely need a tripod. A cable release or remote for your camera are also super helpful, but in a pinch, you can get away with the self-timer. The idea is that you don’t want any variances in the non-moving objects in the frame, such as the rocks above.
Find your settings
Set your ISO to the best setting for your camera, usually the lowest setting possible. Then set your camera to your preferred aperture, I suggest something high, like f/11 or higher if you are in bright sunlight. Then find the shutter speed that works with those settings. The shutter speed may be a value like 1 second which is likely too fast to slow down the motion in the way you like, but the next steps will overcome that. It’s also a good idea to set your white balance manually, especially for very long exposures, as the lighting may shift.
Take a series of photos
If you want a 30-second exposure but your camera can only take a maximum 1-second exposure without overexposing the shot, you will need to take 30 shots. You can often set your camera to take 3 or more pictures, depending on your camera’s features. Look up how to take multiple exposures for you camera to find the best way. Do not use bracketing which uses different shutter speeds to get different exposure values. You want the same exposure across all the pictures. Also, make sure to turn off your camera’s long exposure noise reduction if it has that feature. This feature will not work well with objects like moving clouds.
Take the pics into Photoshop
Now that you have your pictures you will need to process them in Photoshop or another photo editing software. I will be showing you how to combine the photos into one image using Photoshop. To load the pictures into Photoshop go to File, Scripts, Load Files into Stack…
Then browse to your photos. And load them into Photoshop. This may take some time depending on your computer.
Then convert your layers into Smart Objects by selecting them all and right clicking, and choosing Convert to Smart Object. This allows Photoshop to keep the information in each layer and work on them as one. After that step, select Layer from the menu bar, then go to Smart Object, Stack Mode, and select Mean.
And that should do it. You now have a shot that has the effective shutter speed you were looking for. You can now edit your smart layer and export. I hope you enjoy this process and use it to great effect.
