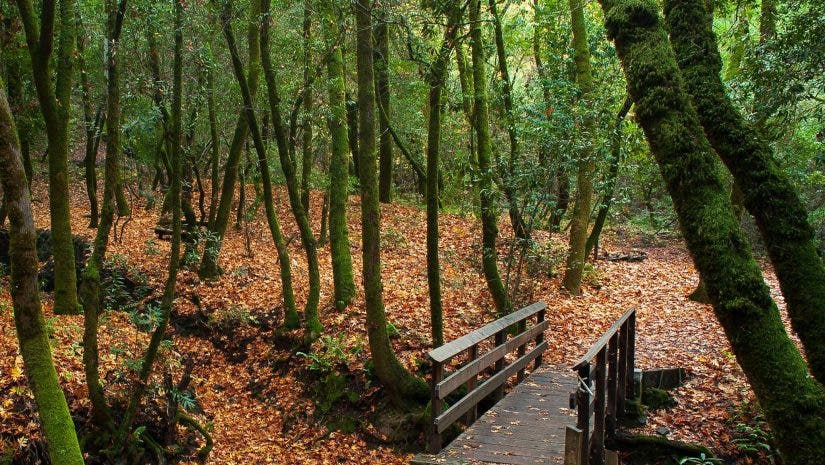
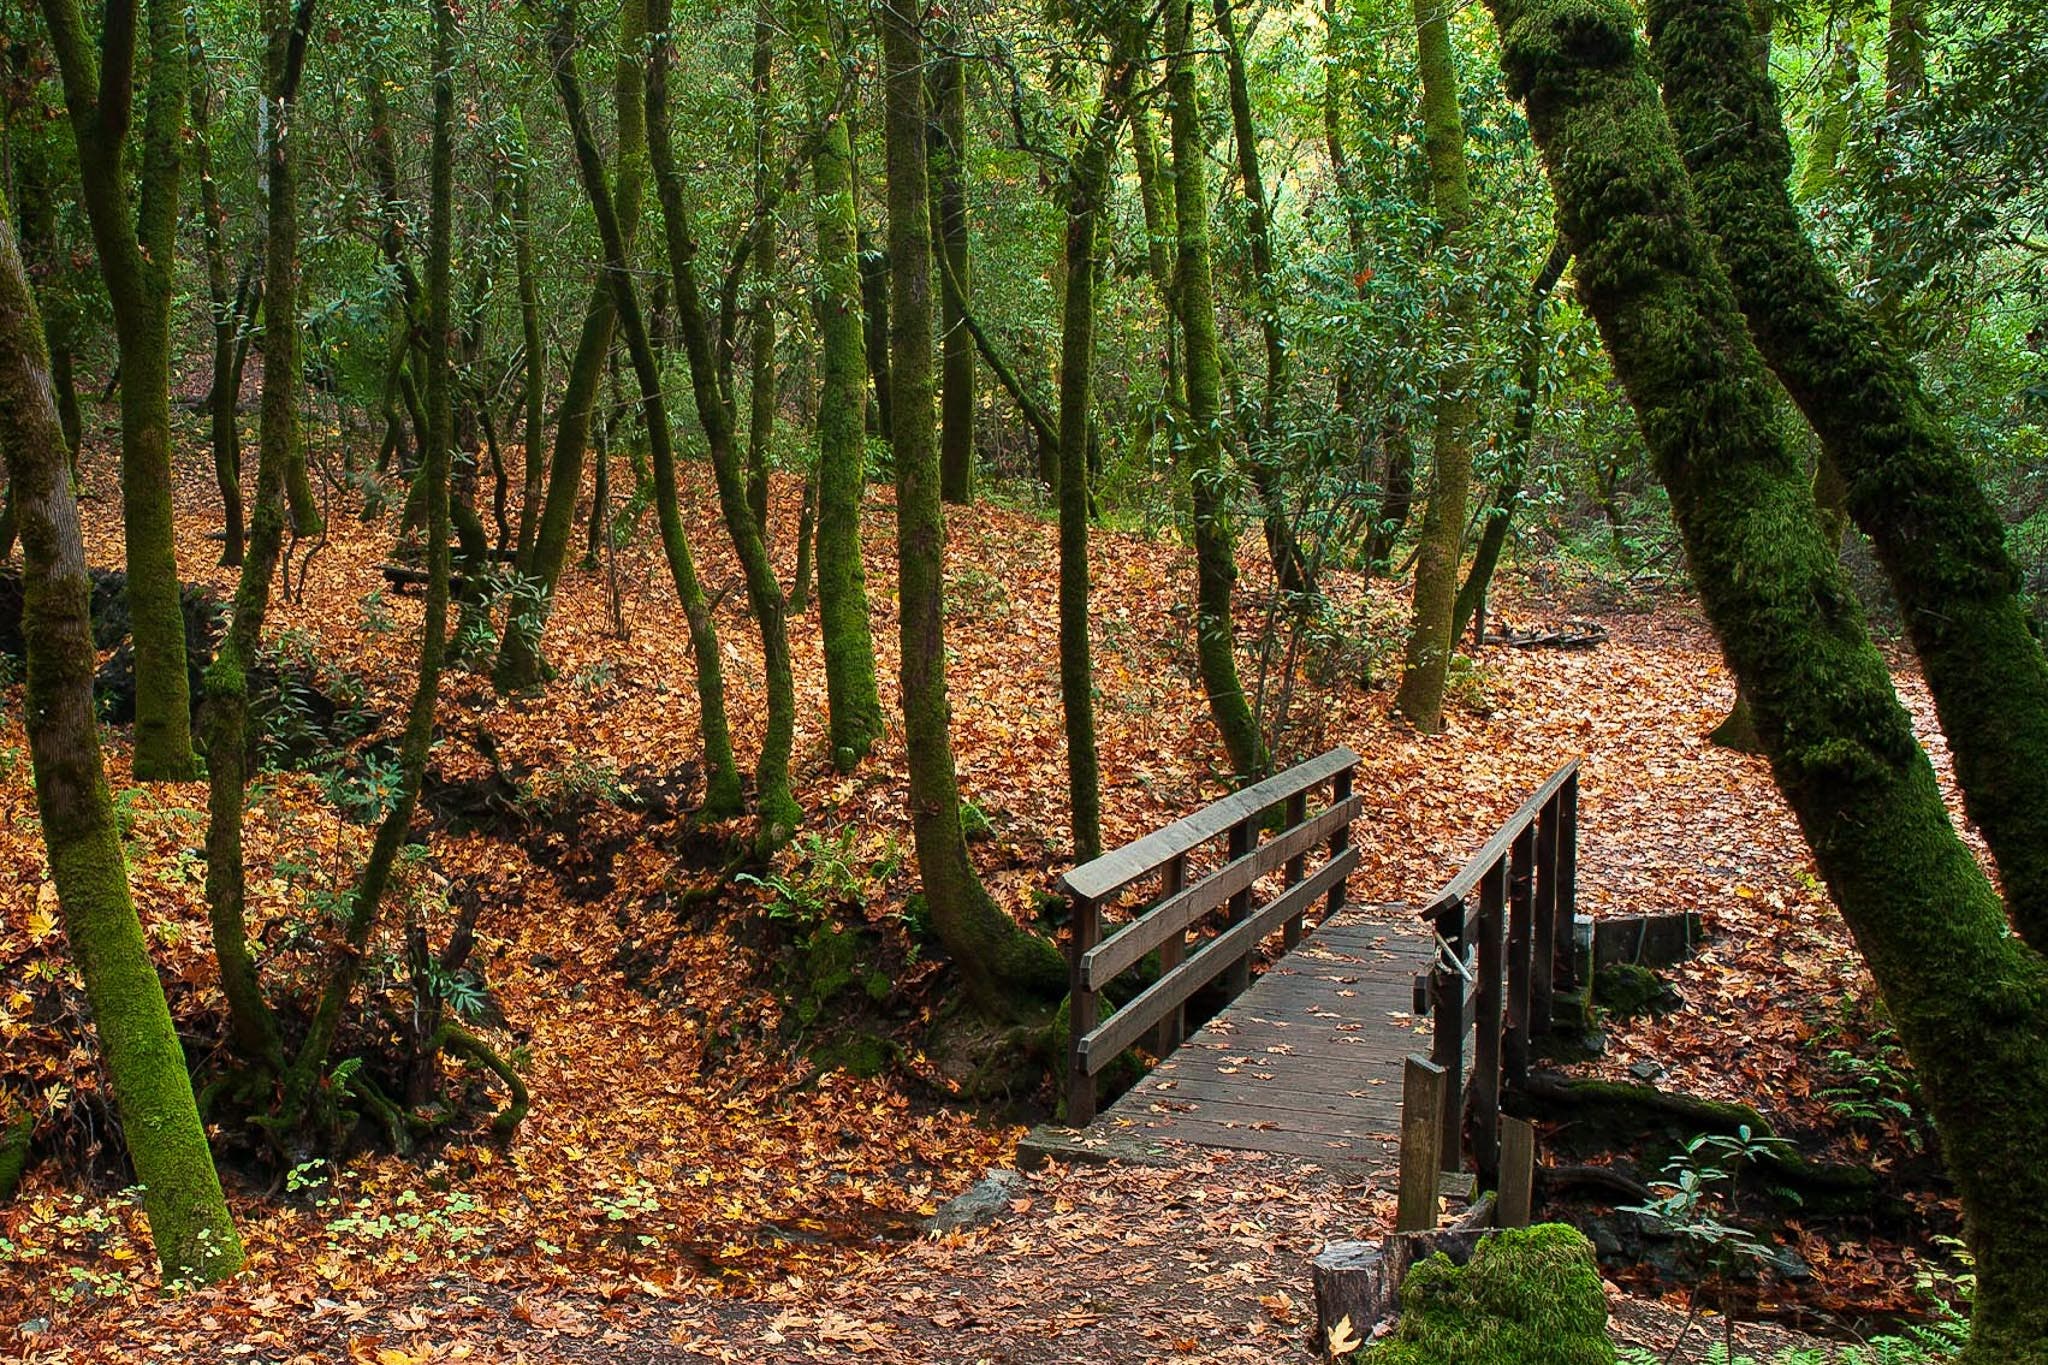
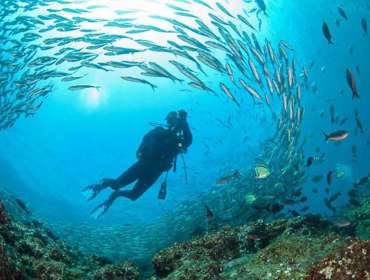
There is definitely something magical about forests. They are full of all kinds of life. Plants range from ancient trees that have stood for hundreds or thousands of years, to delicate flowers that will vanish in a week. Animal life can range from enormous mammals to the tiniest of insects. It’s no surprise, then, that forest photography can produce such beautiful imagery.
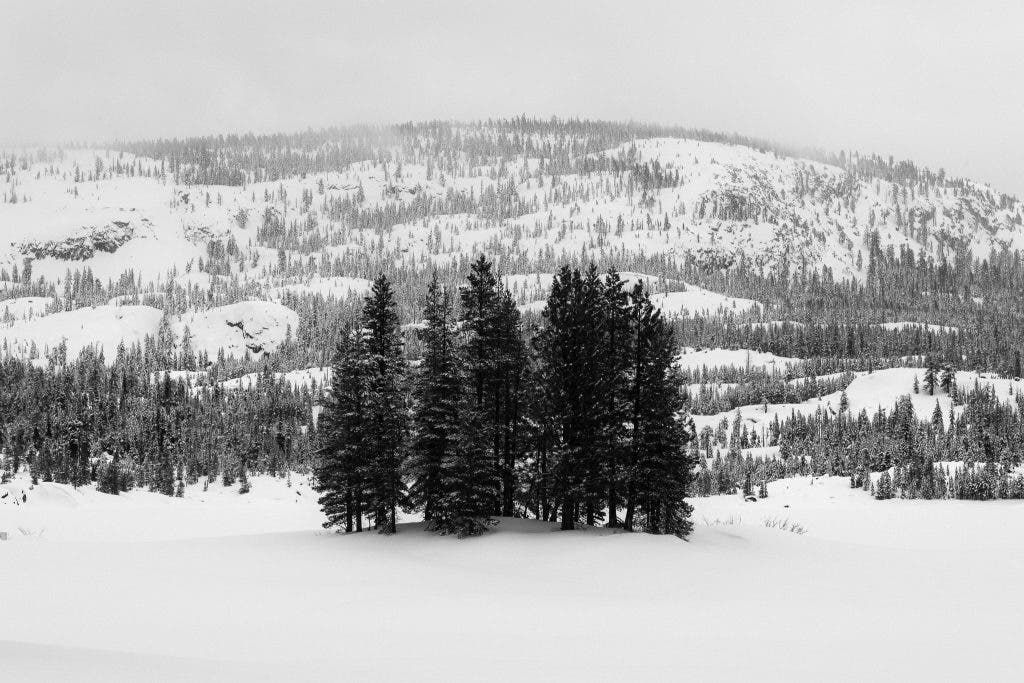
From tropical rainforests to high alpine forests, the diversity provides a lifetime of forest photography opportunities. The challenge, of course, is finding the best way to photograph a forest.
In this article, I will provide my seven favorite tips, ideas, and examples of how to capture the beauty of a forest in your photos. These tips will be a balance of good technical mastery, and creative inspiration. With that said, let’s dive in.
1. The Right White Balance for Forest Photography
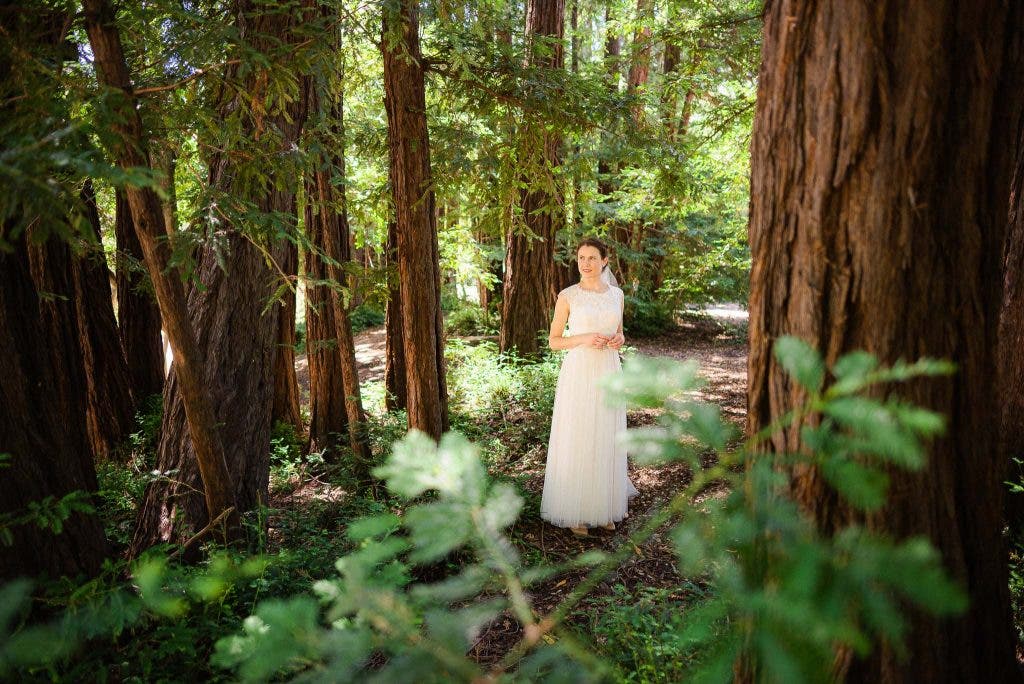
I’ll be honest, this isn’t even the most important tip, but we should get it out of the way first. Why? Because having the “correct” white balance for your forest photography will help you optimize everything else about your images.
Here’s the deal: If you’re deep in a forest, the light you are using to capture your images will usually have a very strong color cast. Oftentimes, Auto WB just won’t do the trick. Or, I should say, AWB will give you a correct/neutral balance, but that’s actually not what we want.
The most impactful, ethereal images usually embrace the greenish color cast that light will have. Also, the light can change color dramatically from one minute to the next, depending on whether it is sunny or overcast, and depending on if the light is filtering through tree leaves, bouncing off a nearby rock face, etc.
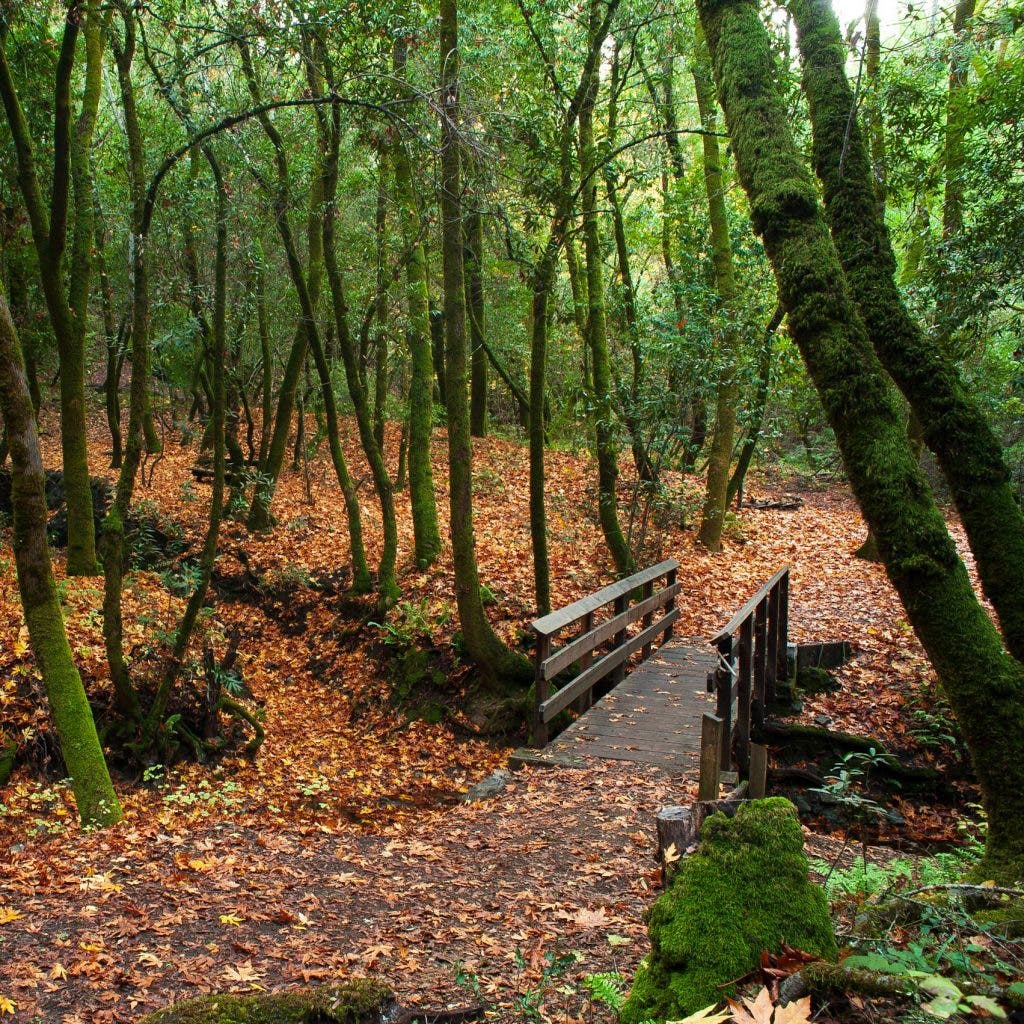
So, instead of using AWB, or even setting your camera’s WB to either daylight or shade, I highly recommend using Kelvin WB. Kelvin temperature control allows you to easily warm-up or cool off your images’ color balance. It’s very intuitive once you get the hang of it; it is basically Manual Mode for your white balance!
What are my favorite Kelvin WB settings for forest photos? I usually start somewhere around 5500 K for the Temp, and I often dial in +1 in the magenta direction for the Tint. However, I may switch this all the way down to 5000 or 4500 K, or up to 6000 or 6500 K, depending on the ambient light in the sky above the forest, or which types of leaves the light is being filtered through.
2. Use A Polarizer
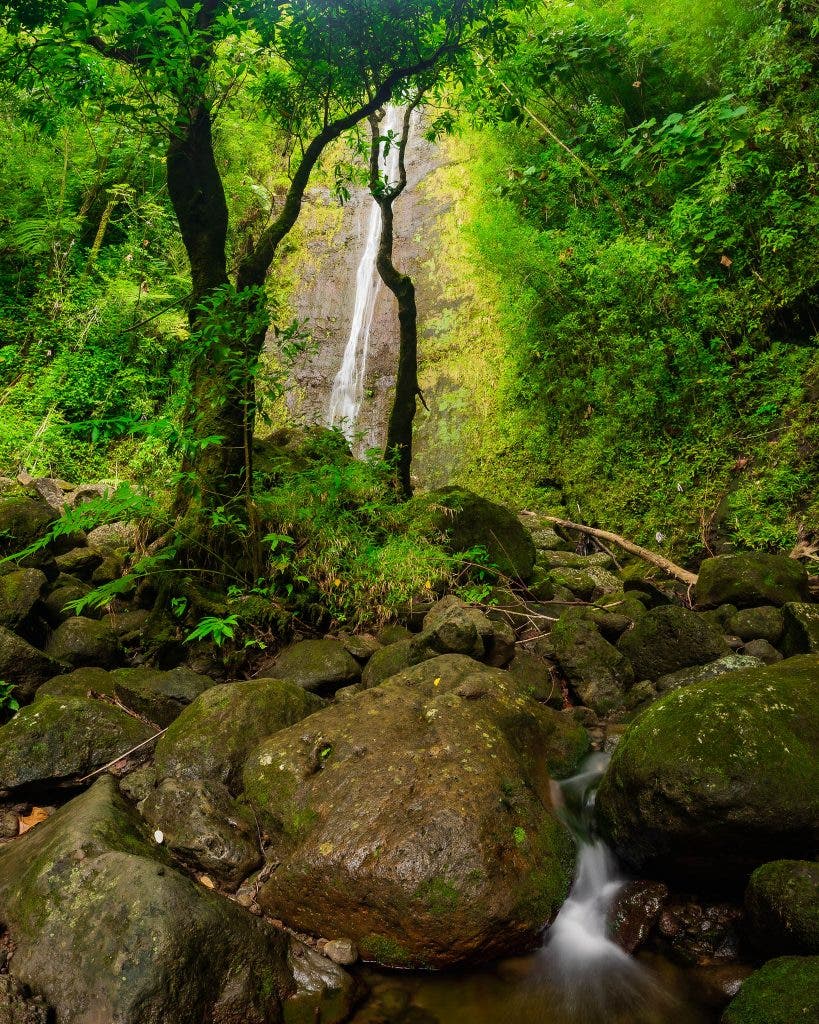
Most photographers think that a polarizer (a circular polarizer, to be exact) is only used to turn a blue sky a darker shade of blue. Not true! Polarization is actually incredibly useful in the forest.
This is because a polarizer doesn’t just polarize a clear blue sky, it also cuts reflections off of both foliage and water. That’s the trick behind why the above images have such a lush, rich green color to them, and also, it’s why the water in the waterfall, and the rocks behind the water, have a little more color to them and a little less “shine.”
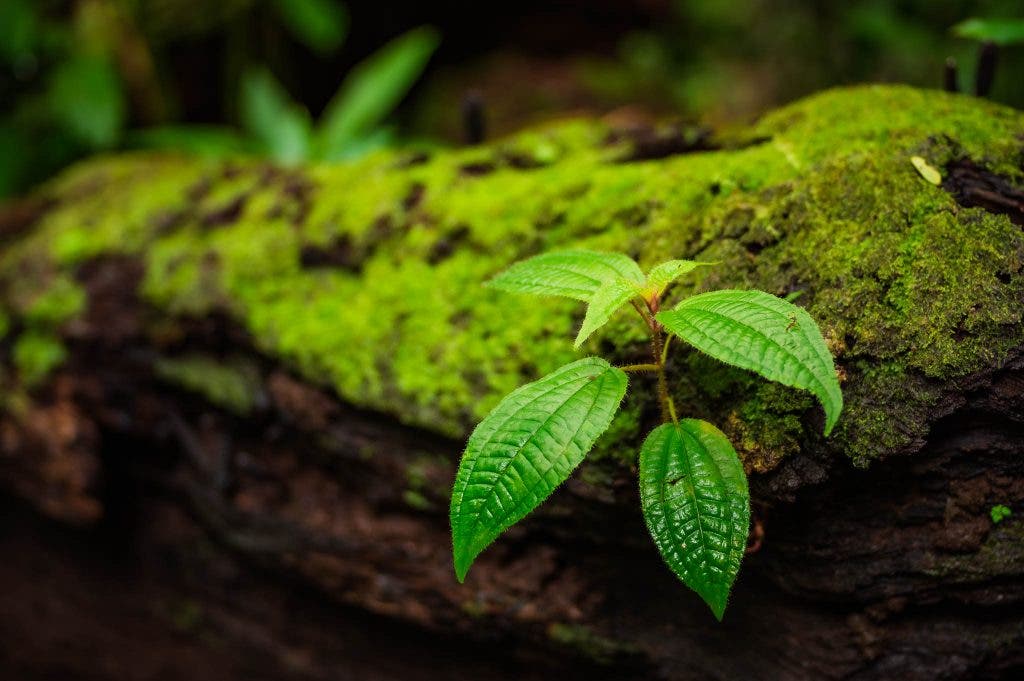
Without a polarizer, the faint shine in the image above would almost completely overpower the color of the green leaves.
3. Bring Your Tripod
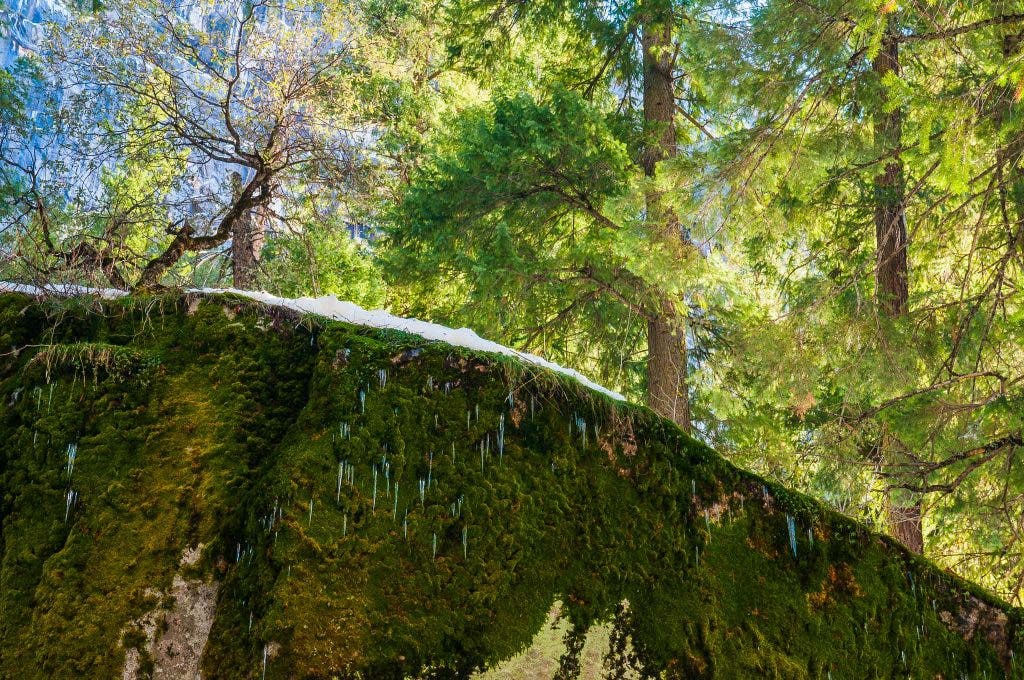
You may not think about it if you’re going for a walk in the forest during the middle of the day, however, forest photography can involve some very slow shutter speeds. This is especially true if you’re using a polarizing filter because they will darken your exposure by 1-2 EVs too.
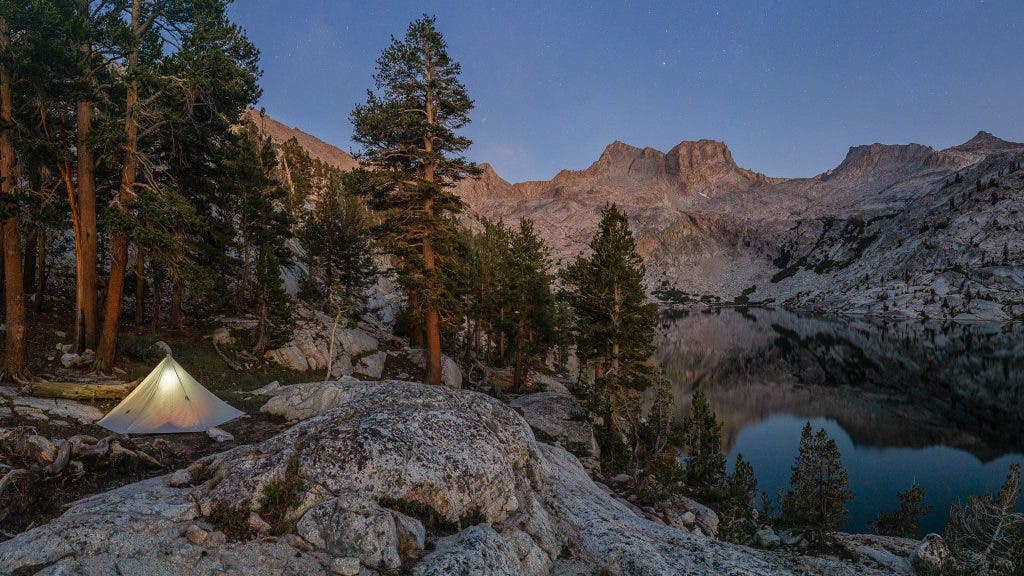
You don’t need a giant, heavy, rock-solid tripod, though, unless, of course, you like to do a lot of very long exposures with a very dark ND filter. In general, for most forest photographs, you’ll do just fine with a lightweight travel tripod so that you can more easily work at medium-slow shutter speeds such as ½ sec or 1 sec.
Bonus Tip: Don’t be afraid to raise your ISO, if it means getting the “correct” shutter speed. Obviously, this is useful in astro-landscape photography conditions but, even during the day, forest leaves can flutter in the wind and cause distracting blur even if your shutter speed is just one second.
4. Look for the Light
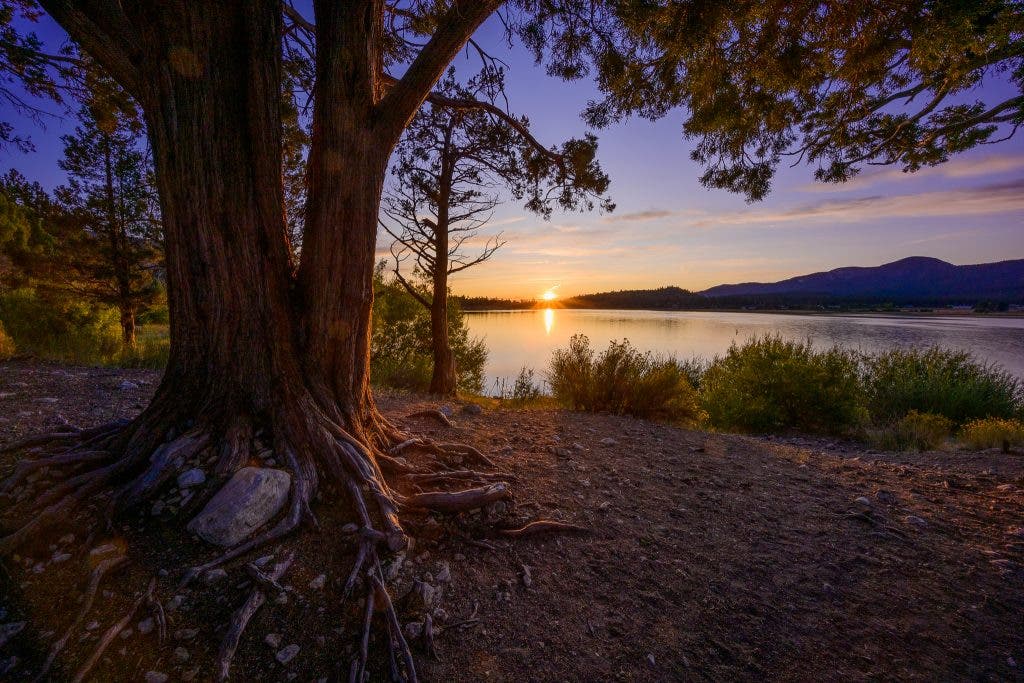
This creative tip might not be your favorite, but I’m going to encourage you to get up for sunrise or be out in the forest around sunset, instead of just during the middle of the day.
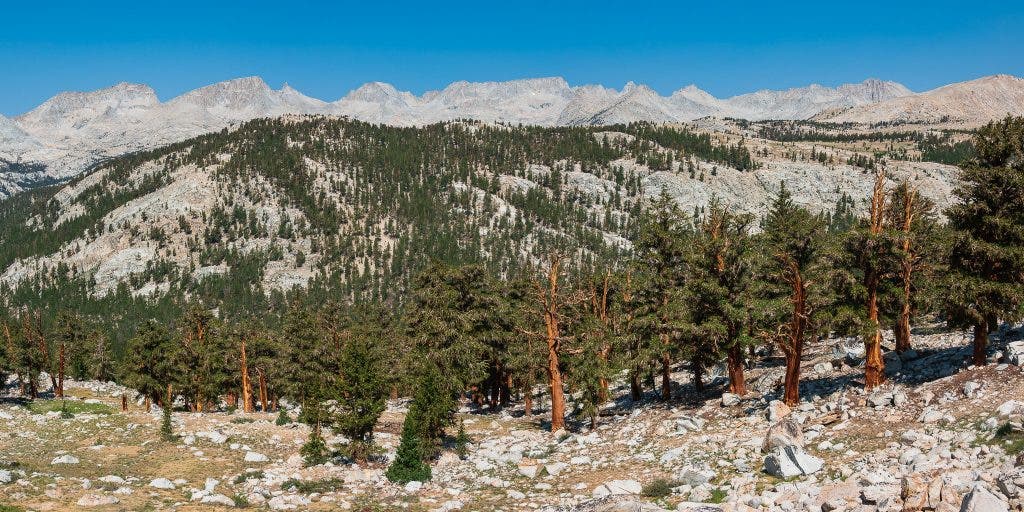
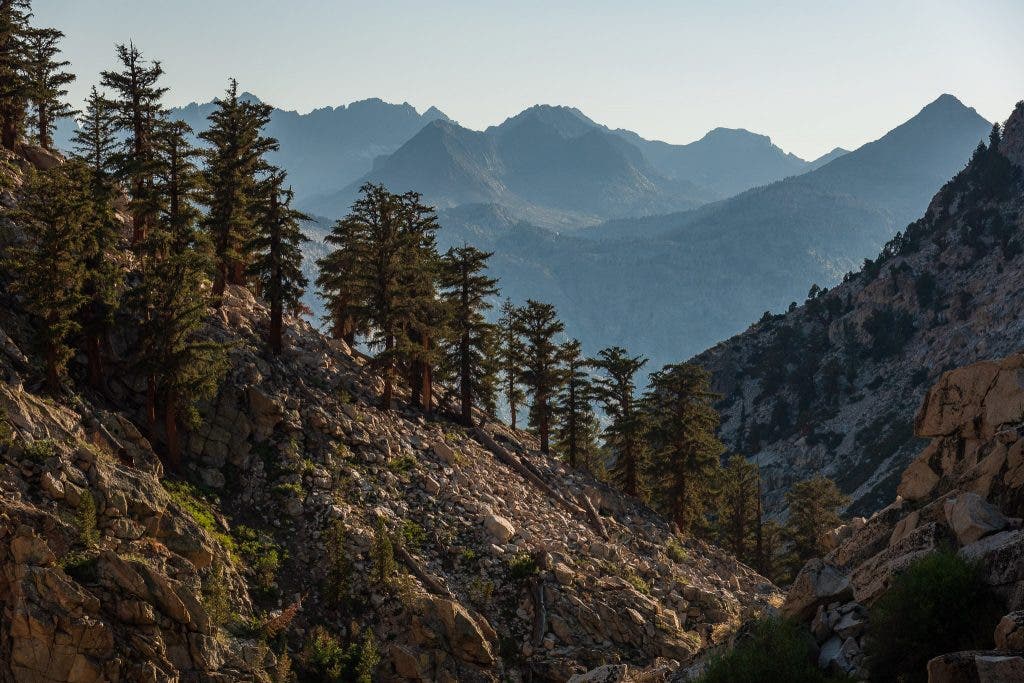
In the two images above, the first was captured with flat lighting (the sun was behind me) mid-morning, while the second image was captured in the late afternoon with the sun back-lighting a very similar subject. Art is subjective, of course, but I hope you prefer the second image as much as I do.
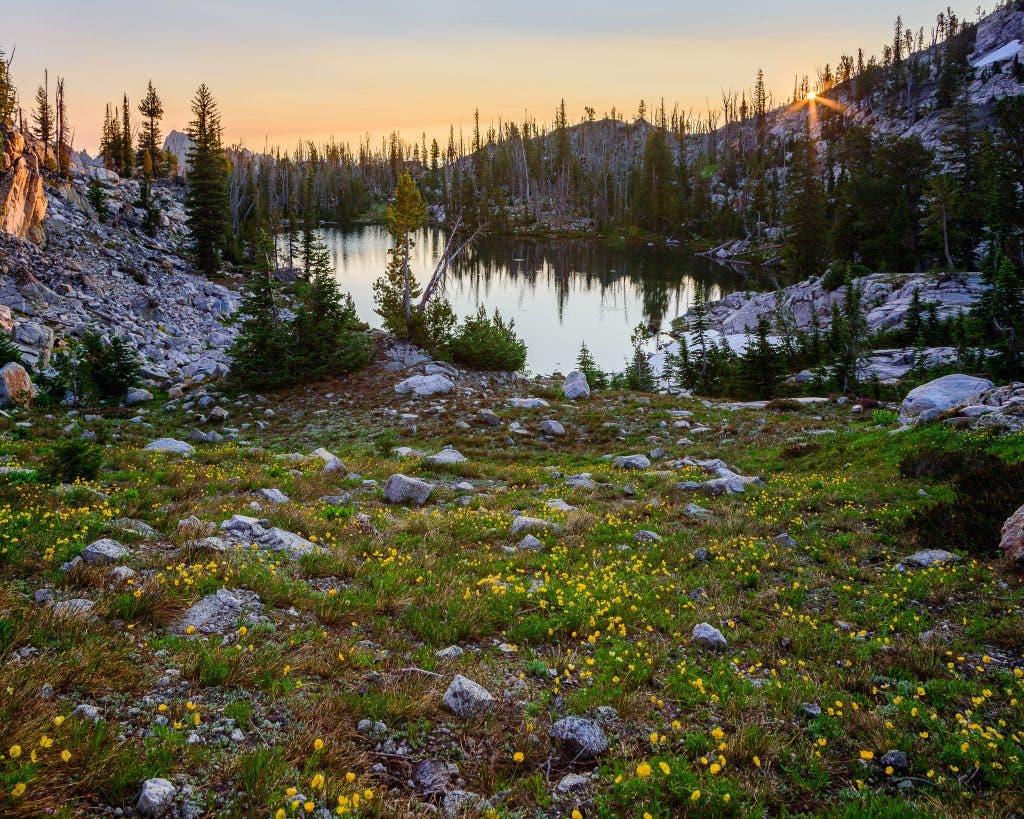
Aside from the light itself — in my experience — forests are the most alive with life, and yet a calm, relaxing aura, early in the morning. Light filters through the trees, or if you’re out in the open, warm light softly illuminates a beautiful clearing. It’s just a more peaceful, zen-like environment to get your creativity flowing.
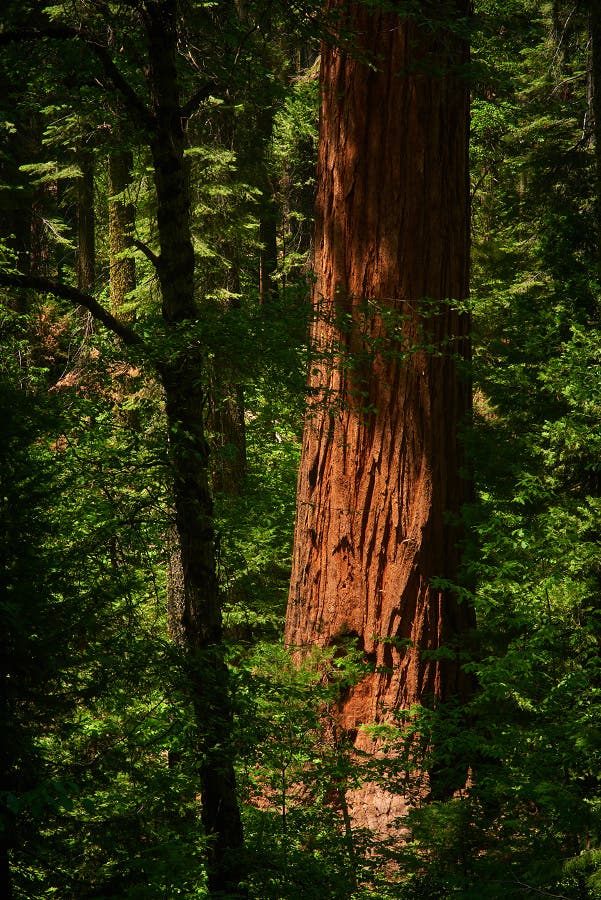
Of course, even in the middle of the day, you can create dramatic images using light. Just keep an eye out for how light and shadows play together, creating contrast. Often I find that side-lighting is just beautiful any time of day. The image above was captured at high noon in the middle of a hot summer day.
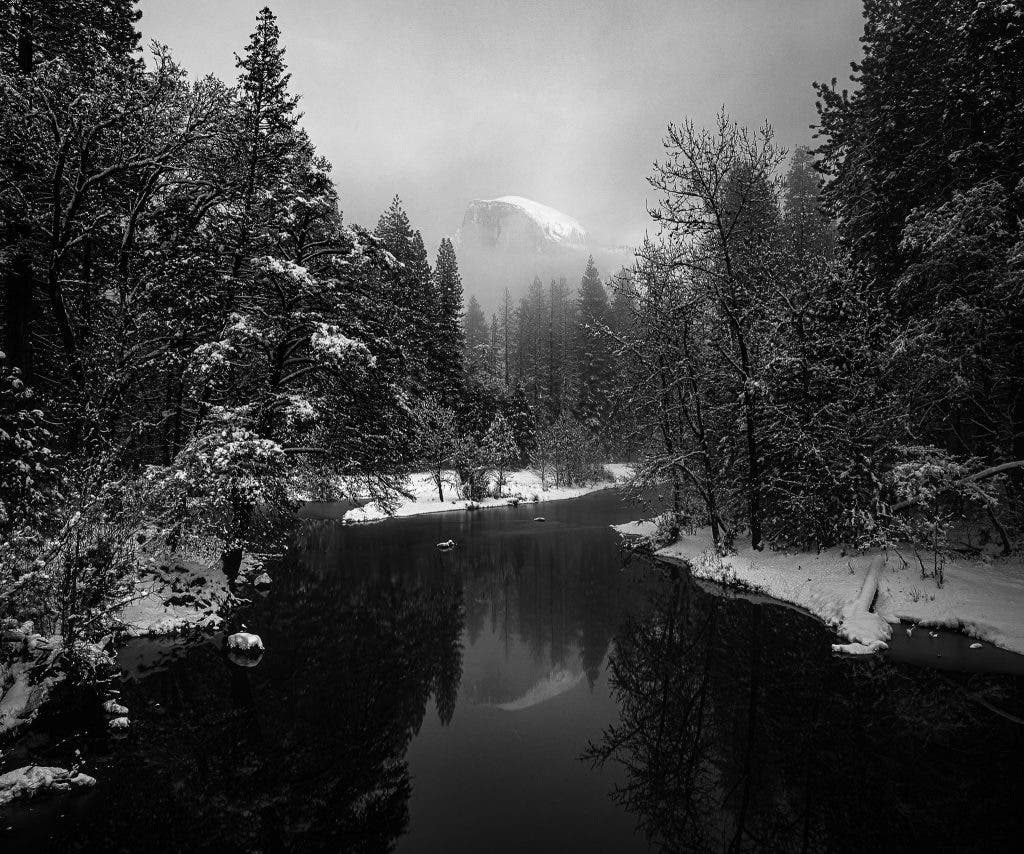
Last but not least, soft light, on an overcast or foggy day, can also be a gorgeous opportunity, so, don’t make the mistake of just sitting in your (admittedly warm and cozy) hotel room on a moody winter day.
5. Look Up!
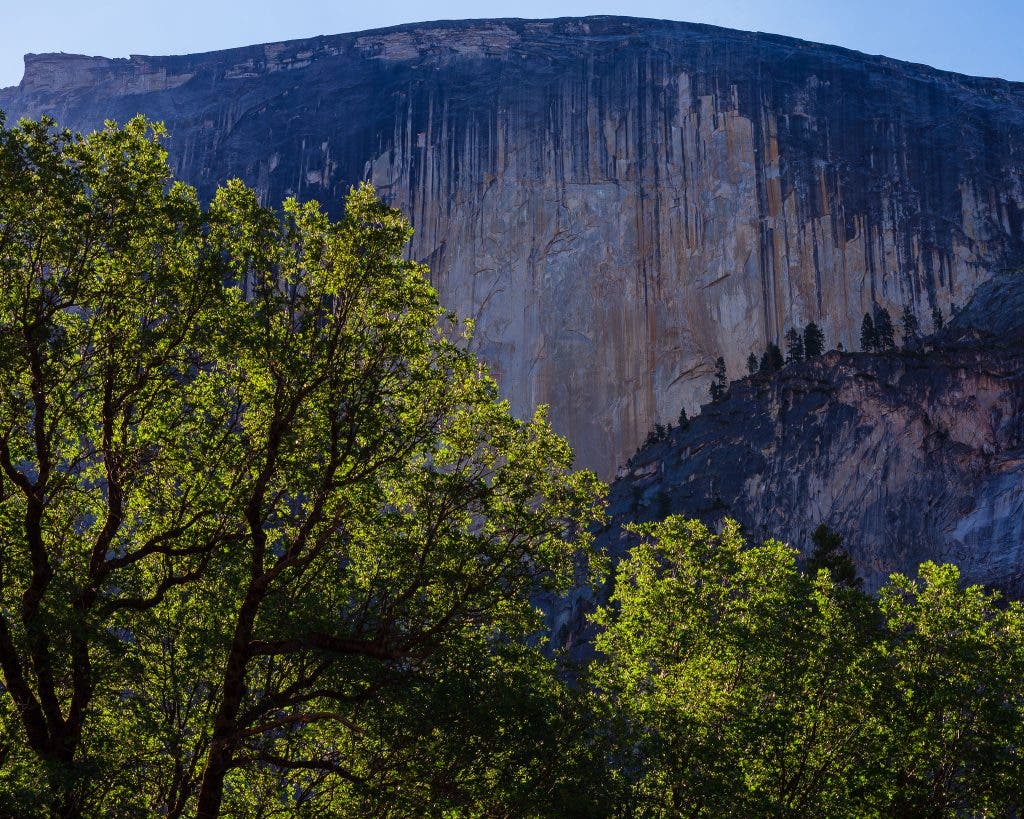
Honestly? I hope this tip is just a reminder because the minute you step into a forest, looking up in wonder is one of the first things you probably already do.
For the sake of photography, however, photographers sometimes limit themselves to certain angles, assuming they have to always include the ground or a horizon in their shots. Honestly, some of my favorite images are simple compositions with my camera pointed skyward…
6. Know The Seasons
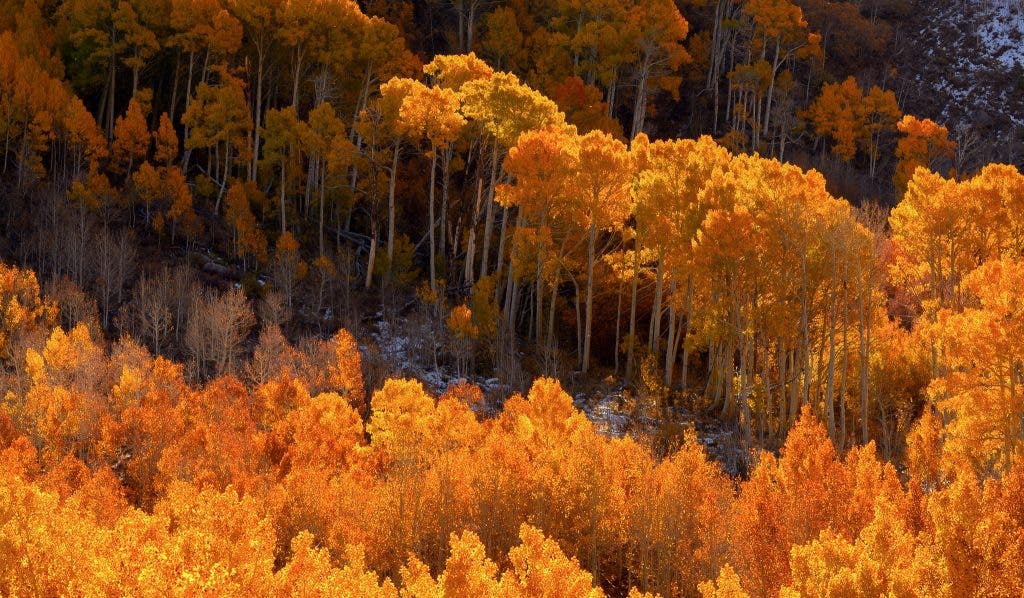
The next time you plan a trip, keep in mind that even one single week can make a huge, jaw-dropping difference in what you see. Whether it is flowers in a meadow in springtime or fall colors, it is very important to do just a little research about when a season is at its peak for a certain area.
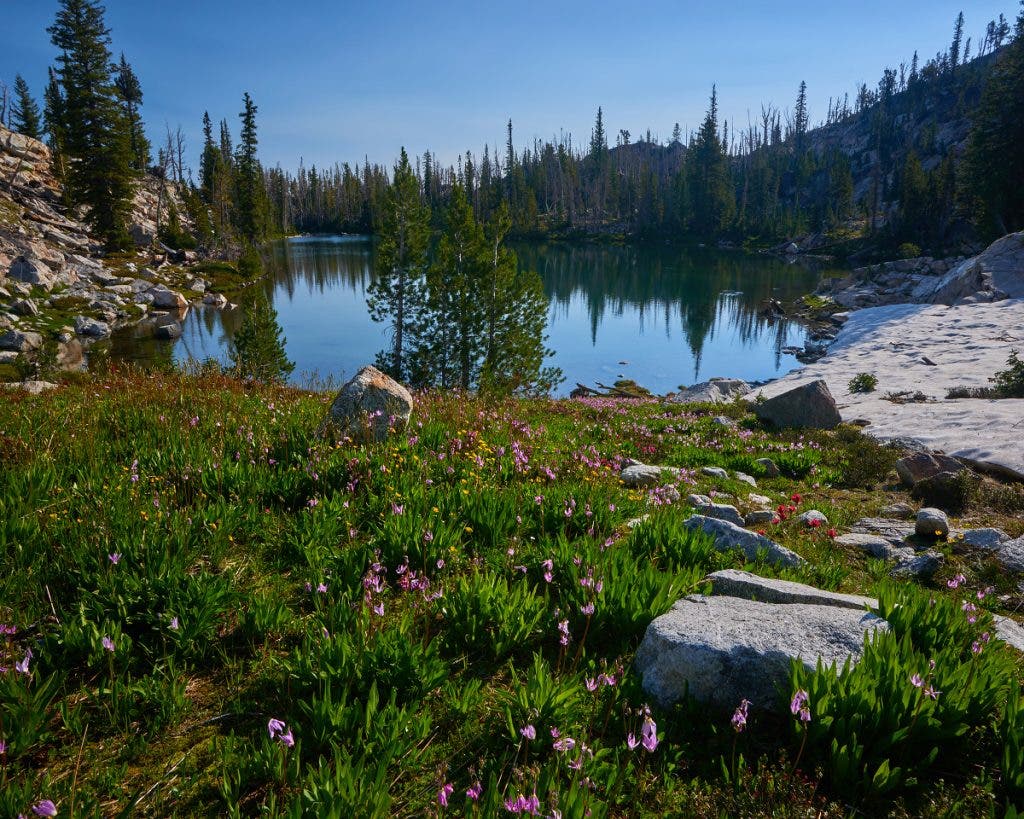
Here’s the thing, though. Seasons come and go at different times depending on how high in elevation you are! In the fall, for example, colors start turning at high elevations sooner, and at lower elevations later. In the spring, the opposite happens: flowers and other fresh green growth will start at lower elevations, and progress up higher all the way into summer.
7. Keep Conservation Forest Photography In Mind
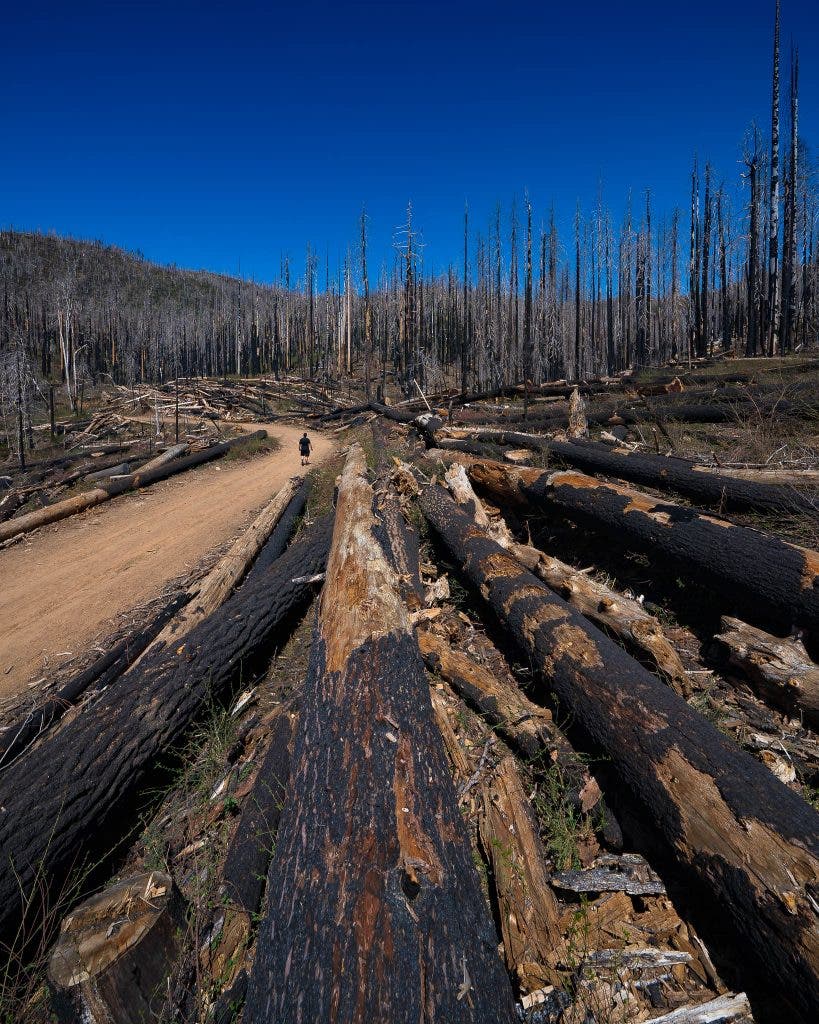

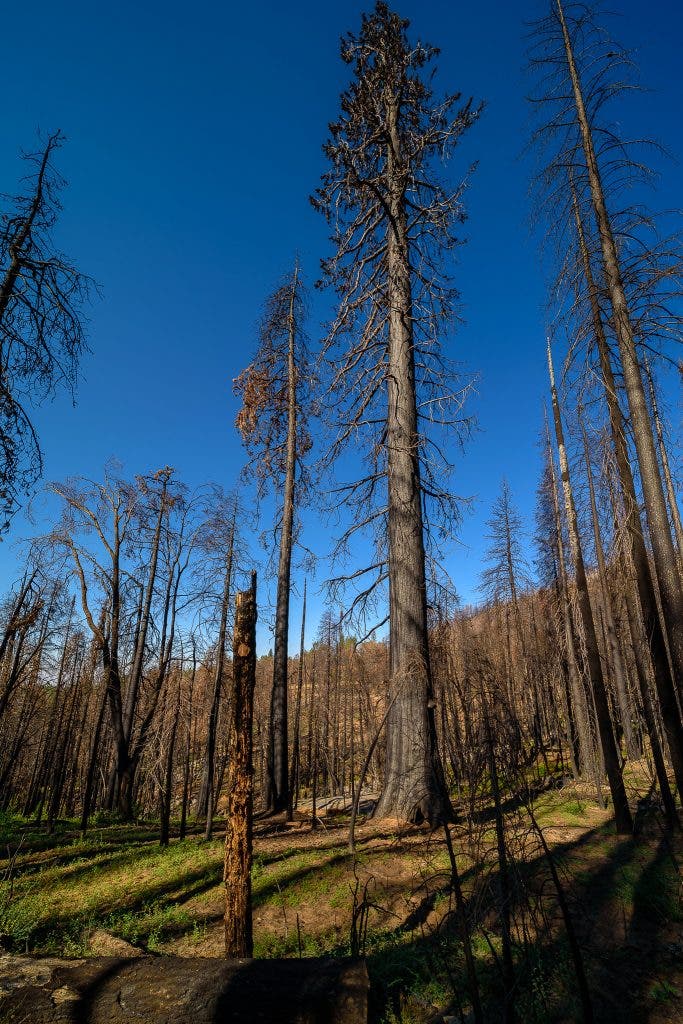
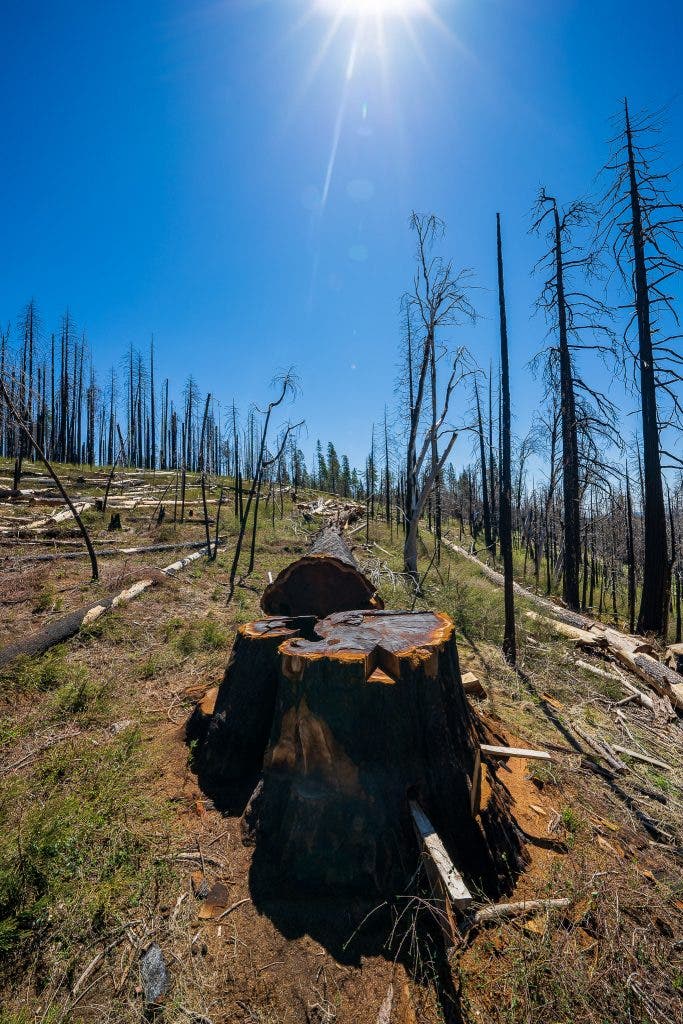
On a more somber note, especially if you live in the American West, there’s a good chance you have visited a particular forest once, years ago, and revisited it again more recently, only to witness a charred wasteland.
Is it the most beautiful, eye-candy subject? No. However, I strongly believe that as outdoor /landscape/nature photographers, capturing significant changes to the landscape is extremely important. This isn’t the time or place to talk about climate change, however, I can tell you from firsthand experience that the forests I visit are changing dramatically, and in my lifetime they will never be the same. The above four images are of the same part of the same forest over the course of just four years in the Sierra Nevada of California.
Conclusion | Forest Photography Inspiration
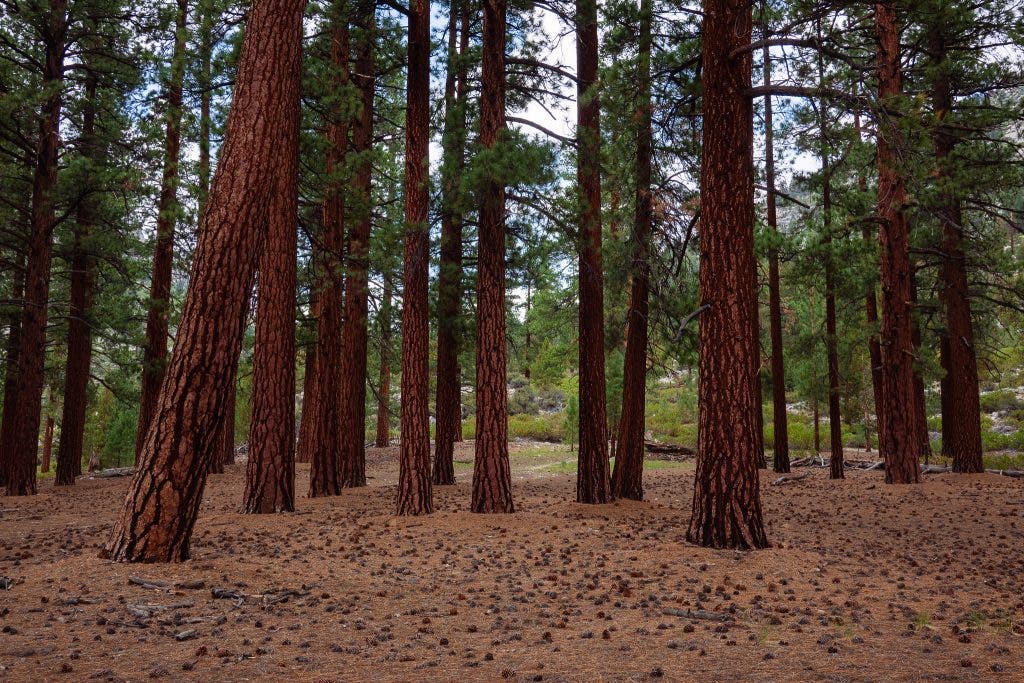
I hope this article has, in fact, inspired you to get outside and create images in a forest. Not only is it a healthy experience for you as a human being, it is also a diverse creative opportunity as a photographer. Also, there is always a chance that our images could help encourage others to not just go experience the forest too, but respect and conserve the forest as well.
