With the rise of social media, photographers are seeking ways to make their work stand out from the crowd. Forced perspective is an innovative technique that content creators use to capture eye-catching photos that engage the viewer.
If you’re new to the concept of forced perspective, here’s how it works and how you can use it in your own images:
What is Forced Perspective Photography?
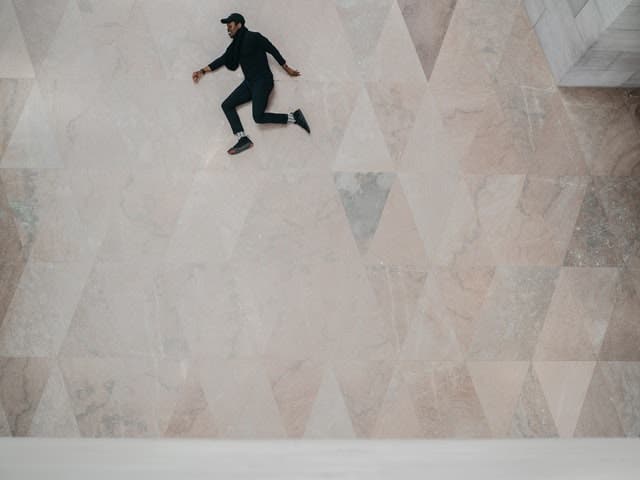
Forced perspective photos use camera angles, perspective, and size to trick the viewer into viewing everyday objects or situations in a whole new way. Essentially, forced perspective is an optical illusion that plays with concepts of scale and placement.
Practicing forced perspective photography doesn’t require any special equipment, tutorials, visual effects, or editing apps, so it’s really simple to try out. As long as you pay attention to the camera’s point of view and the physical distance or relationship between subjects, you can practice a variety of forced perspective techniques in camera.
No matter which technique you try out for creating a perspective illusion, make sure you check your work as you go. Subject alignment is key, and it’s very important to get it right at the time of shooting.
Common Examples of Forced Perspective Photography
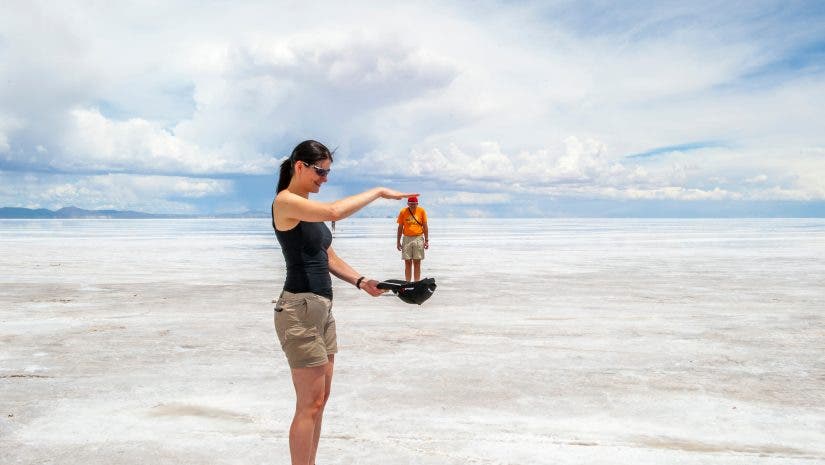
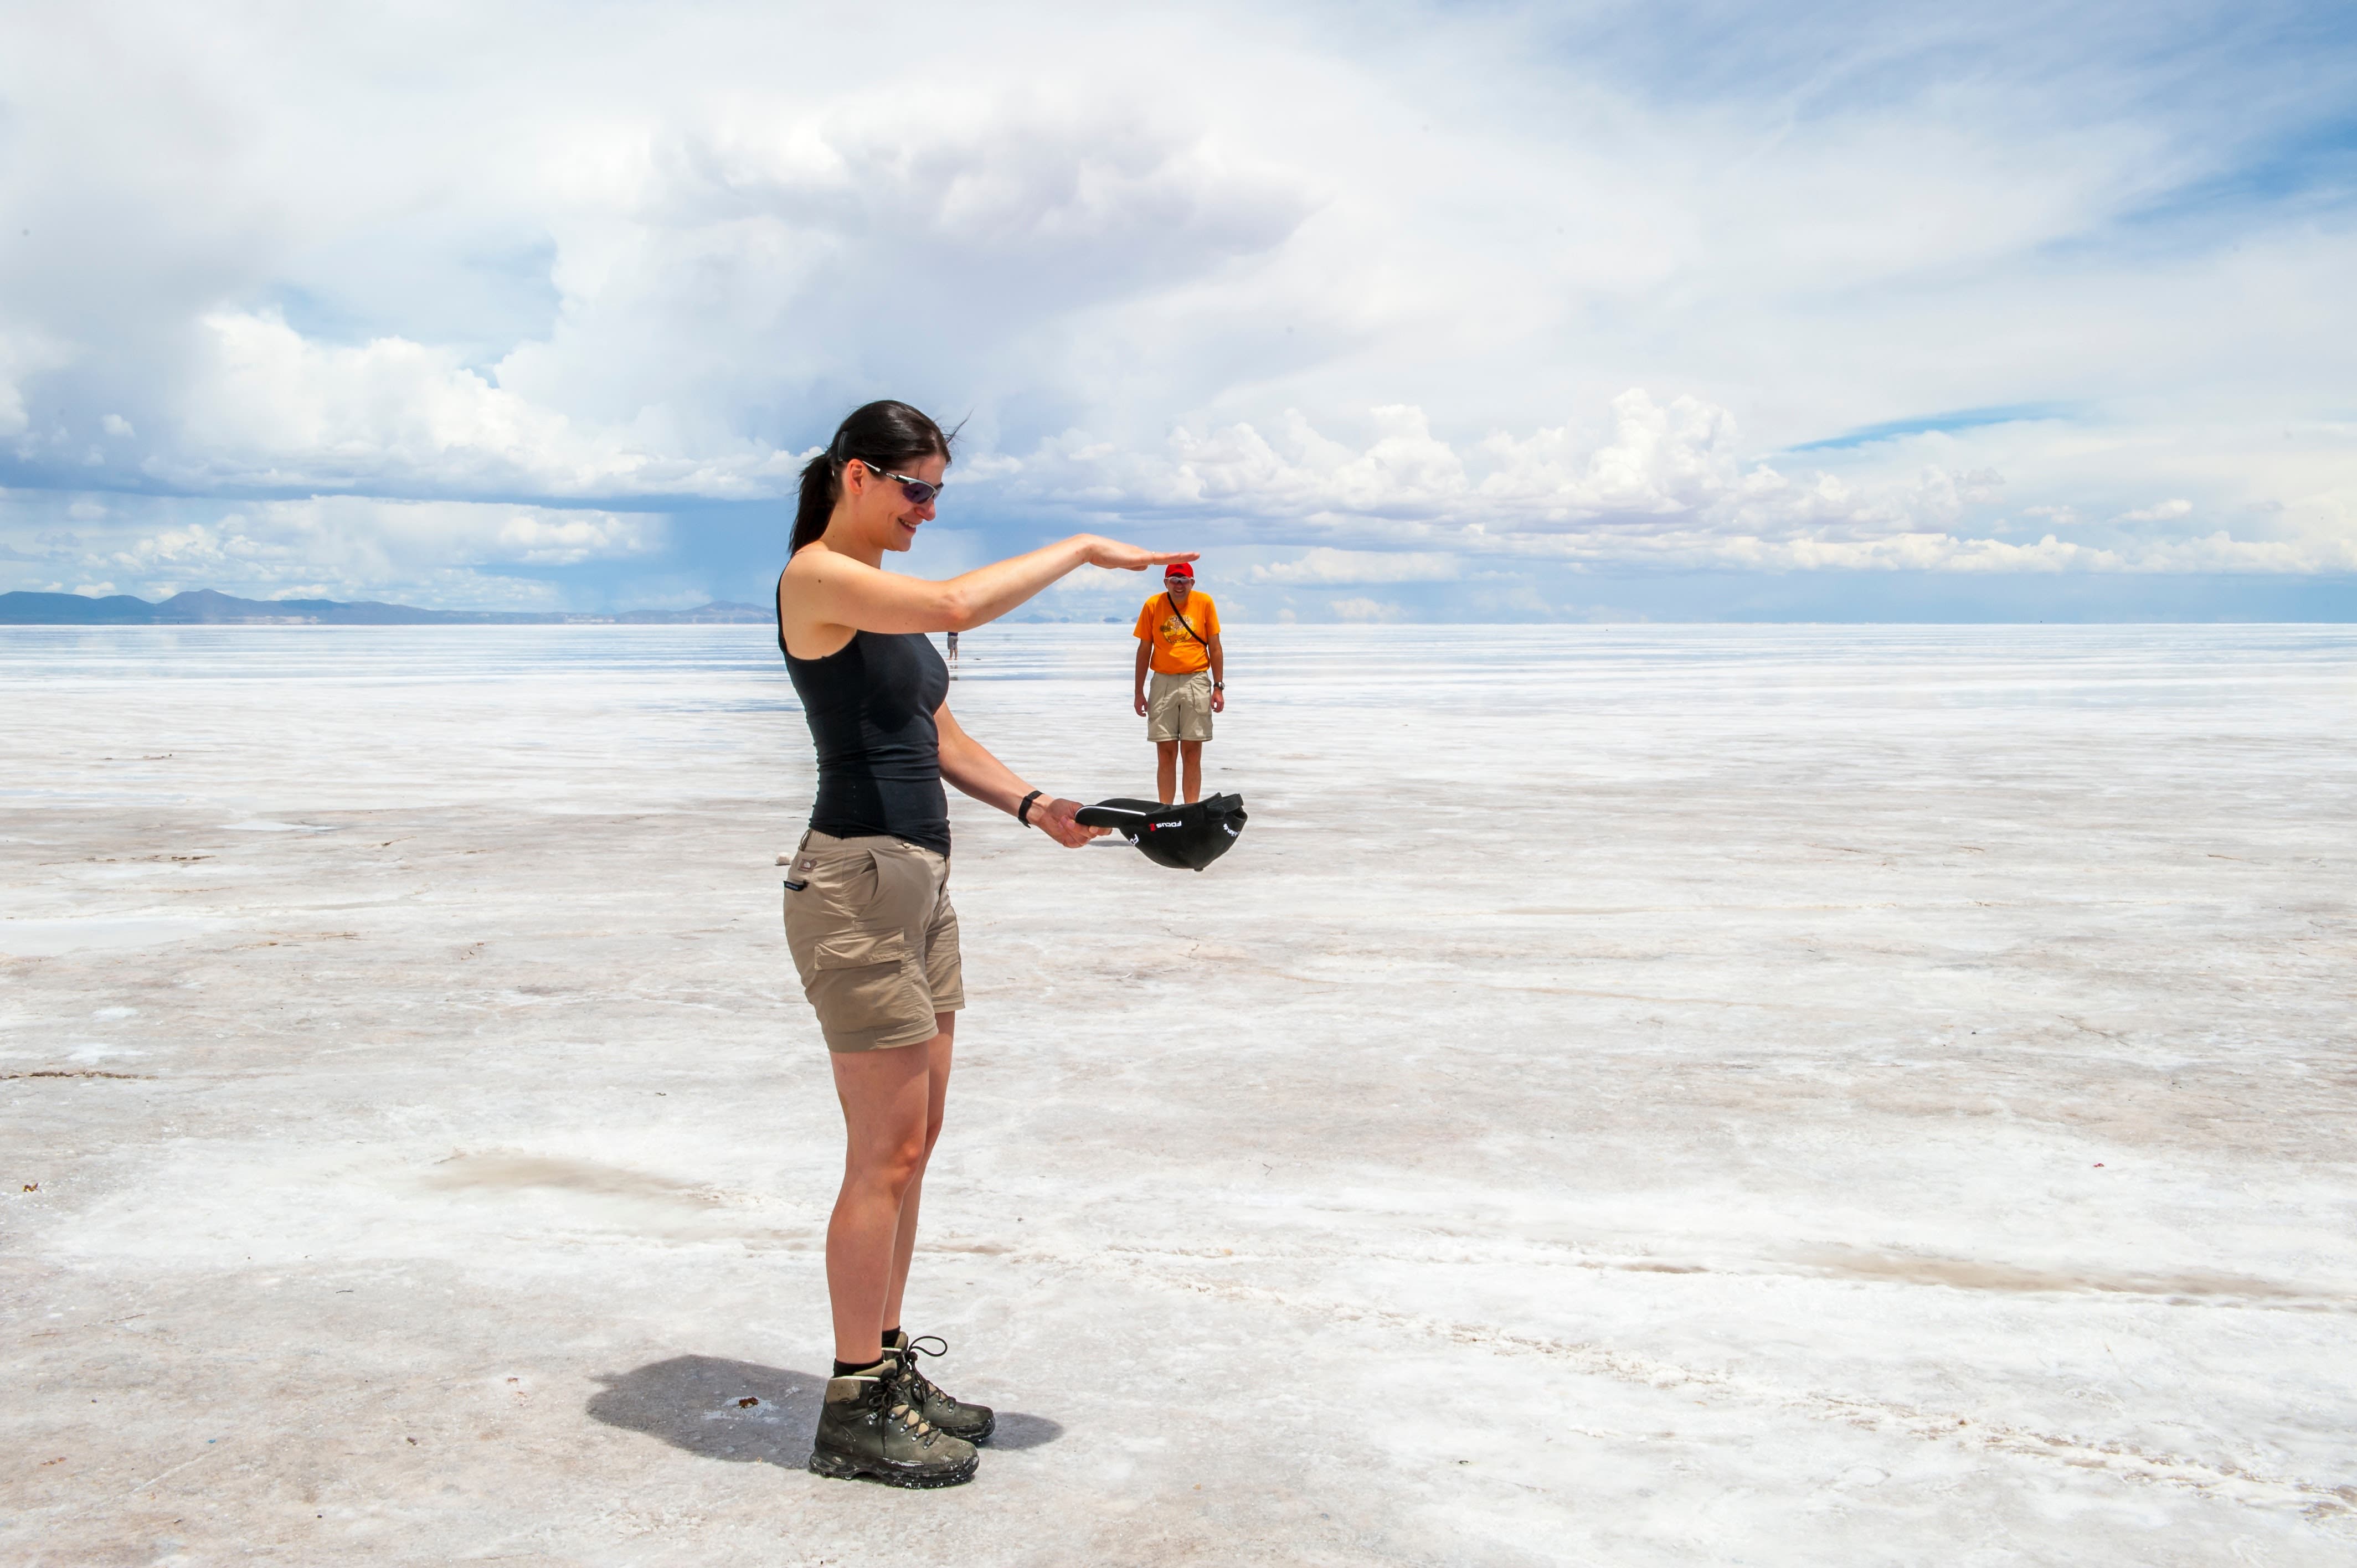
Have you ever seen a photo of a tourist posed with the Leaning Tower of Pisa where the placement makes it look like the tourist is holding up the tower? What about a photo of a person pinching the top of the Eiffel Tower, or swallowing the sun? These are common examples of forced perspective in photography.
This technique is much more common than you may realize. Some uses are exaggerated, while others are more subdued. In filmmaking, the common example is the Lord of the Rings movies. Peter Jackson placed the actors playing hobbits much farther from the camera than other performers so they would appear smaller. Portrait and wedding photographers do this to a lesser extent by posing taller subjects farther and shorter subjects closer to minimize height differences in images.
There are plenty of ways to employ forced perspective creatively. And if you want to have some fun with forced perspective during your next photoshoot, here are a few ideas to try with this photography technique.
How Does Forced Perspective Photography Work?
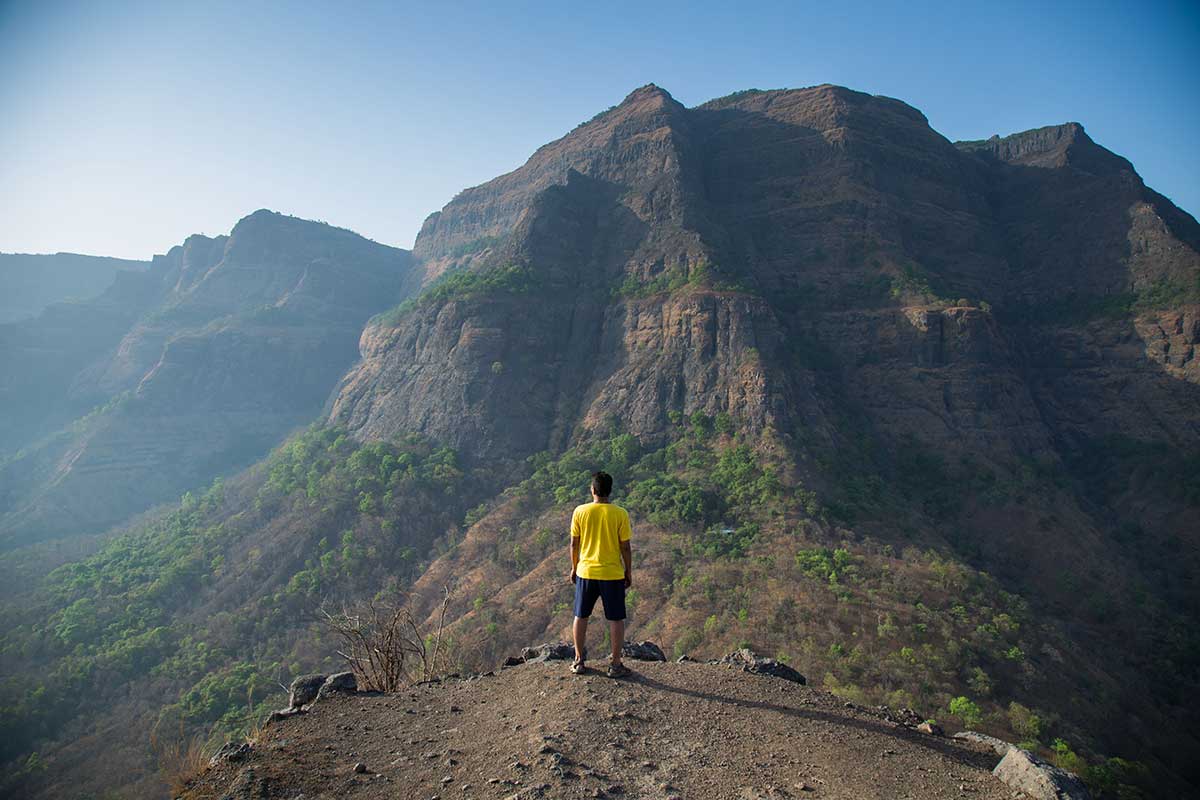
Forced perspective photography works by tricking human visual perception. Normally, our eyes and brain work together to develop a concept of scale based on objects that we’re familiar with. We use those common objects as visual rulers to compare against other items that we may not be familiar with.
You can trick the brain by using strategic placement. For example, when a person stands next to a house, our brains make a judgment about roughly how tall the house is, because we know people are usually between five and six feet tall. If you were to move the person much closer to the camera, you can make it appear as though the house is person-sized or even smaller.
Begin the Illusion with Camera Placement
When practicing forced perspective, camera placement is very important for creating a consistent vantage point. Using a tripod keeps your camera’s perspective and placement consistent, so you can easily make small changes. If your camera stays in the same position, you can also edit multiple exposures together in Photoshop later.
Once your camera is on a tripod, take a look at how moving subjects through the depth of field affects their relative size. Closer objects are much bigger, while distant objects appear quite small. Playing with these different sizes is one of the easiest ways to experiment with forced perspective photographs.
Camera Settings for Forced Perspective Shots
When setting up your camera, aperture is very important in creating an optical illusion. If you want both near and far objects to appear as if they’re on the same focal plane, they both need to be in focus. The easiest way to get everything you need in focus is by using a small aperture.
A narrow aperture will give you the greatest depth of field and create a more obvious relationship between objects. Try f/16 to start. You can go narrower if you need more depth of field.
The Right Location and Lens for Playing With Perspective
Forced perspective is much more believable in a wide open setting. Think about the Eiffel Tower and the Leaning Tower of Pisa. Both are wide open environments with plenty of room for photographers and subjects to position themselves for the ideal forced perspective.
If you’re looking for the perfect location for your forced perspective shots, consider going to a park or to the beach. Once you’ve found the right location, a wide angle lens is the best choice for flexibility in positioning and capturing the whole scene.
Forced Perspective Practice Makes Perfect
While you may be tempted to use a self-timer so you can stand in your shots, you’ll have a hard time making adjustments. If possible, recruit a model and an object with an obvious and familiar scale.
If you can’t find any models to work with, try using action figures placed very close to the lens in familiar environments. With the right angle and some creativity, you can get some great shots without any help.
Whether you use living models or action figures, check your progress during your shoot. This will allow you to make adjustments to perfect your shots. Once you get the hang of subject placement and start brainstorming creative concepts, you’ll be creating fantastic forced perspective images in no time.
9 Forced Perspective Ideas
Experimenting with forced perspective is a great way to bring new enthusiasm to your work and engage with your audience. Though curating an image’s field of view is important for creating forced perspective, there are other elements to consider.
When playing with concepts of size, you need to pay close attention to other details like camera settings, lens choice, and object placement. If you want to experiment with things like props and paper cutouts, you’ll need to look for the right environment that connects well with your subject both visually and thematically.
Here are a few helpful ideas for getting started with forced perspective in your photo portfolio.
1. Forcing a Unique Sense of Scale
Whether you’re creating hobbits, giants, or something in between during your photoshoot, playing with size as part of a forced perspective shot can result in some very funny and ultimately creative photography. When playing with size, it’s important to maintain a consistent vantage point. Set your camera on a tripod and try not to bump it.
The subject you want to increase in size will need to be very close to the camera, and the subject that’ll look small will need to be very far away. Using a wide angle lens can help get all your subjects in frame and also add some natural distortion to amplify the optical illusion.
Make sure your aperture is very narrow for a deep depth of field. To achieve forced perspective, both subjects need to be in perfect focus. You won’t have bokeh in your images, but you will have some amusingly-sized subjects.
2. Create Perspective Illusion Through Object Interaction
Just like those Leaning Tower of Pisa shots, many forced perspective images rely on playful subject and object interaction. Placing the camera on a tripod helps keep your object and your camera in the same location. That way, you can move the subject to tweak its placement and perspective.
Try putting a person in an empty ice cream cone. Or, have a subject interact with the shadow of a stationary object like a basketball hoop or bicycle.
Some forced perspective photographers start with historic photographs of locations and landscapes, then hold them up in front of the place where the original image was shot. By carefully overlapping the images, you can create some really compelling glimpses through history.
3. Keep Everything in Focus for Successful Forced Perspective
Aperture and depth of field signal to the brain how two objects are related physically. We’re used to seeing photographs with a variety of depths of field, and our brains have learned that close-together objects have similar focus. If one object is in focus and another isn’t, it signals to the brain that those objects are likely far apart.
For the most convincing forced perspective results, it’s important to ensure all objects are in perfect focus. The best way to achieve this is to use the narrowest aperture possible, like f/18 or f/22, for a greater depth of field.
4. Keep Your Forced Perspective Images Simple
If you’re new to forced perspective photography, you’ll find that it’s easier to trick the viewer’s brain when it’s not overwhelmed with stimuli. That’s why it’s so important to keep things simple at first.
For example, you can include a dog and an apple in the same shot. As long as their placement works well and you have sharp focus on both subjects, you can make it look like they are the same size. If you also add a car and a person to the frame, you’ll have too many objects for the viewer to focus on, so the forced perspective won’t be as convincing.
5. Creative Photography with Paper Cutouts
Clever paper cutout photographs have been popping up on social media lately. For this type of forced perspective photo, hold up a paper cutout of a character or object in front of a location or landscape.
One example of this photography technique is a paper cut out of Spider-Man held up in front of the support wires of a bridge. The bridge becomes a part of Spidey’s web, and offers a fun and unique way of looking at an everyday structure.
You can also use negative space with paper cutouts. Some photographers start with printed photos of celebrities in ball gowns. Then they cut out the gowns to create an area of negative space where the dress was. Finally, they hold up the photo in front of flowers or a sunset scene. The resulting effect looks like the dress is made of peonies or golden evening light.
6. Rotate Your Images for a New Perspective on Common Locations
Pose a subject with their back on the ground and their feet on a wall. When you rotate the image in Photoshop, it will look like they’re in an M.C. Escher drawing. Playing with subject placement with the intention of rotating photos later opens up a whole new world of fantasy and optical illusion. Gravity is no longer an issue, and your photos can become magical!
7. Combine Multiple Forced Perspective Techniques
With forced perspective photography, there are no limits or rules. If you can imagine it, you can create it. Play with size, relationships to objects, paper cutouts, and more in a single image. As long as you use a tripod, check your work as you go, and maintain a deep depth of field, the possibilities are endless.
8. Experiment with Wide Open Spaces
Using wide-open spaces is another way to simplify your forced perspective shots. The more architectural elements or distracting objects in the frame, the harder it is to build the illusion for your viewer.
Choosing a wide-open vista like a grassy field or an empty beach removes distracting elements that interfere with the illusion. The Leaning Tower of Pisa and the Eiffel Tower both work so well for forced perspective photography because they’re relatively isolated structures. The empty space that surrounds them keeps the brain from being able to analyze their scale.
9. Unleash Your Creativity
Creativity and imagination are the two most important tools when practicing forced perspectives. The very act of reimagining the scale or positioning of an object requires letting your mind wander and explore.
Some popular styles may work really well for you, while others may not be as successful right away. As you practice creating optical illusions, feel free to experiment and photograph multiple iterations of the same concept.
It takes time to make forced perspective work, so give yourself the license to play, make mistakes, and improve on your own ideas as you try out new techniques.
Conclusion
If you’re ever feeling at a loss for what to photograph, or you’re looking for a way to reinvigorate your photography, you should consider forced perspective as a new technique in your skill set.
Whether you want to make your family dog look as big as a house, photograph your friends holding up the precariously balanced structure, or create unique silhouettes with paper cutouts, you’ll find that forced perspective is fun and rewarding.
Want to learn more about forced perspective techniques? Check out our eye-opening video.
