Maximizing sharpness is one of the most crucial aspects of creating compelling landscape photographs. Maximizing sharpness, however, does not mean everything in the scene should be in focus. That is an important distinction. For example, you may want to emphasize certain elements by blurring out other parts. In that scenario, maximizing sharpness only applies to the main subject. Conversely, you may want as many things as possible in focus. In this article, I will discuss what is possible, what is not, and how to decide where in focus in landscape photography.
Focus on the Main Subject
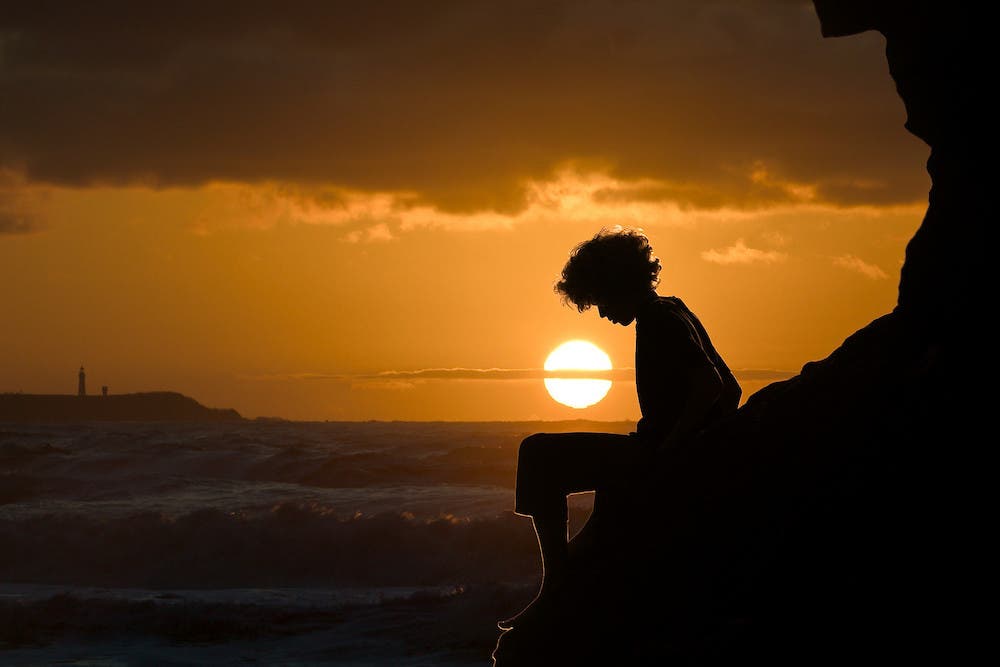
It may seem like an obvious statement, but it does bear stating. This is especially true if you’re capturing environmental portraits with people and animals. If the subject’s face is visible, then try to focus on the closest eye. The best way to achieve this is to manually place the focus point (or area) directly over the subject. If you’re fortunate enough to have a system with robust human or animal eye detect capabilities — such as the Sony A1 Camera— then make sure that option is enabled.
Focus at Infinity
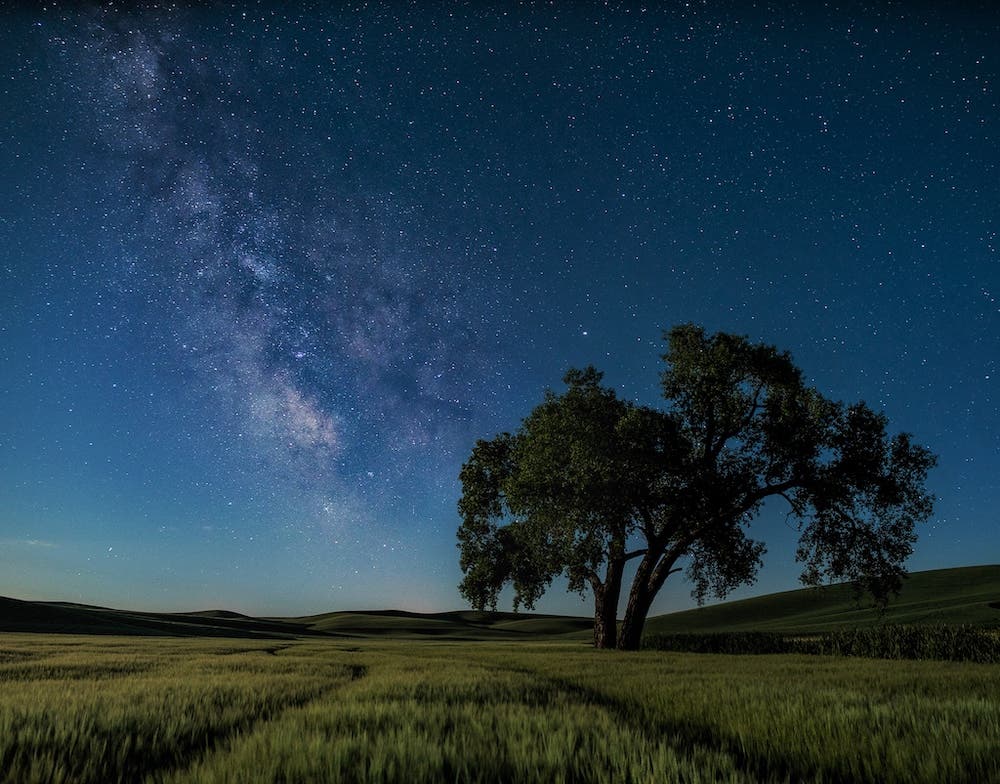
Focusing at infinity is especially crucial for certain types of landscape photography, such as astrophotography. Many manual lenses will have infinity marked on the lens barrel. However, the exact location is frequently inaccurate. I highly recommend finding the exact point during daylight hours by focusing on very distant objects like mountains and clouds. Then, make a mark on your lens with a green pen (green is easier to see at night than red). If you have an autofocus lens without physical stops on the focus ring, then you’ll have to use live view or rely on the electronic viewfinder at night and resort to trial and error.
Focus 1/3 of the Way into the Scene
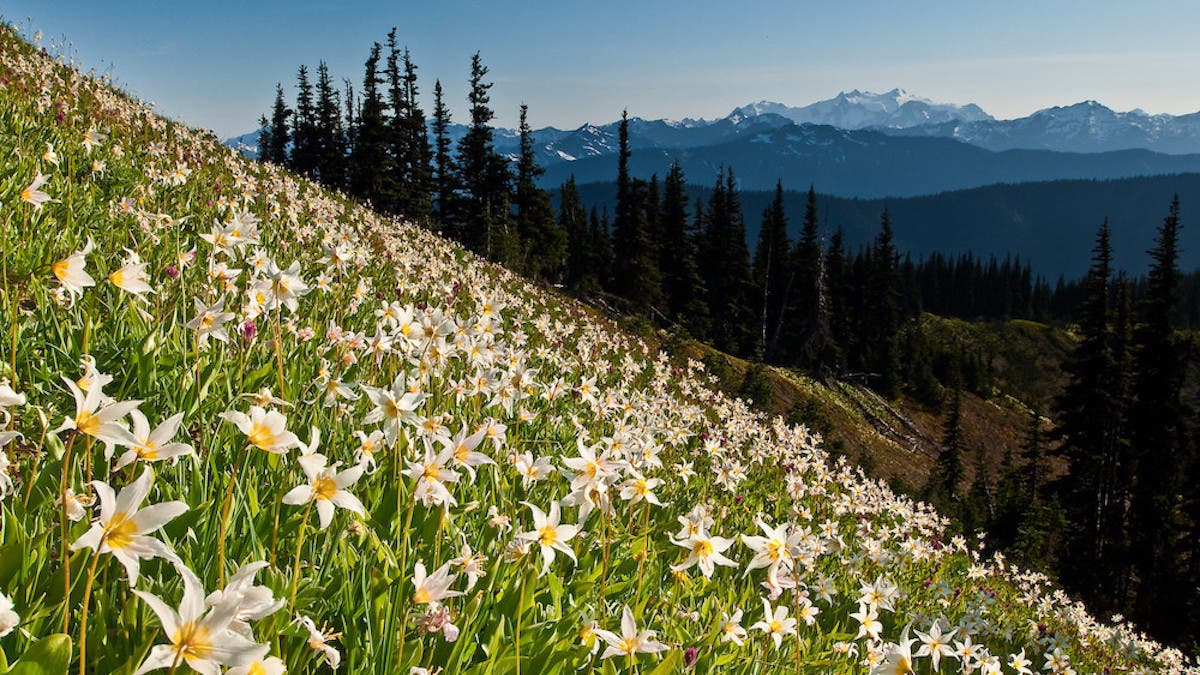
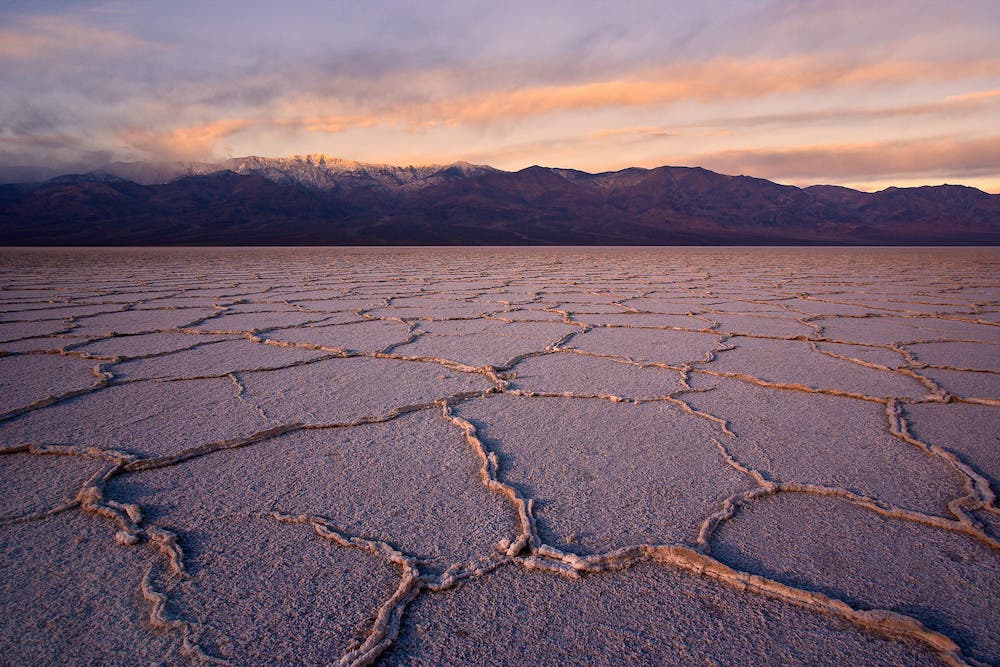
If you want to get as much as possible in focus from the foreground to the distant background, then you can either calculate the hyperfocal distance (see below) or “wing it” by focusing about 1/3 of the way into your scene. This is more applicable for shorter focal lengths (wide-angle lenses) than longer ones (telephoto lenses). Focusing about 1/3 of the way into the scene while using a reasonable aperture such as f/8 or f/11 and a “wide-ish” focal length like 20–28mm will do a good job of estimating the hyperfocal distance such that you’ll have most objects in the foreground and very distant objects like mountains in “acceptable” focus.
Focus at the Hyperfocal Distance
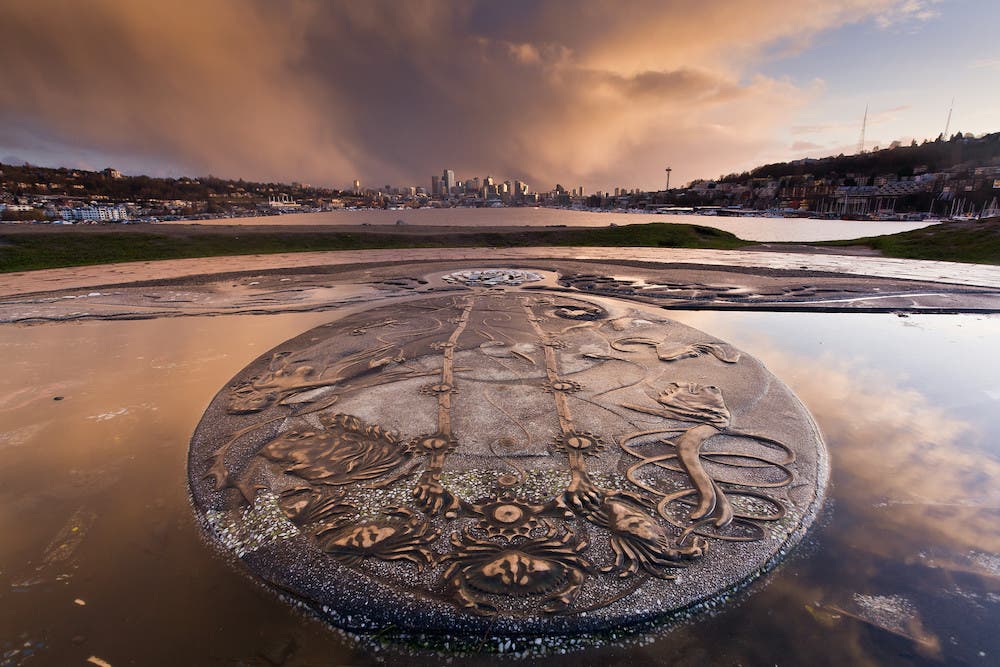
Hyperfocal distance is the distance from your camera where you need to focus, such that everything from half that distance to infinity is in acceptably sharp focus. The hyperfocal distance is dependent on both the aperture and the focal length of the lens you’re using.
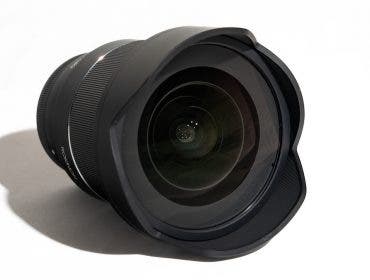
For example, if you’re shooting with a 15mm lens at an aperture of f/11, and you want to be sure that infinity is in focus, then you’ll need to focus at about three feet into the scene. This will ensure that everything from about 1.5 ft. to infinity is in acceptably sharp focus.
Let’s take one more example. If you’re shooting with a 50mm lens at an aperture of f/11 and you want to include infinity in your focus, then you’ll need to focus at about 26 feet. This will ensure that everything from about 13 ft. to infinity will be in acceptable focus.
If you want something closer to be in focus, you’ll either need to accept that infinity won’t be in focus, or you’ll have to make the aperture more narrow. There are charts and apps available to help you calculate the hyperfocal distance for any given aperture and focal length combination.
Over-compose
As you can see from the hyperfocal distance discussion, the wider the lens, the greater the range of distances that objects are in focus. Let’s say you want to achieve a wide depth of field and the ideal composition is at 50mm. However, you’re unable to achieve that degree of depth of field at 50mm because of limitations on aperture. You could instead shoot the scene with a 25mm lens and crop out 50% to achieve the same composition. This will give you the desired depth of field but at the cost of half the megapixels. This might be an acceptable compromise if you’re shooting with a high megapixel camera.
Focus Stack
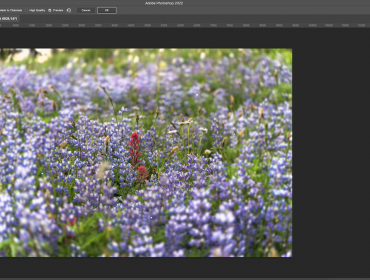
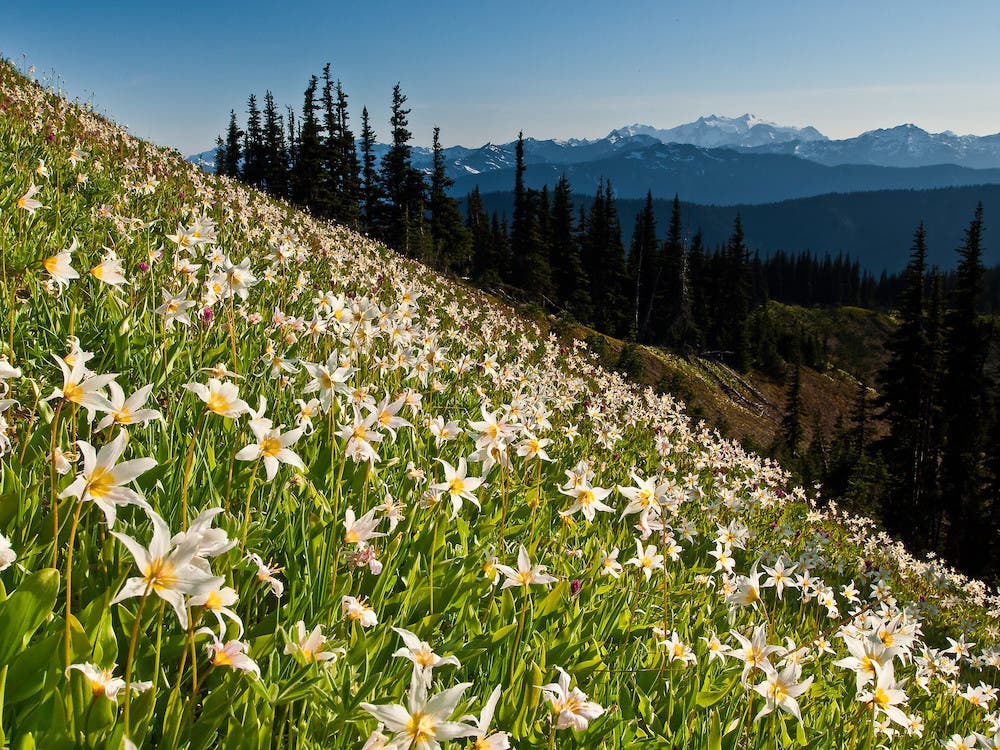
If you don’t want to over-compose, you might try focus stacking. For the best results, you’ll often need to use a tripod. In the same scenario as above, you can capture a series of images, focused at different points in the scene and use apps such as Photoshop to combine the images in post-processing. As you’ve probably guessed, this works best for static subjects.
Conclusion
Where to focus in landscape photography has a huge impact on the look and feel of a photograph. In this article, I presented several methods to help you be more thoughtful and deliberate with your focusing techniques. Personally, I prefer the hyperfocal distance method but resort to “1/3 of the way” whenever I’m pressed for time. Focus stacking also works very well if there isn’t any wind to disturb foreground elements such as flowers. The more you experiment with these techniques, the more they will become second nature.

