The travel season is just around the corner. Plans are being made, bags are being packed, and now is the perfect time to get ready to make some great images while traveling this summer. Here are five of my favorite tips for creating great images on the road.
Wait For It
There’s just no substitute for the right moment. It’s a combination of the right light, the perfect location, good composition, and action taking place at just the right time. Henri Cartier-Bresson called this the “decisive moment”. That moment when everything comes together to create a perfect photo.
It’s rare to capture the decisive moment without a little planning, a lot of waiting, and a bit of luck. Here’s how I was able to capture on of my favorite moments on the Zambezi River in Victoria Falls, Zambia.
I was fortunate to have a hotel overlooking the river. The views from my balcony were beautiful, although I was constantly annoyed by the noise of the many boats traveling up and down the river taking tourists to see Victoria Falls and the wildlife along the banks of the river.
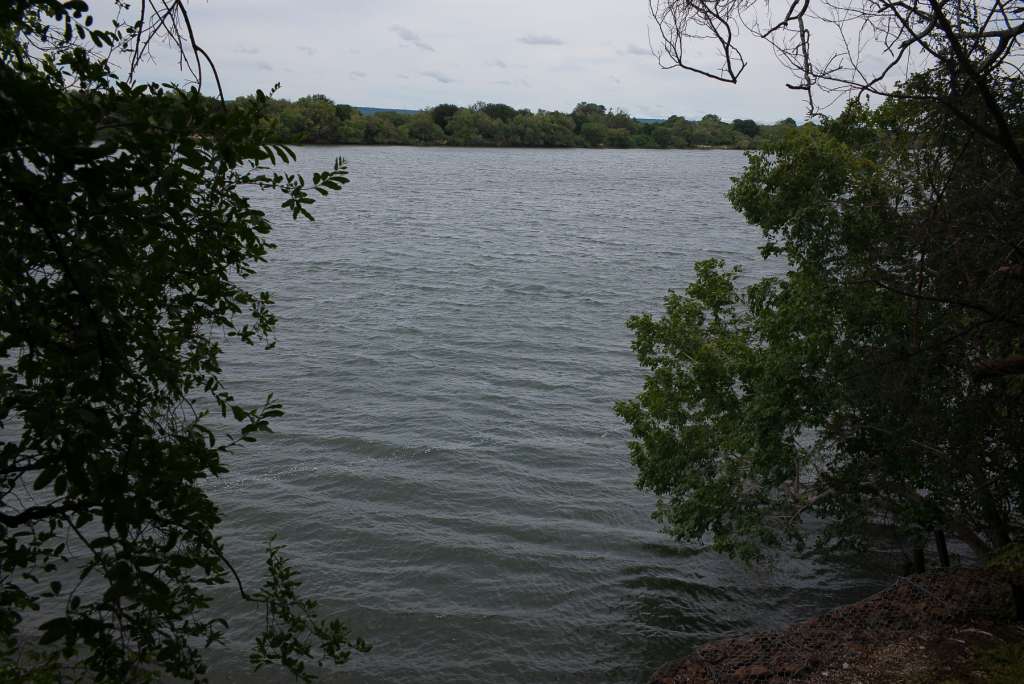
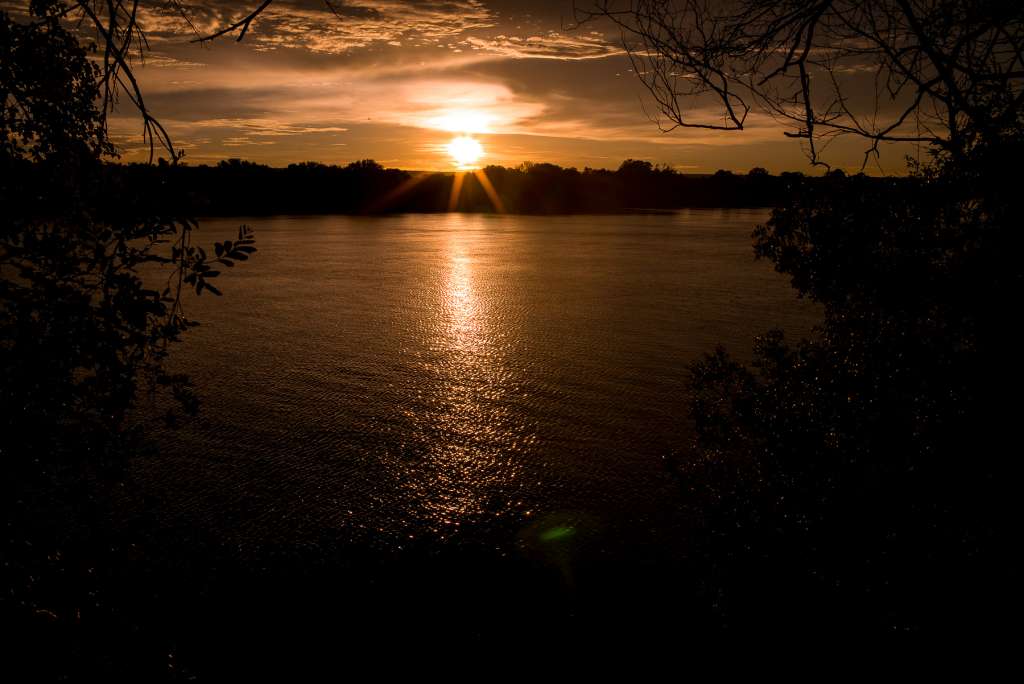
When I first arrived at the hotel I took a photo of the river just before noon. It’s a photo that has no point of interest, no color, no character at all. It’s horrible. There’s just nothing interesting about it.
Later that same night I was in my room reading and I saw that the sun was beginning to set and the sky was turning orange, the water was calm, and from my chair, things started looking pretty good.
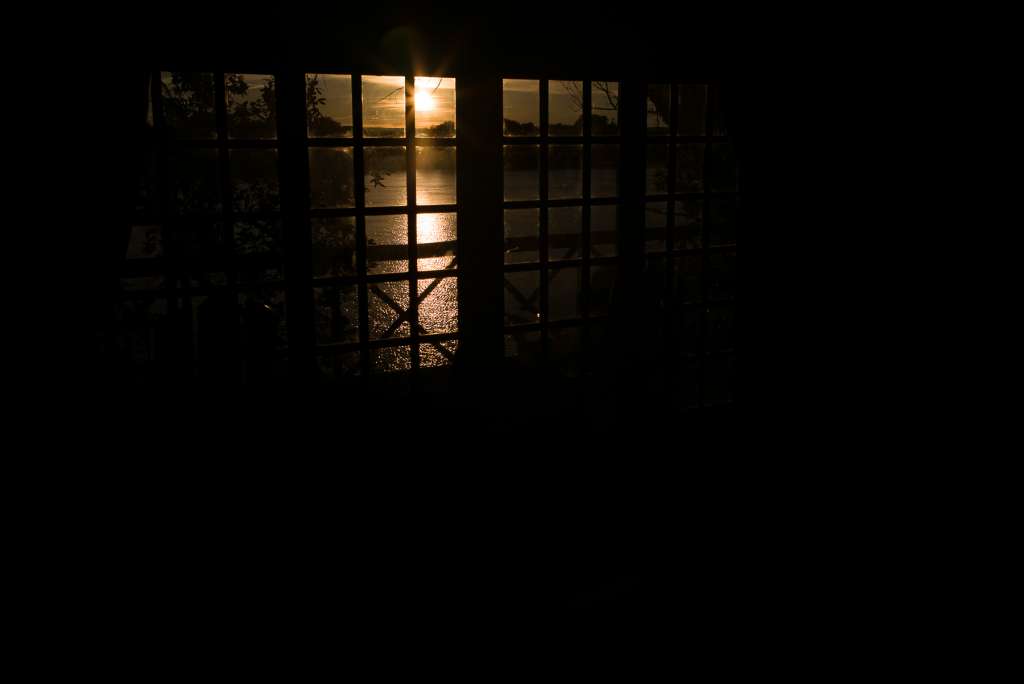
I grabbed my camera and headed out to the balcony. I made sure to set my camera to RAW so I would have the best possible file to edit later. I composed my shot almost the same as I had earlier in the day and took another photo.
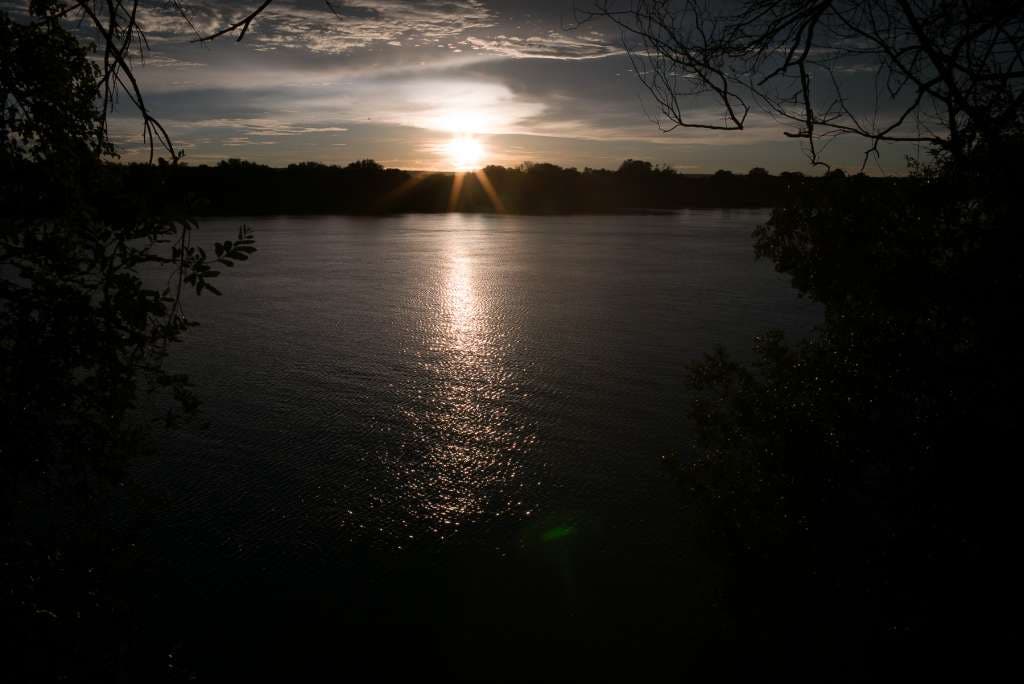
That’s a better image than before. The strong backlight creates silhouettes and the reflection of the sun on the water leads our eyes into the image. But the image still has issues, the color that the camera captured was not the golden sun that I was actually seeing. I’d need to make adjustments in post processing so the image matched what I was seeing with my eyes.
It turned my camera to the left just a bit and took a quick shot to see if I’d have any other compositional options. But as soon as the camera was turned, that beautiful backlight became side light, and all of the charm of the shot disappeared. Not only that, but the other view was just messy and uninteresting. The correct composition was definitely to shoot into the sun.

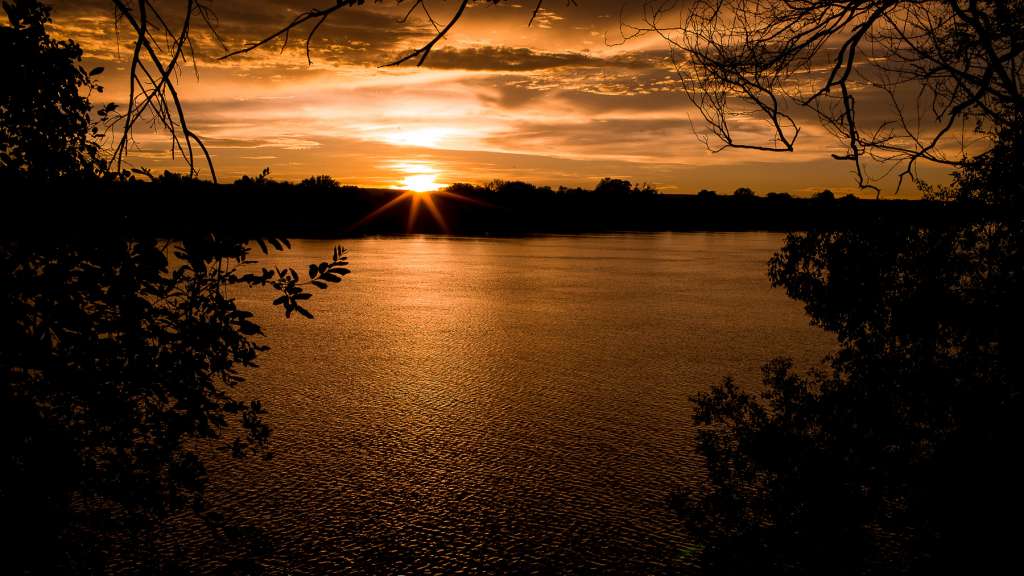
I ran inside and took a look at my first sunset shot. After a bit of color correction and some minor tonality correction in Lightroom, things were looking better than the daytime photo, but the photo still has no spark. It’s just a boring sunset shot.
I decided that this image really needed to be cropped to eliminate the lens flare and create a more cinematic looking image. I waited a few minutes and let the sun get a bit lower on the horizon. I used a 16:9 crop and things began to look even better. The light was a lot more diffused over the water, the river was beginning to glow.
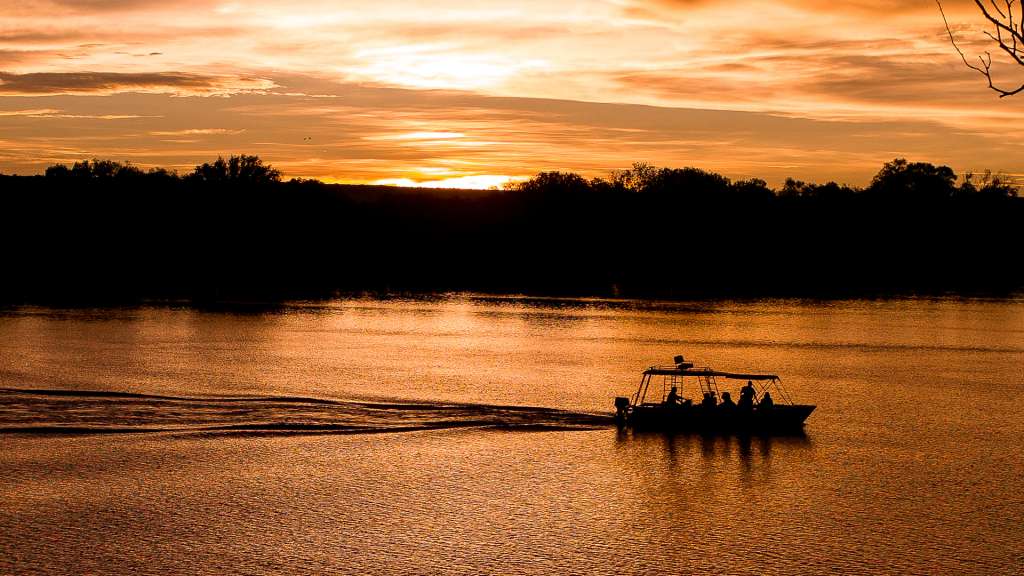
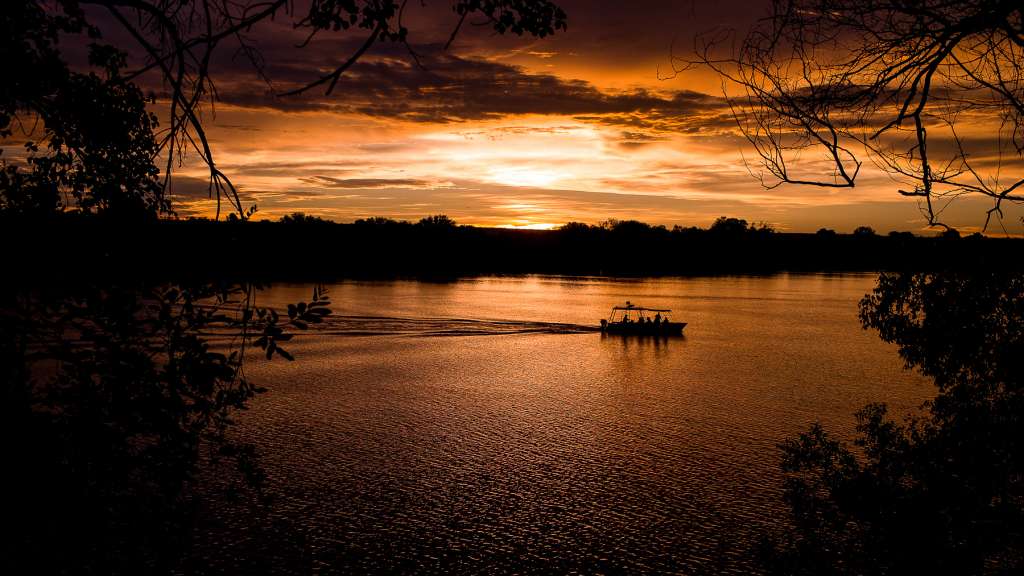
Now that I had the correct scene, color, and composition I just needed one more element to create some interest. I hadn’t forgotten about the annoying tour boats that were disturbing my quiet solitude. All I needed to do now was wait until a boat passed by and everything would fall into place. I waited and just a few minutes later I got exactly what I wanted.
Be ready to shoot…
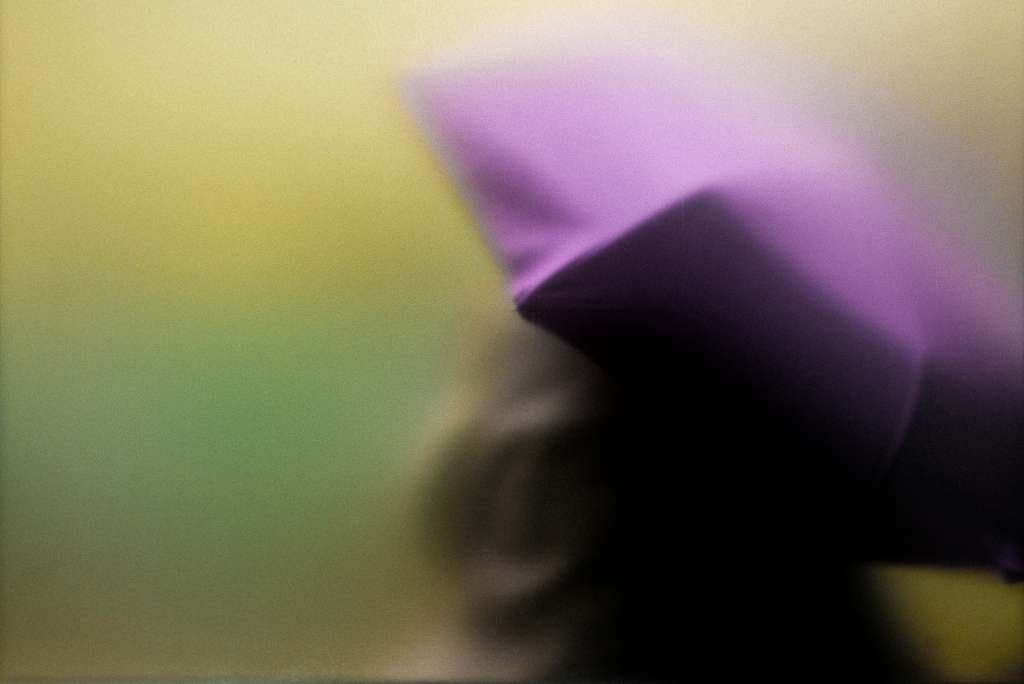
I was sitting in my hotel room in Paris. I’d been given a room with semi-opaque windows on street level. The sounds of the busy Paris street outside came muffling through the walls. I could hear people talking, the screech of the brakes from a city bus, and diners chatting during their lunch hour. And then it happened, a woman waiting for the next bus sat on a ledge just outside my hotel window. When she leaned back her blurred image turned into a scene that looked like a painting by Monet; rich in color with soft edges and just a suggestion of the actual subject.
I grabbed my camera and began to take photos. As the buses came and went, more and more people sat in the window, and I was able to capture a series of images that I hadn’t planned, or even imagined I could create.
The takeaway is simple: get your camera out of the bag. Keep it by your side, charged up and ready to go. This simple tip could double or triple the number of great photos you are able to take. Opportunities for great photos usually arrive unannounced. You have to be ready to capture the scene when it happens.
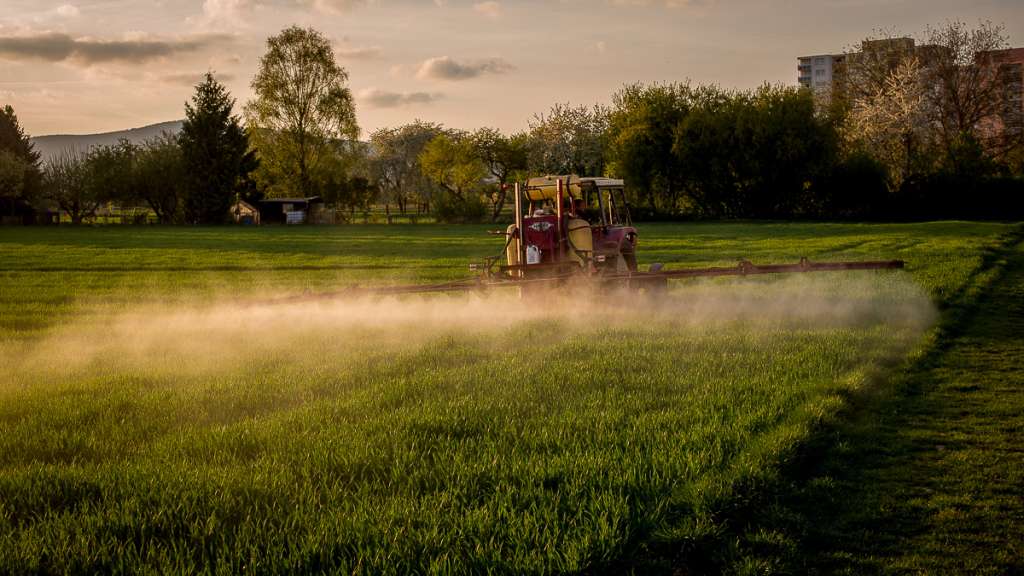
This scene of the crop duster was created just outside Frankfurt, Germany. I was taking a walk in the countryside with a friend just before sunset. The tractor had just turned on its spray as it drove away. I had just enough time to turn and capture the scene. I hadn’t planned on taking any photos, but had my camera at my side “just in case”.
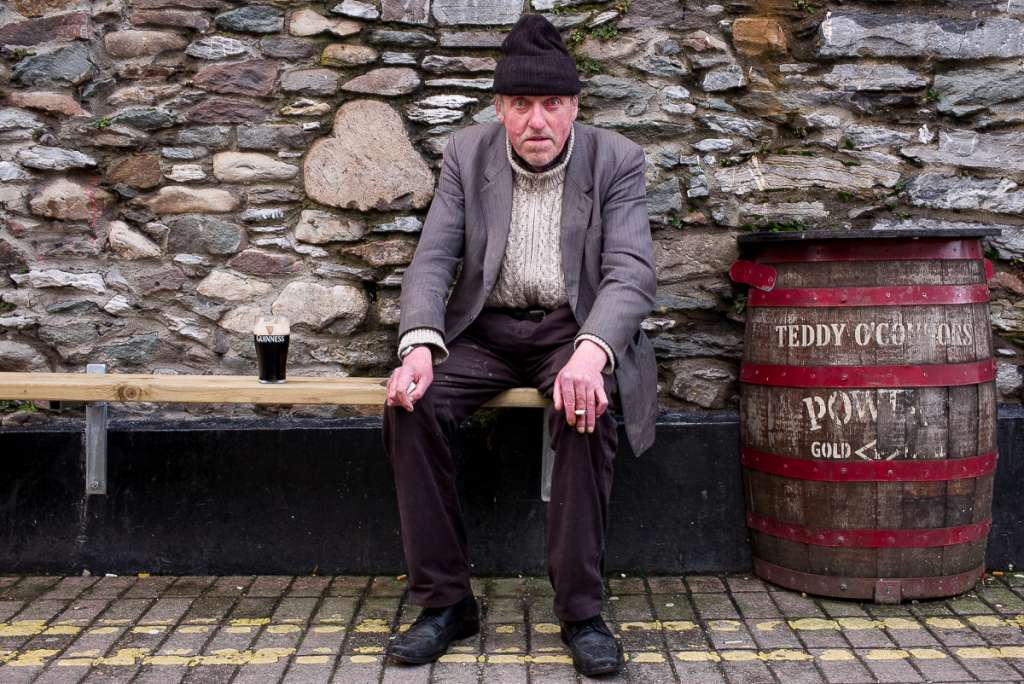
I captured this portrait during a walk in Dungarvan, Ireland. I was heading from my hotel to a local café for lunch. I saw this gentleman sitting on a bench and couldn’t pass up the opportunity to create this portrait. I hadn’t planned to take any photos on my short walk to lunch, but when the opportunity presented itself I was ready.
Turn around…
One of the challenges of travel photography is capturing a popular location in a way that is new and fresh. Everyone has seen the Eiffel Tower a million times. The Statue of Liberty has been photographed from every conceivable angle. How is it possible to take a world famous landmark and make it your own? The solution: simply look at the things that are next to the landmark. In other words, turn around.
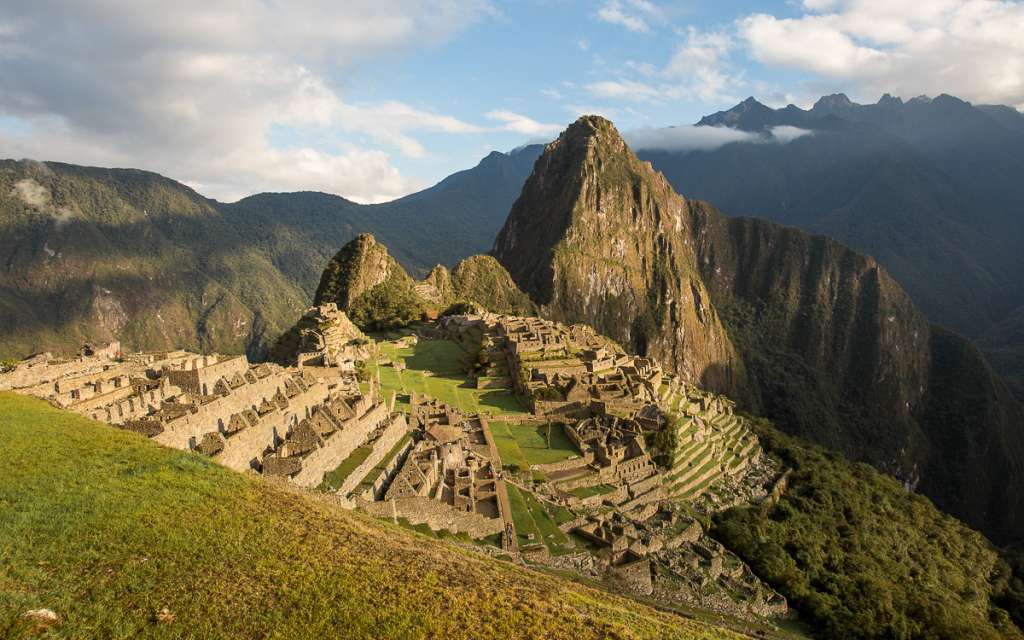
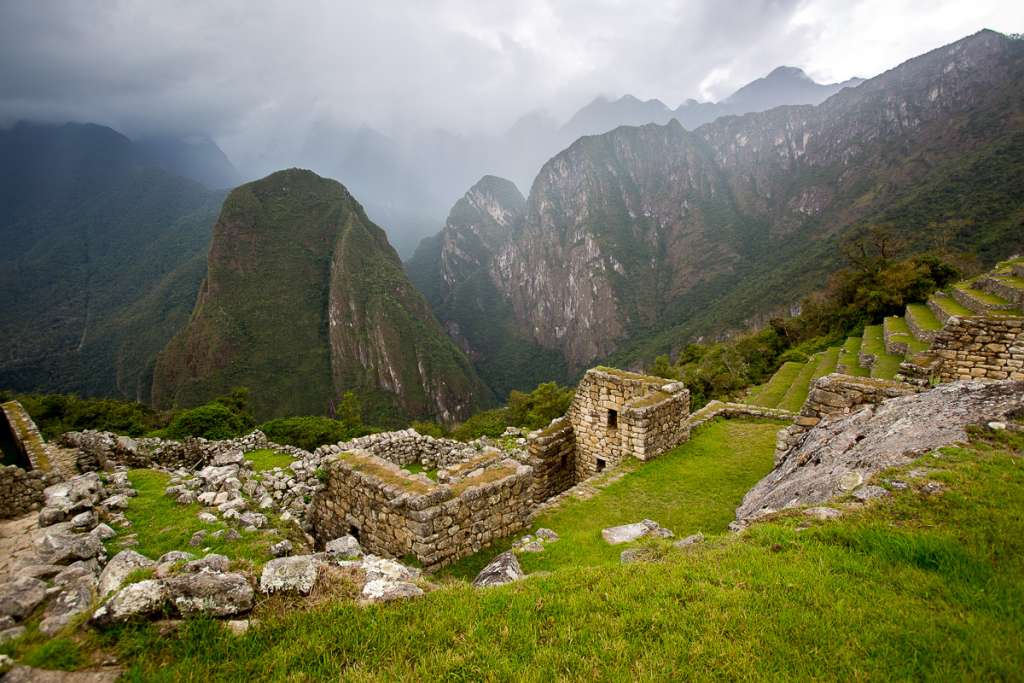
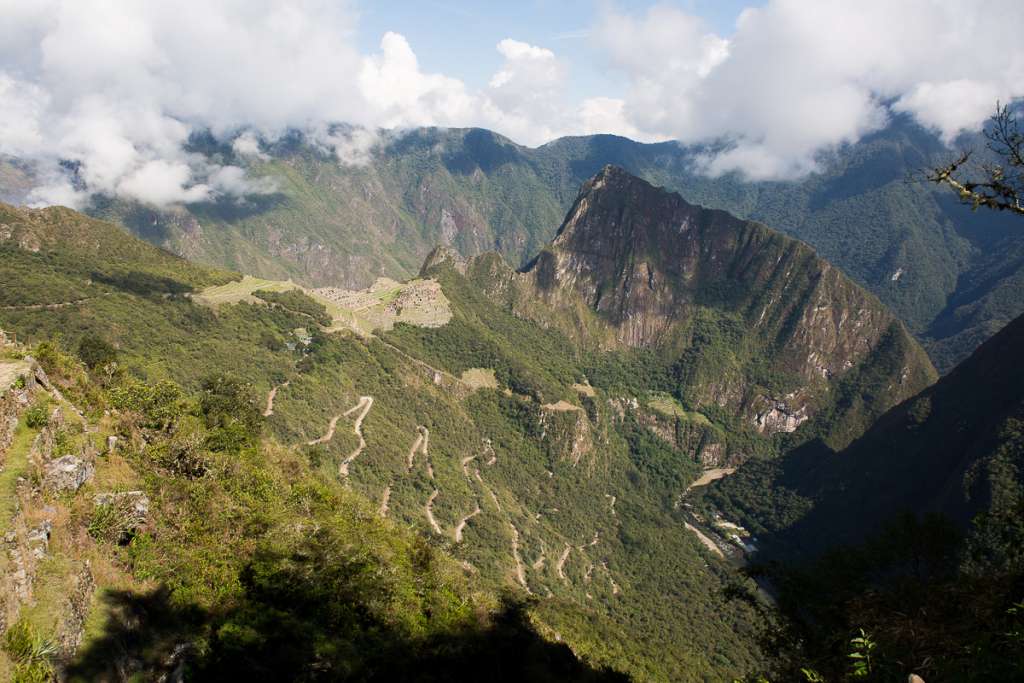
When I visited Machu Picchu I woke up before sunrise and hiked as fast as I could to get the iconic golden hour shot of the city in the mountains. I was really happy with the shot I captured, but I realized that it looked just like five million other photos taken in the exact same place. Sure, I had a great shot of Machu Picchu, but so what. Every elementary school student has seen a version of this image in their history books.
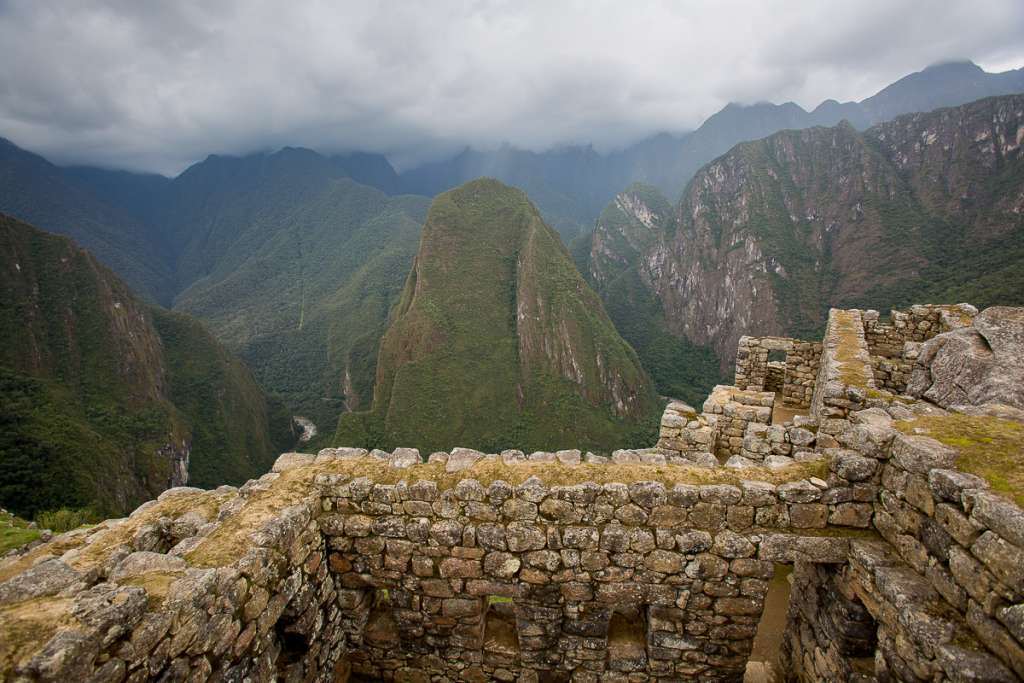
Surrounding Machu Picchu are beautiful mountains, the scene is breathtaking. “I had no idea that this was surrounded by such an amazing view,” I said to my hiking partner. “I think the mountains surrounding Machu Picchu are just as stunning as Machu Picchu itself.”
Once you have your “hero shot” go ahead and look around. What surrounds your iconic landmark? Are there small details, distant vistas, or interesting people to shoot? Spend some time photographing them and you’ll have a more complete story to tell.
Look Down…
Sometimes the best images are just beneath your feet. When I was in Hanoi, Vietnam I was amazed at how many people could fit on a scooter. Entire families would somehow fit onto a seat made for one. I was fascinated by the hundreds of bicycles passing by each hour. One evening I was out on my hotel balcony watching the crowds and traffic on the street below. I loved the unusual perspective. I grabbed my camera and began shooting.
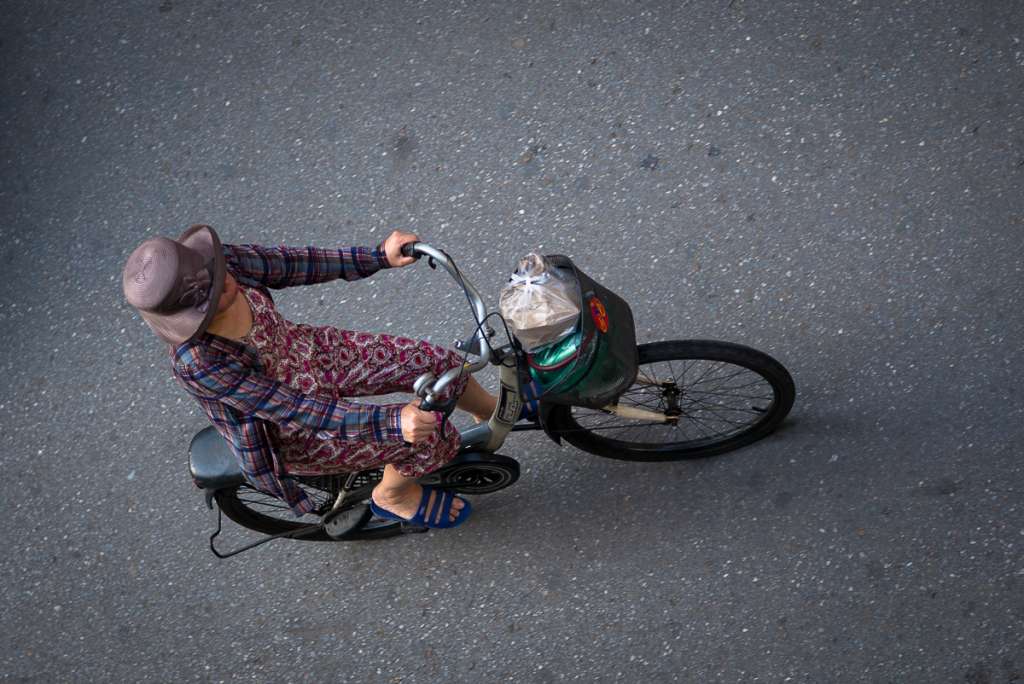
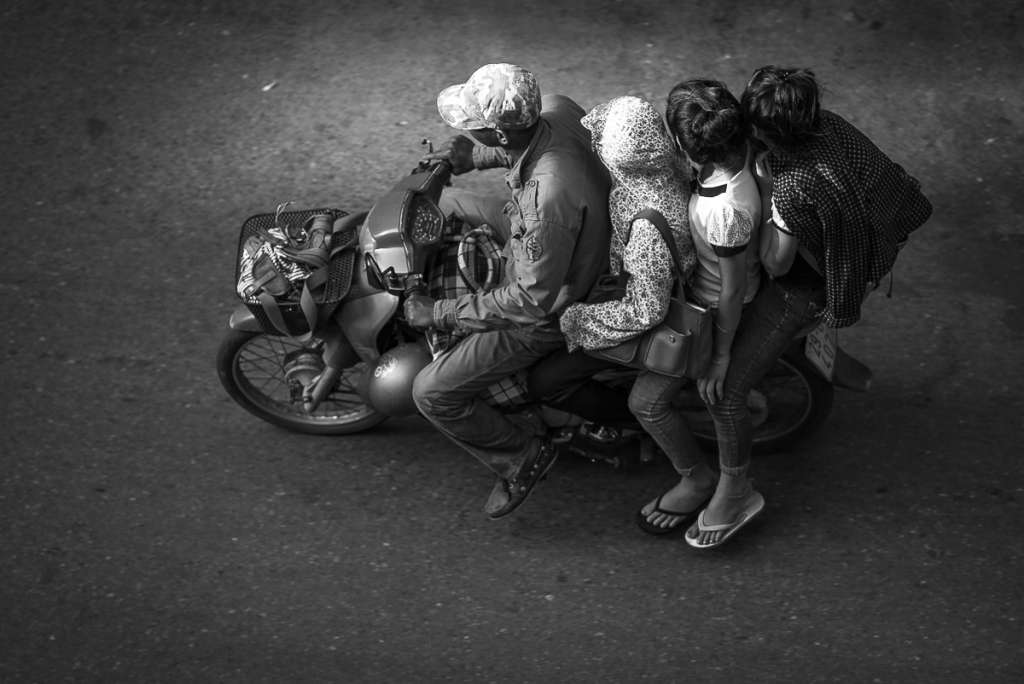
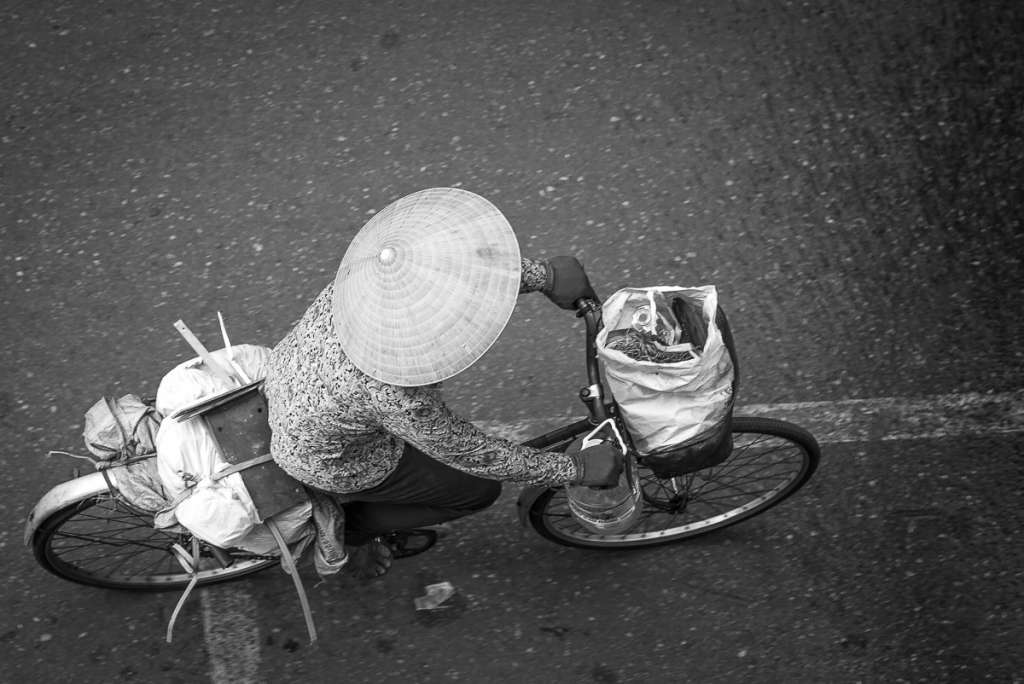
Don’t forget to look down when you travel. You may find unexpected gold.
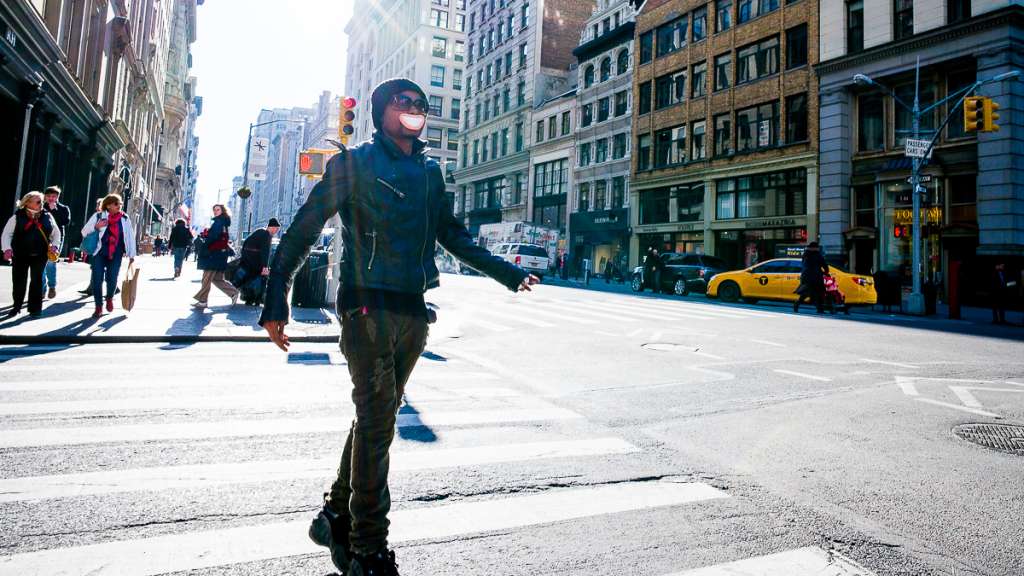
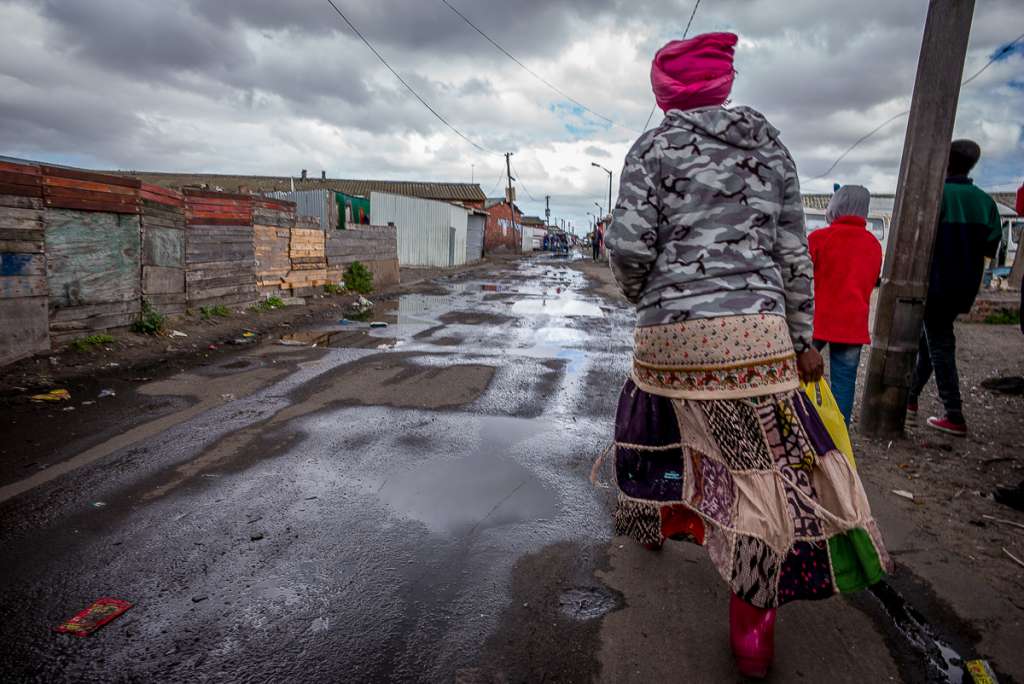
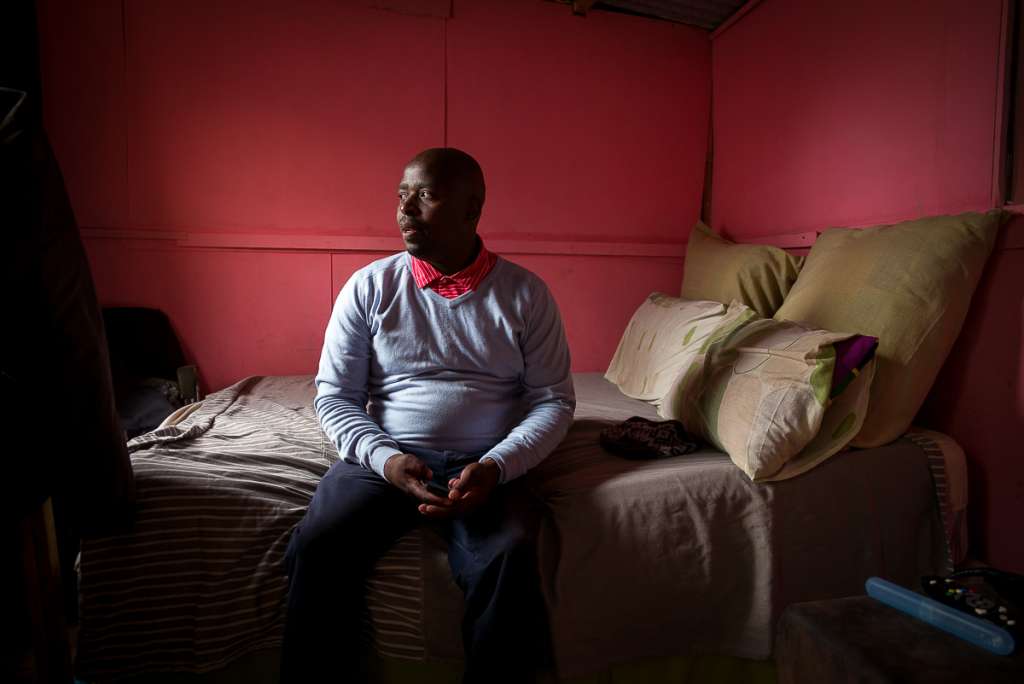
Get Closer…
“If your pictures aren’t good enough, you’re not close enough” – Robert Capa
Get physically close. Get in there, close up and personal. Grab a wide angle lens and become part of the scene you’re photographing. You’ll be amazed at the difference this can make to your images. Here is a gallery of a few of my favorite “close” photos. All of these were shot with my Leica 21mm Super-Elmar lens. To create these images I had to be very, very close to my subjects.
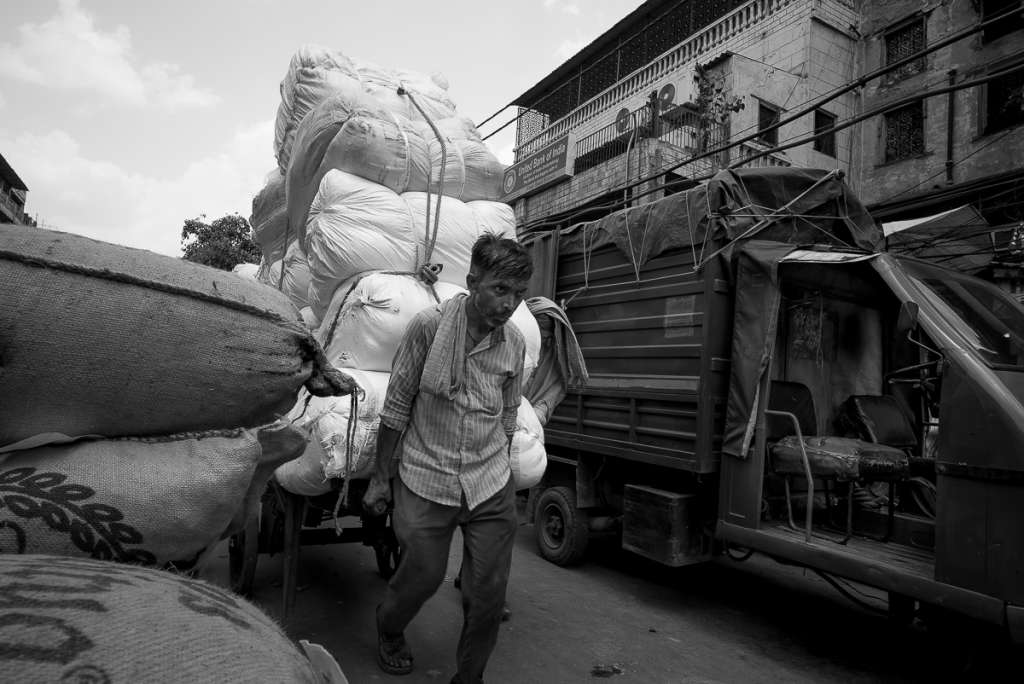
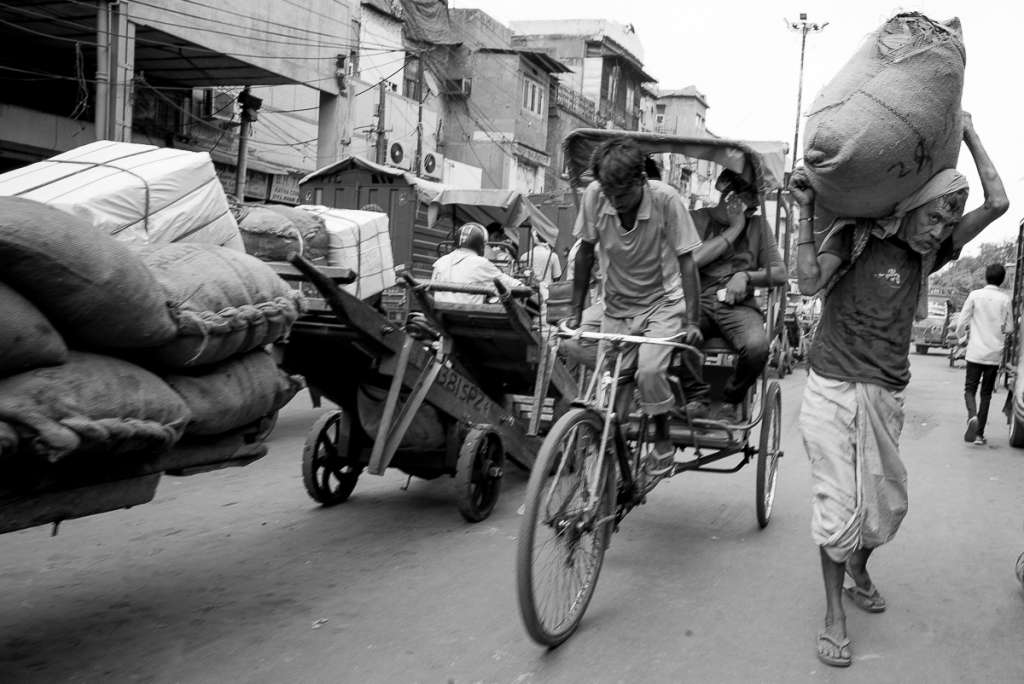
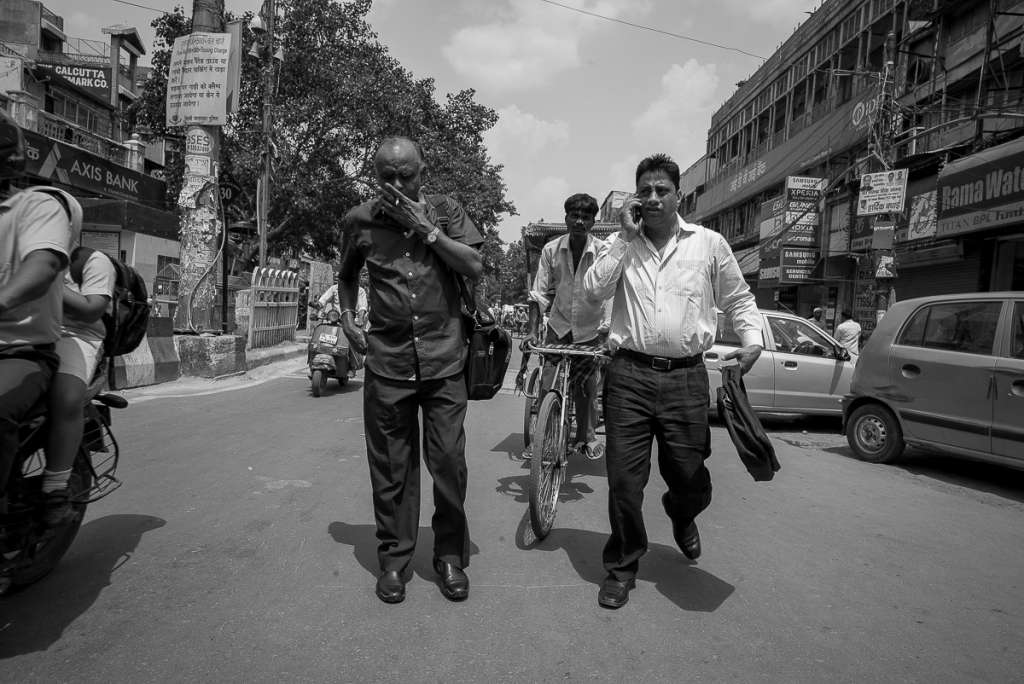
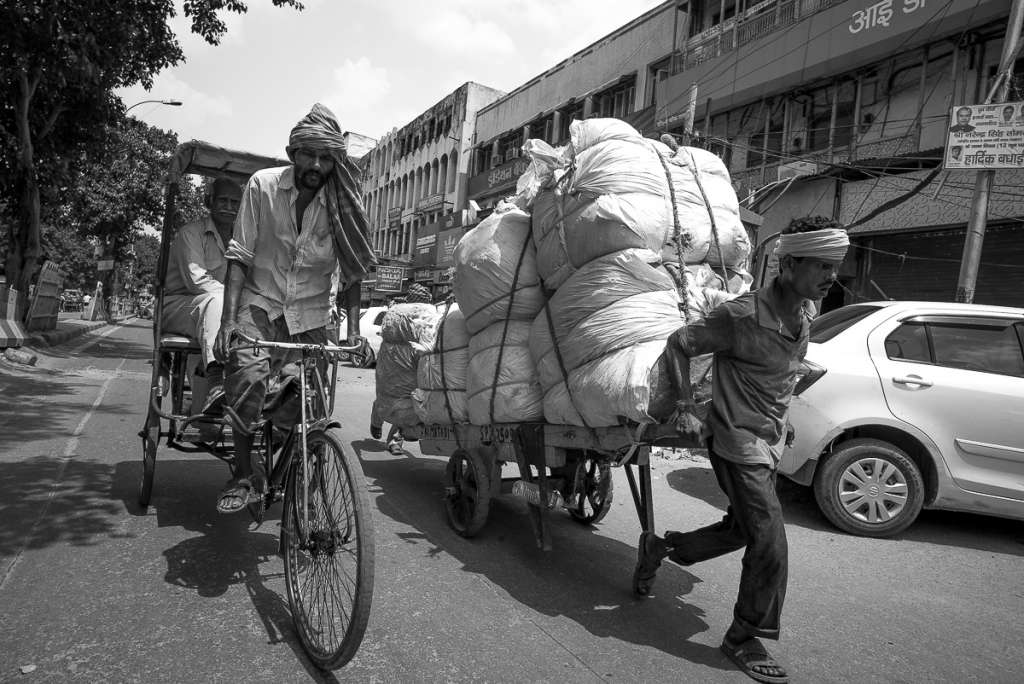
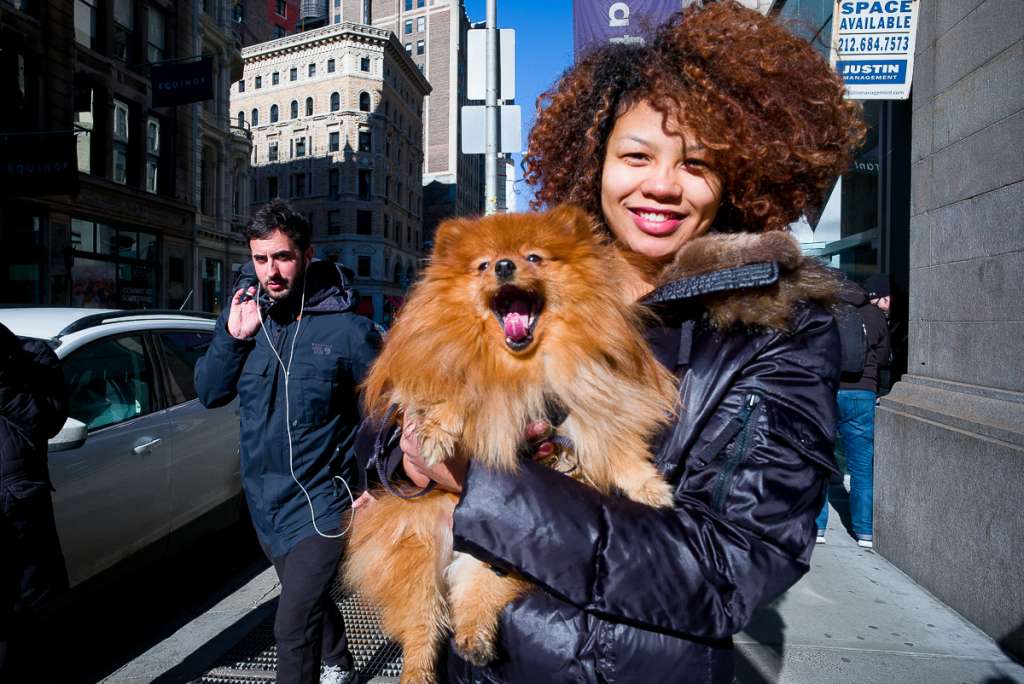
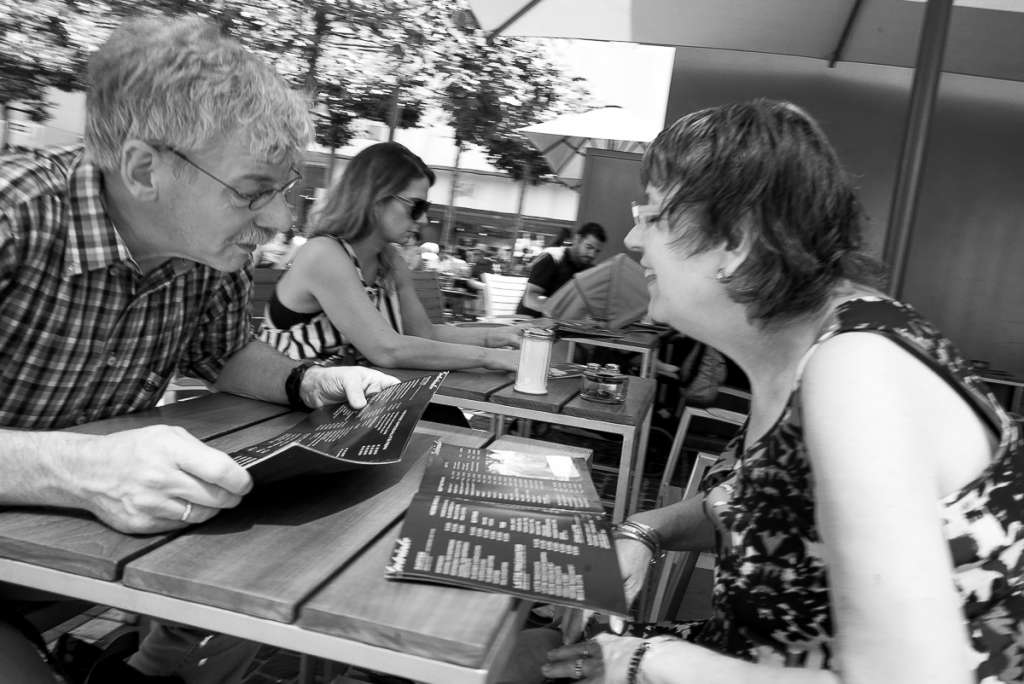
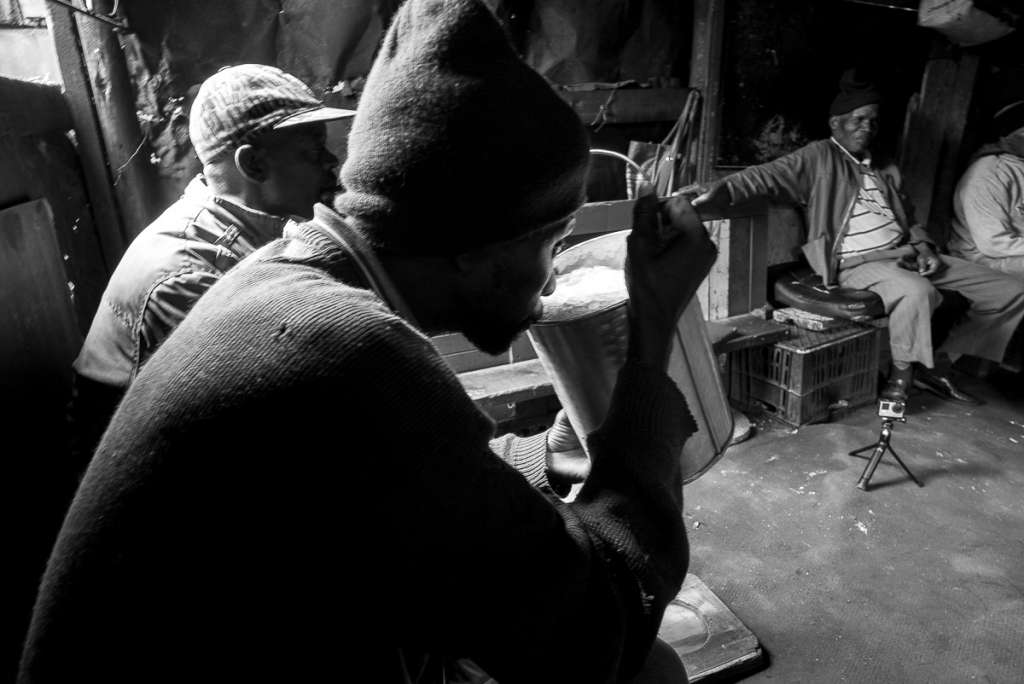
If you’re new to close-up photography, and I admit it can be terrifying at first, get a 21mm or 28mm lens and use it for a good amount of time before you take your big trip. Get used to the angle of view, the distortion, and the act of being closer than normal to your subject.
Gavin Hoey and I tried this in one of my favorite photo challenges. Getting used to a new lens takes practice. Because of filming and editing deadlines, we each spent a day shooting our videos, but the reality is that we both spent many more days after our video shoots getting more practice. It can take weeks, months, or even years perfecting the art of getting close. But the rewards are worth it.
For more travel photography tips and tricks, check out these full courses on creativeLIVE: