Do you ever look at a photo of a beautiful winter scene and wish you were there? Unfortunately, a photo can’t capture just how cold it will be. I recently took a trip to Iceland and made some wise choices — and some mistakes — while filming in the winter and snow. In this post, we will be covering all about the gear to bring and tips to remember when filming in the snow and other winter conditions. The right gear will allow you to keep shooting and stay comfortable, while the wrong gear can seriously tamper what could have been a beautiful moment.
And if you’re looking for tips for photographing the snow, we also have you covered.
Tips Winter and Snow Photography
How to Protect Your Camera
There are a few of things to think about when working in winter conditions. You need to consider how the temperature affects your gear, how to keep moisture away from your gear, and how changes in temperature can prevent you from using your lenses.
Battery Life
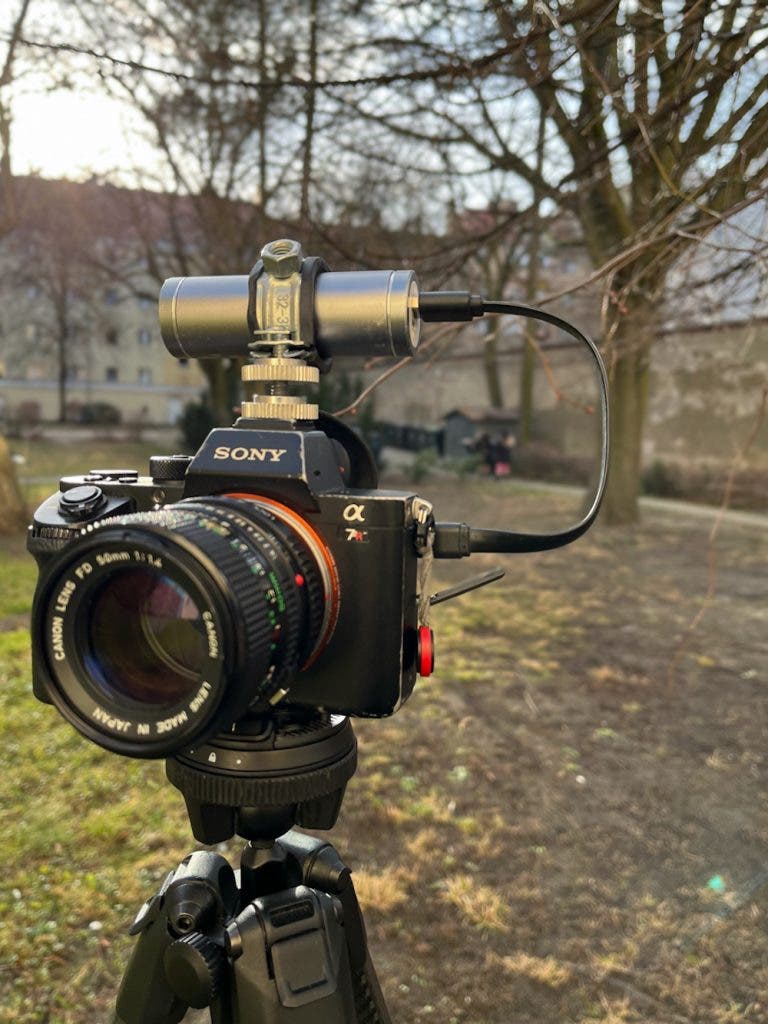
The main issue with the cold is that it affects your battery life. Your batteries do not hold their charge nearly as well in the cold. I suggest keeping them close to your body so that your body heat will help them retain more of the charge. Always have a load of spare batteries. I also used a cold shoe mount and a clamp to attach a portable charger that kept my batteries going much longer than they normally would. Buying a few of these battery packs was way more cost effective than getting very expensive camera batteries.
DSLR and Mirrorless Cameras
Switching from one extreme temperature to another — for example, a heated car to the icy temperatures outside — you will get condensation that fogs several parts of your camera. This is most noticeable on your viewfinder and front glass element. Depending on the temperature shift, this condensation can take a long time to dissipate, and wiping it away will not eliminate it.
So, how do you try to combat this issue? One way is to keep your camera as close to the outside temperature as possible. If your car has a trunk that is closed off and separate from the main cabin of the car, that can help keep it a bit more isolated from the shift in temperature. For a hotel room, you can leave your camera in the bathroom, close the door, and open a window to keep it closer to the outside temperature.
While shooting in bright sun generally warrants a lens hood, in extreme cold, the hood can create a temperature difference inside it, causing a tiny bit of heat distortion. This can result in soft images – Daniel
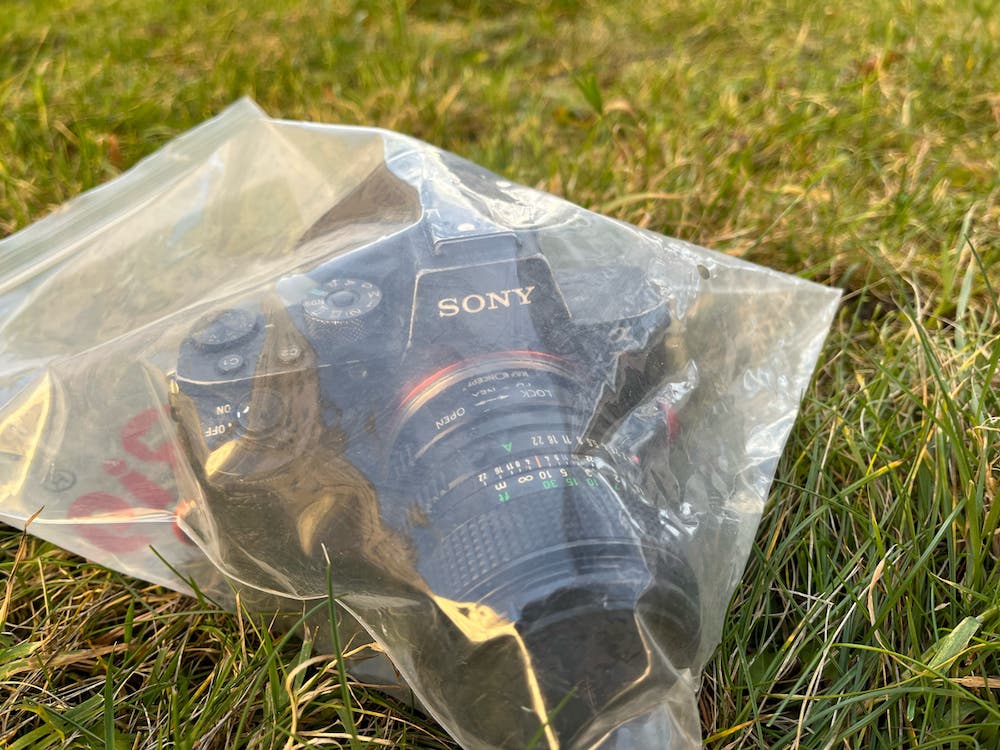
Once you are done shooting for the day, remove your battery and memory card so you can offload your card and charge your battery. Then, put your camera in a sealed plastic zipper bag and remove as much air as possible. After the camera acclimates to the temperature, you can remove it from the bag. Air is the culprit that creates these condensation issues, so this helps to minimize the problem. If your camera and lenses get too much moisture, it can lead to problems such as hazing, fungus, or electronics issues.
Instant Cameras
If you are a fan of Polaroid or instant cameras, the cold can impact the chemicals which are built into each exposure giving you atypical results. Notice I didn’t say bad results, because sometimes playing with the developing agents can lead to some cool effects. However, if you want to have authentic reproduction, try to keep your instant camera and any film warm. I kept my camera within my jacket and close to my body. Once you take your picture and it ejects from the camera, make sure to keep it close to your body immediately so it can develop within the film’s normal working temperatures. Your armpit is a great place to make sure your body heat lets it develop as intended.
What Gear to Bring
I’ve had the same camera and lens setup for several years and it still serves me well. I have a Sony a7RII, a Canon 24-70mm f2.8L II, and a vintage Canon FD 50mm f1.4. The newest additions to my travel gear is the Peak Design Travel Tripod with Universal Head Adapter , and my Benro S4PRO Video Head.
Photo Tripod
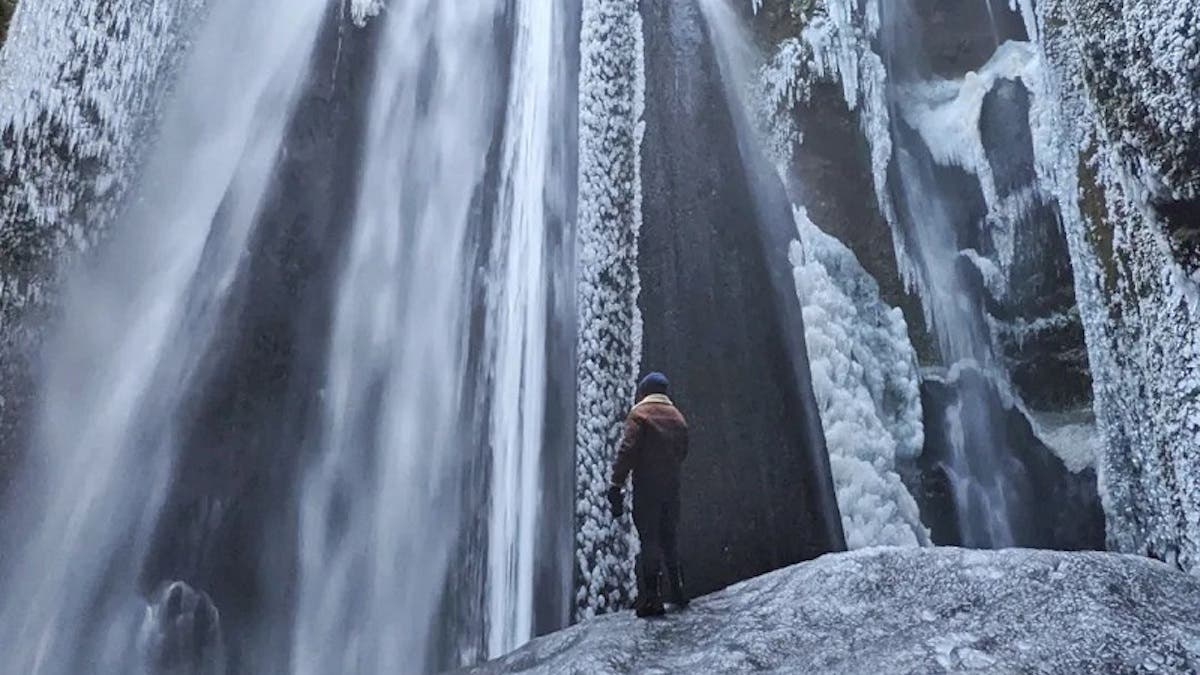
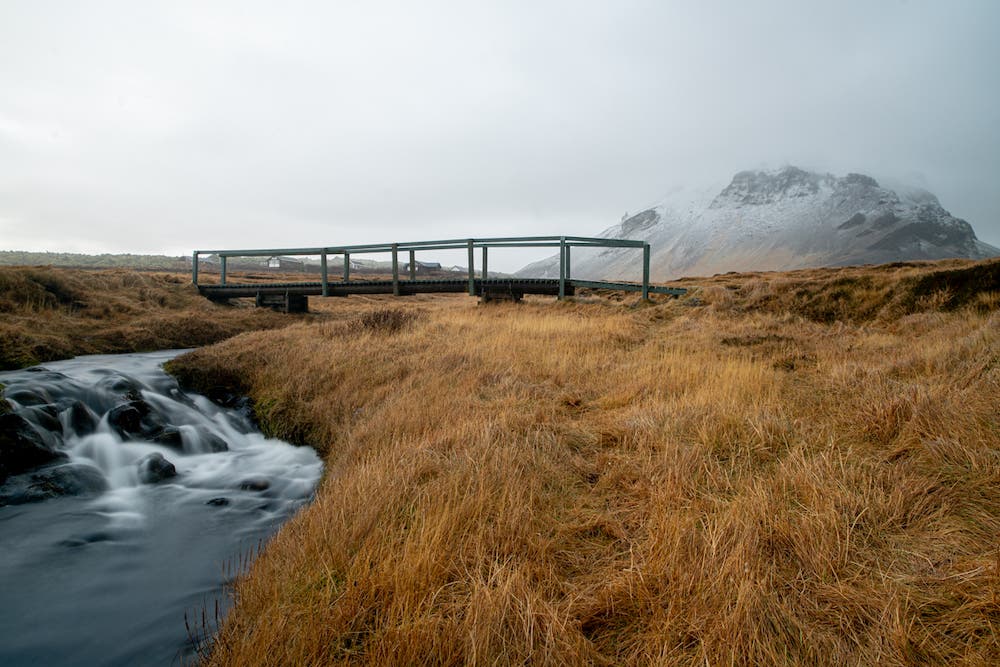
I always bring a tripod with me when I travel. There are times when having a tripod ends up making for shots that would be impossible without them and I don’t mind the extra weight. When I know I likely won’t need it, I can leave it in the hotel room or car. When I do know I will need it — such as the scene below — it truly saves the day. While camera ISO’s have gotten significantly better with time, there are still circumstances which require a tripod. Specifically, the Peak Design tripod allows me to keep my shutter speed to almost one second for shots of the Northern Lights — and even longer for flowing water.
Video Tripod Head
With this attachment in place, I was able to put on my small-but-powerful Benro S4PRO Video head when I wanted to shoot video. This head is the right balance of compact, yet still effective travel video tripod heads. I’m used to much larger tripod heads when I am working on a film set, so I have certain expectations. However I know these larger video heads are larger due to the engineering and materials needed to get buttery smooth pans and tilts using heavier equipment. I have used several small video heads for travelling: all have left me disappointed as they weren’t smooth enough.
I wasn’t expecting the same level of control as I would get from a larger head, but I did feel that there was a balance to be struck between size and ability. The Benro head fits this bill for me. The S4PRO does a great job of having smooth pans and tilts while still being portable. It also is built of quality materials and looks like it will stand the test of time.
Packs and Covers
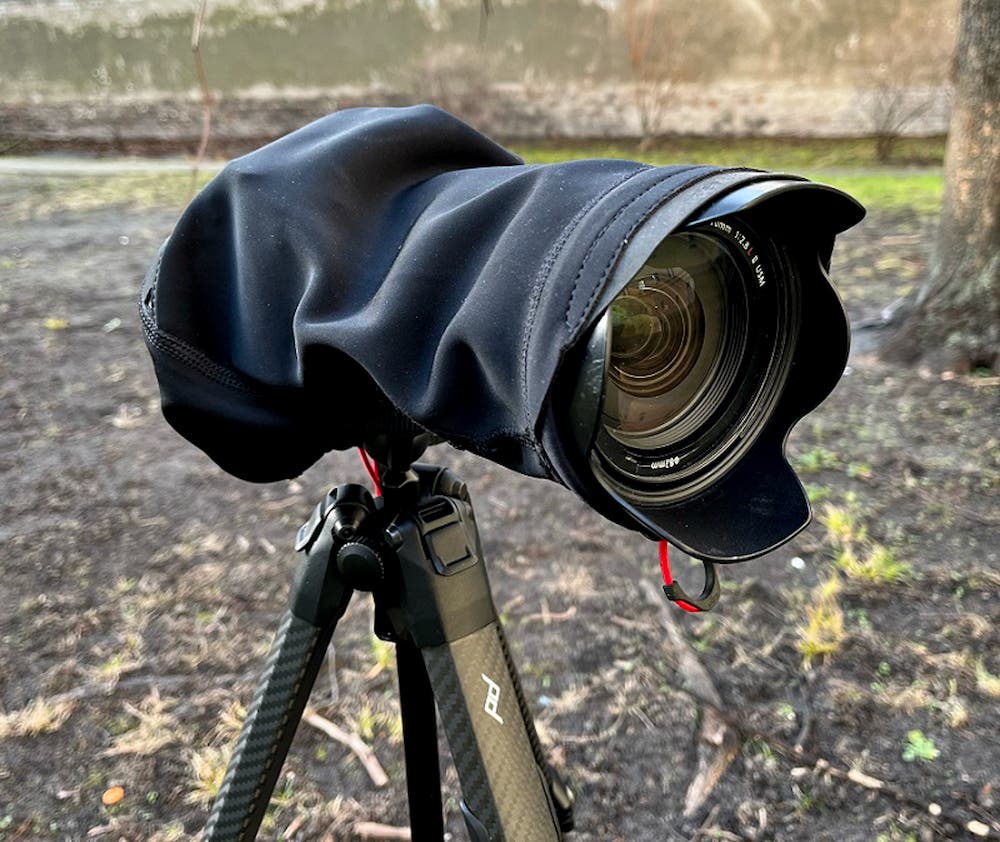
I also have two more items from Peak Design that I took along with me. The Peak Design Travel Backpack 45L allows me to be right at the limit of carry-on restrictions and carry with me all my camera gear, tripod, and other items. I also brought the Peak Design Shell Form-Fitting Rain & Dust Cover. When it started to hale, I pulled this out and it truly kept the camera from taking on any water. While my 24-70mm is weather sealed, my body is not, so having this to cover my camera was a life saver.
How to Dress
Now that you have the gear to protect your camera, let’s talk abut how to protect yourself from the cold!
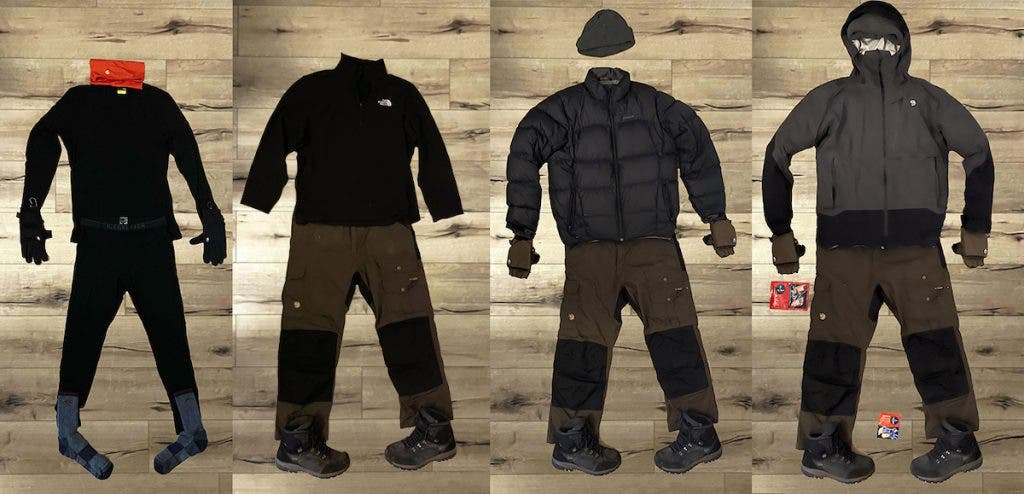
First and foremost, you need to make sure you have the right clothes to withstand the elements. The name of the game is layers! Below is what I wore. It kept me warm, dry, and comfy as I spent significant time in the ever-changing Icelandic weather.
To find what’s right for your trip, Sunnyscope has an informative article about understanding the clothes layering system.
Base Layer
You want to make sure you have materials that wick away water while providing warmth. I went with a base layer of merino wool from toe to neck for my base layer, excluding the gloves. This is the layer closest to my body. I wanted to make sure I kept warm, didn’t get too sweaty, and didn’t smell even after several days of wearing the same clothes. This may sound gross, but merino really is a magical fabric. I used it for three days and it was truly fine.
My choice to pack a few pairs of thick merino socks, two sets of Icebreaker merino long underwear, and a merino neck gaiter was a smart one. I do regret my choice of gloves. I had a very thin pair of windbreaker gloves and a heavier duty glove that went over it. The thin liner glove was great in dry weather to keep me from feeling the wind, although they couldn’t withstand the rain. The larger gloves I had over them were too thick to effectively use my camera. Once I got back home, I got a better set of gloves. You want gloves with tactility liners. These provide just the right thickness to manipulate my camera or use my phone.
Top Layer
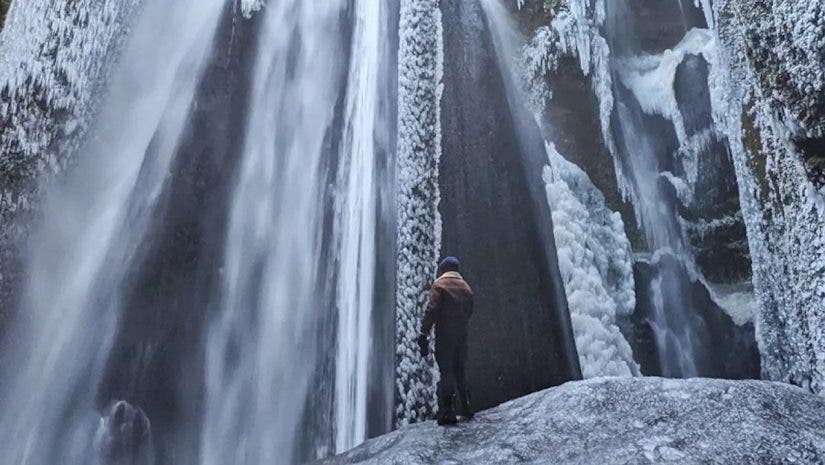
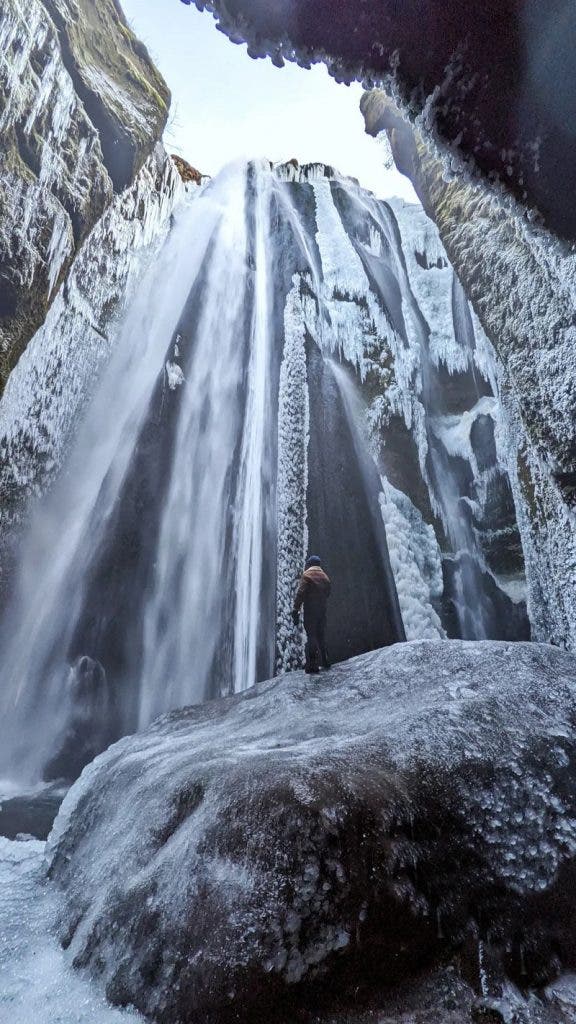
Above my base layer, I wore a fleece, waterproof hiking pants, and a pair of GORE-TEX boots. As I walked through an icy stream to get the first picture above, these kept me dry. On top of this, I wore a jacket, a thick beanie, and the mittens mentioned above. The last layer I wore was my GORE-TEX rain jacket, which kept the layers beneath it dry. The hood was also a great feature as I went ice climbing, and it fits over the helmet.
While I may have looked exceedingly puffy, I was very warm and able to brave the weather when others were leaving. This gear allowed me to capture some great photos and videos, take some awesome footage, and not suffer while doing it.
Additional tip: Bring a thermos. I filled mine with hot chocolate. This kept me warm from the inside and kept me happy while I waited for the weather to blow over.
Filming and photographing in the winter and snow can be a rewarding and beautiful experience. With these helpful tips, you’ll be able to keep yourself warm and your equipment safe — so you can focus on creating.
