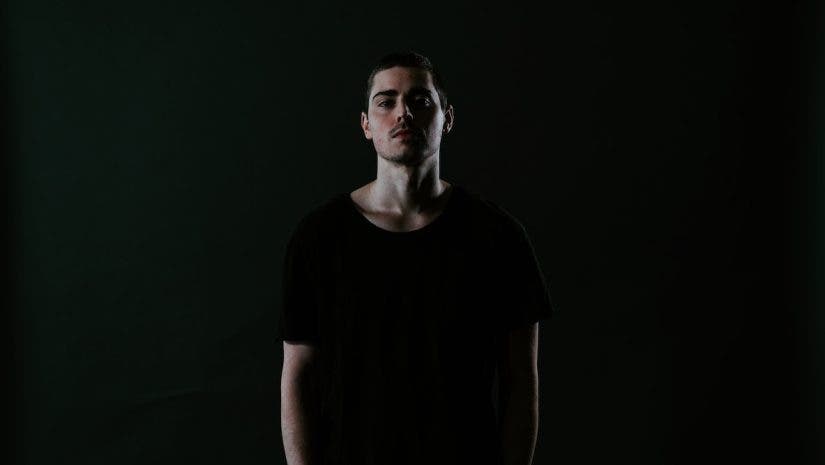
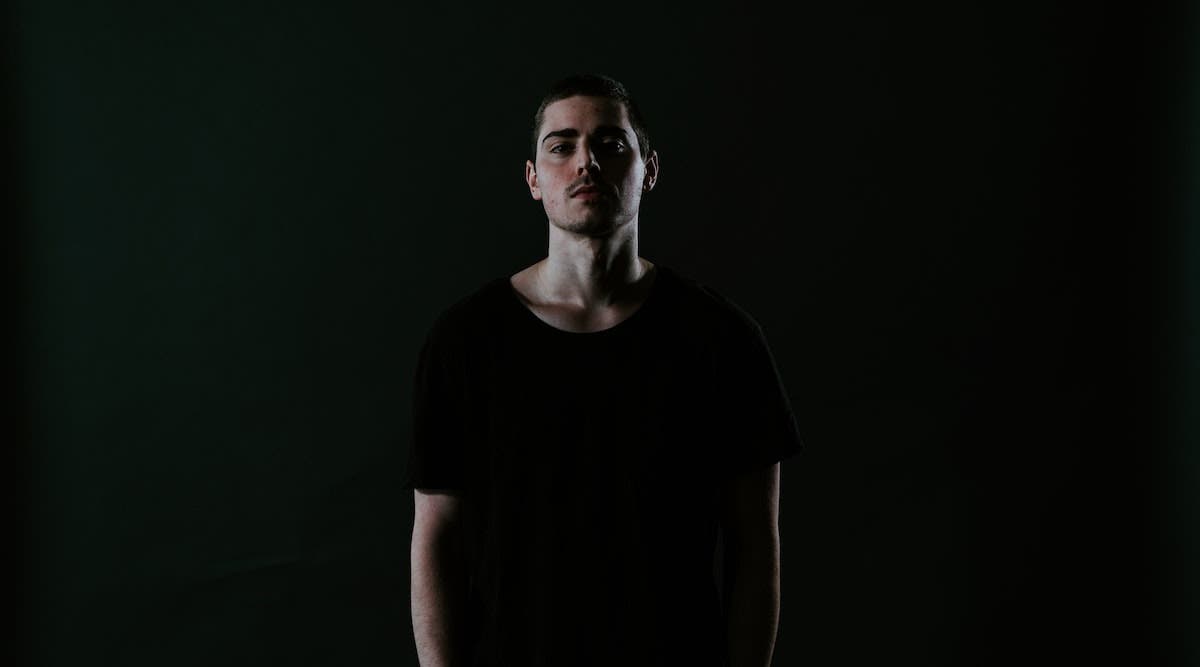
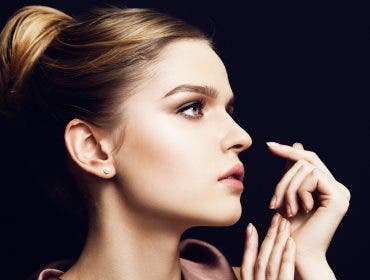
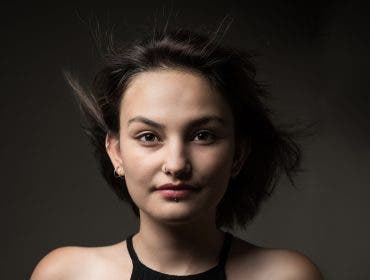
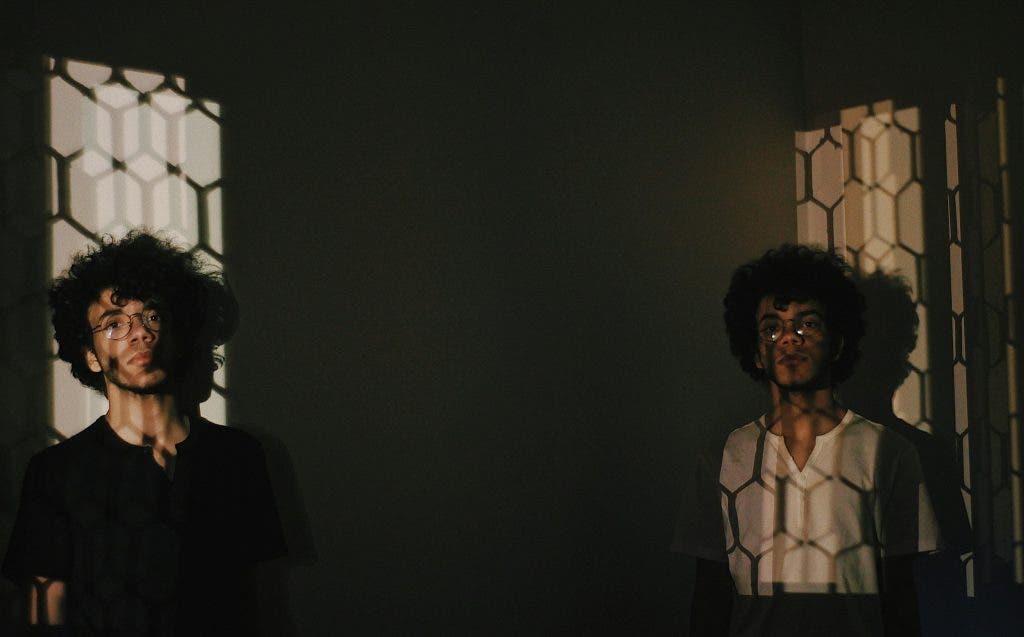
Placing a key light on one side of a person’s face leaves the other side in darkness. The face is split between light and shadow — hence the term split lighting. In this article, we do a deep dive into all things split lighting. We discuss what it is, what it’s for, what gear to use for it, and more.
What is Split Lighting in Photography?
Split lighting is a technique of high contrast which produces a brooding effect. It’s perfect for moody shots of actors, artists, and musicians who like that tortured, misunderstood look.
Sometimes, split lighting is called “hatchet lighting” because the face seems divided. One half is in shadow, and a strong light source illuminates the other half. The effect of hatchet lighting is particularly obvious when the background is dark. This is because it seems as though the person is cut in two. It’s also known as “Hollywood lighting” since it reflects the cinematic style of black-and-white classics and the film noir genre where characters lurk in the shadows.
Another term for split lighting is “side lighting.” This is because the light is on the side. When you light the subject from a perpendicular angle, you only see one side of the face. This expressive form of lighting is one of the easiest lighting techniques to employ because you only need a single light source, and you can even use natural light.
How to Achieve Split Lighting
In a studio setting, split lighting is one of the easiest setups. You don’t even need a flash or strobe.
Find a Side Light
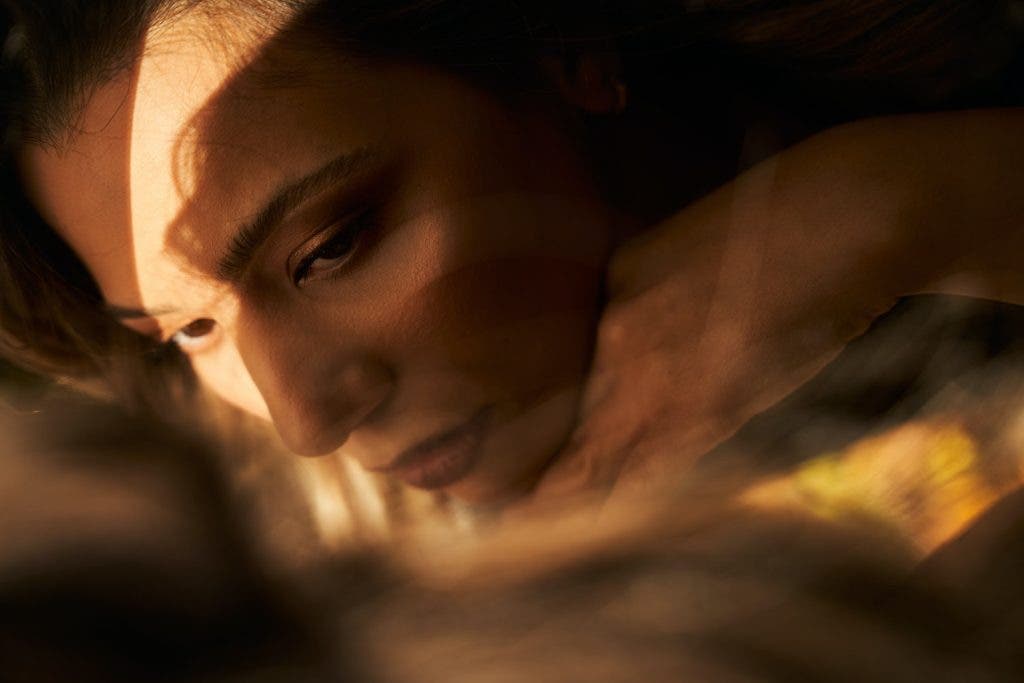
Side light from a window works just as well as artificial light, as long as it is controlled and doesn’t reflect off other walls. You don’t want to accidentally fill in the shadows on the darkened side of the face. If you want a drama-filled, dynamic image, aim for dark shadows and reduce any possibilities of ambient light affecting the shot. When using natural light, have the subject as close as possible to the window to use the strongest possible illumination.
Pose the Subject
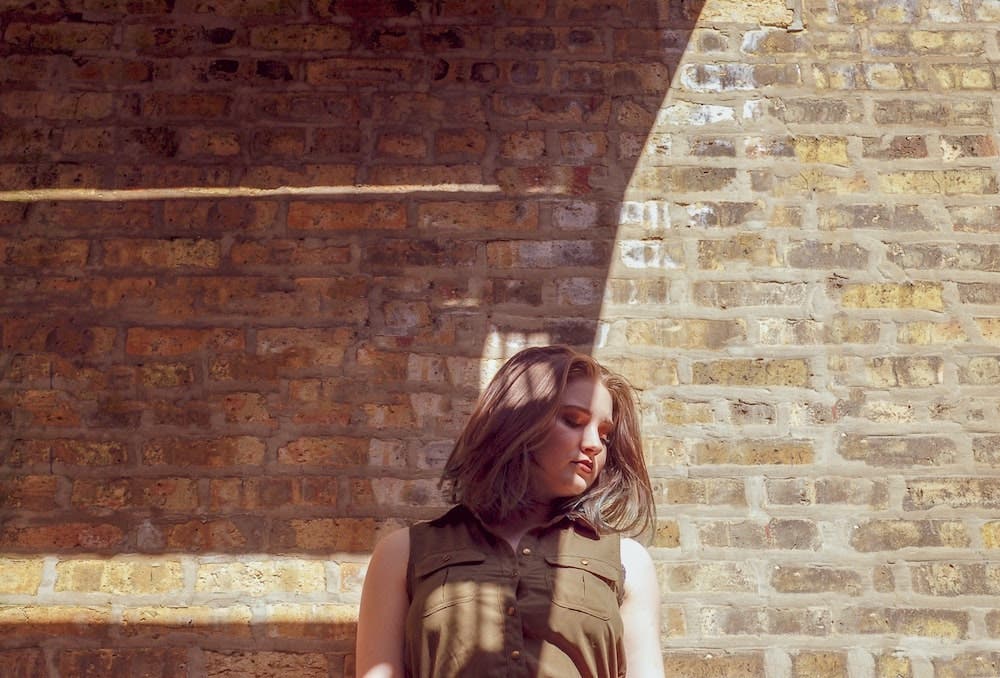
Posing options are limited in this type of portrait. You must have the subject’s cheek roughly parallel to the light source. You will be directly in front of them, and they will look straight into the camera. Take your metering from the side of the face closest to the window, and the rest of the face will be in deep shadow.
Bring an Artificial Light, if Needed
Using artificial light is even easier. One flash or strobe is all that’s required for a basic setup. It’s commonly stated that the best position of a side light is at 90 degrees from the subject’s face, but this often forms a shadow beneath the dominant eye. Moving to 80 degrees forms an intentional dark shadow on the opposing side of the face, but it fully illuminates the whole of the eye socket closest to the light, making the image more natural.
For the best results place the light about the same height as the head, and you will have the separation line down the center of the nose when the subject faces the camera. Most photographers like the extreme of light versus darkness and maintain complete darkness within the shadows. However, some prefer to have both eyes visible. Having the key light at 80 degrees sends a little light across the bridge of the nose and catches the whites of the eye in the darkness.
Watch Your Catchlight
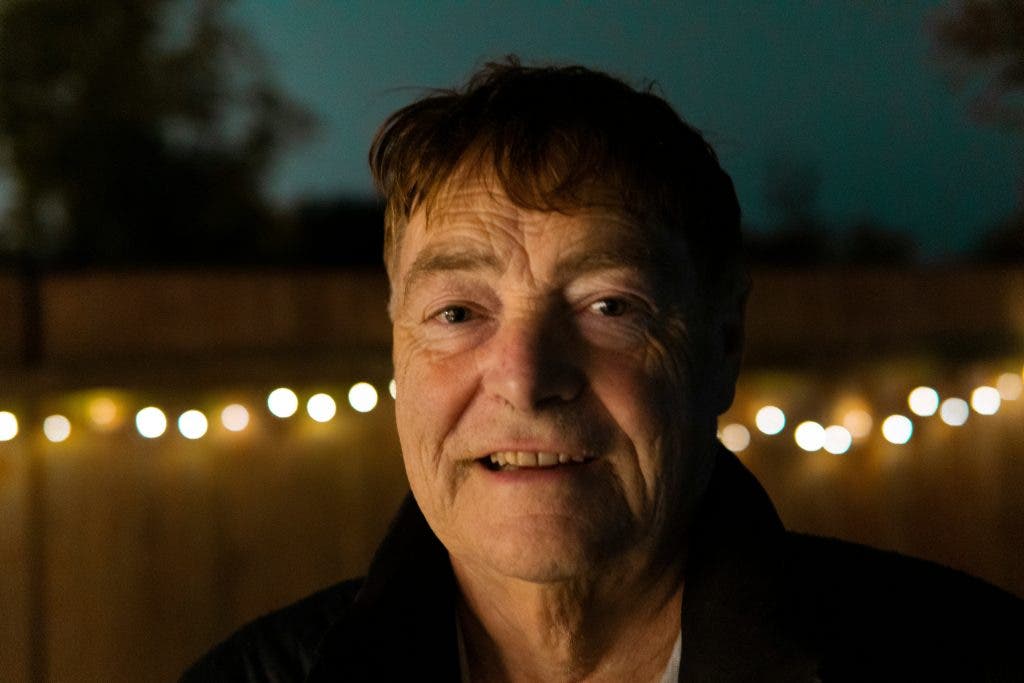
The only firm rule for split lighting is to make sure at least one of your subject’s eyes has a catchlight (a spot of light reflecting the light source). Otherwise, the eyes will appear dull and lifeless. When a small light such as a speedlight is used, it can sometimes be challenging to bring a catchlight to the eye, so use a larger light source whenever possible so at least the eye nearest the flash will reflect some of that light.
Another thing to keep in mind before beginning your split lighting shoot is to determine which side of your subject is to be illuminated. Because side lighting reveals blemishes on the skin, choose the smoothest side for the light. Remember that hard light makes darker shadows and more contrast, so experiment with the size of your light source and the distance to your subject to reduce hot spots and to get the results you are aiming for.
Split Lighting Examples
The next time you watch a romantic comedy on television, notice how often diffused lighting is used on the main character. The face will be evenly lit with a gentle glow. If you notice any shadows, they will be soft to suggest the tender nature of the love this person is ready to give.
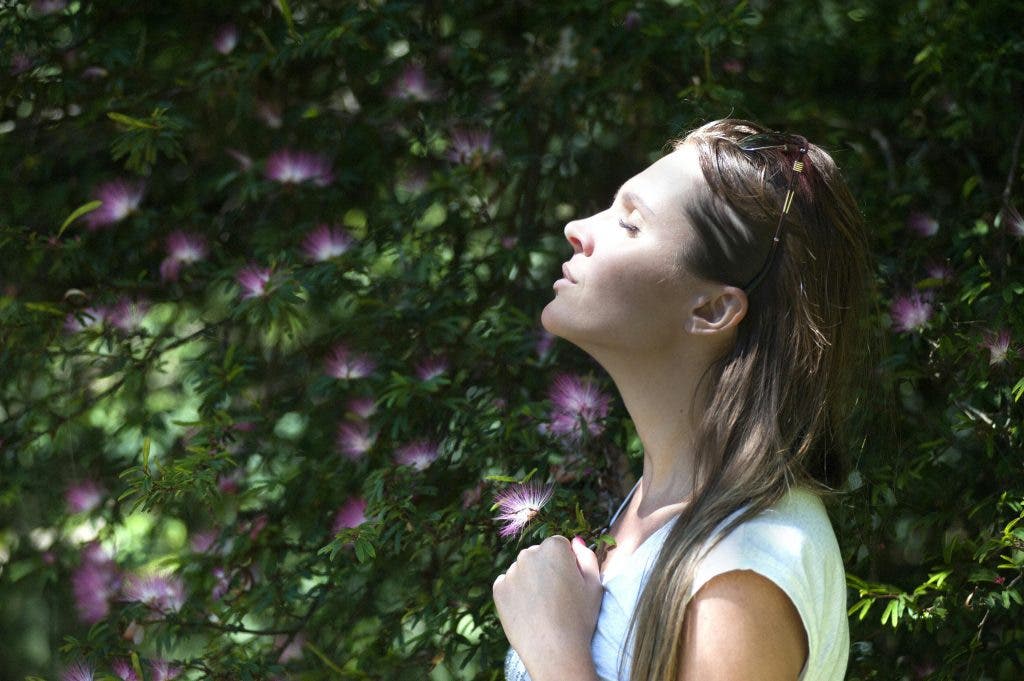
Now compare this to how you see the star of an action thriller. In moments of tense drama, the hero is often shown with their face partly obscured. The lighting is harsh, and a shadow falls across half the face. This form of illumination is called split lighting. It is used in movies and still photography to create a dramatic atmosphere. Because it makes the viewer feel as though the subject is hiding something, it’s not a flattering look. It’s an effective way to provoke an aura of mystery.
What is Split Lighting Used For?
Split lighting can be used to portray a message in many genres including:
Commercial Photography
Split lighting is used in commercial photography to produce a striking image that highlights the product emerging from the shadows. Side lighting reveals the lines on a face. Therefore, this type of lighting suits advertising themes featuring a mature male holding a glass of scotch or an older man smoking a cigar in the shadows of a darkened room.
Fashion Photography
Split lighting is rarely used in fashion photography unless it’s to reveal texture in fabric or when a mysterious atmosphere is required. When you want to make a statement with fashion, split lighting can add to the edginess of the shot. For example, side lighting could be used in fashion photos showing a woman in a leather jacket standing on a darkened street.
Learn more about this industry at Tips for Fashion Photography with Lindsay Adler.
Portrait Photography
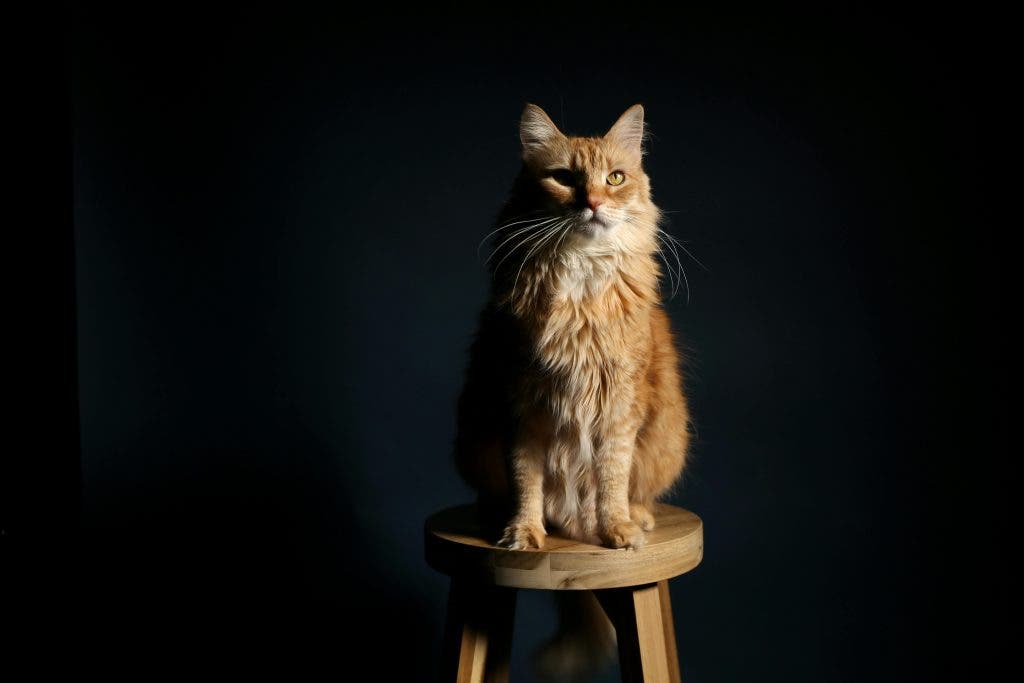
Portraits are the favored type of photography for split lighting — especially when shot in black and white. When monochrome tones are combined with this type of lighting, you have a dynamic duo of style and artistic expression. It’s a form of minimalism that has maximum effect.
Split lighting generates distinctive and engaging portraits but doesn’t suit everyone. It can sometimes look creepy, so it’s never used for corporate headshots. Side lighting also shows imperfections on the subject’s skin, so it is not the type of flattering light that will impress a client who wants glamor shots. Its power is in the sense of drama it evokes. It helps you tell a compelling story about an aspect of a person’s nature that they wish to express. It suggests assertiveness and works best with a serious, pensive look rather than a smile.
In portrait shots, one of its benefits is to narrow the subject’s face. Side lighting on a round face leaves half in shadows, so it appears slimmer. And for the weathered faces of older men with deep wrinkles and thick beards, split lighting emphasizes all that texture and reveals a life filled with adventure. A large or crooked nose will be accentuated by lighting from this angle.
Split Lighting Equipment
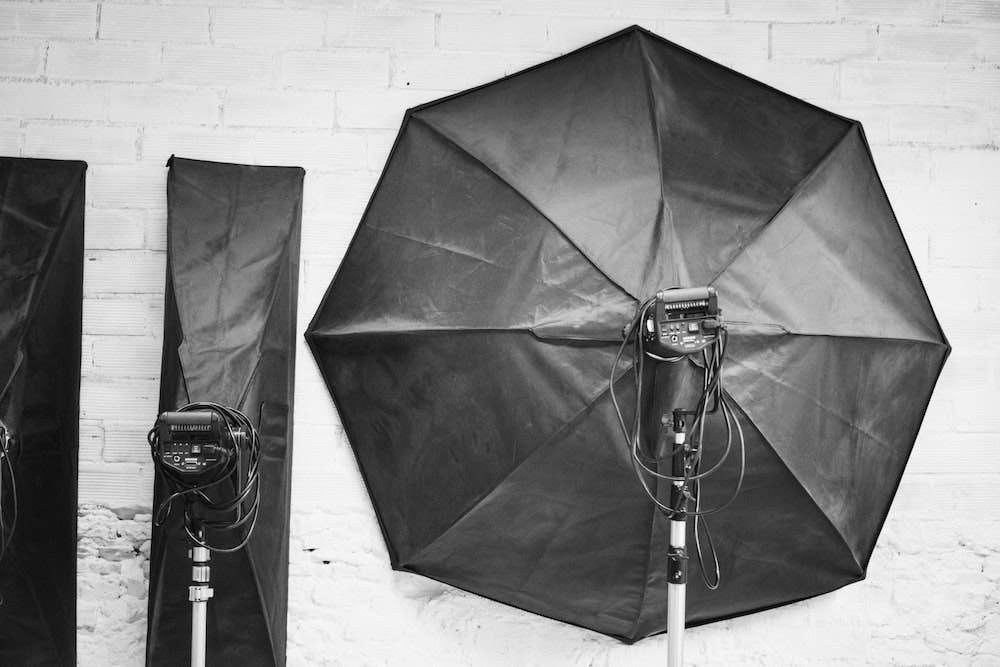
Reflector
If you are using natural light for this type of portrait, the only piece of equipment you may need (other than a camera and lens) is a reflector to push some low-level illumination into the shadows. Bouncing light into the shadows lifts some detail within the darkness and brings extra light to the eye on that side of the face.
Fill Light
Instead of a reflector, you can use a fill light for the same purpose but check for light spill because a dark background is more effective in split lighting. When the background is very dark, the shadow side of the face merges with it, bringing all of the viewer’s attention to the lit side of the face. To separate the subject from the background, a hair light will define the shape of the head on the shadow side. Widen the hair light to shine across the shoulders, and you avoid the effect of a disembodied head.
Peek our highest rated filled light:
LED or Strobe
For the main light, opt for LED continuous lighting or a strobe with a modeling globe if possible. With these, you can check the strength of the light, see where the shadow falls across the subject’s face, and check that catchlights are visible. The Godox QS600II Studio Light is a powerful strobe with a modeling light and built-in wireless trigger. It has fast recycling times and 1/800 to 1/2000 of a second flash durations. Pair it with a quality lighting stand, and you are ready to take split-lighting portraits as soon as it arrives.
Beauty Dish
To ensure hard light and sharp shadows, leave the key light unmodified or attach a 7-inch reflector to concentrate the spread of light. If you want the key light to be less harsh, giving a softer edge to the shadow, use a modifier such as the Glow 25-inch beauty dish. This small, portable, and collapsible modifier is perfect for head and shoulder split lighting. Its double reflector system softens the flash twice. Although, its small size produces more contrast than a traditional softbox and has a directed beam.
Honeycomb Grid
For deeper shadows from hard light, adding a 7-inch honeycomb grid to a 7-inch reflector allows you to focus the beam of light even further to make your subject look heroic and gutsy. This will give you a tight 10-degree beam, or you can widen it to 20, 30, or 40 degrees of light.
Choose a Lens Wisely
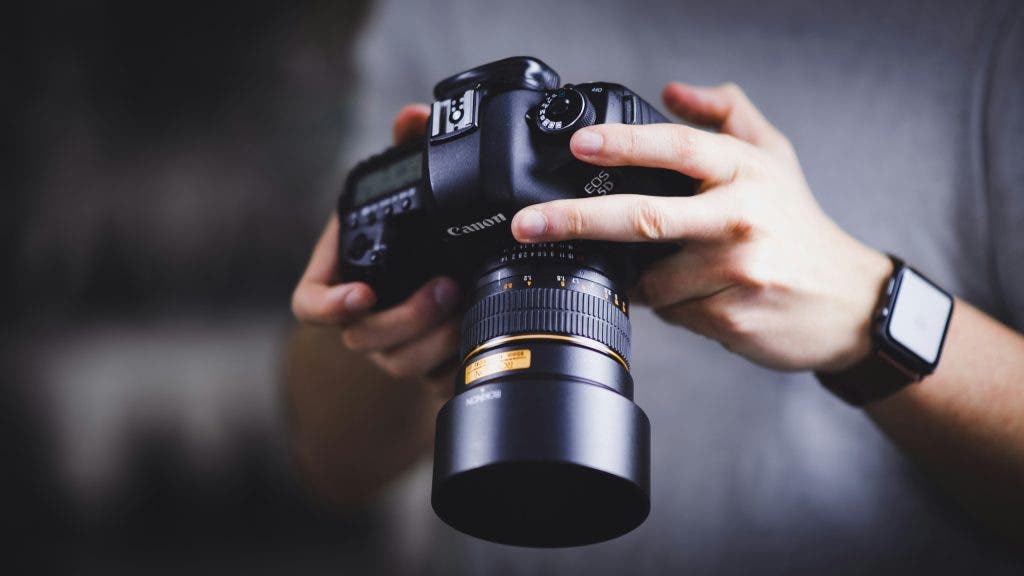
The other important equipment to consider for split lighting is your choice of lens. Because you are essentially doing a headshot, you will be closer to your subject than usual. Photographing with a wide-angle lens brings distortion to the shot. Make sure your lens has a focal length of at least 50mm to 100mm.
How to Improve Split Lighting Photography
Split lighting isn’t difficult, but sometimes the smallest details stop a shot from being perfect.
Finding the Perfect Lighting Position
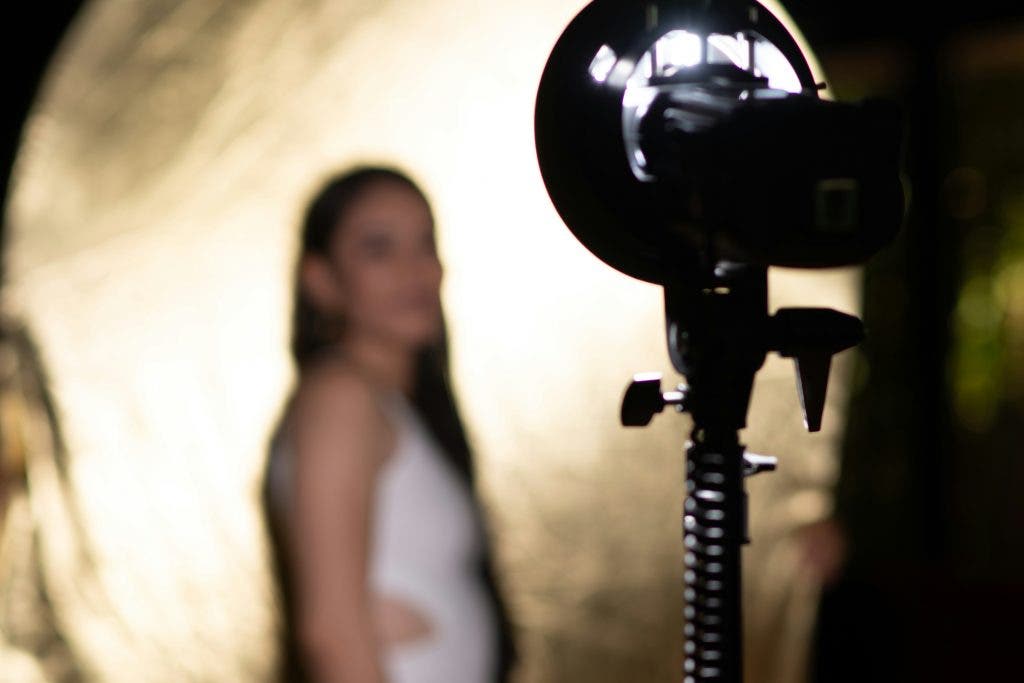
For example, the whole idea of split lighting is to render half the image in shadow. If the darkness extends too far into the lit side forming shadows under the eye, your key light is too far behind the subject. If the light is shining across the other side of the nose, your key light is too far in front of the model. Keep moving that light until you have an exact division between shadow and light. To achieve this, it’s helpful to maintain the key light’s position at the same height as the subject’s head. This keeps the uniformity of the shadow down the center of the face.
A Beauty Dish is Your Friend
Make sure there are catchlights in the dominant eye. If not, move the light forward, position it closer, or use a beauty dish to expand the light source. The extra width of the beauty dish should have enough surface area to bounce light from the edge of the dish into the eyes. Multiple catchlights are a nuisance, so avoid unwanted reflections by reducing the ambient light. This helps keep depth in the shadows too.
Don’t Overdo It
As a photographic technique, split lighting has a lot going for it. It’s easy to do, you don’t need expensive equipment, and the results are impressive. Although it may not be flattering, it adds moodiness and intensity to a shot. Especially if you convert your image into black-and-white tones to emphasize the extreme tonal contrast. Black and white strips away superfluous layers of color to reveal the underlying strength of an image made with split lighting: simplicity. It’s not suitable for everyone, which makes it all the more eye-catching when it is used.
FAQs About Split Lighting
What are the disadvantages of split lighting?
One disadvantage of split lighting is the possibility of the subject’s face having harsh shadows.
What is split vs broad lighting?
Split lighting only illuminates half of the face, while broad lighting illuminates the side of the face closest to the camera.
What are the benefits of side lighting?
The benefits of side lighting include having more depth, dimension, and texture on your subject.
Where is the light source for split lighting?
The light source for split lighting is positioned at about 90 degrees directly to the subject’s side.
Why do people use split lighting?
People use split lighting to create a high-contrast effect that emphasizes the subject’s facial structure and adds a moody atmosphere.
A Notch in Your Creative Lighting Belt
Split lighting is just one of the many techniques that you’ll learn in your creative lighting journey. Now, you know its definition, the right gear to use, its purpose in different types of photography, and more!
Go a step further with the video above with Emily Teague. In the video, the esteemed New York photographer teaches viewers about creative lighting set-ups using strobe and constant lighting.
