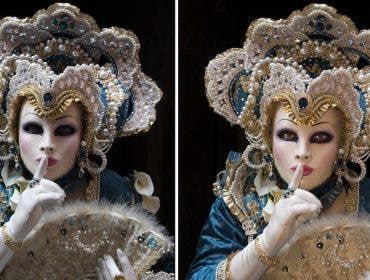
Shooting with your camera’s flash can sometimes produce undesirable results—harsh shadows, washed-out color, lack of details, and many of the other negative markers typically found in an overexposed photo. This kind of lighting can look both unnatural and unflattering, which is why photographers who are just starting out are advised to avoid using the flash when shooting certain subjects or scenes.
But what if there’s little to no available light to help you capture the scene you want to shoot? Does that mean you have no choice but to skip taking the photo altogether? Of course not. With a good camera that effectively handles low-light or night photography, you can simply adjust some of your camera settings (i.e., slower shutter speed, larger aperture, higher ISO, and more) to compensate for the lack of lighting. However, if you still need more light, using the built-in camera flash is still better than using nothing at all.
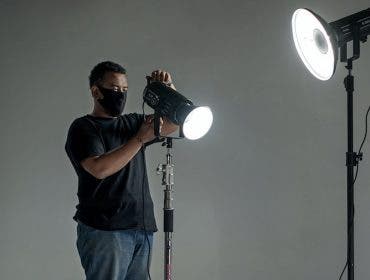
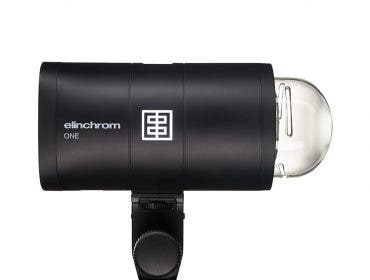
If you often find yourself shooting low-light scenes, it’s best to invest in an external flash unit. It will let you easily take control of any low-light situation and take amazing pictures. Using an external flash can be highly effective in giving you the results you want, especially if you have the right portable light modifier to make the flash less harsh and unforgiving—like a flash diffuser, for instance.

What is a Flash Diffuser?
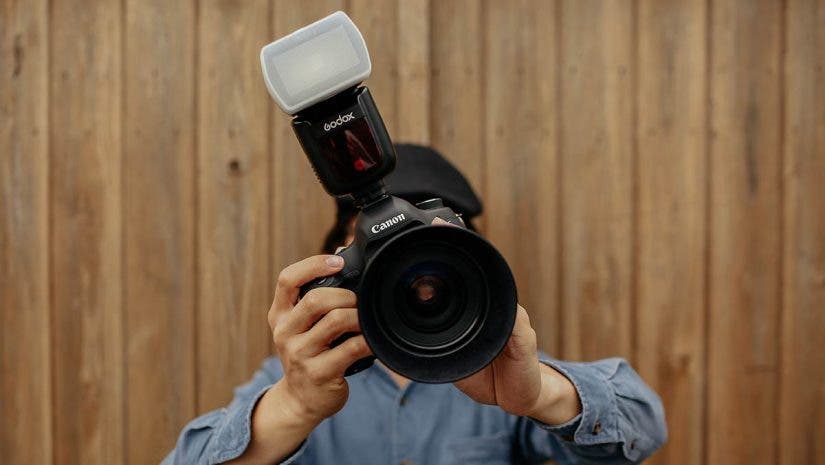
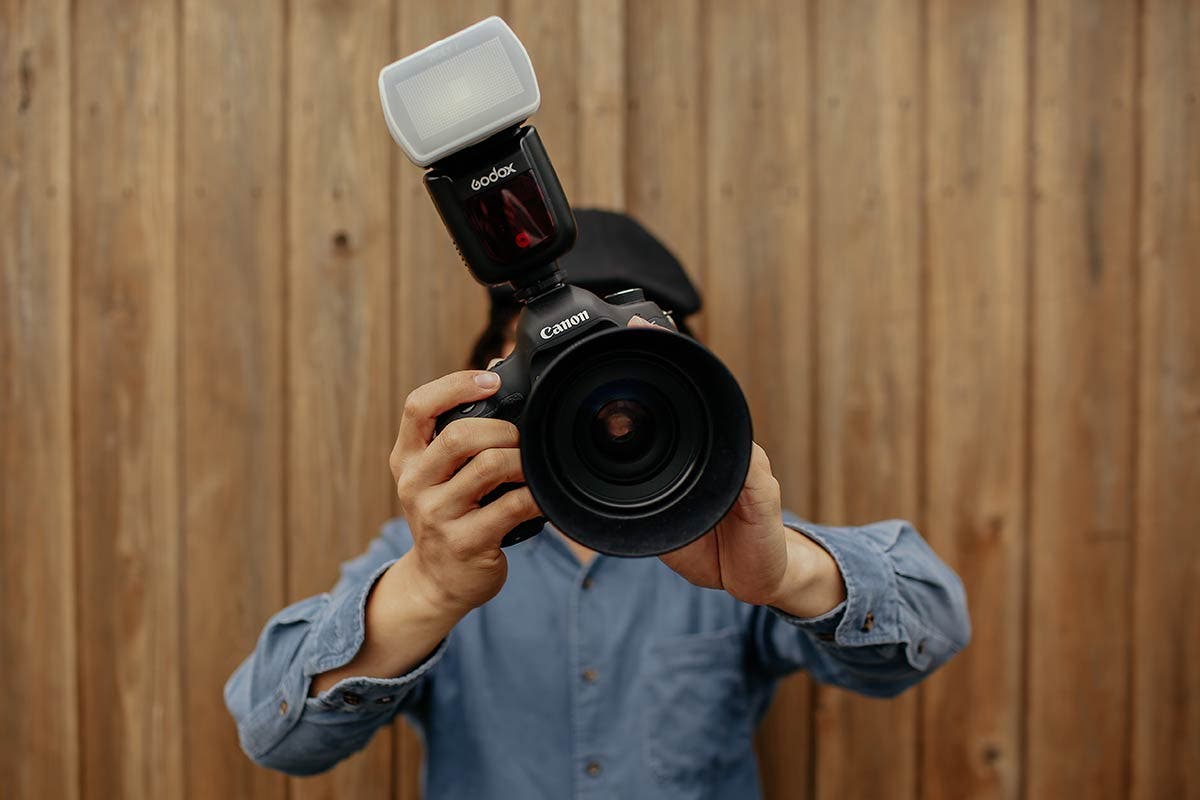
A flash diffuser is a simple light modifier that attaches to the upper part of an external flash unit. It’s used to soften or spread the harsh, concentrated light that bursts out of the flash. It also creates a more even and flattering light on the subject. It also helps remove heavy shadows created by the harshness of the strong lighting.
One of the most basic types of light diffusers is the rectangular, snap-on dome box made of white, semi-transparent plastic, which creates a diffused “bare bulb” effect. But flash diffusers come in various shapes and sizes, and each one gives you varying levels of diffusion. The larger the diffuser, the softer the light will be.
When it comes to manipulating the light from your hot shoe camera flash, there are a lot of options to choose from. Knowing which one to use is a matter of what you’re photographing and the result you’re hoping to achieve. Some photographers even opt for DIY flash diffusers made from regular everyday items that can produce similar results, such as white coffee filters or small plastic food containers.
What does a flash diffuser do?
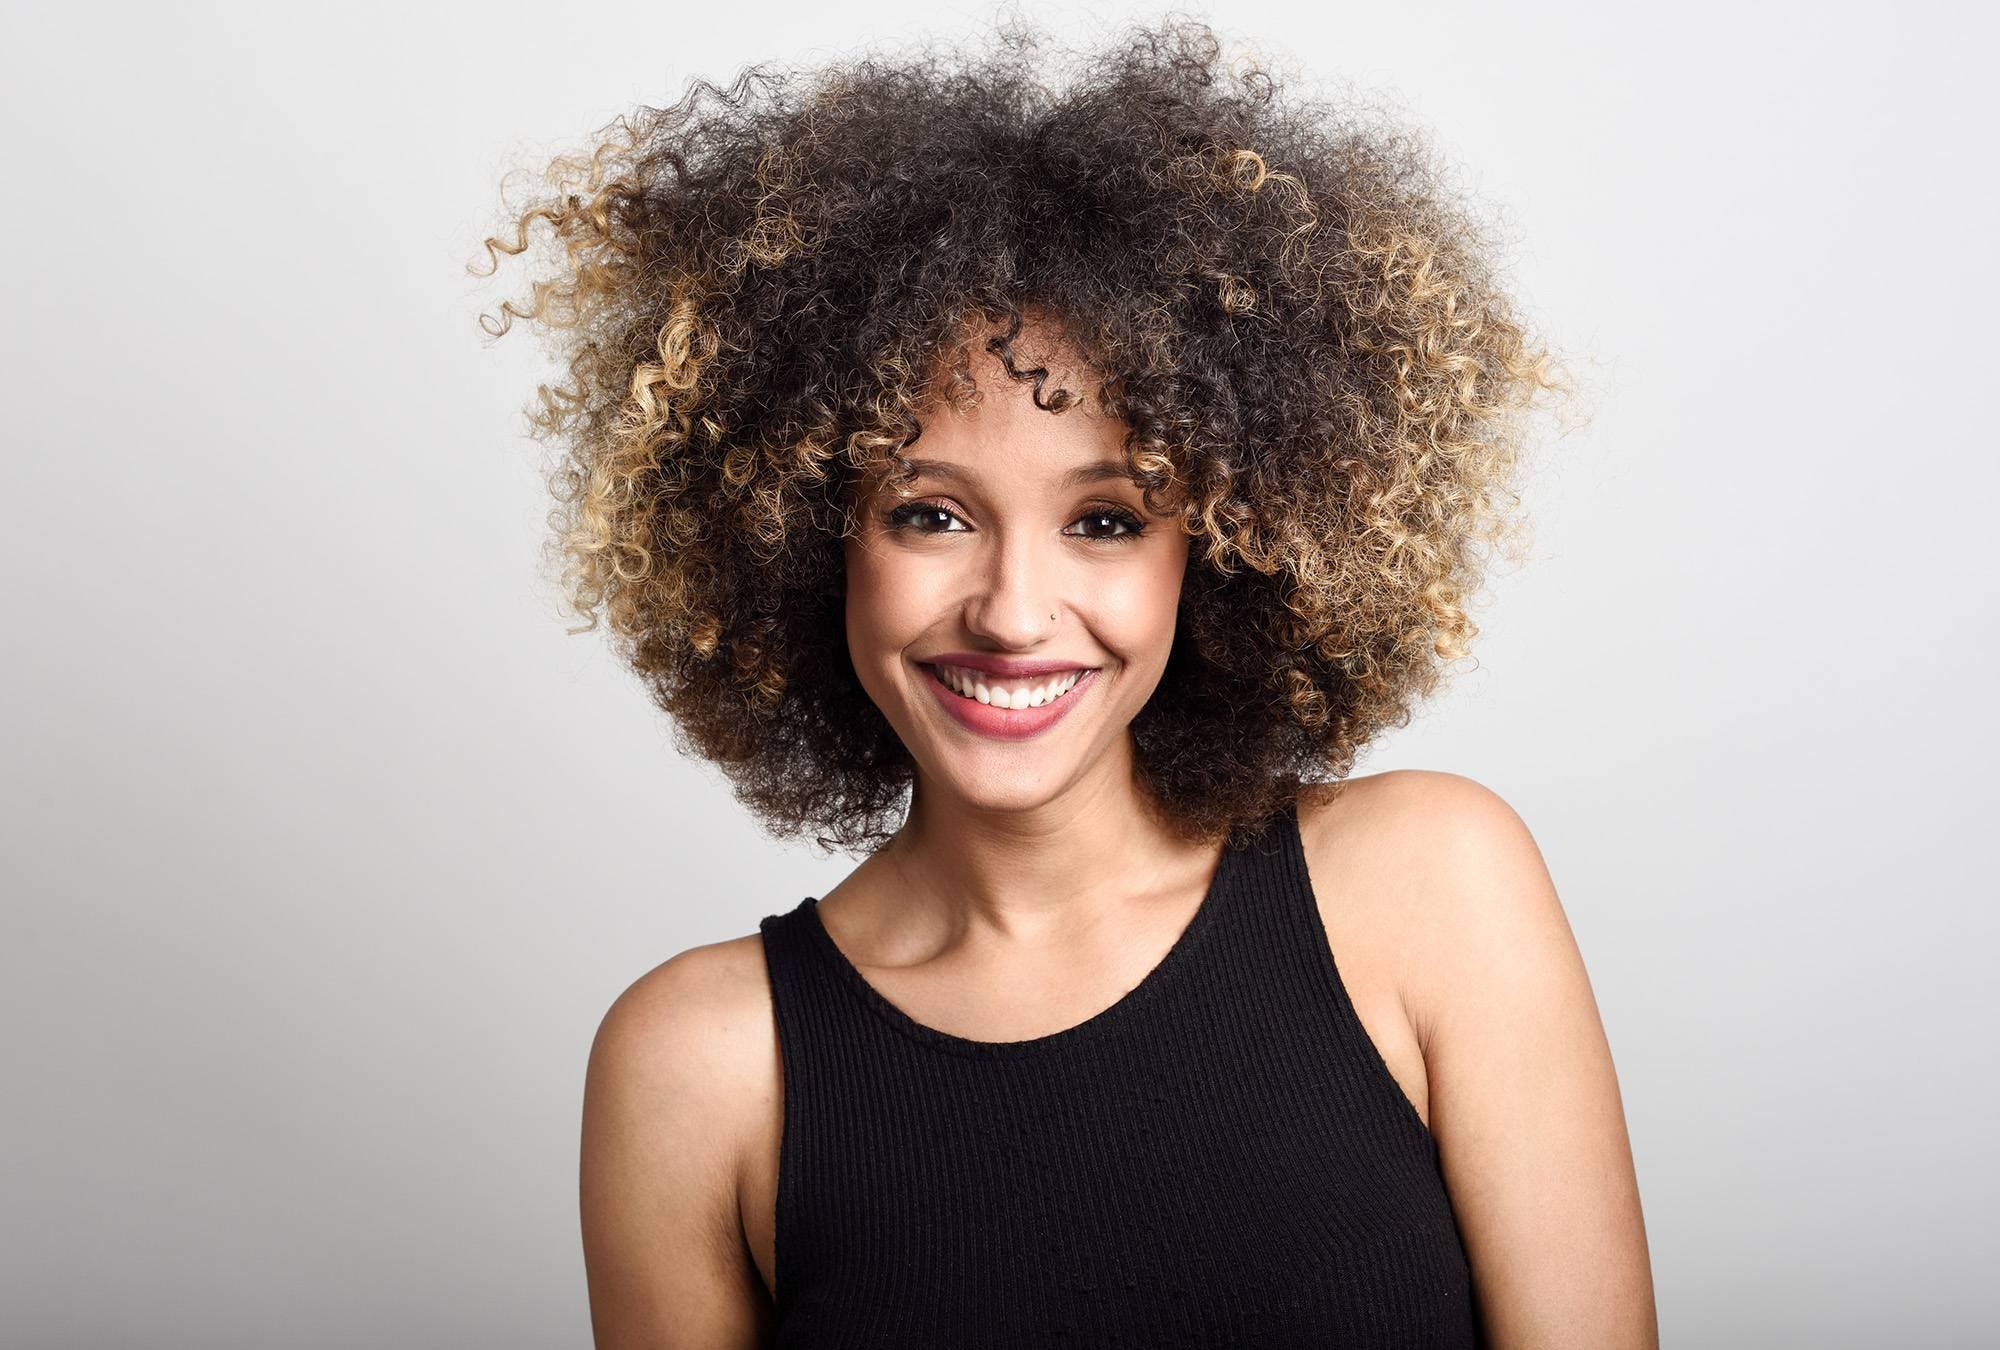
Flash diffusers are an essential part of a photographer’s kit, with the power to soften the light before it hits the subject, making the scene and final shot look more natural. A flash diffuser typically attaches to the top of an external flash. It takes that dense burst of light and spreads it out, ensuring that, by the time it hits the subject, it looks subtle and flattering—the perfect kind of illumination for portrait or wedding photography. If you want a highly dramatic look, a flash diffuser may not be for you. But if you’re going for soft and simple, it’s hard to beat the flash diffuser.
Is flash diffuser necessary?
Whether or not you need a flash diffuser depends on the type of photograph you’re trying to create. If you want high drama, with serious shadows and high contrast, you may not need a diffuser. But, if you’re using a flash and you want the final image aesthetic to have a soft illumination—an illumination that looks natural and flattering, almost like the light on a perfectly cloudy day—then yes, you should add a flash diffuser to your kit. Flash diffusers are easy to add to your external flash, and can do wonders for your final product, particularly in the world of weddings, portraits, and commercial work.
How Do You Use a Flash Diffuser?
Flashes produce a concentrated, directional burst of light. Much like a spotlight, the light from a flash is cone-shaped and largely illuminates whatever it’s pointing at—and not much else. With a flash diffuser, you can spread and enlarge this “cone” of light to soften the output of your flash and illuminate more of the scene you want to photograph.

However, light diffusers for hot shoe flashes are typically not big enough to scatter light everywhere, which means you can’t simply point your flash at your subject and expect pleasing results. The light will be less concentrated, but it’ll still be somewhat harsh and directional.
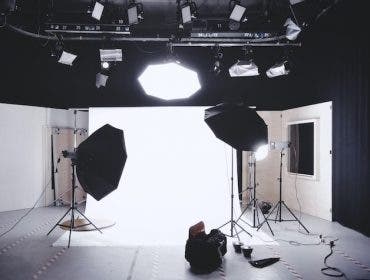
When using a flash diffuser, it’s best to point the external flash unit at an angle (and not directly at the subject) so that you can bounce the light off of a somewhat reflective surface—like a white ceiling, a nearby wall, or perhaps a reflector. This is the closest you can get to broad, diffused lighting with your external flash without having to pull out a set of big studio strobes fitted with softbox or umbrella attachments.
Experiment with different angles and directions to get the look you’re going for. Decide where you want the light to go and visualize the direction the light will take once it fires off and bounces against the ceiling or the wall, so you can control the light that will hit your subject and background.
How do you use a flash diffuser reflector?
Using a flash diffuser reflector system is simple. A flash diffuser is a gadget that sits atop your flash, diffusing the burst of light as it comes out (and to use it, you’ll attach it atop your flash). To use this with a reflector, another way to add softness to your light, you’ll need a white object (such as a piece of white poster board) to reflect the flash back to the subject. This takes the harshness out of the flash; as it bounces the light back to the subject, the light becomes a bit fainter and more flattering—almost like a touch of illumination versus a full-on burst.
To learn more about bouncing your camera flash to create different looks, check out this AdoramaTV tutorial by Mark Wallace: