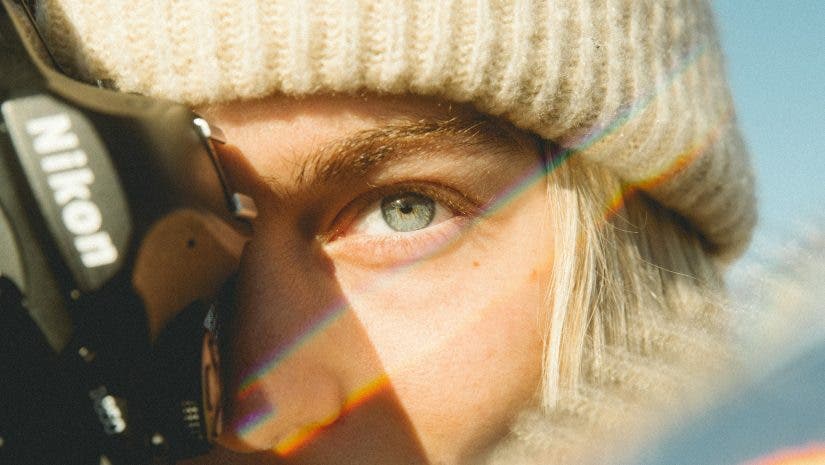
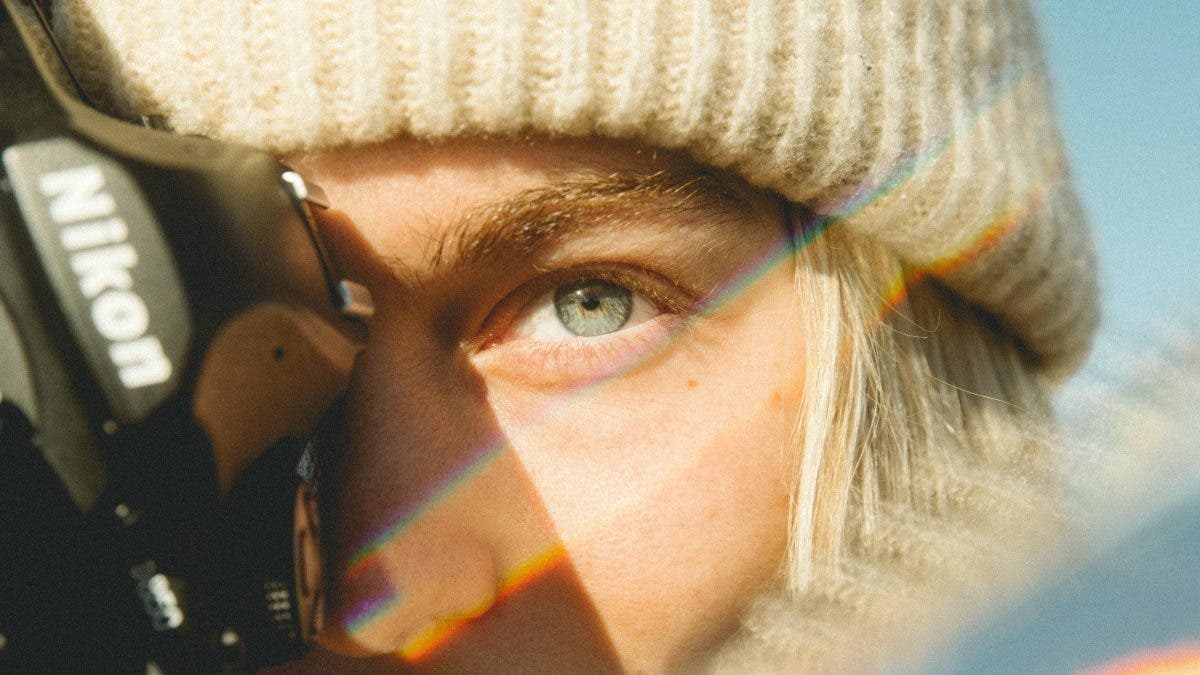
Eye photography beginners and experts are all specializing in it for the same reason. It’s to capture the delicate and intricate beauty of the iris, which – most may agree – are the windows to the soul.
While it seems pretty self-explanatory, it would be beneficial to do a deeper dive into eye photography. As you scroll down, you’ll find our recommendations for the best lenses for iris photography, camera settings for the best eye photos, and a lighting setup guide. Before we conclude, you’ll find a quick list of tips that’ll help you out. Make sure to take note (or a screenshot) before you exit this article!
What is Iris Photography?
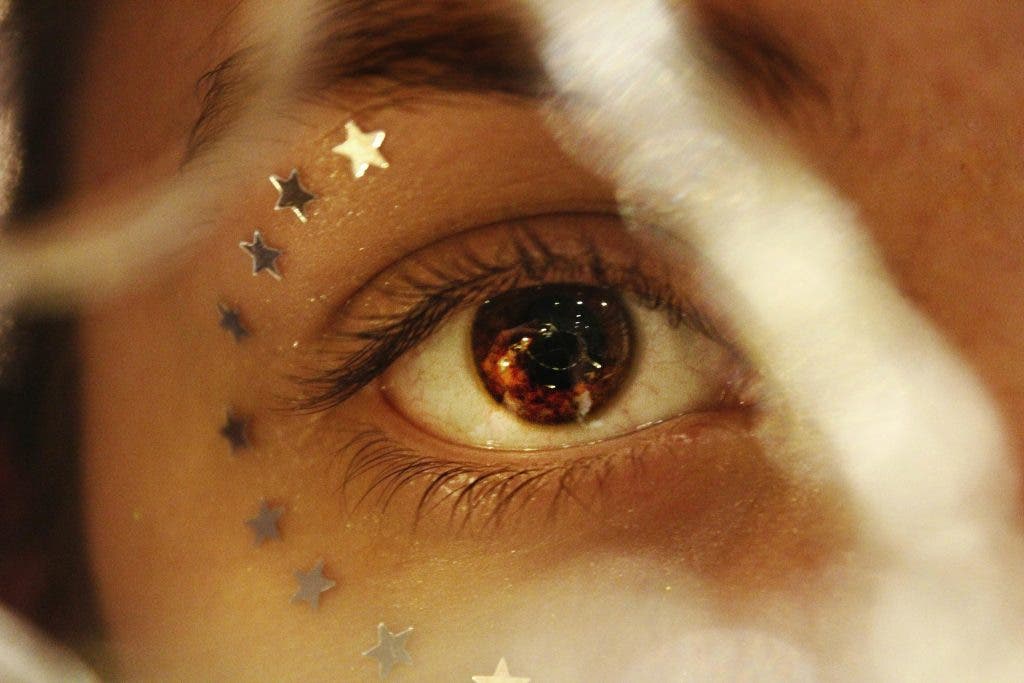
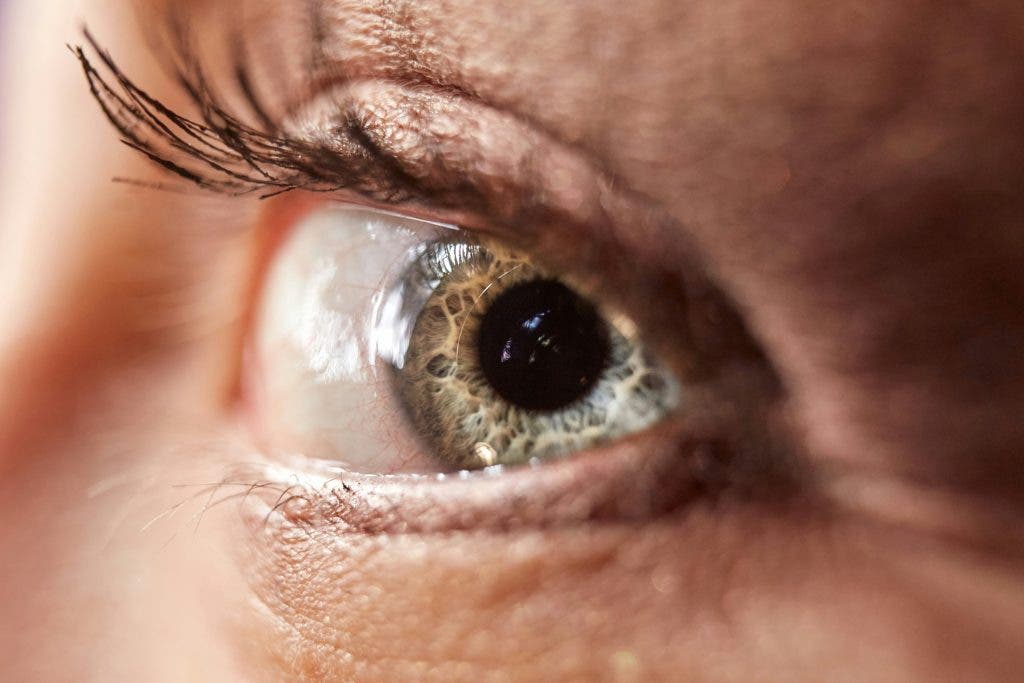
Iris photography is a special type of photography dedicated to capturing even the smallest details within the human (or even animal) eye’s iris. This photography niche is undoubtedly one of the most unique ways to showcase a person – everyone’s eyes are different, after all. With iris photography, every different pattern, texture, and color within one’s iris is so clear, that it reminds the viewer to appreciate their own.
Although possible to do with a smartphone, using a macro lens and knowing how to set up the right lighting is still ideal. With both, eye photographers achieve high-quality close-up eye photos that highlight details not visible to the naked eye.
Best Lenses for Eye Photography
Canon RF 100mm f/2.8 L Macro IS USM Lens
This macro lens is perfect for eye photography because it offers great image quality with a bright f/2.8 aperture for detailed eye photos. Its high magnification (1.4x) allows you to capture close-up details of the eye.
The advanced image stabilization and hybrid IS reduce blur from camera shake, ensuring viewers see every fleck.
Sigma 70mm f/2.8 DG Macro Art Lens
This Sigma lens is ideal for eye photography due to its life-size 1:1 magnification – a huge plus. Its rapid and precise autofocus ensures you capture sharp images of both animal and human irises, while the durable design makes it reliable in various conditions.
Its ability to reduce chromatic aberrations and distortions ensures color-accurate photos with little to no blur. And when you do want blur, its nine-blade diaphragm gives you smooth, pleasing bokeh.
Sony FE 70-200mm f/4 Macro G OSS II Lens
This lens provides excellent close-up performance with half macro (0.5x zoom) at all focal lengths, capturing detailed iris shots. It has a fast, precise, and quiet autofocus that helps users achieve sharp images in no time.
Panasonic Lumix S 100mm f/2.8 Macro Lens
Just like the Sigma lens, this lens is great for macro iris photography because it offers 1:1 life-size magnification. However, the former is compatible with L Mount and Sony E Mount while the latter only goes with the L Mount. Not to worry, its high resolution still helps deliver sharp images and it gives beautiful bokeh to enhance the user’s artistry.
It has a new Dual Phase Linear Motor that provides fast and precise autofocus. Additionally, it suppresses focus breathing, maintaining image quality during focusing.
Camera Settings for Macro Eye Photography
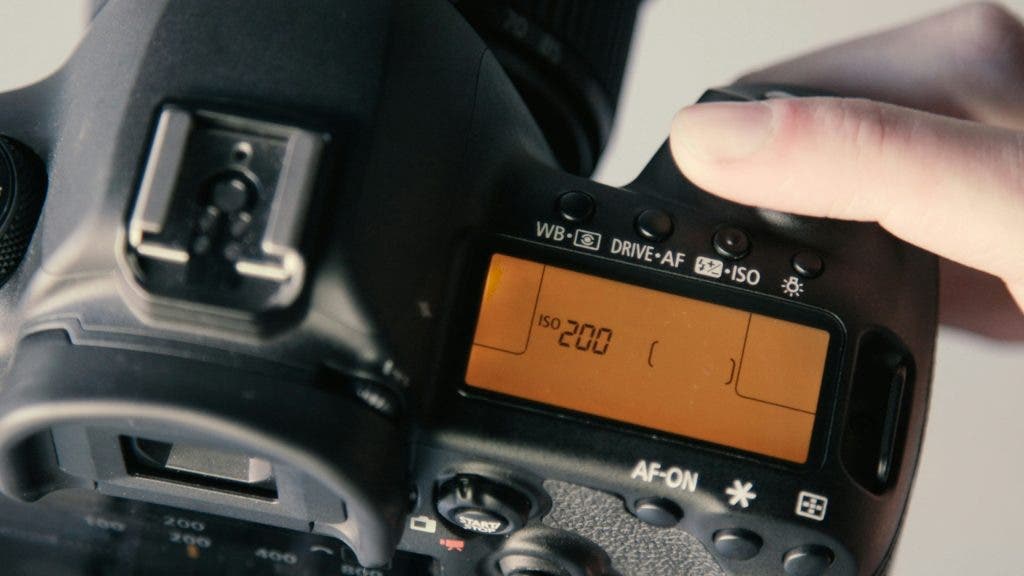
Since the intention of macro eye photography is to capture specific details of the eyes, photographers must know the right camera settings. This includes knowing the ideal focal range and shutter speed. They would also need to know which side of the aperture spectrum they should stay on.
Focal Length
When it comes to macro photography, a shorter focal length is ideal. This is because it allows closer focusing which equals to greater subject magnification. As you can predict, getting the right focal length means you can capture even the finest textures and patterns of the iris. Just by focal length alone!
Now, let’s talk numbers. A good focal length for photographing macro eye shots is within the 50mm to 100mm range. Why, you may ask? Well, staying within that focal range gives you a natural perspective with no distortion. Perfect for the type of eye photos you’re hoping to get!
Shutter Speed
Shutter speed can make a huge difference when capturing human eye photos. For this type of photography, use a fast setting: stay around 1/125 to 1/250. Staying within that range will allow your camera to freeze any subtle movements made by your subject and prevent blur.
Aperture
When it comes to aperture in macro photography, always go wide.
A wider aperture or lower F-stop is typically equipped by macro photographers to create a shallow depth of field. To replicate this, choose cameras and lenses that can hit the f/2.8 to f/5.6 mark. With it, you’ll emphasize the iris while gently blurring the background.
Settings for Animal Eye Photography
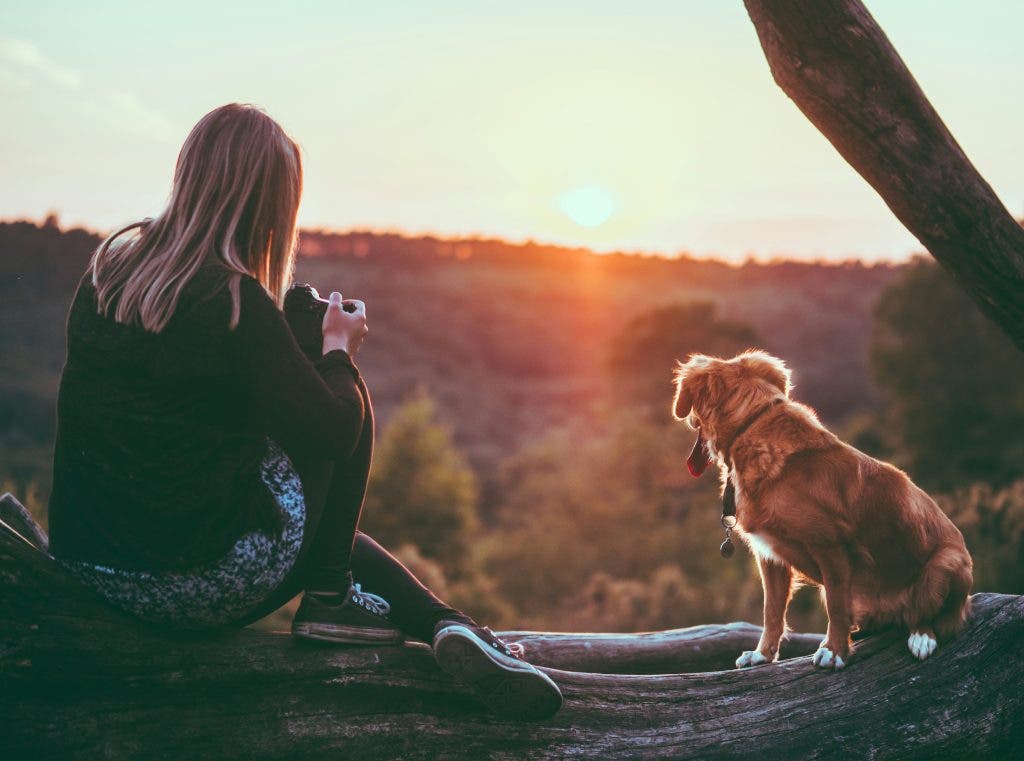
When engaging in animal eye photography, you may need to change some settings due to differences in size and behavior between animals and humans.
For larger animals like dogs or horses, a slightly longer focal length, such as 100mm to 200mm, may be needed to maintain a comfortable distance and ensure safety.
Additionally, since animals can be more active, a faster shutter speed, around 1/250 to 1/500 of a second, is advisable to capture their movements crisply. Similarly, using a wider aperture, like f/4 to f/8, can still achieve a shallow depth of field while accommodating the larger eyes of some animals.
Lighting for Eye Photography
Setting up lighting for eye photography requires careful consideration. Just remember, lighting – when done right – can enhance the iris’s details rather than making them unclear.
A soft and diffused light such as a ring light or a softbox, is ideal. Both can illuminate the eyes evenly without casting harsh shadows. Position the light strategically. The most common is placing lighting slightly above and in front of the subject. This is popular for its ability to create those little flecks of light in the eyes.
Artificial Light?
It’s fine to use artificial light in this niche. Just be sure to adjust its intensity to ensure it’s not too bright or too dim. Do this by aiming for a balanced illumination that highlights the iris’s colors and textures without causing discomfort to the subject. This requires you to regularly check in with your subject to see which setting they’re most comfortable with.
Avoid Teary Eyes in 3 Steps
To avoid glare and watery eyes, it’s essential to control the direction and intensity of the light. Do that in these three steps:
- Position the light source slightly to the side rather than directly in front of the subject. This will help reduce glare by minimizing direct reflections off the cornea.
- Use a matte or satin finish on the backdrop. The backdrop will then absorb excess light and minimize reflections, further reducing glare.
- As the photographer, remind your subject to blink frequently to keep their eyes moist and prevent irritation or watering.
Tips for Eye Photography
Here are the three tips we promised you at the beginning!
#1: Connect with Your Subject
Establishing a connection with your subject is crucial. Before starting the shoot, take the time to converse comfortably and build rapport. You’re about to get in and capture their irises, so make them feel at ease in front of the camera.
To make sure they stay comfortable all throughout the shoot, maintain light conversation or play calming music. That’ll do the trick.
#2: Be Sharp in Post-Processing
Having sharp attention to detail during post-processing can bring your eye photography to the next level.
Play around with the contrast, saturation, and sharpness selectively to bring out the intricacies of the iris without overdoing it. You’ll know right from wrong by paying close attention to the whites of the eyes. If they’re bright but not an unnatural white, you’re good. Finally, remove any distractions or imperfections that may detract from the main focal point: the iris.
#3: Monitor Your Composition
This is an important one: Plan out the composition of your shots. Doing so (and getting it right!) will make your eye photos visually appealing. Experiment with different angles and perspectives, such as close-ups or profile shots. Go with the one that best highlights the unique features of your subject’s eye.
Eye Photography: The Windows to the Soul
Before you go, take a moment to appreciate the beauty of eye photography. It’s no wonder the poets used to call them “windows to the soul” because that is what they truly are! They convey emotions that no words could express.
That’s why photographing eyes have been such a hit – iris photographers hold so much power.
