Imagine taking a photograph, and the results end up identical to how you imagined it. How satisfying would that feel? If you are starting in photography, shooting in automatic mode is probably your go-to setting. There is certainly nothing wrong with shooting in this mode; however, the more you use the mode, the more you will want to control the overall image. So how can one achieve a creative look that goes beyond automatic? To unlock the power of your camera and obtain a creative look, you first must understand the exposure triangle.
What is the Exposure Triangle?
The ‘Exposure Triangle’ consists of three main elements that are found on every camera. These include:
- ISO
- Aperture
- Shutter Speed
Each part of the triangle has a different relationship with light and would need to work together to create the final look of an image. When a camera is set on automatic mode, it decides these three factors for you to produce proper exposure. This balanced exposure means that the information in the highlights and shadows is usable, not blown out, and is not lost. Details from both extremes are respectively retrievable and workable.
It may sound easy to allow our cameras to decide for us. However, when we go over each of these variables individually, you will quickly understand why there may be a lot of noise in an image and how to avoid unflattering blurriness in our photos.
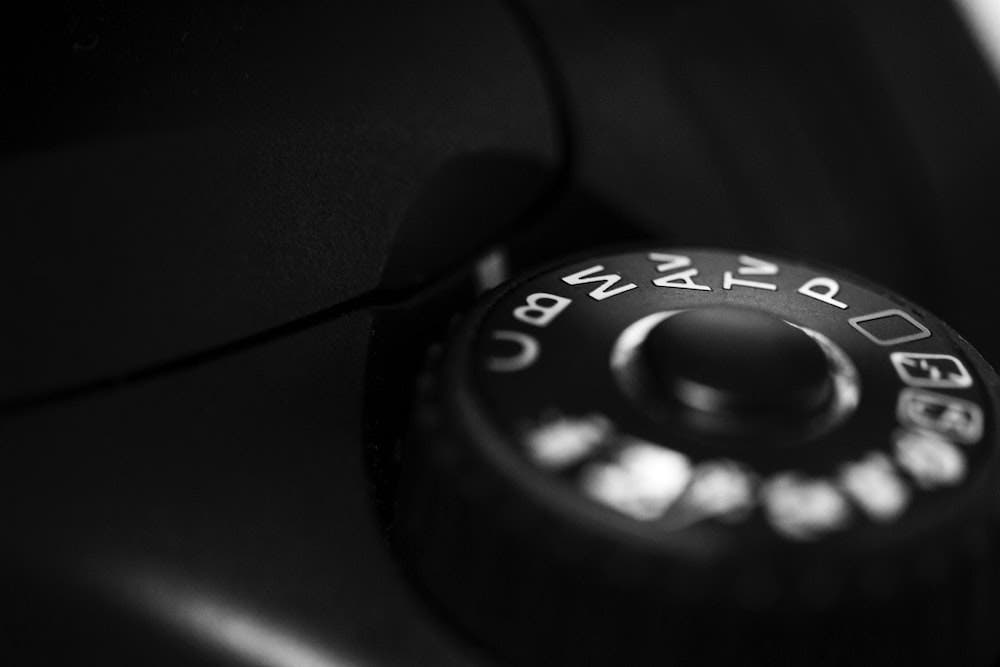
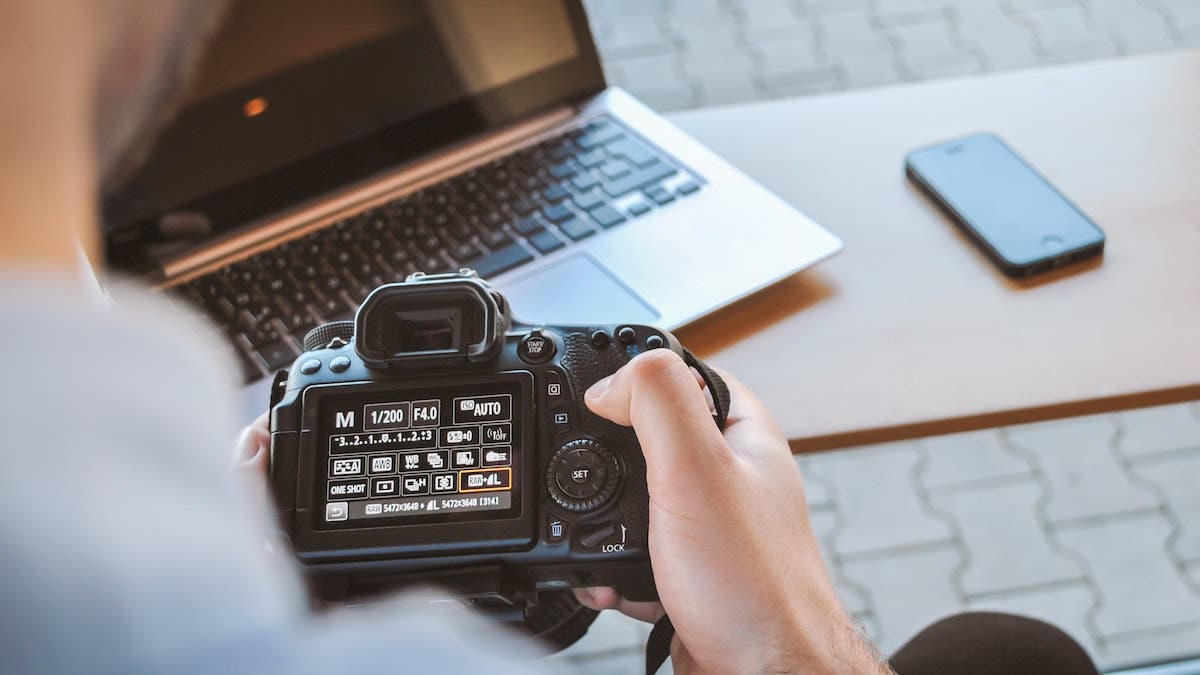
For too long, we have allowed our cameras (or even phones) to create images for us. Today, let us take full control of this by adjusting the exposure triangle to meet our creative desires. Take that courageous step by changing your camera’s settings from automatic mode to manual mode as we dive into each compartment. Understanding each part individually will help us to know how they work together.
Understanding ISO
The ISO is the first pillar of the three corners of the exposure triangle. This relates to how sensitive your camera sensor is to light. Cameras range how low and how high the ISO can be set. For example:
- Low ISO: 100-400
- Medium ISO: 400-3200
- High ISO: 3200- 6400+
Cameras have different sensors (i.e., full-frame vs. crop sensors), and each has a different tolerance of how ISO affects your image. In principle, the lower the ISO is, the less noise the image will have. The higher the ISO is, the more noise is found on an image.
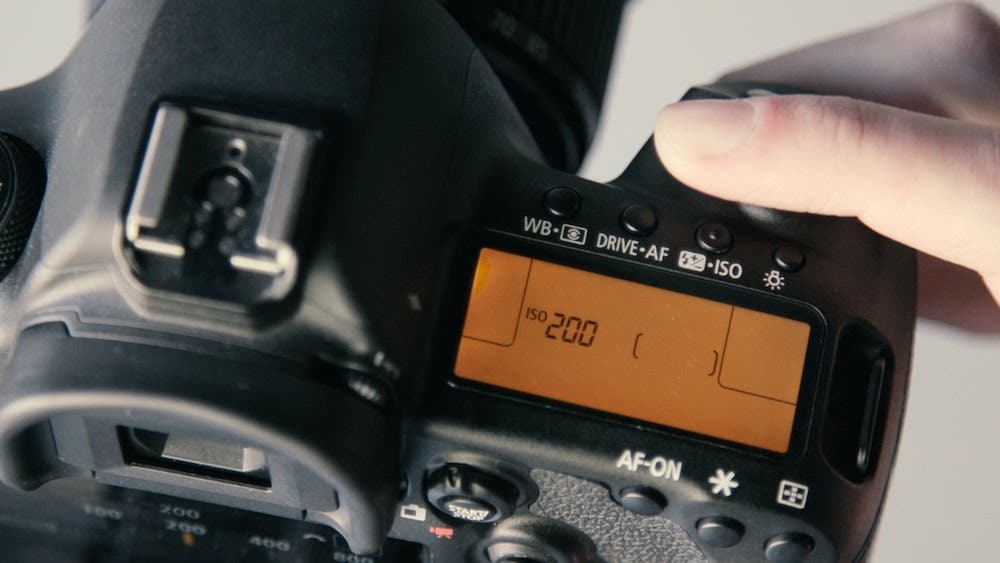
‘Noise’ is a visual distortion that looks like white and black ‘snow’ that disorientates an image’s color, highlights, and shadows. It is generally not flattering, so why would we ever want to shoot in a high ISO? Would it not be better to always shoot in low ISO, so the image quality is superb?
The only reason we compromise an image’s quality by shooting in a higher ISO is that there isn’t enough light. By increasing the ISO, we are brightening up the image. The higher the ISO, the more we say, “I care more about capturing the photo with balanced exposure rather than the image quality.”
If you are looking to fix a particularly noisy photo, check out How to Fix Blurry Pictures.
What You Need to Know About Aperture
The second pillar of the three is the aperture. This relates to how much light is allowed through the lens and onto the sensor. The variables (i.e., f/1.2, f/2, f/4, f/5, f/8, f/11, f/16, f/22) refer to the size of a lens’s diaphragm. This is also understood as ‘f/stops.’ In simple terms, the lower the number, the more light we allow in. The larger the number, the less light we allow in.
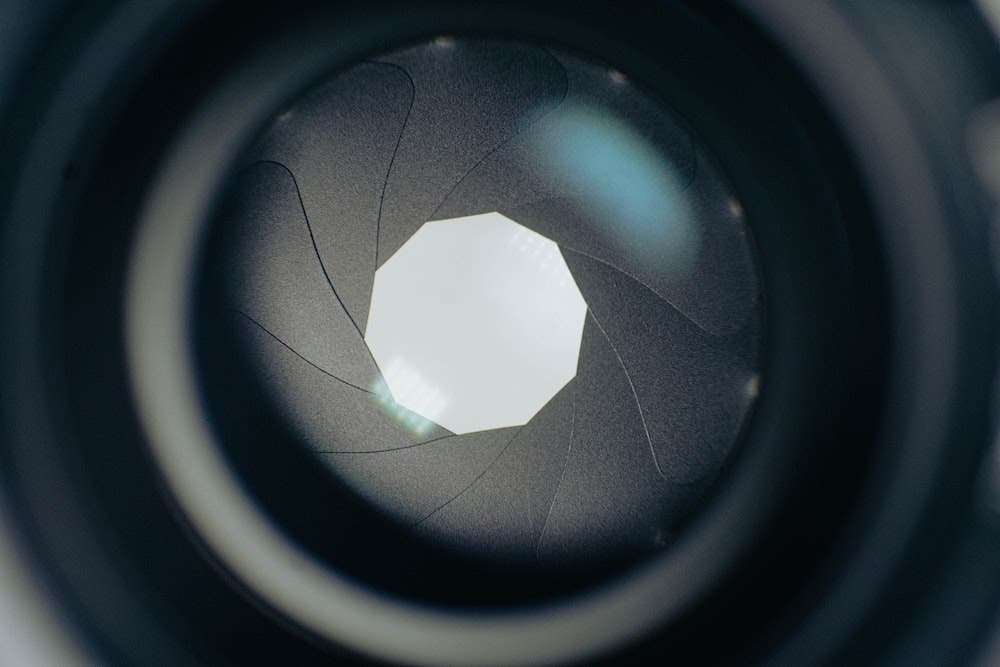
Every lens has its limitations and greatest potential. When purchasing a camera with a lens, the (kit) lens’s focal length often ranges from 18-55mm and has an aperture range of anywhere from f/3.5 to f/16. This varies from brand to brand and lens. However, we quickly realize that having a “larger” aperture of f/1.2 to f/2 is very appealing. Having a “smaller” aperture is not necessarily a disadvantage, especially when there is a lot of light. However, it does help when the available light slowly diminishes.
The second aspect of aperture we need to know is the depth of field (DOF). DOF is the area in the frame that is in focus. Every time we half-press the shutter button, a new DOF is established. The areas in front of that space and behind that space will blur gradually over distance. The distance from our lens’s front element to our subject affects how “narrow” and how “wide” our depth of field is but, to keep it simple, it is also our chosen aperture.
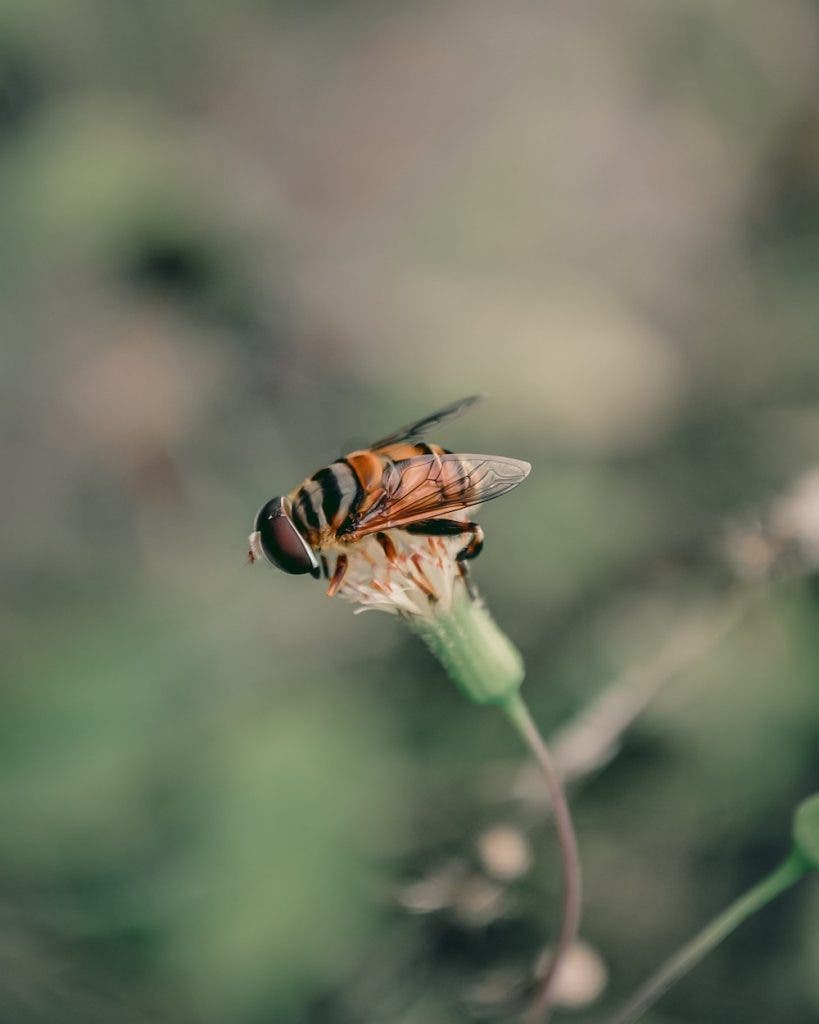
The wider the aperture is (i.e., f/1.2, f/1.4, f/2), the more narrow your DOF will be. This is ideal if you want the subject to stand out by having the background and foreground blurred. The more closed the aperture is (i.e., f/5.6, f/8, f/11, f/16, f/22), the wider the DOF will be. Keep in mind that with a bigger number, you are losing light because of how little light can come through. So what do we need to do with our ISO? We need to increase it to compensate for the loss of light. Are we starting to see how these two pillars work together for an even exposure? A low ISO possibly means our aperture needs to be wide. A high ISO possibly means our aperture needs to be narrow.
Mastering Shutter Speed
The final corner of the three in the exposure triangle is the shutter speed. This relates to the speed of the cameras’ shutter opening and closing. When we look at our settings, this may appear as a fraction of a whole number. Whole numbers are measured with seconds, whereas fractions are a fraction of a second. Examples of shutter speeds include:
- 1″ equals 1 second
- These fractions are less than 1 second: 1/2, 1/4,1/8, 1/15, 1/30, 1/60, 1/120, 1/250, 1/500, 1/1000, 1/2000, etc.
The greater the denominator is, the faster the opening and closing of the shutter will be. This affects how much or how little light is allowed through the lens before reaching the sensor. We can adjust the exposure of the overall image by changing these speeds. A slow shutter speed is often used to capture motion, giving a blur effect. This captures the movement of not only what you’re photographing but the movement of your camera. This is where tripods would come in handy.
Are you looking to purchase a new tripod? Check out our list of 10 Best Tripods Under $100.
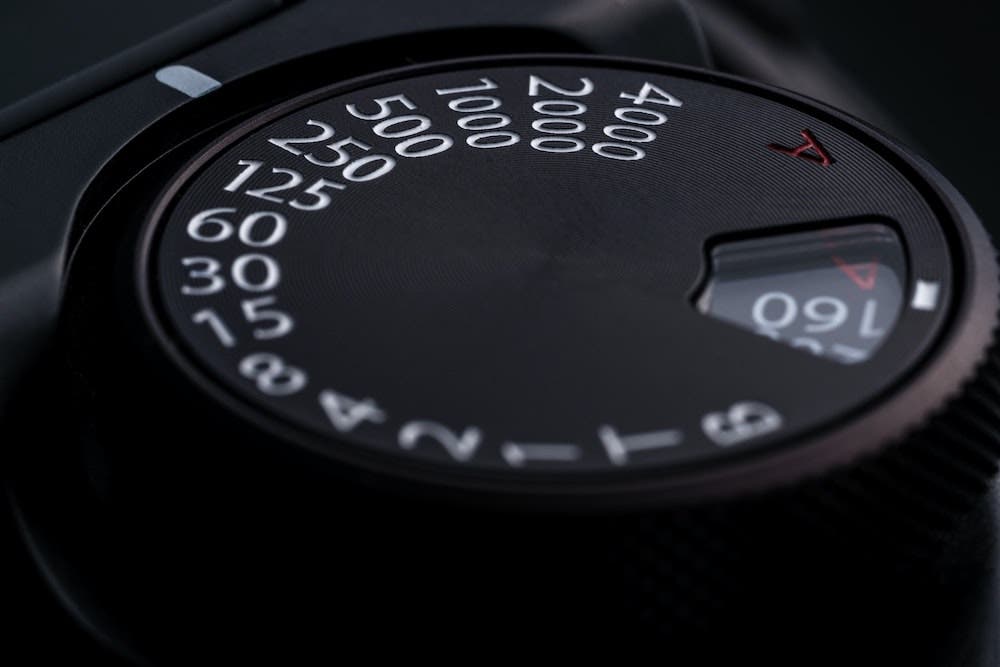
A fast shutter speed freezes movement. Be mindful that the quicker the shutter is, the less amount of light we allow in. Imagine a waterfall and consider the effects of these two speeds on opposite spectrums. One would capture the motion of the water, and the other would capture every droplet of water coming down.
Now that we understand shutter speed, we can begin to see how each part of the triangle works together to create an image. Let’s go through a few genres of photography and the recommended settings for each.
Settings for Different Types of Photography
Before we can identify what settings our cameras should be in these various genres, we need to answer these two questions:
- What is the most important thing to convey?
- What is the least important thing to convey?
When we answer these two questions, we generally have an idea of what to prioritize and compromise in our exposure triangle.
Landscape Photography
Landscape photographers would want high-quality images of their sceneries, so having a low ISO is very important. Now that we identified what is most important, what would be the least important?
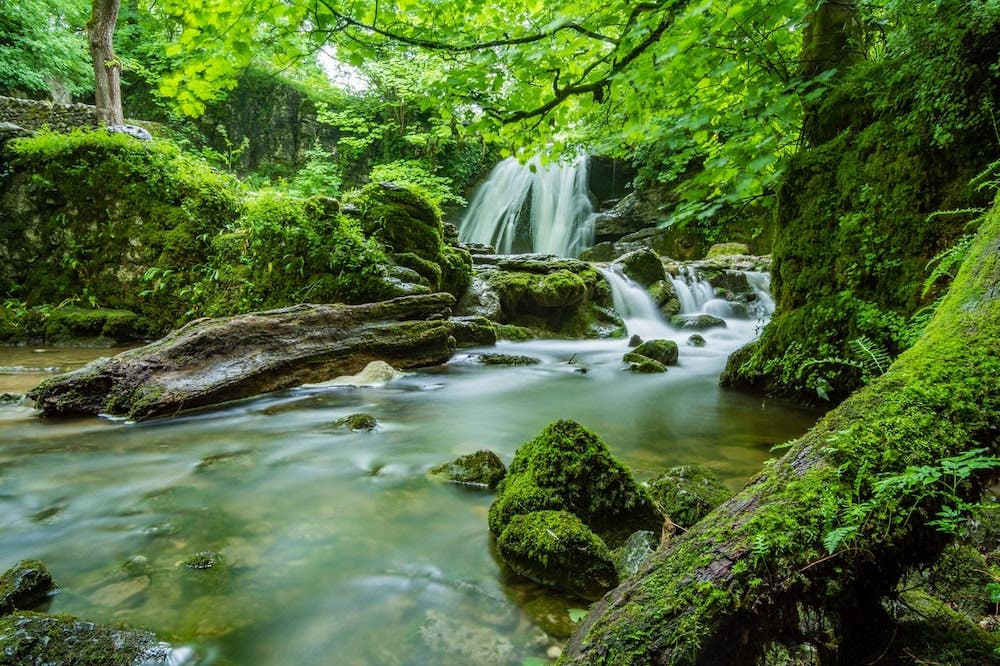
It would depend on the scene. Assuming we are still on a low ISO, we either need a slower shutter speed or a wider aperture to compensate for a low ISO. If there is movement in the scene, the choice between a fast or a slow shutter speed is entirely up to the photographer’s discretion. Going slow would mean the aperture needs to increase variables (i.e., f/11 to f/22). Going fast would mean the aperture needs to decrease in the variable (i.e., f/4 to f8). An example of the settings for a landscape photographer shooting around sunset would be:
- ISO: 100
- Aperture: F/5.6
- Shutter Speed: 1/125th of a second
Check out 22 Landscape Photography Tips for Beginners for more advice.
Macro Photography
Macro photographers prioritize aperture as the depth of field is extremely noticeable up-close — especially if there’s any movement within the frame. The choice between the two depends entirely on what is in the photograph. If the subject is static, then slower shutter speeds (i.e., 1/250) are permissible. If the subject is moving, a faster shutter speed is necessary as movement is amplified dramatically.
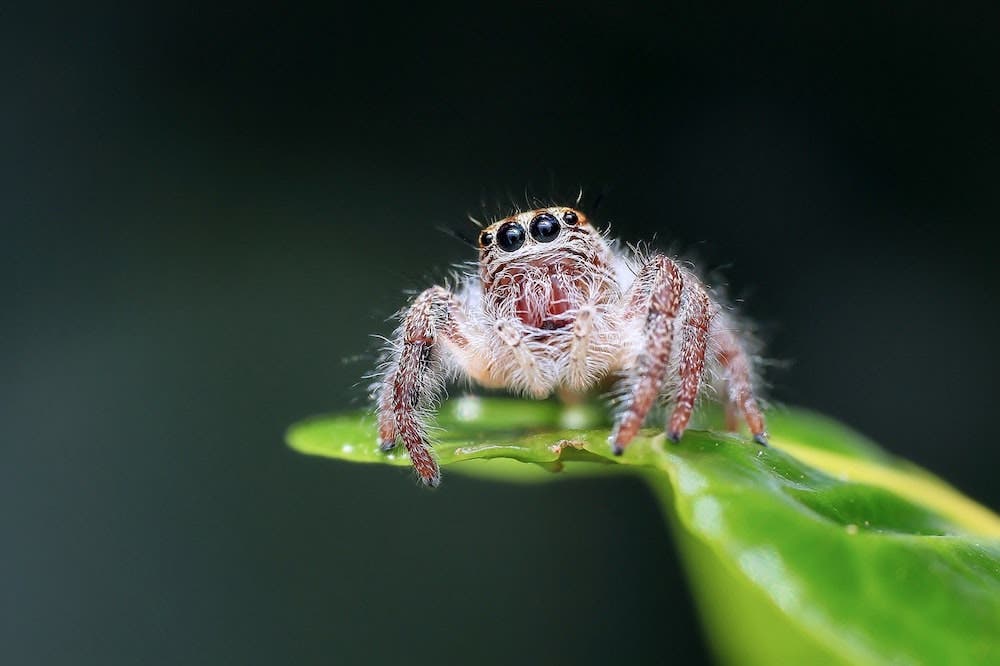
The importance of ISO will depend on what you will be doing with the final image. It is generally okay to increase your ISO if it means a faster shutter speed for moving subjects and a wider aperture for desirable DOF. An example of the settings for a macro photographer shooting an insect on a sunny day would be:
- ISO: 200
- Aperture: F/8
- Shutter Speed: 1/500th of a second
For more information, read Best Camera Settings for Macro Photography.
Nighttime Photography
Every genre we’ve mentioned so far would benefit from having a tripod. Nighttime photography is no exception. Using a tripod enables nighttime photographers to shoot at a very low ISO and a slow shutter speed to allow more light into the camera. In addition, it is now possible to shoot in a narrow aperture (i.e., f/11) to ensure the subjects plus environment is tack sharp.
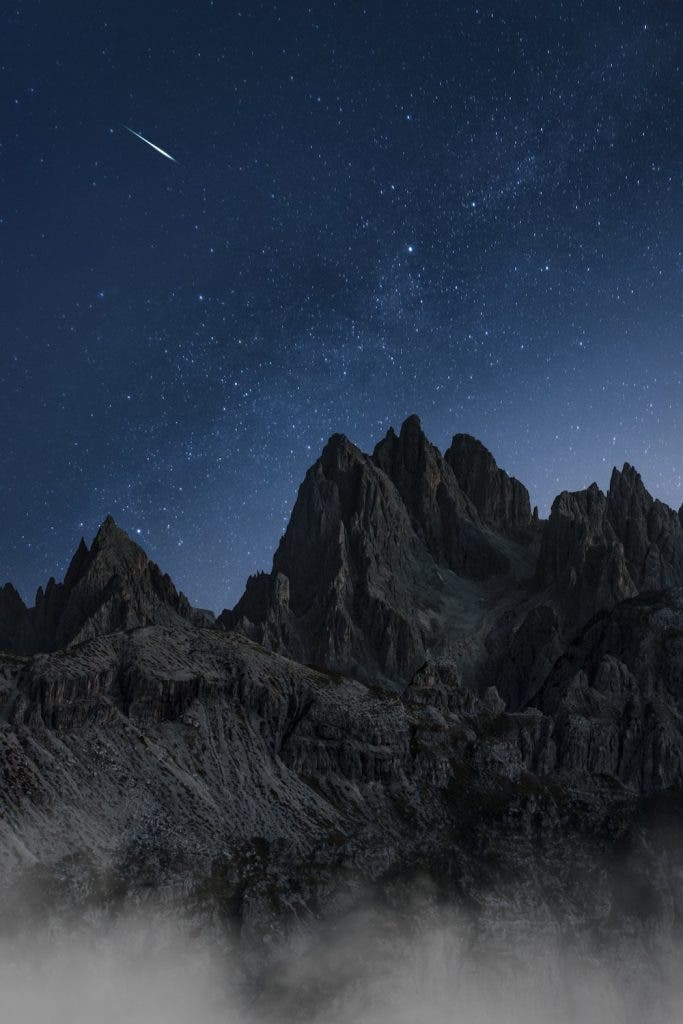
If a tripod is unavailable, it is worth increasing the ISO. Be mindful, however, that the noise in an image would be more noticeable because it is a night photography. Increasing the ISO is recommended to slow the shutter speed (keep it 1/125 if handheld) and widen the aperture evenly till a balanced exposure is possible. Recommended settings for a photographer capturing an image of a bridge with minimal light with a tripod would be:
- ISO: 100
- Aperture: F11
- Shutter Speed: 1/25th of a second
You can find more inspiration at Night Photography Ideas, Tips, and Examples.
Portraiture
Portraiture is all about the person you photograph, so prioritizing the aperture tends to be the most popular of the triangle. The option to shoot wide-open (i.e., f/1.2, f/1.4, f/1.8) provides a narrow depth of field. The photographer can be creative by focusing on the eye and allowing the blur to increase incrementally from the remainder of the face to the shoulders and complete blur of the background (by taking an image close to your subject).
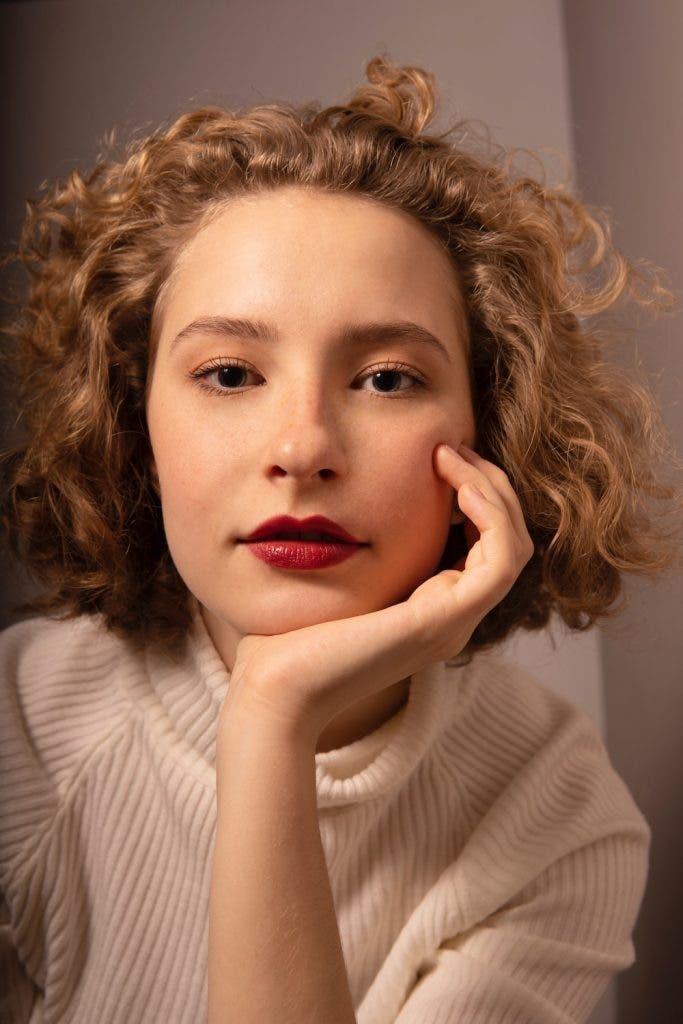
It is also ideal for keeping ISO low in this category, as no one would want noticeable noise on the skin. If your subject is moving, such as cycling, running, or a child running around, this is where your shutter speed becomes important. Be sure to keep your shutter speed around 1/500 to be safe. An example of photographing a friend in a park on a gloomy, cloudy morning:
- ISO: 400
- Aperture: 1.2
- Shutter Speed: 1/500 of a second
If you want to learn more about portraiture, read Tips for Aesthetic Portrait Photography with Brandon Woelfel.
Motor Racing Photography
The name of the genre implies explicitly that shutter speed is very important. A motor racing photographer would want to freeze the subject (using a fast shutter speed) or even consider using a monopod and photograph the vehicle with blur all around it (using a slow shutter speed) using a panning technique.
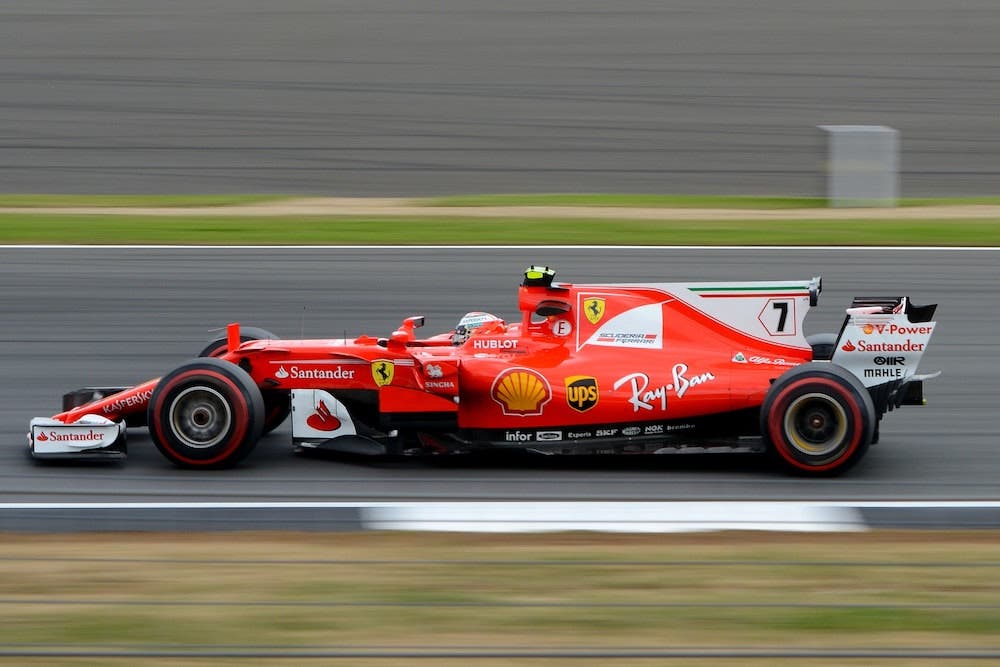
It is recommended to shoot around 1/1000th of a second to freeze images and around 1/30th of a second if panning is what you want to accomplish with a monopod or a tripod. The ISO isn’t as important unless more ‘light’ is needed to accomplish sharp images using the shutter speed and having enough DOF to adjust the aperture. The recommended settings for photographing sharp and fast vehicles around noon would be:
- ISO: 400
- Aperture: 8
- Shutter Speed: 1/1000th of a second
Conclusion
The settings to adjust the exposure triangle (ISO, aperture, and shutter speed) were once in the control of your camera. Now, we have the choice to take full control of our photographs or allow the camera to continue to make decisions for us. After putting these factors into practice, we understand how to make the most of those automatic settings when problems are introduced in the final image. Grab your camera, change the dial from automatic to manual, and unleash all that creativity that’s been stored in you for so long.
