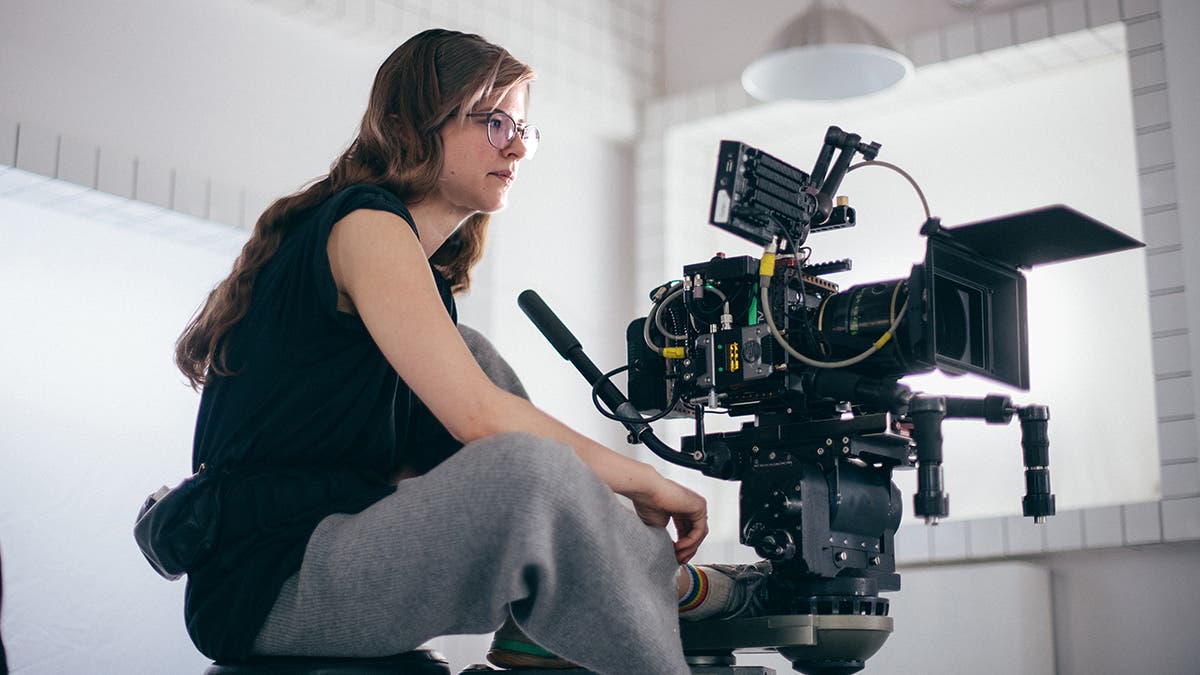
Getting the exposure and focus right in the camera is essential for successful videos. Although video editing software has advanced significantly, quality in-camera footage remains crucial. However, a small monitor, such as those found in mirrorless cameras, or an improperly calibrated one can create a misleading impression of well-exposed footage and fool even expert videographers. These advanced exposure tools will help level up your video game, and save you a ton of time.
The trick is to rely on more accurate methods for verifying exposure, including the histogram, waveform, zebra, and false color. The good news is that many modern cameras feature these advanced exposure tools. These tools assist you in achieving proper exposure and producing video footage that requires minimal post-processing. Here is when and how to use them.
The Histogram
The histogram is the most popular exposure tool amongst photographers. A histogram is all it takes to know whether your photo has an accurate exposure and color distribution for a still image. However, the histogram is helpful to videographers, too, because it shows the distribution of bright and dark areas. Any unbalance signals an underexposed or overexposed shot.
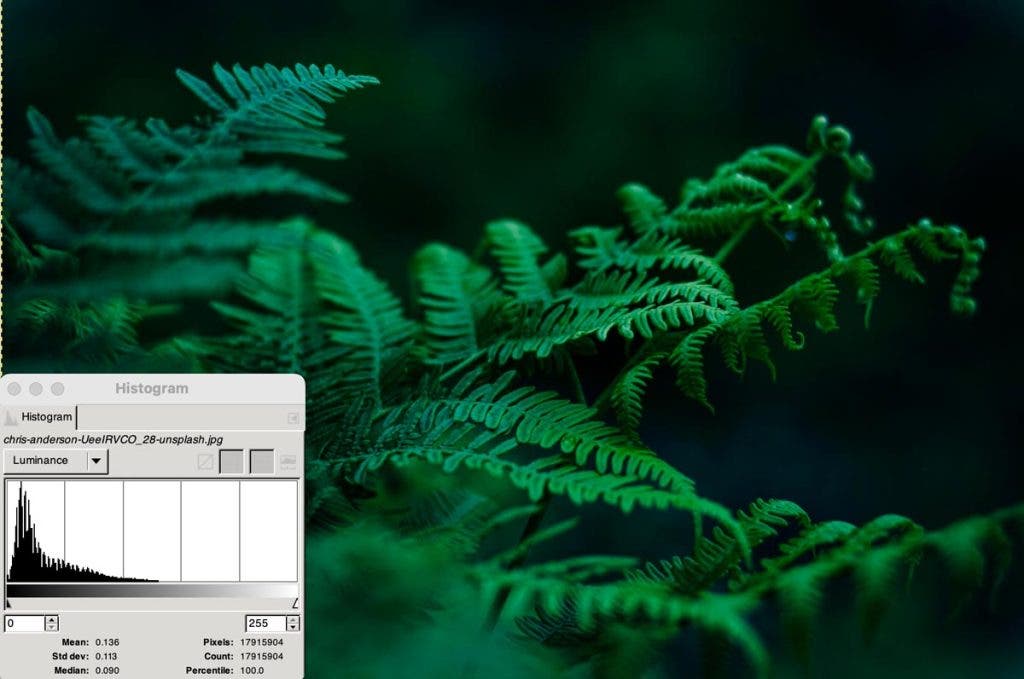

Underexposed image histogram vs Overexposed image histogram (Photos by Chris Anderson on Unsplash and by Tommy Kwak on Unsplash)
All cameras include a histogram, and most of them show a small one on the monitor while you are filming. The histogram changes as you move the camera around or the scene changes, giving you real-time updates. This gives you valuable information on exposure. Information that allows you to see whether you clip shadows or highlights and adjust the setup accordingly before recording.
Although histograms are popular and intuitive to learn, they do have drawbacks. The main one is that they give you general information about the shot’s exposure but don’t indicate where in the frame the overexposed or underexposed areas are. They also don’t provide any information on the contrast ratio. You know that the image has crushed to black shadows and blown-out highlights. However, you don’t know anything about the in-between areas and the contrast between them. Therefore, you can rely on histograms for initial exposure settings and use more advanced tools to fine-tune them.
The Waveform
The waveform may be considered an advanced histogram as it is a spatial representation of the video signal’s levels. Similar to the histogram, you can look at luminance levels (for exposure purposes) or color channels (for color correction purposes). The values range from 0% IRE to 100% IRE. Values touching the 0% line are black shadows without any details, while values reaching the 100% line are overexposed highlights. When values reach either of the extremes, the video signal is clipped, and you are missing visual information.
The waveform is better than a histogram because it shows where those underexposed or overexposed areas are in the frame. For instance, the left side of the waveform corresponds to the left side of the frame. This means the waveform will show you that the bright lamp near the left edge of the frame is overexposed. Or perhaps that the dark corner behind the sofa on the right side of the frame is underexposed. At the same time, you get to evaluate the ratio between neighboring areas. You can easily see if a bright area is near a dark one or if the change in luminance is smooth. Armed with this information, you can make better compositional decisions.
Effective and Available
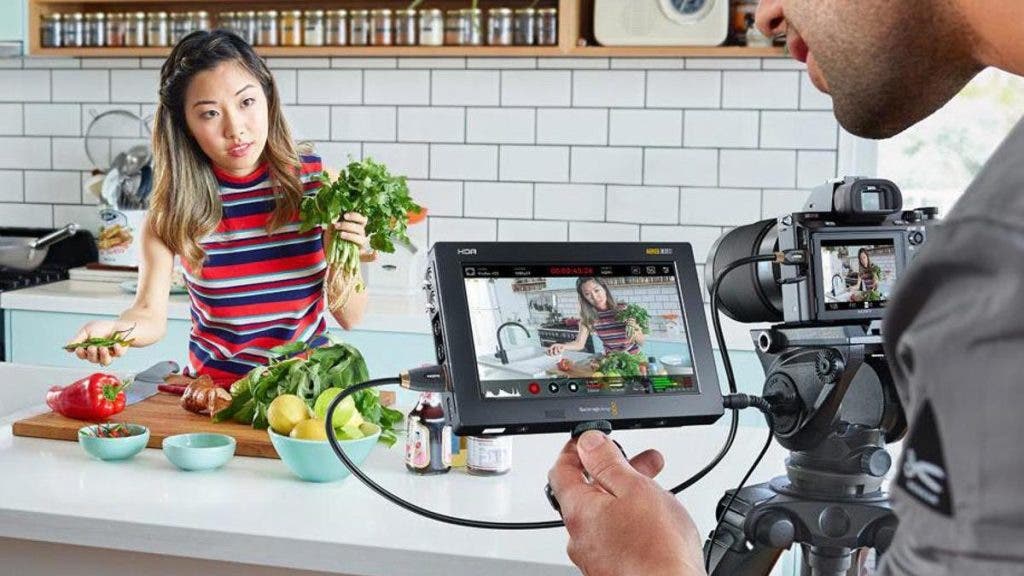
Due to its efficiency, the waveform is present in many cameras. This includes mirrorless cameras such as the Canon EOS R system and Panasonic LUMIX S series cameras. However, in the case of a mirrorless camera, the camera’s monitor may be too small to see all there is to see. Or you might shoot outdoors and have the camera’s monitor in bright sunlight, which is thus unusable. Most videographers prefer to use an external monitor, which is often larger and can be positioned more advantageously. Using two monitors has another benefit. You can watch over composition in one of them and monitor exposure and image quality in the other one.
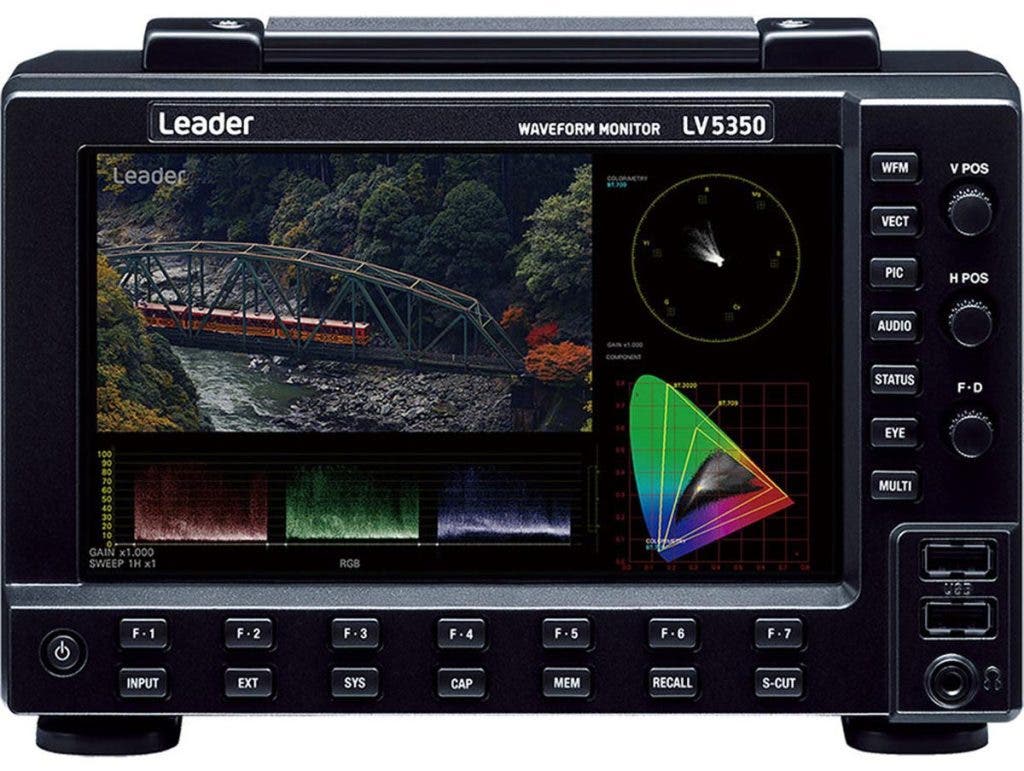
For example, the Leader LV5350 is a 7″ dedicated waveform monitor for SDI video signals, featuring waveform, vector, picture, and audio displays, focus detection, and a straightforward interface for monitoring image and audio quality while recording.
If you want something more versatile, the Blackmagic Design Video Assist 7″ 12G-SDI HDMI HDR recording monitor may be a better choice. It’s not designed specifically for waveform monitoring. Still, it includes this advanced exposure tool and lets you decide whether you want to view the waveform in picture-in-picture mode or as a picture overlay. Being an external monitor, you can position it wherever is better for your workflow.
Zebra Patterns (or Stripes)
Zebra patterns or zebra stripes are advanced exposure tools used to adjust highlights. They overlay a brighter stripe or a hatch-crossed pattern over the area of the image that exceeds an IRE measurement you’ve set. If you set the IRE measurement at 100%, the tool will display the overlay over the overexposed areas of the image. The tool will act like a waveform but give you more precise directions when it comes to blown-out highlights.
Nevertheless, the zebra tool allows you to specify any IRE measurement that is of interest to you. Some camera models feature two zebra-level settings. For example, many videographers set a 90% or 95 %value to make sure nothing is overexposed. Others prefer to set exposure for skin tones and use values between 50% and 80%. The good thing about zebras is that they show you the exact area where the IRE measurement is exceeded. As a result, you can decide whether that area can be overexposed (e.g., a sun flare or a patch of snow) or not (e.g., someone’s face). They give you a more refined control.
Reference
Additionally, zebras provide a reference measurement that can be utilized throughout the video or even your entire portfolio. This helps in creating a consistent style and producing a cohesive body of work. Instead of relying on visual assessment of footage on a monitor and matching it by eye with previously recorded footage, you use mathematical precision and exact measurements.
Zebra settings overlay over the waveform, which means you can benefit from using both tools at the same time. For example, the Sony FX6 provides two settings for the zebra level. It shows them as thick orange lines over the waveform. Now, you can set exposure based on your shooting mode, using a white image or a reference image (e.g., a portrait), and use the same settings each time you shoot in a similar setup (e.g., lighting, subject, shooting mode, etc.).
[Include image: SOFX6_6.jpg]
The False Color
The false color tool takes zebra patterns one step further. Instead of overlaying a pattern over the area that exceeds a given IRE measurement, the false color tool colorizes the image based on specific IRE levels. The entire image gets a makeover in different colors.
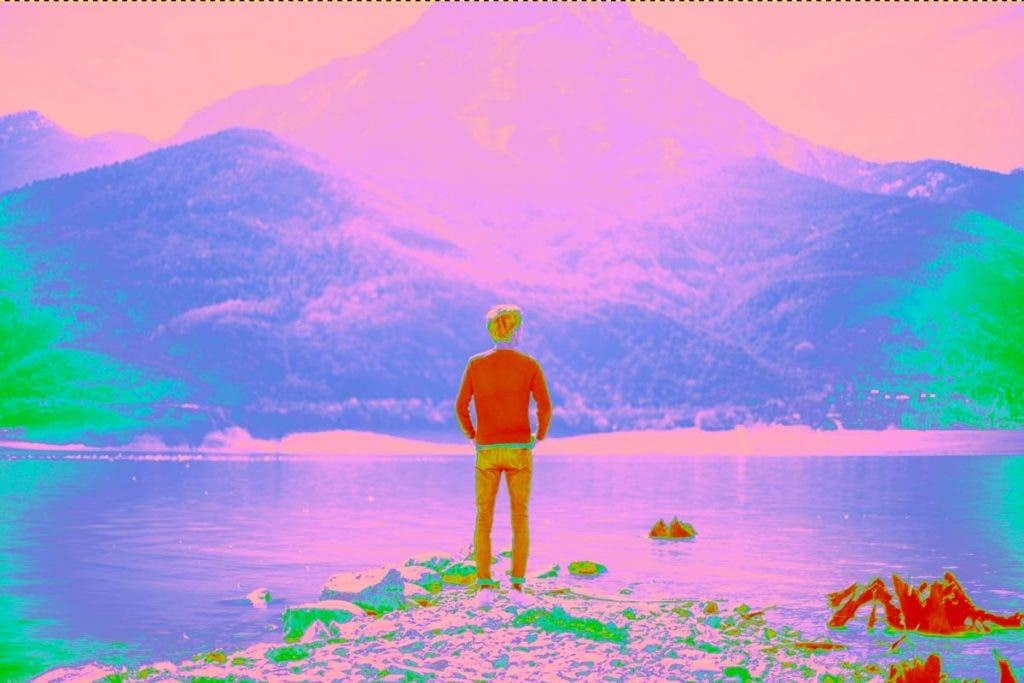
For example, the Blackmagic Design Studio 4K Plus G2 camera colorizes areas that exceed 95 IRE in red and those under 5 IRE in purple. It has customizable function buttons for zebra, false color, LUTs, and other tools, so you can switch between them whenever you need.
The false color tool is useful for tuning exposure, determining contrast levels and adjusting lighting to reach the right levels (e.g., between subject and background, key light and fill light, etc.), exposing skin tones, and using precise exposure ratios. However, while you can use zebras before and during shooting, you most likely will use the false color tool before shooting. Paying attention to composition with the color false overlay on may be difficult and prone to errors.
While most cameras and monitors use blue for the dark areas, orange for the bright areas, and pink and red for clipped underexposed, respectively, clipped overexposed areas, it is worth mentioning that each device is different, and you should familiarize yourself with its color scheme. The false color tool is efficient because it provides visual information that helps you analyze the scene very fast. But it takes some getting used to before effortlessly associating colors and exposure and transforming color differences in exposure and contrast ratios.
Final Thoughts
Whether you use the advanced exposure tools in your camera or on an external monitor, they provide valuable insights that help you improve the quality of your video footage. You can rely on them for pre-shooting camera settings or real-time monitoring during the shooting. You can also use them to create a personal style and consistent body of work.
Furthermore, the same tools are available in post-processing software programs, making your life easier once you get used to them. Take the time to understand how the histogram, waveform, zebra, and false color work and practice to the point they become second nature. Next time you shoot a video, you’ll know exactly what you’re looking for, what exceptions you can make, what IRE measurement you need for a particular skin tone, and what exposure ratio you prefer. Everything else will fall into place.
A mention must be made. Sometimes, the shot should be underexposed (e.g., a thriller scene) or overexposed (e.g., an eerie atmosphere). Advanced exposure tools provide the data you need to make an informed decision. They don’t control the artistic process.