Photography is a fascinating blend of technical expertise and artistic vision. One crucial aspect that bridges these two elements is understanding exposure using exposure compensation. While cameras offer sophisticated automatic exposure settings, they aren’t all foolproof. Certain challenging lighting scenarios require users to take matters into their own hands, ensuring the final image aligns with their creative vision.
This is where exposure compensation comes into play. This tool allows photographers to manipulate and override their camera’s automatic exposure setting, thereby controlling the exposure of an image. It might seem daunting if you’re new to photography, but this article aims to demystify exposure compensation. Throughout this article you’ll gain an understanding of what it is, how to harness it effectively, and when to apply it in real-world scenarios.
What is Exposure Compensation?
Exposure compensation is a crucial tool in photography that allows photographers to adjust the camera’s automatic exposure settings. It gives the artist control over the light or darkness of their image, overriding the camera’s light meter readings. Essentially, it’s the photographer’s job to modify exposure based on their creative vision.
How Exposure Compensation Works
The fundamental principle of using this function lies in manipulating the exposure value calculated by the camera. If the photos are overexposed or too bright, a dial-down of stops (-1, -2, -3) on the exposure compensation can darken them. The exposure compensation scale can also be shifted upwards (+1, +2, +3) for under-exposed images which may appear too dark.
To truly master exposure compensation, it’s crucial to experiment and practice with real-world scenarios. It’s not uncommon to find situations where the camera’s light metering system may be deceived, like high-contrast scenes, backlighting, or cases of predominantly white or black subjects. When you anticipate such challenging conditions, being proactive with exposure compensation allows you to capture images more accurately reflecting your intentions.
If you are using a mirrorless or compact camera, you will be able to see the immediate exposure compensation changes through the electronic LCD, whereas DSLRs require you to look at the LCD screen due to the optical viewfinders.
It’s crucial to understand that the adjustments made through exposure compensation vary with the camera’s shooting mode. In modes like Aperture Priority and Shutter Priority, the shutter speed and aperture change when exposure compensation is tweaked, with ISO remaining constant. Similarly, in Program mode, both the aperture and shutter speed are modified, but ISO remains unchanged. However, exposure compensation doesn’t directly affect the output in Manual mode, where the user controls all settings.
How to Find Exposure Compensation Settings on Your Camera
Exposure compensation settings can typically be found easily on almost all cameras. The exact location can vary, but it’s commonly represented by a button or dial marked with a symbol like “+/-.”
Pressing or rotating this control will display an exposure compensation scale on the top or rear LCD and through the viewfinder, usually ranging from -3 to +3 EV in one-third increments. DSLRs and mirrorless cameras often have this setting on the top or back of the camera, while compact cameras might include it in a menu system.
If you have difficulty locating the exposure compensation settings, you can always refer to your specific camera’s manual. Note: Some of the exposure compensation dials, such on the Fujifilm X-Series, are expandable to -5 to +5 EV.
What Shooting Modes Does It Apply to?
Exposure compensation is applicable in semi-automatic and manual shooting modes, each of which it interacts with differently.
Program Mode
In Program Mode, “P”, the camera decides both aperture and shutter speed based on the detected lighting conditions. When exposure compensation is applied in this mode, the camera tweaks both these settings to either lighten or darken the image, according to your adjustment. The camera’s intent remains to maintain a balance between aperture and shutter speed for the chosen exposure value.
Shutter Priority Mode
Shutter Priority Mode, “Tv or S”, allows the photographer to select the shutter speed while the camera adjusts the aperture to achieve a balanced exposure. When using exposure compensation in Shutter Priority mode, your selected shutter speed remains constant. Still, the camera adjusts the aperture to increase or decrease the exposure, as per your selection on the exposure compensation scale.
Aperture Priority Mode
The scenario is reversed in Aperture Priority Mode, “A or Av”. The photographer sets the desired aperture and the camera chooses the shutter speed. Applying exposure compensation in Aperture Priority mode prompts the camera to adjust the shutter speed while keeping your chosen aperture constant, thereby manipulating the exposure level.
In each of these modes, the exposure compensation feature enables you to override the camera’s automatic exposure decisions, providing you with an extra layer of control and creativity.
How to Use Exposure Compensation
Using exposure compensation effectively involves a few key steps. It allows photographers to creatively control the exposure of their images beyond what the camera’s auto exposure settings provide.
First Step: Understand the Scene
Start by evaluating your scene. Is it uniformly lit, or are there high-contrast areas? Are your subjects predominantly light or dark? Understanding the tonal characteristics of your scene can give you a sense of how your camera’s auto-exposure might interpret it and whether exposure compensation might be necessary.
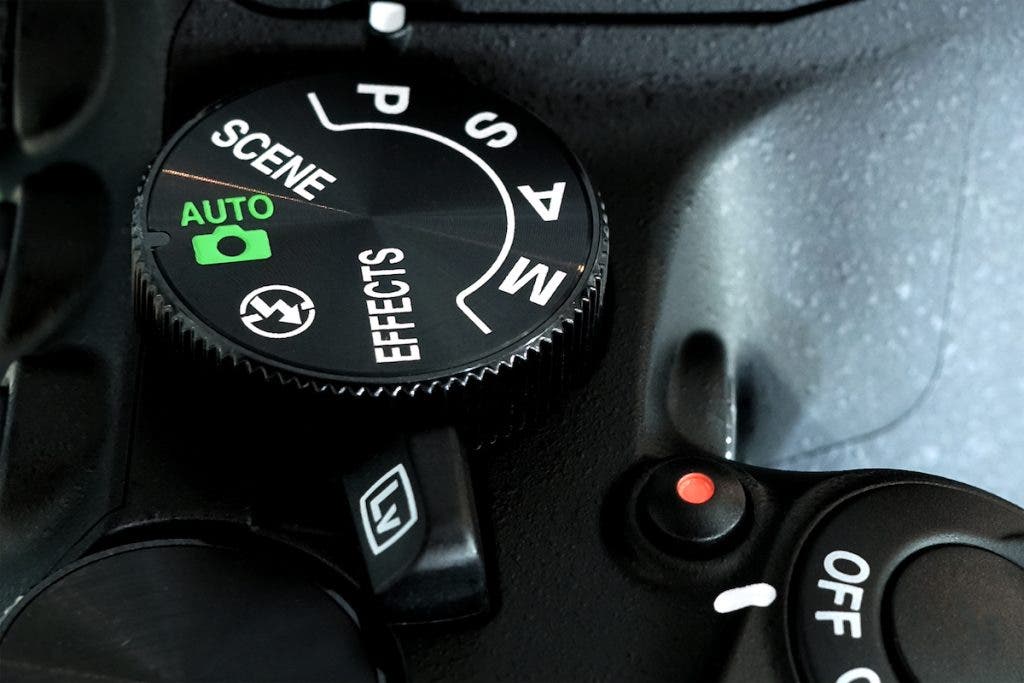
Second Step: Set Your Camera Mode
Choose your camera mode. As discussed earlier, exposure compensation can be applied in Program, Shutter Priority, or Aperture Priority modes. The choice depends on which aspect of the exposure triangle you want to control and which one you’d like the camera to adjust.
Third Step: Take a Test Shot
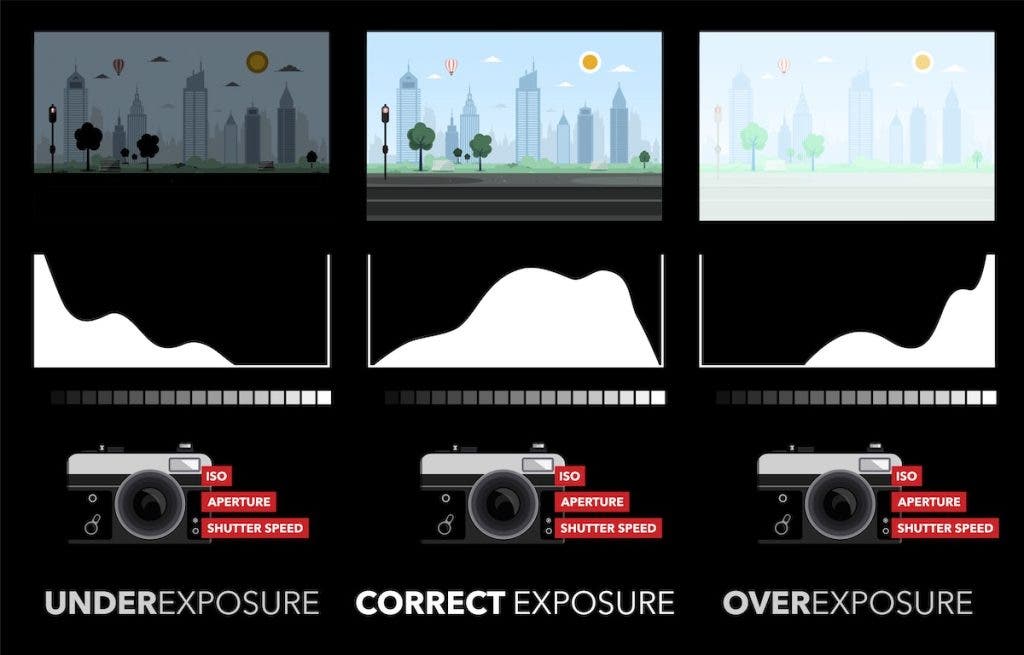
Without adjusting any exposure compensation, take a test shot. Review it on your camera’s LCD screen, ideally checking the histogram. This will give you an initial sense of whether the image is underexposed, overexposed, or correctly exposed.
Fourth Step: Adjust Exposure Compensation
Adjust the exposure compensation if your image isn’t exposed to your liking. Use the +/- button or dial on your camera to increase or decrease the exposure. A positive value will brighten the image, while a negative value will darken it. The exact amount to adjust will depend on how under or over-exposed your initial image was.
Fifth Step: Take Another Shot
After adjusting the exposure compensation, take another shot. Review the image and histogram again. Is the exposure closer to what you envisioned? If not, adjust the exposure compensation again and reshoot.
Final Step: Refine and Practice
The more you practice using exposure compensation, the better you’ll understand how it affects your images. With time, you can anticipate when to use it and how much to adjust to achieve your desired exposure.
Remember, photography is an art. There’s no absolute “correct” exposure, only the exposure that best conveys your creative vision for the scene. For instance, some landscape photographers may prefer to under-exposure their images by -⅓ as it is more pleasing to highlights, such as the sky, whereas portrait photographers tend to push their exposure compensation higher to obtain a cleaner, brighter look to skin tones.
When to Use Exposure Compensation
There are many occasions when exposure compensation is critical to master. Most of these include challenging lighting conditions where the camera’s metering system may not provide the optimal exposure. Common scenarios include:

Using Exposure Compensation in High-Contrast Scenes
When photographing scenes with a wide dynamic range — such as a bright sky against a darker foreground — the camera’s light meter can often struggle to find a balanced exposure. It might render the sky correctly and leave the foreground too dark or expose for the foreground and overexpose the sky. Exposure compensation allows you to dictate which part of the scene you’d like to prioritize for correct exposure.
Adjusting Exposure with Backlit Subjects
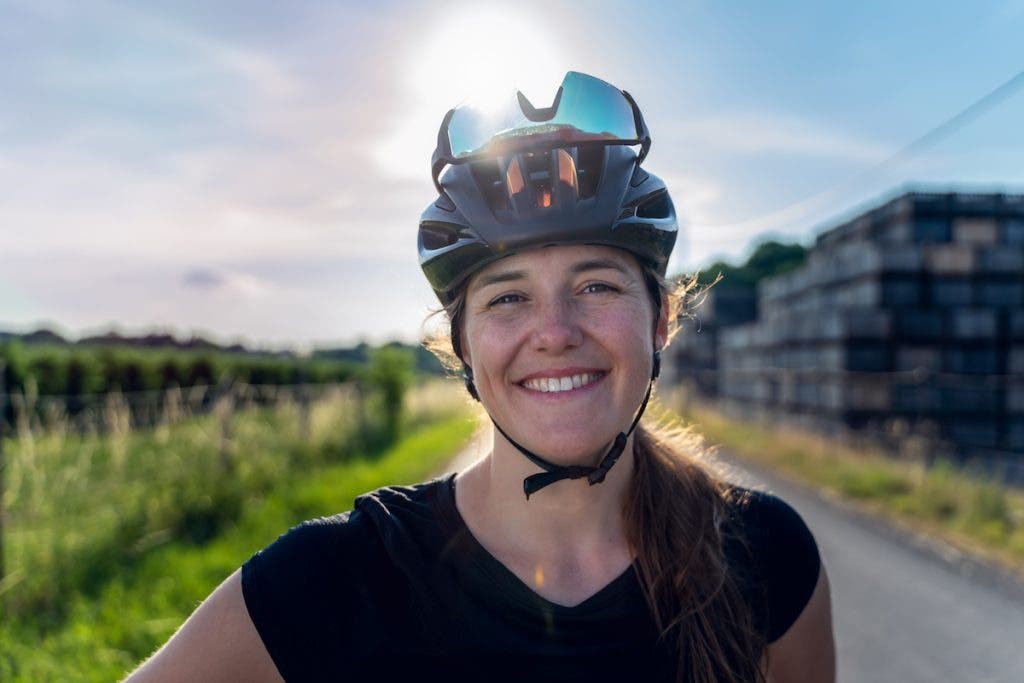
When your subject is backlit, the camera’s metering system often exposes for the bright background, leaving the subject in silhouette. In such cases, you can use exposure compensation to increase the exposure, ensuring that your subject is correctly exposed, even if it means overexposing the background.
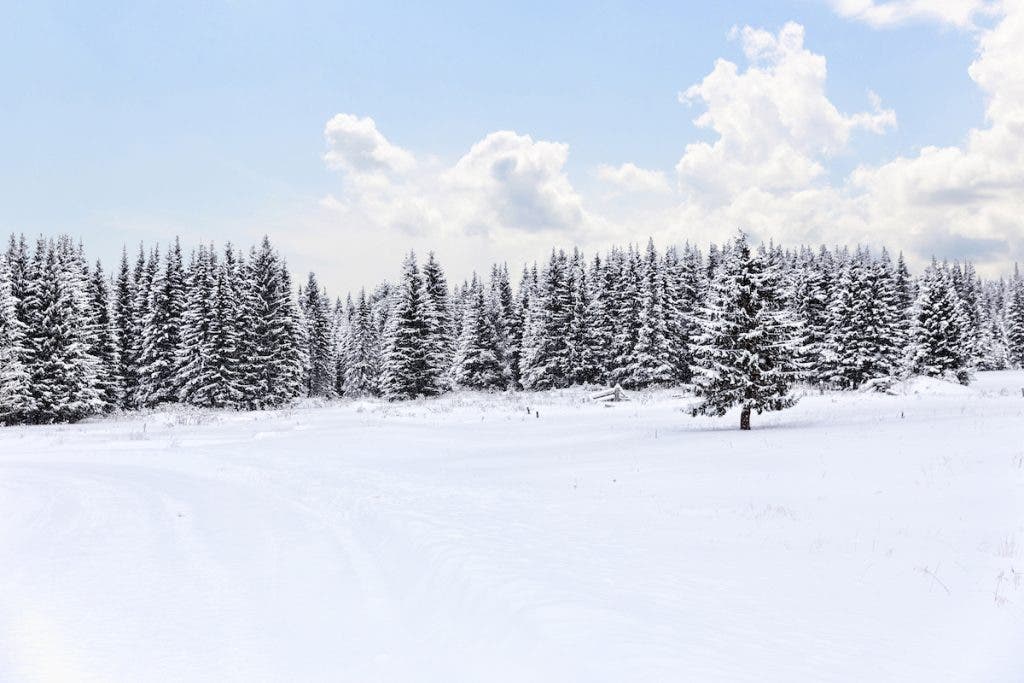
Maintaining Correct Exposure in Snowy or Beach Scenes
Bright scenes, such as a snowy landscape or a sunny beach, can trick your camera’s metering system into underexposing the scene. This is because the camera’s light meter aims for a neutral gray, and it interprets these bright scenes as too light, resulting in a darker than desired image. By using exposure compensation to increase the exposure, you can capture the brightness of the scene accurately.
In each scenario, the key is understanding how your camera’s light meter interprets the scene and how that might differ from your creative intent. With this understanding, you can use exposure compensation to take control of the exposure, resulting in images that better align with your vision.
Final Thoughts
In summary, the exposure compensation setting is a necessary tool that allows the photographer to manipulate exposure based on their creative vision. By understanding how the function works, knowing when to use it, and practicing its application in various scenarios, anyone can go beyond the limitations of their camera’s automatic settings to capture images that truly reflect their interpretation of a scene.


-370x280.jpg)