


Recently, a lot of people have been asking me about how I take long exposures. Naturally, the first thing I tell them is how easy it is, and then follow that up with about 15 minutes of overly complicated jargon that makes them want to put a hot poker in their ears (I’m quite the chatty photographer). Honestly, I believe that if you get deep into any aspect of creating anything, there is a science to it that could make your head spin, but there are also ways to get around all those difficulties. Having the right gear helps.
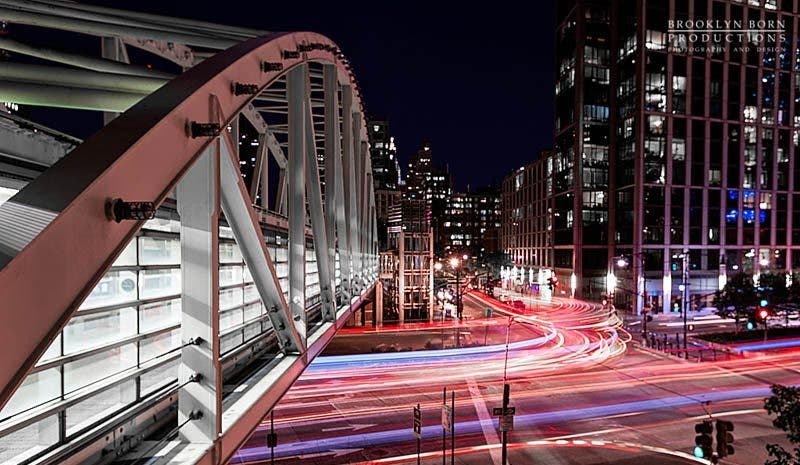
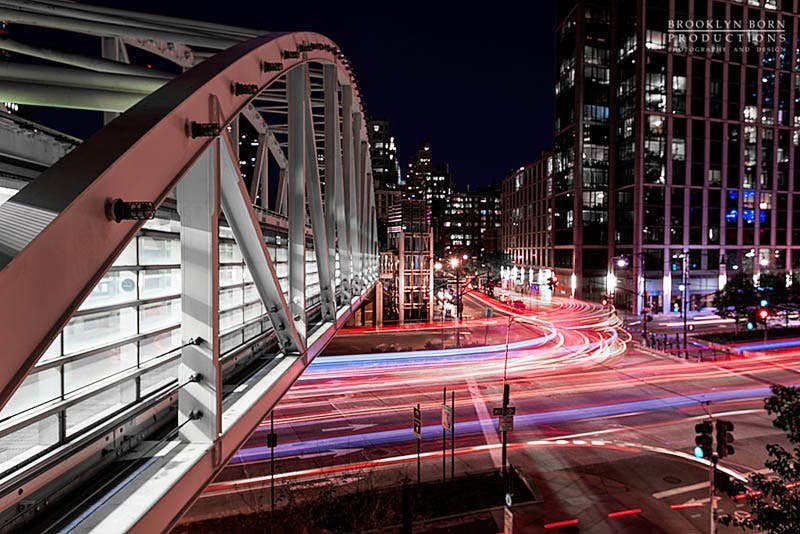
The key to long exposure photography is to keep your camera still and take a shot long enough to capture movement.
Tripods: Some people will tell you that you can get away with not using a tripod. While somewhere like New York City is littered with benches, mailboxes, phone booths, fence posts and other objects that a photographer can use as a make-shift tripod, this is not recommended and will ultimately limit your shooting options. I personally have two tripods (I really own four, but that’s another story) that I keep with me.
Joby Gorillapod: The Joby GorillaPod is a mini tripod that stands about a foot. This is great when traveling light for long photo walks and also really great when trying to get as low to the ground as possible. Make no mistake though, this mini tripod may be small but it can handle my small Fuji X-E1 and my large Nikon D810 with a heavy lens. The fact that the legs are bendable and can wrap around things also makes it very versatile. The ball head is Arca swiss type compatible, which means I don’t have to take off my Arca swiss plate or the L-plate off of my cameras at all. The best thing about having this mini tripod is that some places will not allow people to take pictures with a full tripod. Sometimes, a full sized tripod also gets in the way of pedestrian traffic and gets kicked or bumped into. The Joby GorillaPod is a great tool to have when in places like the Top of the Rock or Grand Central Station.
Induro GIT 404 XL: This tripod is a beast and since it’s made of carbon fiber, it’s lighter than expected. However, this tripod extends enough to have my camera about 6-7 inches over my head (and I’m 6’1”, so do the math). The legs are wide so this tripod is phenomenally sturdy and will keep my camera still in extreme wind. Some people ask why I would want a tripod that is that tall. Well, one reason is that I get a new point of view that not many people are shooting from. The other reason is that I do like to shoot long exposures of cars passing by and I like to have my lens as far away from the headlights as possible to minimize glare. Let’s not also forget about fences that may get in the way of your shot!
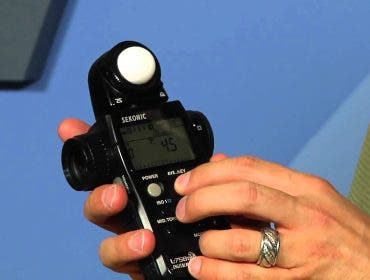
Filters: Depending on the light available, you may not be able to take a long exposure without overexposing your shot. Filters are specialty pieces of glass that have different effects on your photos. The two I usually carry are:
B+W CPL: If you have ever gone shopping for sunglasses, you have seen that some of them are polarized. This means that there a special coating on the sunglasses that help reduce glare. A CPL (Circular Polarizer) does the exact same thing. It reduces the about of reflective glare that reaches your lens and camera sensor. It also reduces the amount of light that reaches your lens and camera sensor, allowing you to shoot at a longer exposure. Some of these allow you to set the amount of glare is reduced. I personally use the B+W77mm Circular Polarizer SC Filter since many tests have shown that B+W filters do not affect the sharpness or color of photos taken with them.
B+W 10 Stop MRC ND Filter: A Neutral Density (ND) Filter is a piece of glass that is very dark. It’s meant to reduce the amount of light that reaches your lens and camera sensor. This particular ND filter allows you to shoot for 1024 times longer than you would without a filter. This also provides the ability to shoot long exposures in very bright conditions.
Xume Magnetic Filter Adapters: When shooting long exposures with filters (especially 10 stop ND filters), most photographers will instruct you to compose your shot and meter without your filter on. Then when you have your shot composed, focused and have your setting ready, you put the filter on your lens and change your shutter speed to compensate for the light lost because of the filter. What they DON’T tell is that if you are using a zoom lens (which is the case for a lot of photographers that do not feel like paying for and carrying around several prime lenses), screwing on and off the filter will change your focal length unless you hold your lens very tight. Even then you may slip and have to take the filter off, recompose, refocus and then try again. Xume Magnetic Filter Adapters are magnetic rings that screw onto lenses and filters and allow them to attach magnetically. This means no matter what lens you are using, you can attach or remove a filter from a lens easily, without having to screw it on or off. The only downfall is that if you have a full frame camera, you will start to see vignetting at 20-22mm. I usually compensate by composing with a little extra space around my subject, so I can crop out the vignetting later.
Wireless Remote: Believe it or not, your finger pressing your shutter button can shake the camera enough to cause some blurriness in your picture. Wired remotes can help but on windy days, the wind may shake the cord and that can also cause some blurriness. I use the Satechi Wireless Intervalometer Remote that is compatible with my camera. It is a remote that can be used wirelessly or connected to your camera, allows me to digitally set my shutter speed and can also be used as an intervalometer to shoot time lapse photography.
There are probably a million other products that can be used for long exposures, but this is the gear that works for me. Stay tuned for my next article where I go over the settings and steps to taking long exposures.