Lindsay Adler
Lindsay Adler is a fashion photographer, educator, and author based in New York City. You can follow her work and see her photography on her website, lindsayadlerphotography.com, or on Instagram @lindsayadler_photo.
In this video, I’m going to share what it takes to plan, light, shoot and edit a cinemagraph including the gear you’ll need, suggested camera settings, and helpful software too!
A cinemagraph is a hybrid between a still and video that creates a captivating visual perfect for self-promotion, marketing, advertising, and social media engagement! Fundamentally a cinemagraph is a still image where part of the image moves and repeats continuously on a loop.
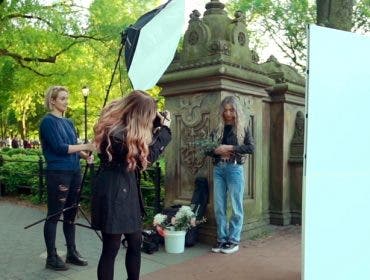
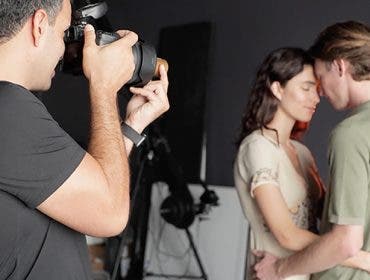
To execute a cinemagraph, you’ll need to plan ahead and have the right gear. For this approach to cinemagraphs, you’ll be filming a video clip and then choosing the pieces of the frame that you want to loop. Let’s take a look at the things you’ll need to consider.
Planning movement:
In a cinemagraph you can choose between two different types of looping motion.
Repeat loop: The action plays in completion and then plays it again from the beginning.
Bounce loop: The action plays to the end of the clip, and then plays in reverse.
Knowing the type of motion you are going to use in the cinemagraph will help you figure out how long to record and what type of motion to feature in the frame. I recommend recording 6-10 seconds in length, but avoid clips above 20 seconds since they will be often too large/difficult to manage.
Tripod:
When filming you’ll need to have the frame perfectly still. Be sure to use a stable tripod and avoid camera shake at all costs. Any camera movement will ruin the cinemagraph.
Camera settings:
You’ll (of course) need a camera that can record video. Here I’ve selected the Canon R5 which can shoot 4k or even 8k video, giving me super high-resolution video files!
Be sure to shoot with all settings on manual— manual focus, manual white balance, manual exposure, etc. You don’t want any settings to change in the middle of the recording. Also (unless you are shooting LOG video) you’ll need to be very precise about getting the exposure and settings just right since they will be harder to adjust in post-processing!
When selecting a shutter speed generally you’ll want to select 1/twice your frame rate. So if I am capturing at 30 frames per second (one of the video shooting models) I would want to select a shutter speed of 1/60 second. If you shoot at 60 frames per second (slightly slow motion), then you would want a shutter speed of 1/125 of a second.
Memory Cards:
Fast memory cards are a must when shooting video. The faster write speeds, the better. An old CF or SD card probably won’t do the trick. Go for new, faster SD cards or even the extraordinary fast CFexpress would be a great choice if your camera allows.
Editing:
The software I used for editing this piece is called Cinemagraph Pro (listed below). What’s great is that this software is designed specifically for this purpose, so it makes it extremely easy to edit and loop the video. That being said, it is actually possible to edit in Photoshop or Premiere, it just takes extra time and knowledge. You’ll see in this program I can actually export a still, retouch it in photoshop, and then bring it back into Cinemagraph Pro to loop the final video.
PRODUCTS USED:
- Canon R5 Camera
- Canon RF 24-105mm 4.0 Lens
- Nanlite Forza 500 LED Light
- VFlat World V-flats
- Savage Universal Super White Background
- Manfrotto Tripod
- Lexar Memory Cards