Photoshop is a large and powerful program, so it’s easy to get disorganized and lose track of what you’re doing, especially when editing many images. However, by building a workflow routine for yourself, you can work efficiently and get the most out of your images. We’ll be covering the critical components of an effective Photoshop workflow, so you can be sure you’re always on track.
While Shooting
A key element to speeding up your workflow in Photoshop is to maximize what you can get while you’re shooting. This will help you save a lot of time when it comes to post-processing.
Use the Right Gear for the Job and Shoot in RAW
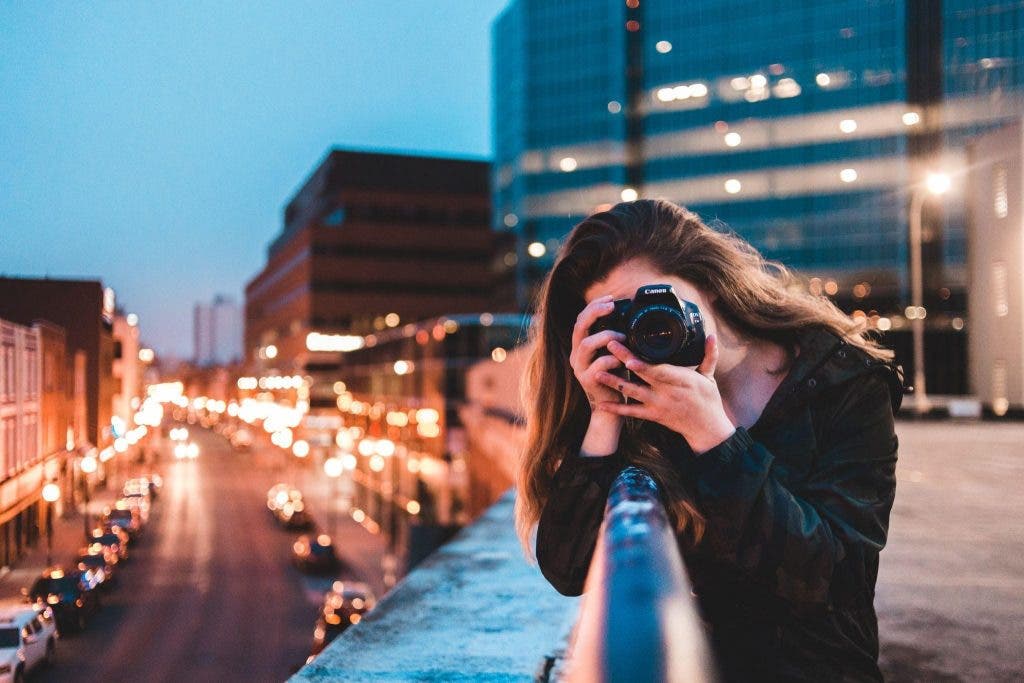
Making sure you have a good camera and settings correctly calibrated for the scene can save you a lot of time when it comes to editing. For example, be sure you’re shooting in RAW, setting your exposure correctly, checking your metering modes, and so on. Investing in better gear can also shorten the amount of time you spend in Photoshop. Better cameras offer sharper images, better quality when shooting at night, and other valuable features.
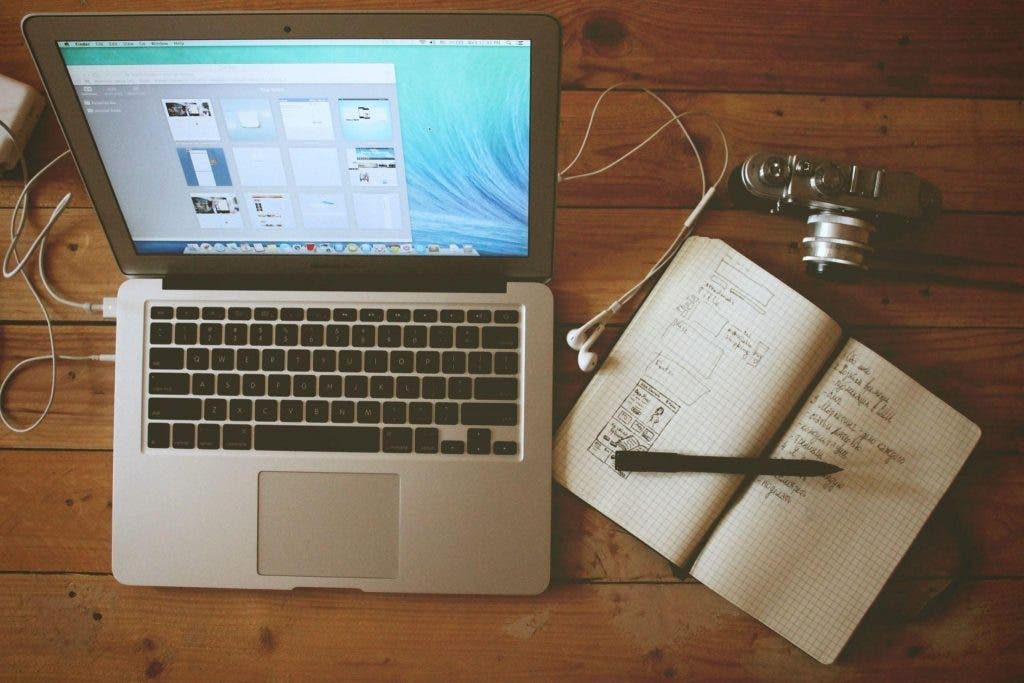
Your Editing Setup
A good setup that works for you is key to having an efficient workflow. Hunching over a laptop in bed will only lead to neck problems and wasted time. Instead, try to get a good setup with the right gear you need to work effectively. These could be items such as a desktop monitor, card reader, hard drive, a graphics tablet for detail work, and a computer with enough CPU and RAM to run Photoshop without lag.
Post-Processing
Ultimately, the steps you take to edit your images in Photoshop are entirely up to you and dependent on what result you are looking for. Many beginners can get slowed down by spending far too much time in post-processing. Here we’ll cover some of the key steps you’ll likely want to take, no matter what you’re editing. You can add in your own steps to craft your own workflow. These are just a base to get you started.
Cull Your Images before using Photoshop
The first step in any Photoshop workflow should be to cull your images down if you intend to edit a large batch of images from a shoot. You can do this using a tool like Adobe Lightroom to help you. Flagging images in Lightroom as keepers ensure that you only work on images great enough to spend time editing. Once you have decided on an image to work with, open it in Photoshop.
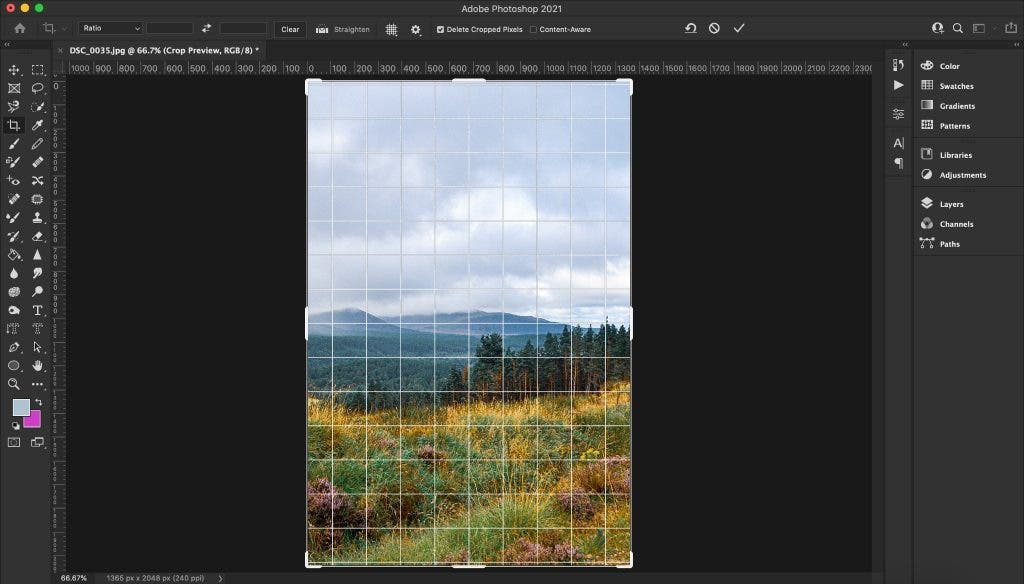
Initial Cropping
The first actual editing change should start with cropping your photos to improve composition and visual interest. To access the crop tool in Photoshop, press C, click once on the photo to access crop overlays, and press O to cycle through different overlay options. To change the boundaries of the crop box, click and drag any of the corners.
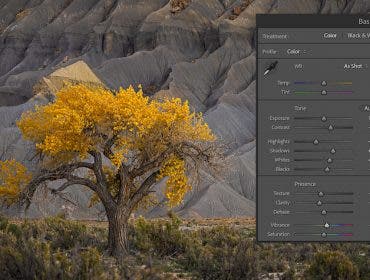
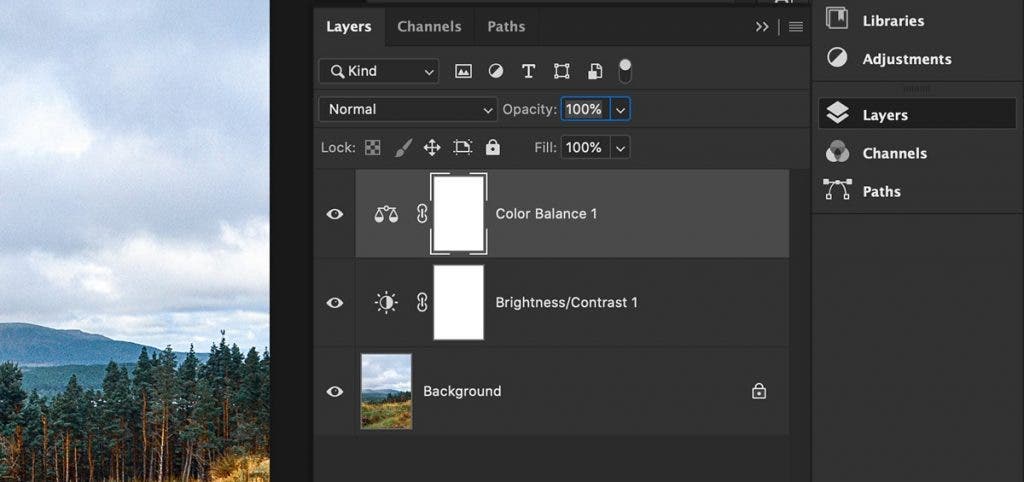
Adjusting Color and Contrast
You’ll need to use the Adjustments panel to start changing color and contrast in your work. If this isn’t already in your right-hand toolbar, go to Window>Adjustments to view. There will be various tools for adjusting colors, such as Hue/Saturation or Color Balance. To adjust contrast, use the Brightness/Contrast tool. Finally, to apply these changes to selected parts of your photo, use a layer mask.
Spot Removal
Spot removal is helpful for removing a variety of blemishes and unwanted items in images. If too many distracting elements are present in your image, use the spot removal tool to smooth them away. To remove something from your work, paint over it with the spot removal tool. Photoshop will automatically adjust the image to blend the gap seamlessly. To access the spot removal tool, press J.
Sharpening
To sharpen your image, go to Filter>Sharpen to let Photoshop automatically sharpen your image. If you want more control over the sharpening, go to Filter>Unsharp Mask. This will open a dialogue window allowing you to alter how much or little you want to sharpen your photo.

Exporting and Resizing
You may need to take a variety of different steps when exporting your work, depending on what kind of project you’re working on. You often need to resize your images and save them as jpg files before you can use them online or send them to print lab.
If you want to resize your images to use them online, I suggest that you resize manually using Image > Image Size. I prefer to sharpen my images twice when resizing in Photoshop. By resizing manually, you avoid your images becoming blurry due to an automatic resize process.
Remember to Back Up your Files
Backing up your files to somewhere other than your computer is always a good idea to prevent accidentally corrupting your files or losing them entirely. This is where a good external hard drive or cloud-based file storage system comes in handy.
If you are transferring your files to clients, you may want to use an online file-sharing solution such as Dropbox or Google Workspace.
Personally, I backup photos from my computer to a Synology NAS, which synchronizes with Google Workspace. I still have photos in the cloud storage should my PC or external storage/Synology Box burn or get stolen. Also, I still have my photos on my computer and in my local network storage should the cloud storage service become unavailable.
Bringing It All Together
The key to the most efficient Photoshop workflow is bringing all of these steps together. The best way to do this is to have a visual reminder that you can stick up on your wall or desk to remind you of the steps to take and in what order. Think through the most common tasks you have to do and write down each step and useful keyboard shortcuts for your particular workflow in Photoshop.
Quick Tip: Stick With It
Following a long list of steps in the correct order can be a bit of a cumbersome task. The first few times you use your Photoshop workflow, it might feel a bit tedious. Nevertheless, stick with it! No matter what you’re editing, consistency is necessary for developing and crafting your style as a photographer.
Final Thoughts
Whether you’re a beginner or an experienced Photoshop professional, a good Photoshop workflow can help you increase your efficiency, reliability, and organization. With trial and error, you’ll be able to craft a workflow that works best for you.
Useful Hardware Recommendations
Want to up your gear game but not sure where to start? Here are some useful recommendations to get you started.
Cameras & Camera Gear
- Canon EOS 6D Mark II DSLR Camera Body 1897C002
- Sekonic L-308X-U Flashmate Digital Light Meter 401-305
- SanDisk 128GB Memory Card
- Canon EF-S 18-55mm f/4-5.6
Editing Setup
- Apple MacBook Pro 16″
- BenQ GW2780 27″ 16:9 Full HD IPS Monitor
- SanDisk Extreme USB Type-C Card Reader
- LaCie Rugged USB-C 3.0 2TB External Hard Drive STFR2000800 A