If you are passionate about landscape photography and want to pursue more landscape drone photography this year, this is the article for you. We will give you tips on choosing locations, getting the best image quality, staying safe while flying, and the best drones on the market for photography.
Landscape photography is one of the most rewarding types of photography you can pursue. Being able to capture the beauty of our planet and the unique moments and conditions that happen while in the field is truly special.
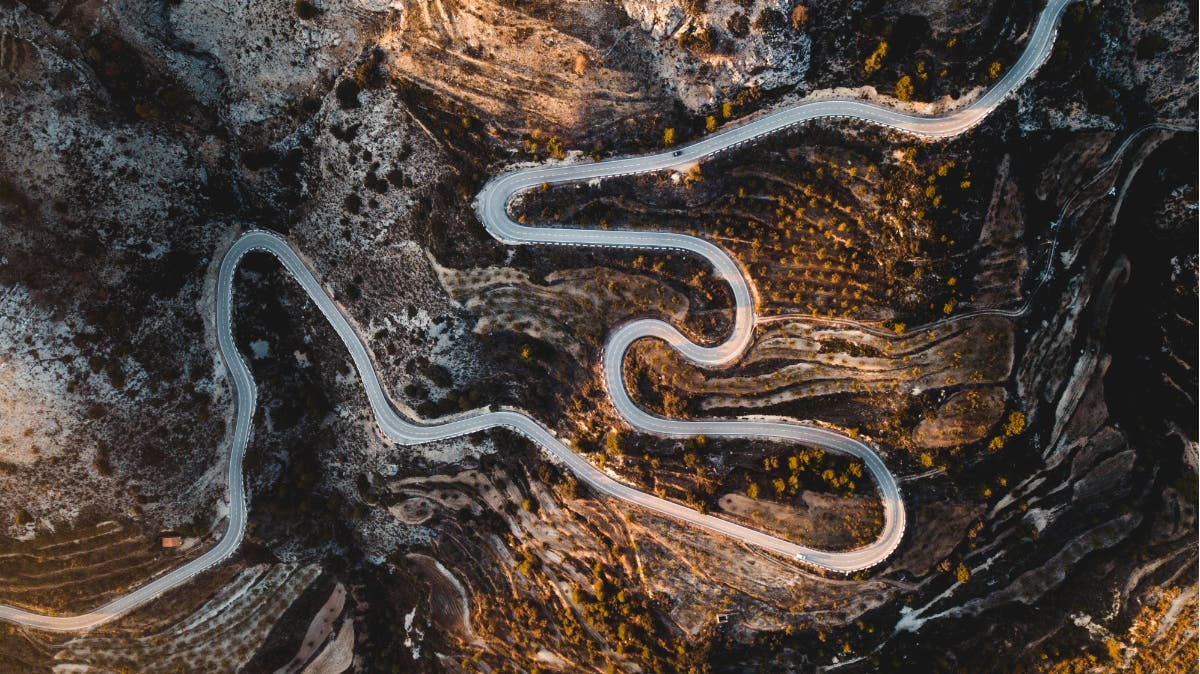
With the advancement of recreation and commercial drones over the last ten years, landscape photography has been taken to even greater heights, with the ability to capture these incredible places from the air, creating powerful aerial perspectives not possible before.
How to Choose a Location for Drone Landscape Photography
Is the location legal to fly at?
Insuring you are in a legal fly zone might seem obvious. Still, many beginner drone pilots forget to check to see if the area they plan to fly in is a legal fly zone. It could be a permanent flight ban, like an airport zone or national park, or a temporary flight restriction, like a wildfire zone.
Regardless, it’s essential for you, the drone pilot, whether you’re flying commercially or recreationally, to be familiar with local flight laws, restrictions, and permit requirements before you fly at any location you want to photograph.
Are the weather conditions reliable and favorable?
Commercial and recreational drones have come a long way when it comes to handling wind and adverse weather conditions, but they still have their limits. Ensure you know the weather at the location you plan to photograph and if the forecast is reliable.
No drone on the market is waterproof; they are susceptible to water damage, so never fly in the rain.
Regarding wind, most drones have a max wind resistance rating stated in the drone specifications and manual, but a good rule of thumb is only to fly in winds equal to two-thirds or less than the drone’s maximum speed. So, if your drone can go at a top speed of 40 mph, you’d want to limit flying in wind speed to around 26 mph.
Can you fly safely at this location?
Finally, make sure the location you’re flying is safe to fly at. For example, some locations, like a canyon or valley, can cause safety issues that will not only limit your ability to fly safely but soundly.
There are two main drone safety guidelines you need to follow:
- Keep a strong GPS signal and communication between your drone and remote. A weak signal can lead to crashes and flyaway situations that are frustrating and also dangerous.
- Keep a clear line of sight between your drone and you. Losing sight of your drone in flight can lead to crashes.
How to Keep Your Drone Safe in Remote Locations
Make sure you have a great satellite and GPS signal before you fly
GPS and satellite communication are not only important for communication between your drone and remote, but they also allow you to keep tabs on where your drone is flying and where it lands, in case you crash or land early, away from your home point. If you’re flying in a new, remote location, it’s critical to have both, or it’s not recommended to fly.
Keep your home point updated
Building off GPS and satellite communication, always ensure that your drone’s home point is updated at your location before you fly, with plenty of landing room in case you need to make an emergency landing. If you take off too quickly and don’t let your drone update its home point, the home point could update inaccurately and land in a place that could cause your drone to crash.
Make sure your drone is updated and calibrated
Pilots need to do a pre-flight check to be sure their drone is updated and calibrated. Sometimes, drones can fly poorly and glitchily if their software isn’t updated. Calibrating your drone is critical to making sure its gimbal and motors are balanced and not overloaded by accident. Doing both is critical to ensuring a safe flight, especially at a remote location.
Turn on your drone’s collision sensors
Photographers flying in a new or remote location should be sure to activate your drone’s collision sensors. Most drones have collision sensors in the front, back, and sides, which are super helpful in avoiding trees, cliffsides, or other obstacles you’re unaware of. Most drones come with these collision sensors turned on as default, so leave them on if you plan to fly in remote, outdoor locations.
How to Get the Best Image Quality in Drone Landscape Photography
Shoot in RAW
One of the most simple yet important tips for image quality is shooting in RAW. RAW images, rather than JPEG, contain unprocessed data from your camera’s image sensor with the exposure settings. RAW files allow for much better image quality and post-processing ability and are the only way you should photograph, whether a camera or drone.
Shoot in Lower ISO
This can change depending on your drone’s image sensor, but a rule of thumb for exposure is to keep your drone’s ISO settings around 100-200 ISO, with 400 ISO being the maximum for single exposure shots. This limits noise and keeps images sharper across the frame.
Stack Images for Even Higher Quality
One of the most common photo techniques for camera and drone photography is photo stacking. A technique of combining several images in one master image, providing the best quality, depth, and sharpness.
There are three main types of stacking. Exposure stacking, focus stacking, and panorama stacking (or stitching). Each of these can significantly increase drone photo quality.
Choose the Right Drone
This might seem like a no-brainer, but choosing the right drone essential to creating the best images possible.
There are two main features of a drone that are key to better image quality:
- Image Sensor: The larger the image sensor, the more light can reach the camera, which means more dynamic range, contract, and information in your images for editing. Image sensors might be the most important feature to look for in a drone, and an image sensor of at least ½ inch is crucial; 1 inch is preferred.
- Image Resolution: The greater the image resolution (megapixels amount), the higher the image quality. Newer recreational drones take 20 MP images or higher, and which is fantastic. Add in techniques like image stacking, and you could have incredible image quality, similar to that of a professional photo camera.
Best Drones for Aerial Landscape Photography
So now that we’ve covered just how important choosing the right drone is for image quality, here are three of the best drones for aerial landscape photography. They have large image sensors, high resolution, and more:
DJI Mavic Pro 3
The DJI Mavic Pro 3 is considered by many to be the best prosumer drone ever made. Its premier photo and video features are made possible by its 3-axis gimbal tri-camera system. One wide angle and two telephoto lens cameras provide ultimate versatility and creativity as a drone photographer.
Key Features:
- 3-Axis Gimbal with Tri-Camera System with:
- 20MP 5.1K Wide-Angle 4/3 CMOS Hasselblad
- 70mm 48MP 3x Zoom Medium Telephoto Lens
- 166mm 12MP 7x Zoom Telephoto
- 7 Intelligent Flight Modes
- 43 Minutes of Flight Time
- O3+ Transmission with 9.3-Mile Range
- Omnidirectional Avoidance with APAS 5.0
- D-LOG, D-LOG M & HLG Post-Processing
DJI Mavic Air 3
The DJI Mavic Air 3 packs many of the professional-grade photo and video features found in the DJI Mavic Pro 3 into a much more portable, travel-friendly design. It also offers wide-angle and 3x telephoto cameras that allow you to capture more exciting, unique imagery.
Key Features:
- Dual Wide-Angle & 3x Telephoto Cameras
- 4K100, 4K60 HDR, or 2.7K Vertical Video and Up to 48MP Stills
- 1/1.3″ CMOS Sensor
- 10-bit D-Log M & 10-bit HLG Color Modes
- Up to 46 Minutes of Flight Time
- Omnidirectional APAS 5.0 Avoidance
- Up to 12.4-Mile with OcuSync 4
- Plan Routes in Advance with Waypoint
DJI Mini Pro 4
The DJI Mini Pro 4 might be small. Still, it’s an incredibly impressive drone for its size, combining excellent image and video quality with vertical shooting, making it perfect for social media content. Its small, portable foldable design weighs under 249g, making it legal in most countries to fly recreational as well:
Key Features:
- Up to 4K100 Video & 48MP Raw Stills
- Omnidirectional Obstacle Avoidance
- Under the 249g Drone Weight Restriction
- Up to 45 Minutes of Flight Time
- Vertical Shooting For Social Media Sharing
- FocusTrack Subject Tracking System
- Automatic Shooting Modes
- Foldable Design For Storage and Travel
Conclusion
Landscape and nature drone photography has changed how we see and capture the world, and as drones continue to improve, so will the photos photographers capture. If this article motivated you to get started, we hope it also provided everything you needed to take off and create amazing things.
And if you’re looking for your next drone or other important gear to take your hobby, passion, or career to the next level, Adorama has everything you need to get there.
