Drone videography can give you the ability to capture the world from a unique perspective. From television, to motion pictures, to social media, drone videos have become a major part of the media we consume on a daily basis. It’s never been easier or more affordable to create compelling drone videos than it is today. With a wide range of sizes, prices, and imaging capabilities, today’s cutting-edge drones offer plenty of options for creators of all skill levels. While traditional drone videos are compelling and enjoyable to watch, a properly executed drone hyperlapse can be even more entertaining.
What is a Drone Hyperlapse Video?
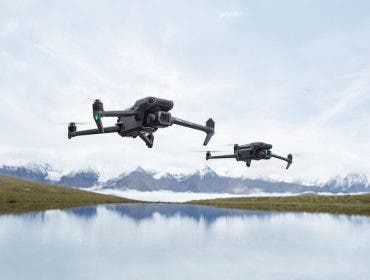
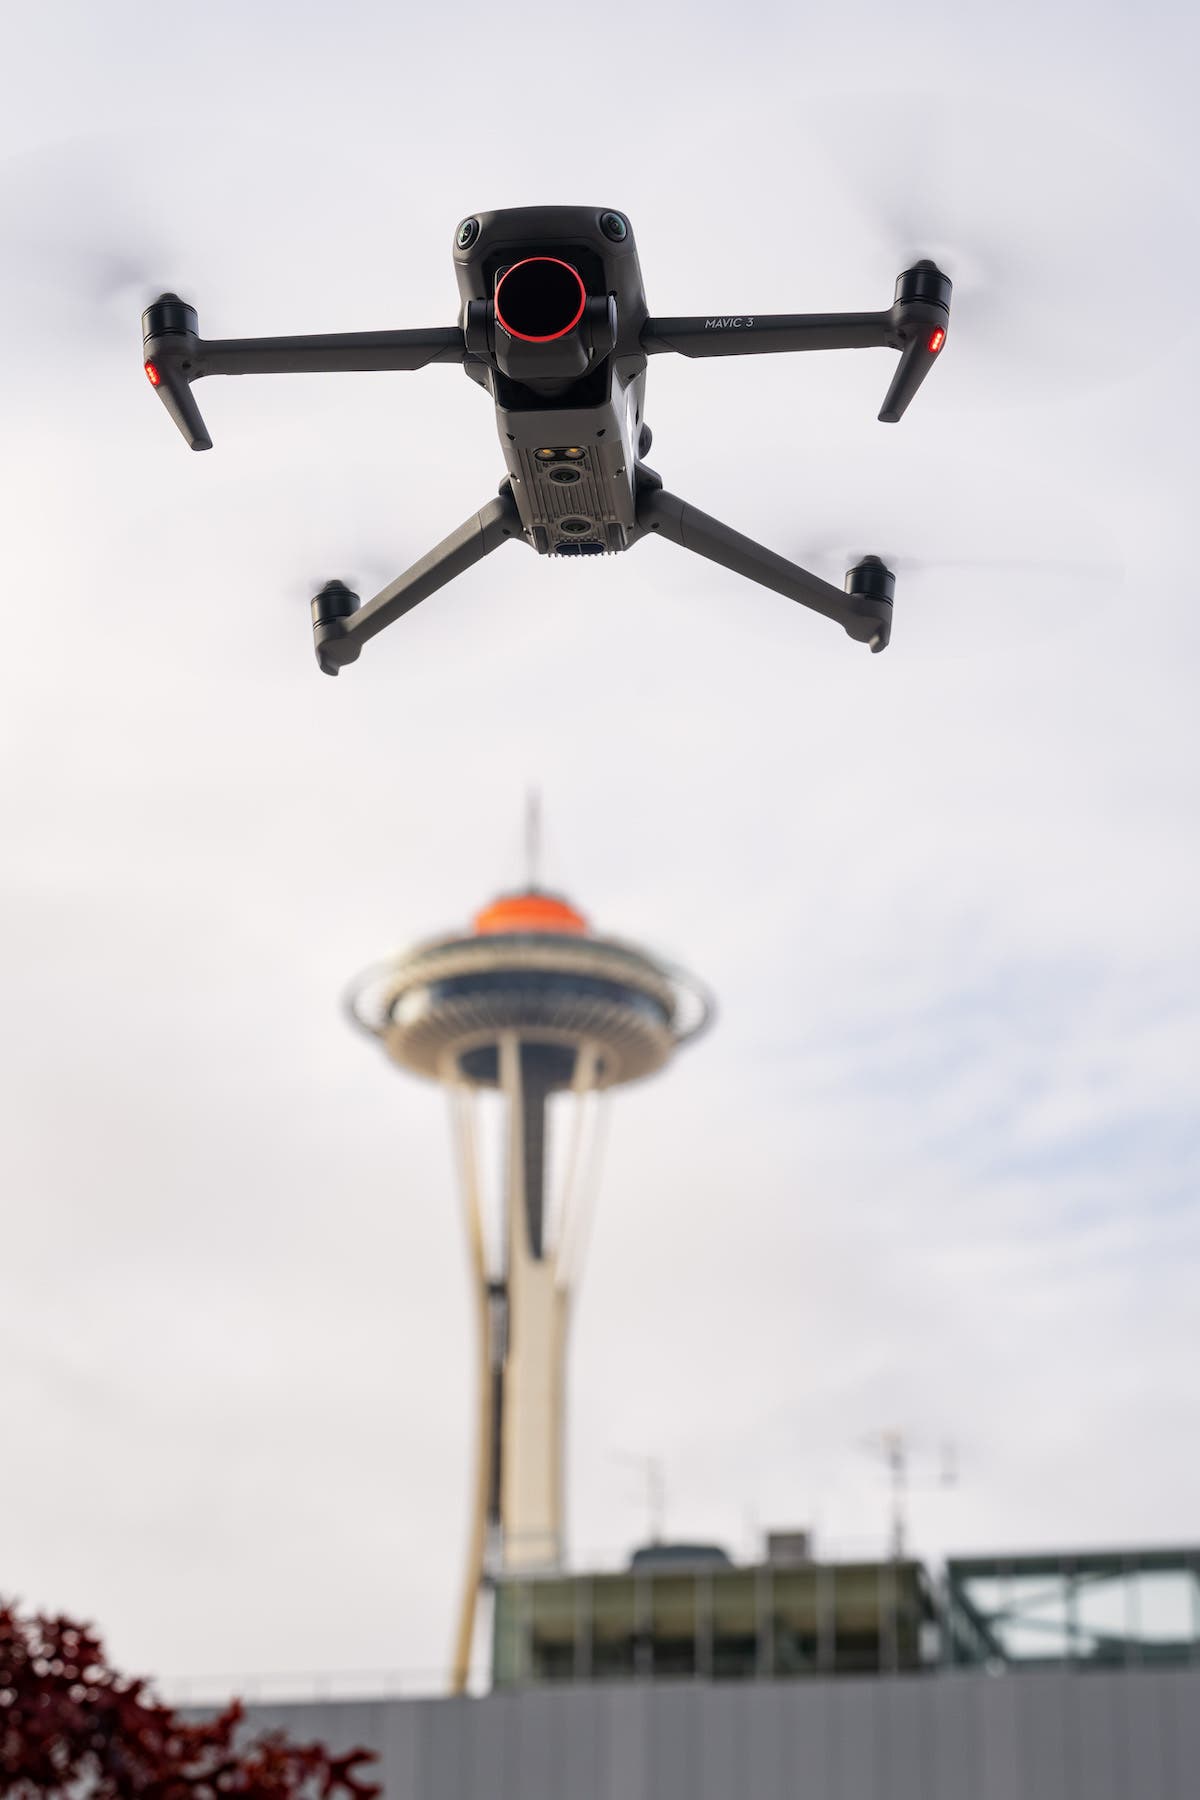
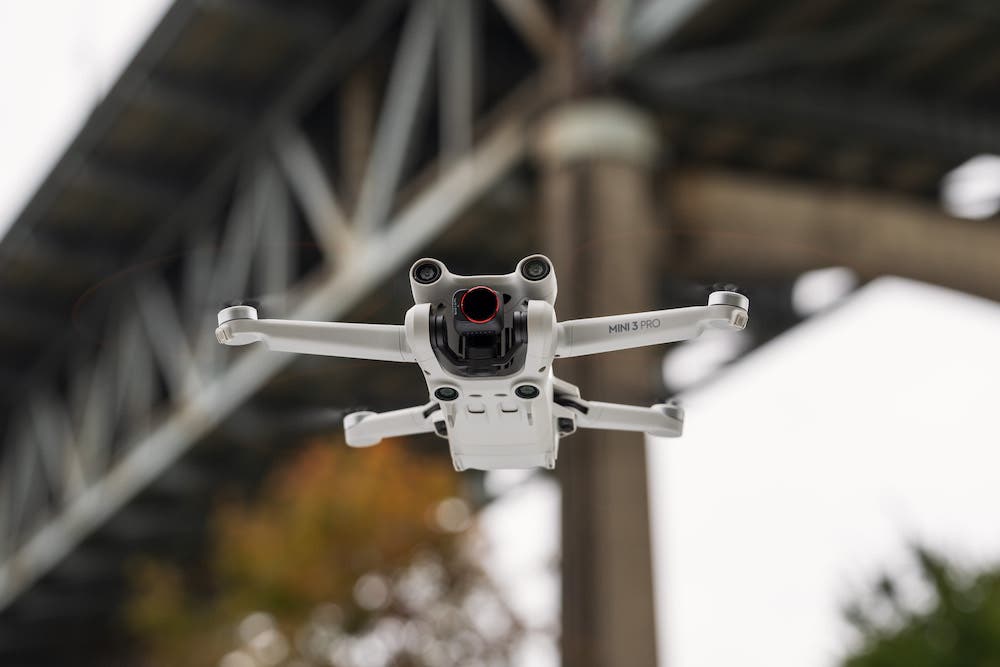
A drone hyperlapse is essentially a moving timelapse that is executed during flight, along a predetermined flight path. Many of today’s modern drones, like the DJI Mavic 3 and DJI Mini 3 Pro, offer built-in hyperlapse features that are easy to use and offer creators the ability to create unique drone videos with just a few simple steps.
In this article, we’ll discuss how you can setup your drone to capture compelling drone hyperlapses, including the best camera settings, ideal weather conditions, and useful tips and accessories that will take your drone hyperlapses to the next level.
Features To Consider When Planning Your First Drone Hyperlapse
Location
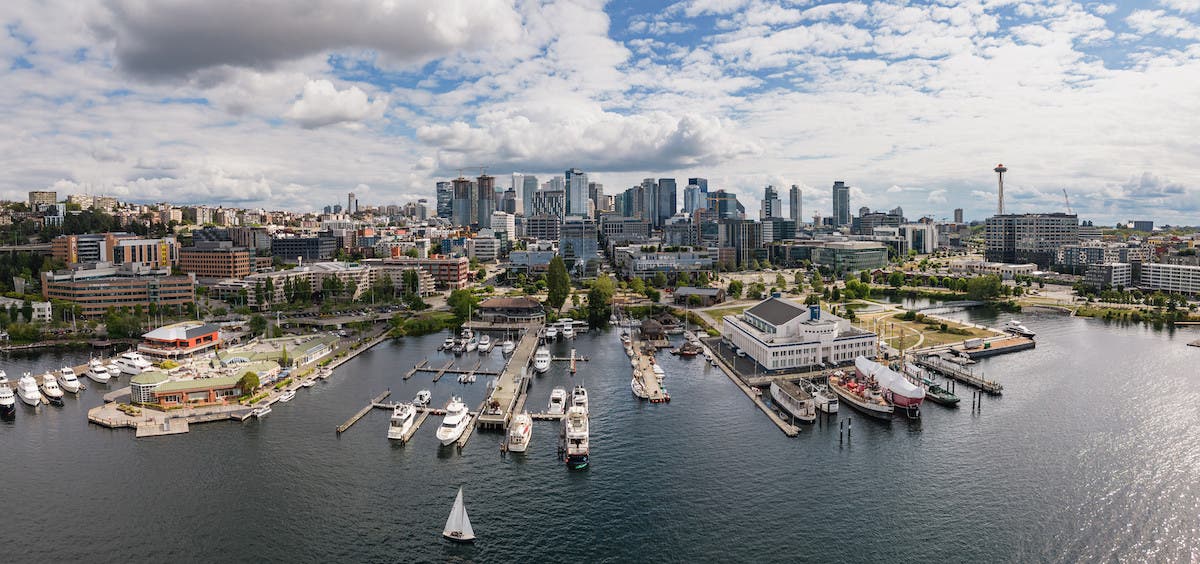
Choosing an appealing location is one of the best ways to level up your drone hyperlapse. As you begin to prepare the various elements of creating a compelling drone hyperlapse, try to research locations that offer visually interesting scenes. Ideal locations include famous landmarks, scenic vistas, and other locations that have lots of activity in the scene that you’re trying to capture. The more movement you can capture over the course of your hyperlapse, the more compelling and entertaining it will be.
Chasing Light
Another important consideration for creating compelling drone hyperlapse is the lighting conditions and time of day. Try to plan your hyperlapse around specific times where you can capture beautiful lighting. Sunrise, golden hour, sunset, and blue hour all offer amazing opportunities to capture beautiful tones and colors.
Planning to shoot your drone hyperlapse during these ideal lighting conditions will offer an advantage for your drone’s imaging as well. It will allow you to capture images with balanced exposures that minimize noise and give you cleaner images for post-production processing.
After practicing with your drone in the daytime, you can try to expand your creative opportunities by shooting a drone hyperlapse at night. Shooting a drone hyperlapse at night offers you the opportunity to create light trails from traffic, which are another really compelling element that you can add to your aerial toolkit. Experiment with shooting different scenes at night, looking for ideal locations that offer lots of traffic movement, so you can use them to create amazing light-trails in your next drone hyperlapse video. Just be sure to use the proper visibility lights for night flying, which allow your drone to be seen from three statute miles away, and are capable of strobing at a rate of 40-100 cycles per minute.
Wind & Weather
Wind conditions can have a big impact on your drone hyperlapse; both in-terms of the visual appeal that they can add to your shots, and the technical challenges that they can create by pushing your drone off-course in the sky.
Movement in cloud cover is a really nice thing to capture when creating your drone hyperlapse, but it’s usually accompanied by windy weather. This can push your drone around in the air, causing a lot shaky frames, difficult post-production workflows, or even unusable images.
Try to balance compelling visual elements, like cloud movements, with the amount and direction of the wind. This will allow you to capture compelling movement in your drone hyperlapse, while minimizing the amount of turbulence your drone absorbs due to heavy winds. The most ideal conditions will be when there’s a nice amount of cloud cover, and minimal to moderate wind.
Shooting light trails at night is another situation where wind can ruin a compelling drone hyperlapse. Capturing light-trails typically requires shooting at slower shutter speeds that necessitate stability during each exposure. Too much wind can push your drone around while the shutter is open between each shot, ultimately resulting in blurry images that aren’t usable. Be aware and plan your hyper-lapses around ideal wind and weather conditions when possible.
Movement and Composition
Creating movement in your drone hyper-lapses is important in a number of ways. You’ll want to use fundamental compositional techniques to convey motion in your scene. You can do this by either creating a compelling flight path with your waypoints, or using foreground elements to create depth in the scene and frame your shot. Foreground elements really help to convey motion across your scene as you move between waypoints. When combined with a good amount of activity in the scene itself, it can produce compelling drone hyperlapses that are entertaining to watch.
When it comes to planning the movement of your drone during your hyperlapse, try to choose simple waypoint progressions that create smooth and subtle flight paths. For example, you can rise between two points, move laterally between two points, descend between two points, etc.
Having too many movements during the course a short 30-second drone hyperlapse can be disorienting and take away from the cinematic possibilities. I always try to keep a smooth and consistent flight path in one direction. That helps to draw my viewer’s attention into the shot and maintain their interest through subtle movements, versus visually disorienting them with sporadic compositions that make them lose interest. The best approach is to be deliberate and subtle with your choice of movements when creating drone hyperlapses.
Drone Hyperlapse Flight Path Options
Drones like the DJI Mini 3 Pro and Mavic 3 offer powerful and easy-to-use hyperlapse options, including Course-Lock, Circle (point of interest), Waypoints, and Freeform.
Here is what each of the four types of hyperlapse flight paths will produce:
Course-Lock
Course-Lock allows you to choose the directional path that your drone will fly in. It locks that path for the entirety of your hyperlapse. You simply point your drone in the direction that you want it to fly. It will maintain that path with precision for the entire duration of your flight.
Circle, also Known as Point of Interest
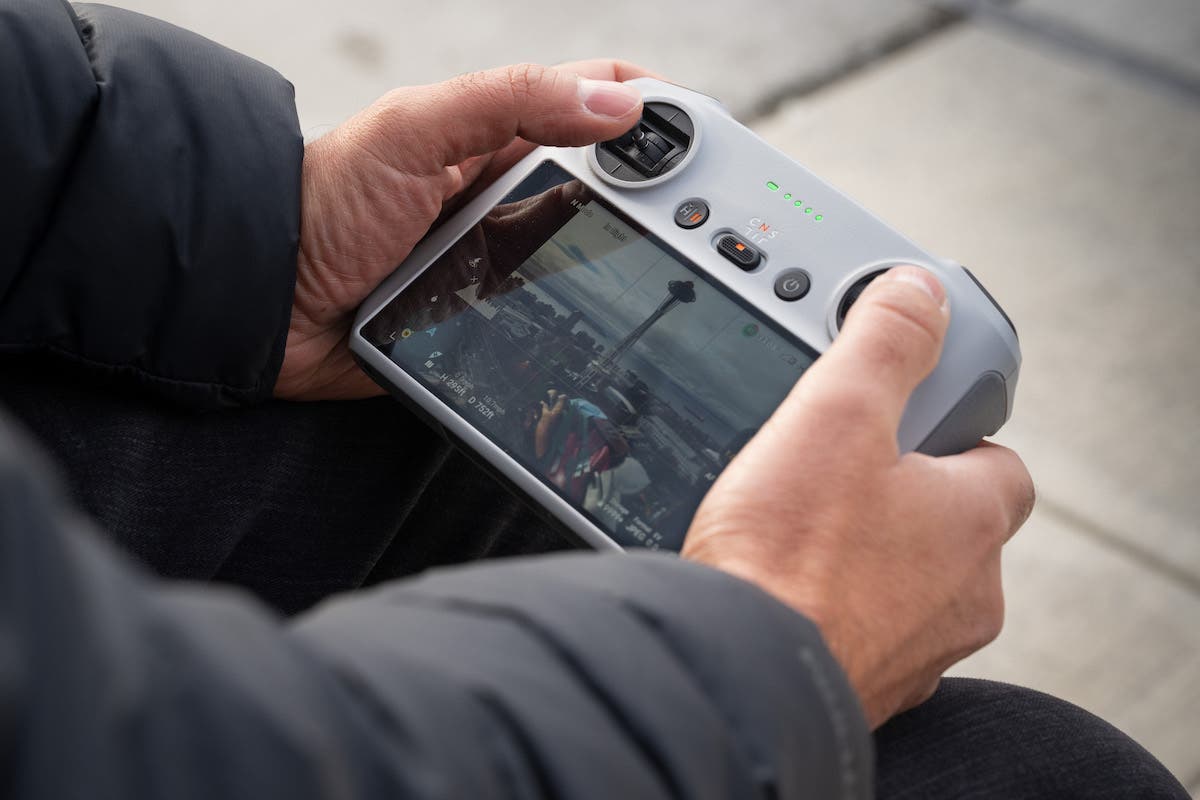
Circle (also known as Point of Interest) allows you to draw a box around your chosen point of interest, and set the speed and direction of flight during the duration of your hyperlapse. This is ideal if you want to create a hyperlapse while your drone circles around an interesting landmark.
Waypoints
Waypoints allow you to set multiple points, where you choose the position, height, and orientation of your drone’s camera. The drone will then fly between these chosen points and execute the changes in position, elevation, and camera angle. Waypoints drone hyperlapses offer the most customization of any automated hyperlapse option on DJI drones.
Freeform
Freeform allows you to freely fly your drone during the course of your hyperlapse. It can create unique movements, but can also be the most challenging option.
After selecting your chosen type of drone hyperlapse, you’ll want to finalize the setup by choosing the interval between each image and your desired duration for the final finished output. DJI drones like the Mavic 3 and Mini 3 Pro offer up to a 30-second finalized hyperlapse.

Depending on your chosen duration, the DJI Fly app will determine the total number of images needed to create a hyperlapse. It will also show you the amount of time it will take to capture all of the images required. You’ll want to make note of those details to ensure you have enough room on your SD card and battery capacity to shoot all of your needed images and return home safely.
Camera Settings & ND Filters
Drone hyper-lapses are essentially flying timelapses in the sky. As such, all of the fundamental techniques that apply to compelling timelapse photography apply to drone hyperlapses. I generally aim for a 1/30 shutter speed and 4-second interval when choosing my camera settings in the daytime. I try to keep my ISO at the lowest possible setting in order to get the cleanest images for post-production editing.
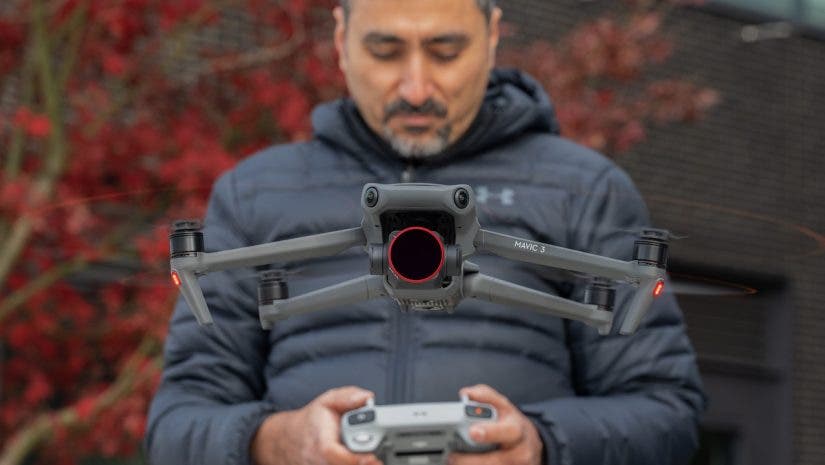
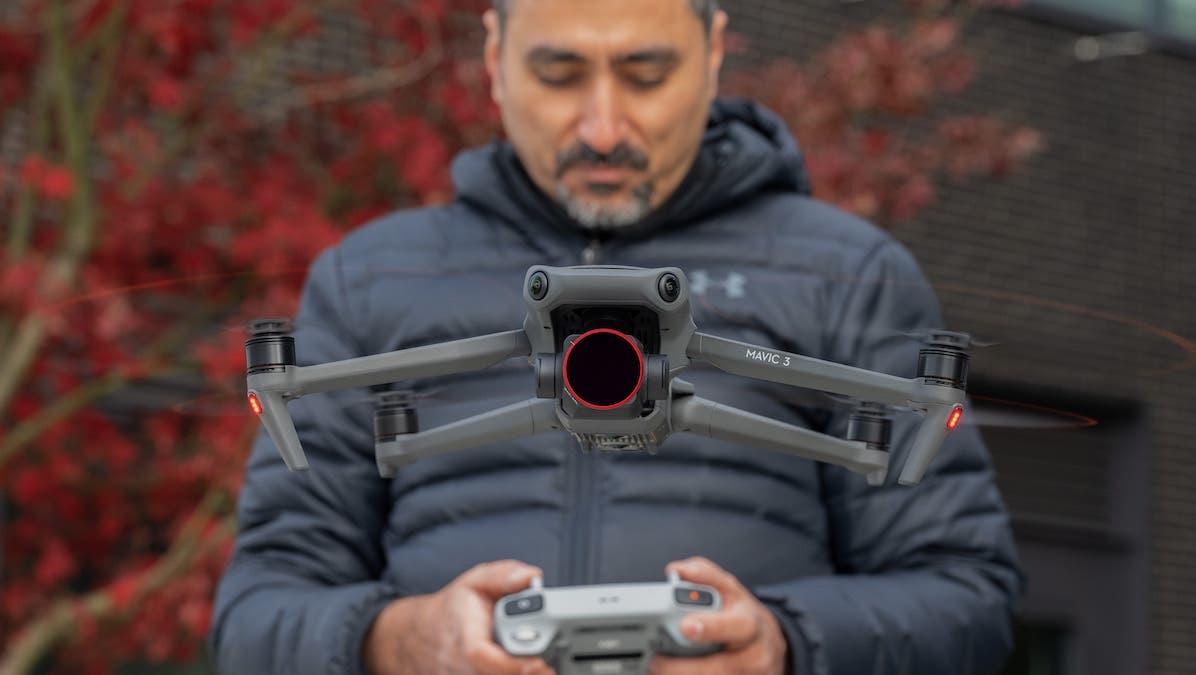
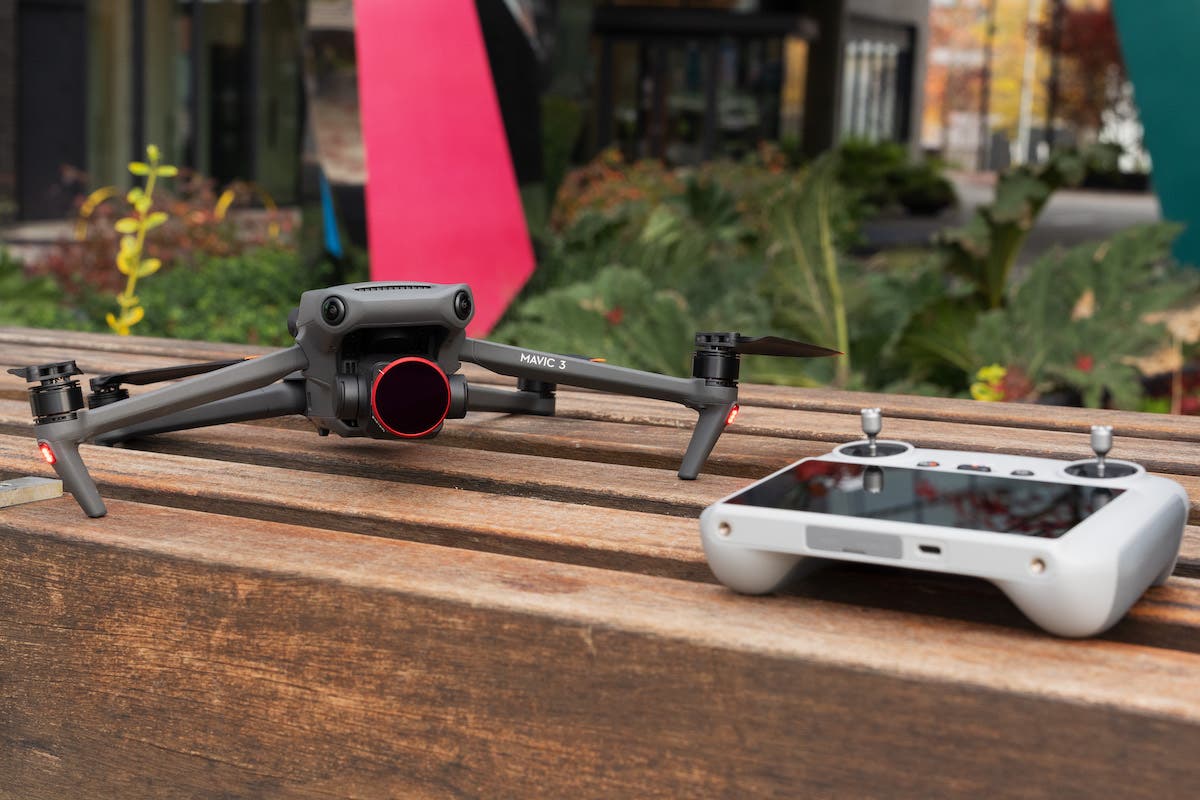
Using ND filters allows you to lower your shutter speeds in the daytime, balance your exposure, and create a cinematic motion blur in your final hyperlapse video. I personally use filters that offer neutral density and polarization. This gives me the ability to control multiple elements in my images including shutter speeds, glare over water and foliage, and increase of saturation in the sky.
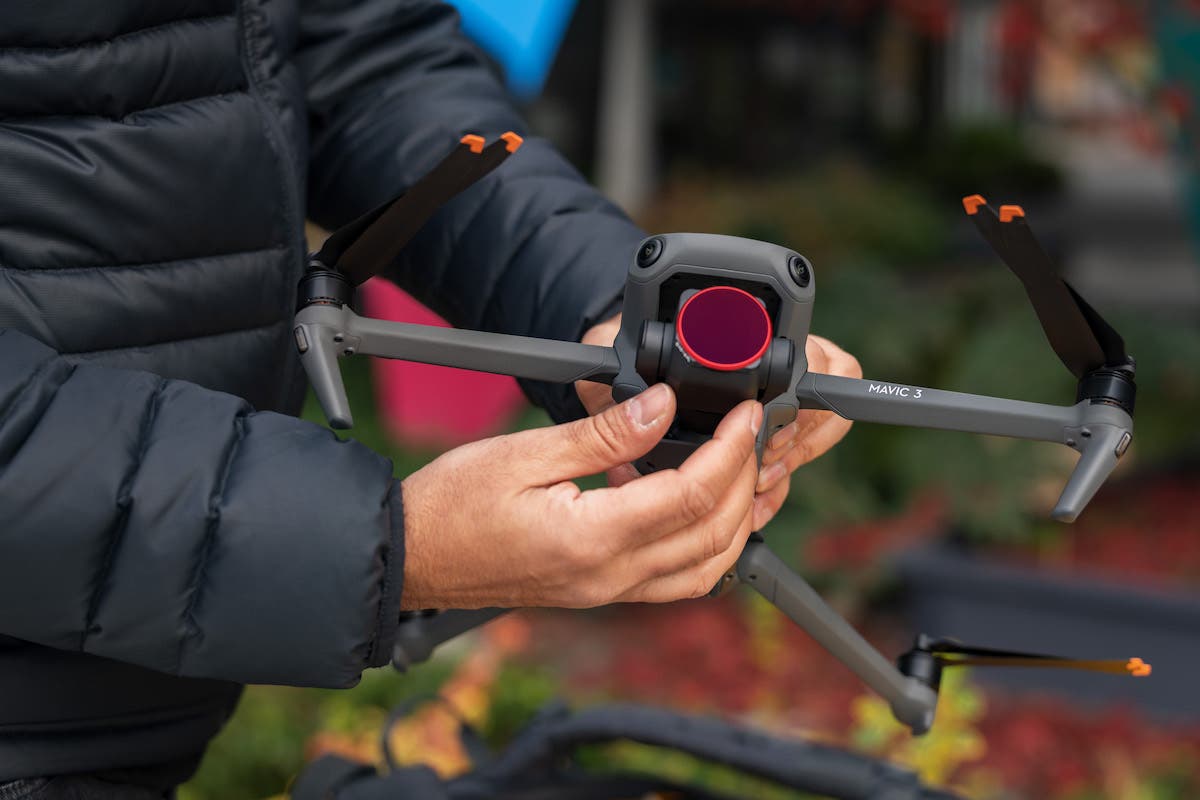
Consider adding a nice set of ND/PL filters to your drone hyperlapse toolkit. It’s an essential accessory that I always add to mine and try to use in all of my aerial productions.
When shooting a drone hyperlapse at night, it’s important to balance camera settings with wind conditions. You will almost always be leaning toward longer exposures and shutter speeds in order to capture light trails. Try to choose a shutter speed that will be ideal for motion blur but still be fast enough to remain sharp. Based on how much wind might be impacting the stability of your drone, anywhere between 1/4 and 1/30 of a second is ideal.
Final Thoughts
Learning to create drone hyperlapses is a great way to make your work stand out. Traditional drone videos have become ubiquitous in our daily media consumption, making compelling drone hyperlapses a new way to expand your creative skillset. They’re not difficult to create and have the potential to add a completely new take on your aerial imagery.
Be sure to try the various hyperlapse modes in a variety of different lighting conditions and locations, so you can master the nuances. It will inspire you to continue to learn and master new drone photography and videography techniques.
Are you interested in purchase a new drone? Check out the DJI Mavic 3 Drone below.
