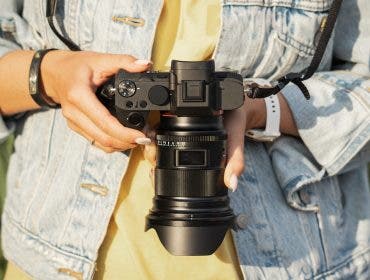
The art of portrait photography covers many types of images, from the standard 3/4 shot to full-length. A portrait of a writer might simply be their hands, while an actor may have a strong silhouette. In this article, we’ll dig deeper into one of my favorite types of portraits: the dramatic close-up. We will discuss how and why we might use this style, and the tools needed to light and photograph dramatic close-up portraits.
What is a Dramatic Close-Up?
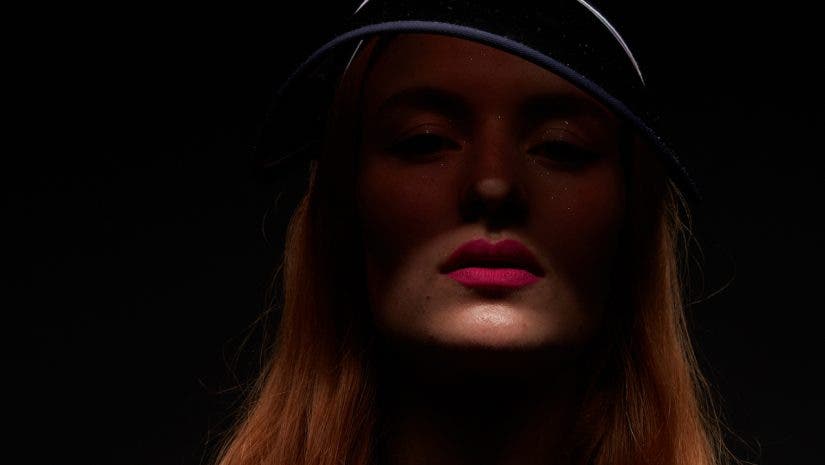
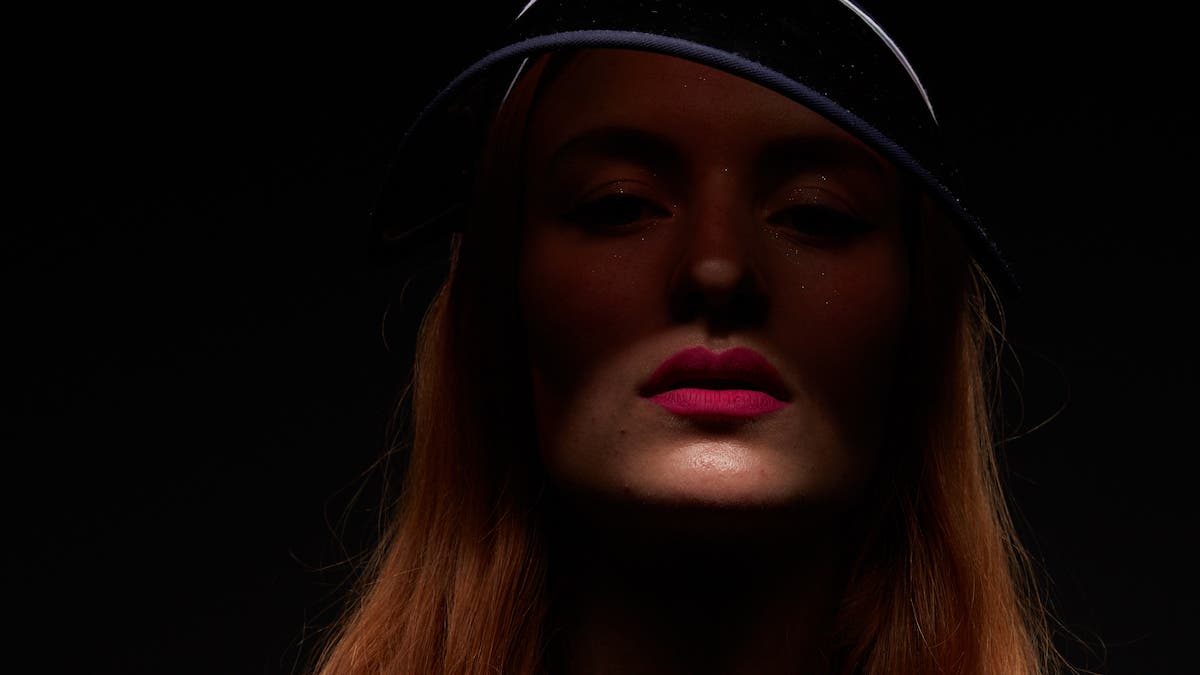
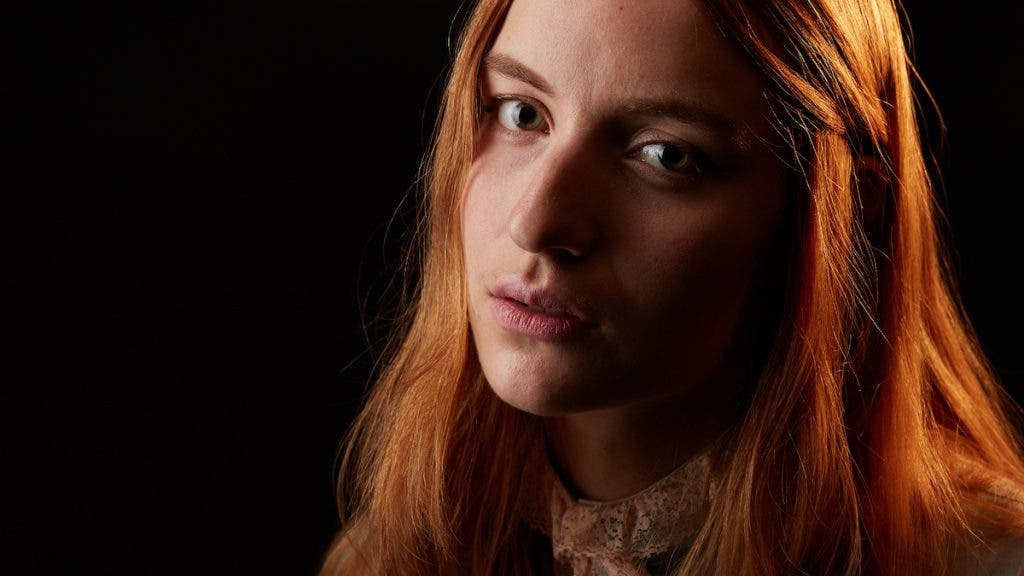
Let’s begin by breaking down what I mean by a dramatic close-up portrait. As the name implies, this type of portrait is going to be a tight crop, often showing only the head of the subject or—even more often— less than that.
How to Compose a Dramatic Close-Up
The portrait can be focused on the eyes or lips, depending on the style and drama you want to invoke. While composition alone does not make for a dramatic close-up, how we achieve that composition does have a significant impact.
Let’s discuss the choice of lenses. In a classic portrait, it is often recommended that we use a telephoto lens to achieve a certain amount of visual compression. This tends to favor the subject and creates less distortion in the facial features. If we look at cinematography, though, we will notice that the camera is often quite close to the subject during dramatic moments and thus creates a feeling of being in the subject’s space, allowing us to connect with them as the viewer. I recommend using a normal or wide-angle focal length lens to achieve this.
On a full-frame camera, this can be anywhere from 50mm on the longer end, like the Canon RF 50mm f/1.2L USM Lens, to 24mm on the wider side, like the Sony G Master FE 24mm f/1.4 GM Lens for Sony E . I tend to work with a zoom lens in these situations, like the Nikon NIKKOR Z 24-120mm f/4 S Lens, as I don’t need extremely wide apertures (because I am so close). I like the versatility of a zoom lens.
How to Light a Dramatic Close-Up
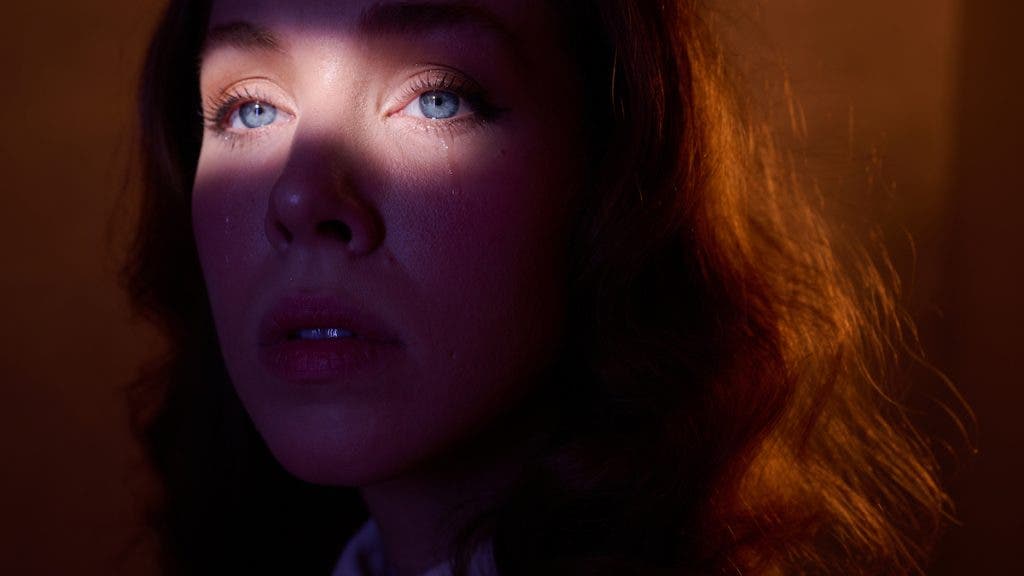
With your subject in frame, let’s bring on the real drama with lighting. Remember that drama comes as much from what we see as what we don’t. Use shadow or overexposed areas to draw the viewer in and make them more curious.
Lights to Use
I like small light sources placed very close to increase the fall-off and give me genuinely dense shadow areas. This can be achieved with kits like the Chimera Super Pro X Lightbank, XXS, Soft Silver, Profoto Off-Camera Flash II Grid and Gel Kit, or Profoto Clic Fresnel.
I also love to use constant light sources for these types of shots. After all, that is what they use in cinematography, and on some level, we are mimicking their style. I’ve found the NanLite MixPanel 60 Bicolor, Dedolight Turbo Series DLED7 90W Daylight Focusing LED, and Dedolight DP1 Universal Projection Attachment are great tools for this type of work.
One advantage of using smaller, more controlled light sources is they allow us to use pockets of light. Using this technique, we can isolate our subject and keep the focus on them even if some background elements are showing through. Just like the light on your subject, any light in the background should be broken up with shadow to give a sense of depth without taking away from the emotion you are invoking through your subject with light and composition.
Where to Place the Lights
As discussed, being close to your subject for a close-up shot can really add to the drama. It allows the viewer to feel like they are really there. Being close to your subject allows them to block out the rest of the world. It also means you can speak in a normal, or even soft tone of, voice for a deeper connection with your subject.
To keep the shadows dark and rich, move your lights close as well. The nature of light is such that the fall-off will be dramatic, allowing even soft sources to shift to shadow more quickly. This will provide rich tonality in the images. Remember: the closer a light is, the softer it will become.
Because the subject will be close and not much else will be in the composition, it is essential that your lighting produces depth in your images. You should lean into using separation lights. This allows the frame to flow from dark to neutral to bright to dark, enhancing the feeling of three-dimensionality.
How to Use Color in Dramatic Close-Ups
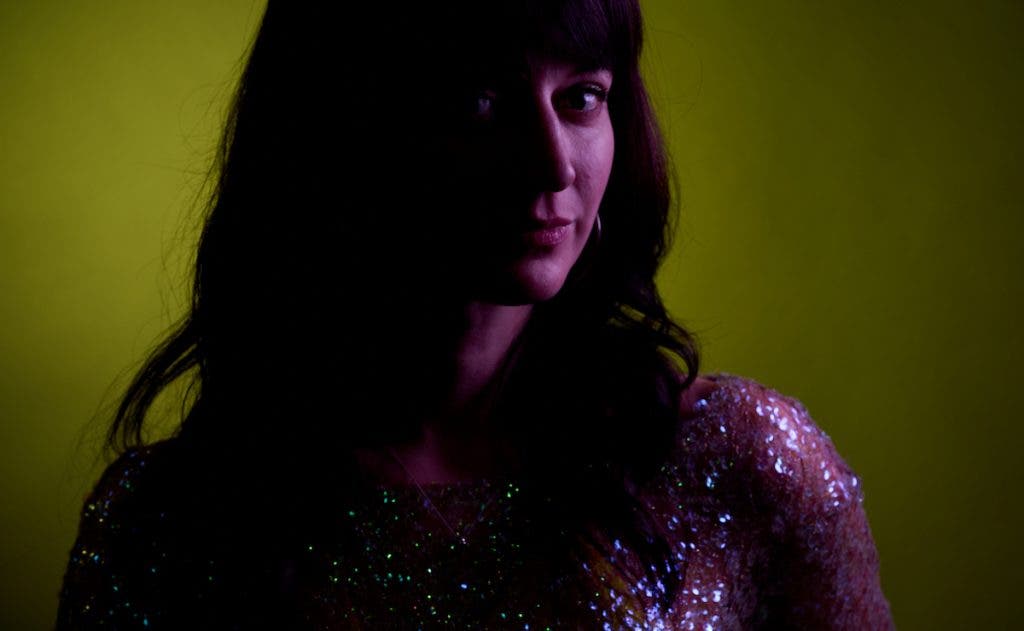
While we can certainly create drama with minimal use of color (old black and white noir films are full of drama) if you use color, choose it wisely and use it with punch and power. In the same way, you use dark and light to create shape and depth; you can use color, contrast, and saturation.
Pick a strong primary color and then use a secondary color to create the contrast. In most cases, we don’t want an entire range of colors as it can be distracting in a tight shot. Choose what you like and focus on using that color to its maximum effect. Try bright or rich reds with touches of green. Teal or blue with strong orange accents are also great options for this portrait style.
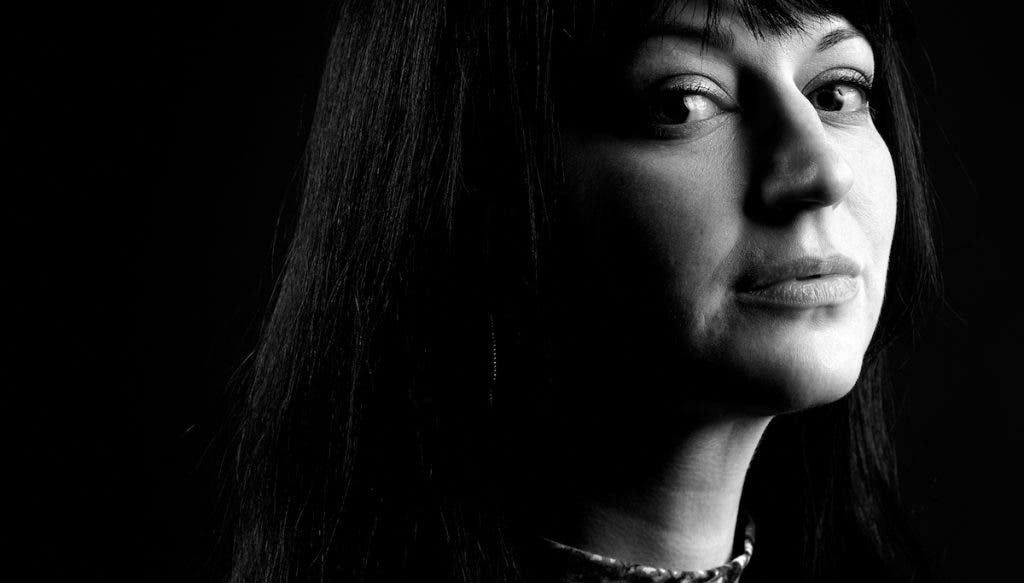
As you continue into the art of portrait photography, you will find many of the rules that seemed so important early on your development fall to the side as you dig deeper into creative styles. Dramatic portraits break many conventions in portraiture. It asks photographer to move in close and add minor distortion. They often allow the subject be cropped in unconventional ways, and the light and shadow are pushed to extremes—sometimes sacrificing detail for emotion.
There is no perfect way to make a portrait and, as you grow your style, you will find some techniques and philosophies that will sit best with the stories you want to tell. Embrace those and create the work you want to make.
