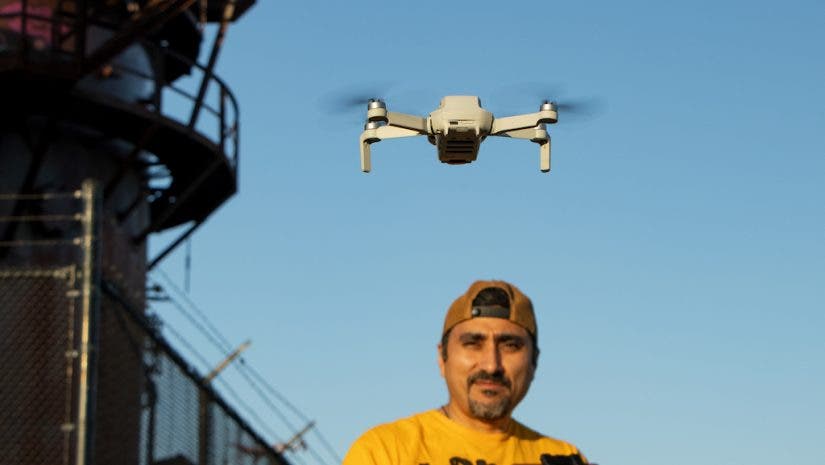
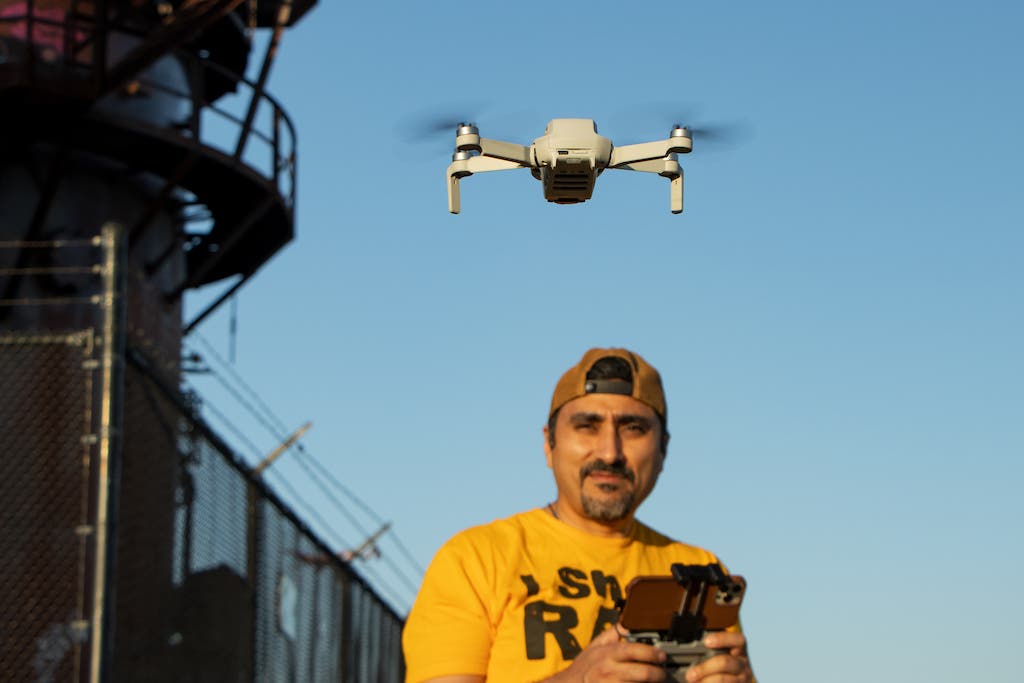
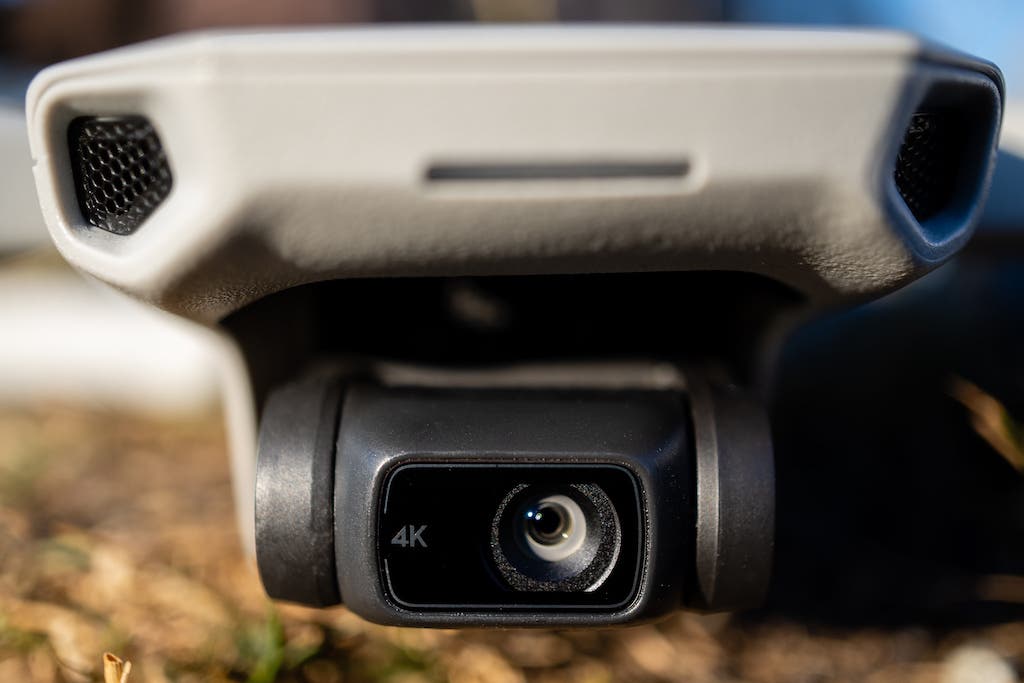
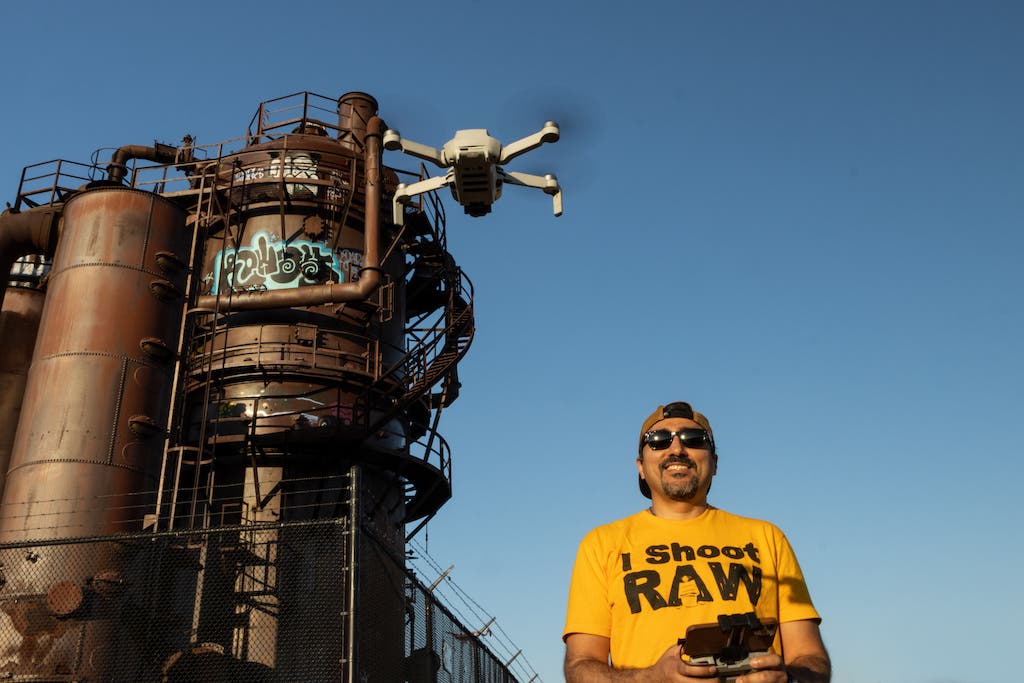
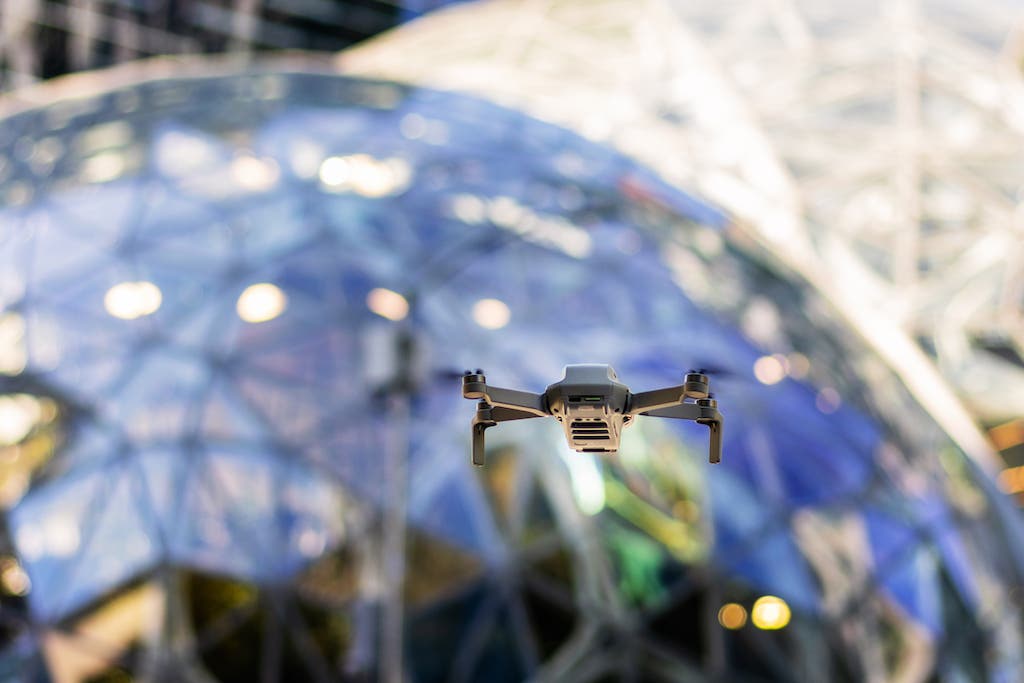
The DJI Mini 2 drone is known for its small size, ultra-light weight, and travel friendly design. Although, with a few simple techniques, it is also a very capable high-powered aerial camera. Creators can take their DJI Mini 2 drone photos to the next level with a few simple steps to maximize this tiny powerhouse of a drone.
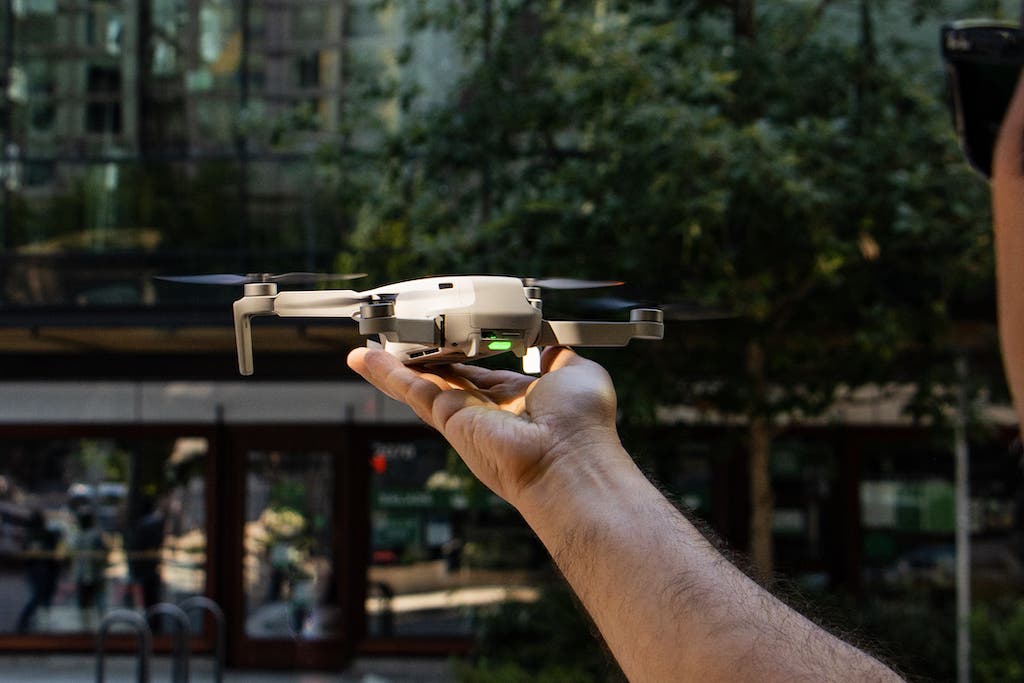
In this guide, we’ll cover how to setup the DJI Mini 2 to get the best photos from its 12-megapixel sensor. We’ll begin by setting it to capture photos in RAW. We’ll then explore the advanced photo modes like Auto Exposure Bracketing, Panorama, including wide, 180, and spherical. We’ll also discuss how to maximize your saturation and reduce glare, by using inexpensive neutral density polarizing filters.
Setting up the DJI Mini 2 drone for success
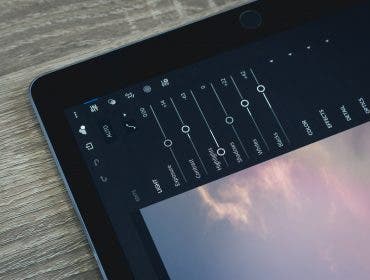
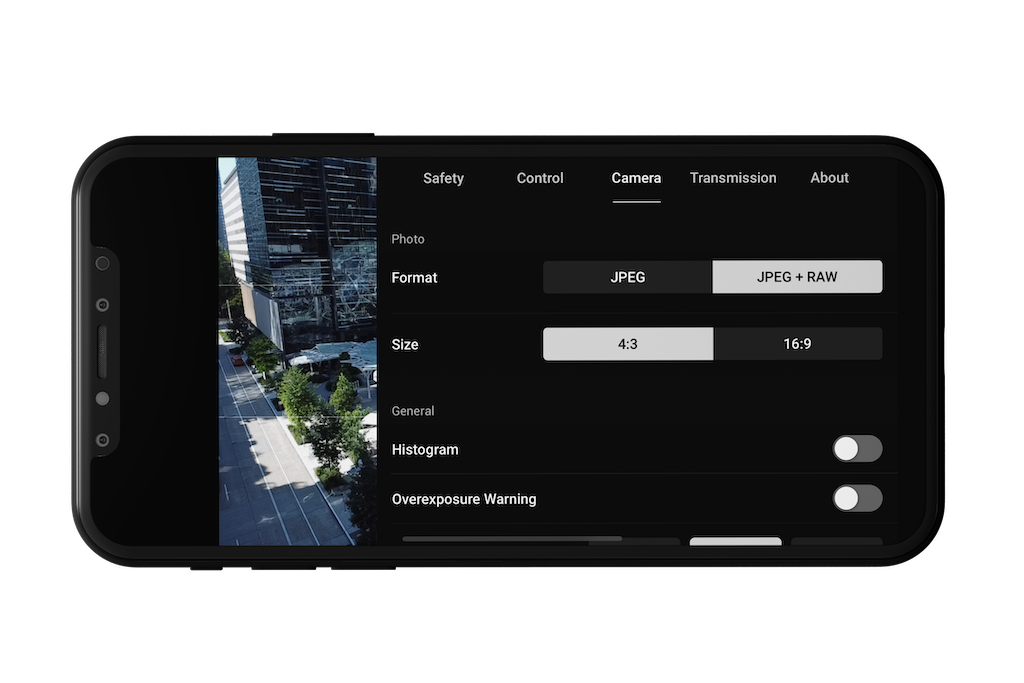
In order to get the best photos from the DJI Mini 2’s 12-megapixel sensor, you’ll want to make sure you’ve set your camera to capture in JPG + RAW format. This is easily done in the DJI Fly app while in photo mode. This will ensure that you capture the maximum amount of data possible from its tiny sensor. It will also give you the widest dynamic range for photo editing and ensure you have access to the white-balance controls in post-production.
After having set the DJI Mini 2’s camera to capture photos in RAW, you can now move onto using the powerful HDR mode in the Mini 2, called AEB. This mode is also known as “Auto Exposure Bracketing,” where the camera will take a set of three images in succession. It will capture your chosen base exposure, along with one underexposed image and one overexposed image. The end result then becomes three images in what’s known as a “bracketed exposure.” This allows you to have an even wider range of tones and data available for editing your final photo. To use this setting on the DJI Mini 2, enter the camera settings in the DJI Fly app and select AEB as your photo mode.
Maximizing its capabilities
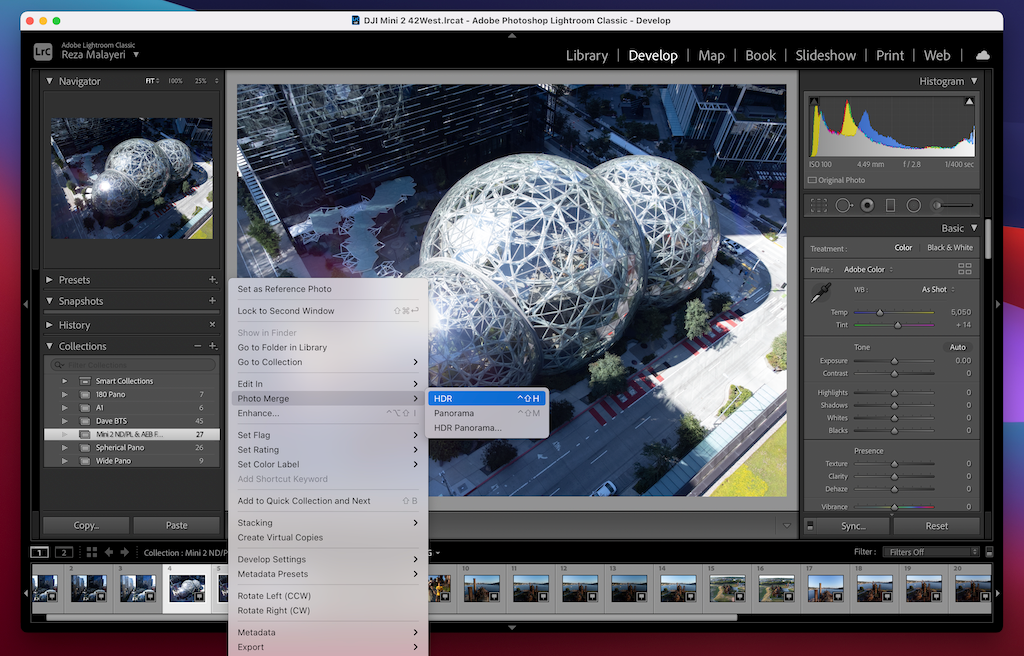
In order to blend the three AEB images together, I typically take them into Adobe Photoshop Lightroom and use the HDR “photo merge” option to blend them. Using the combination of RAW images and the AEB capture mode can greatly improve the quality of the photos.

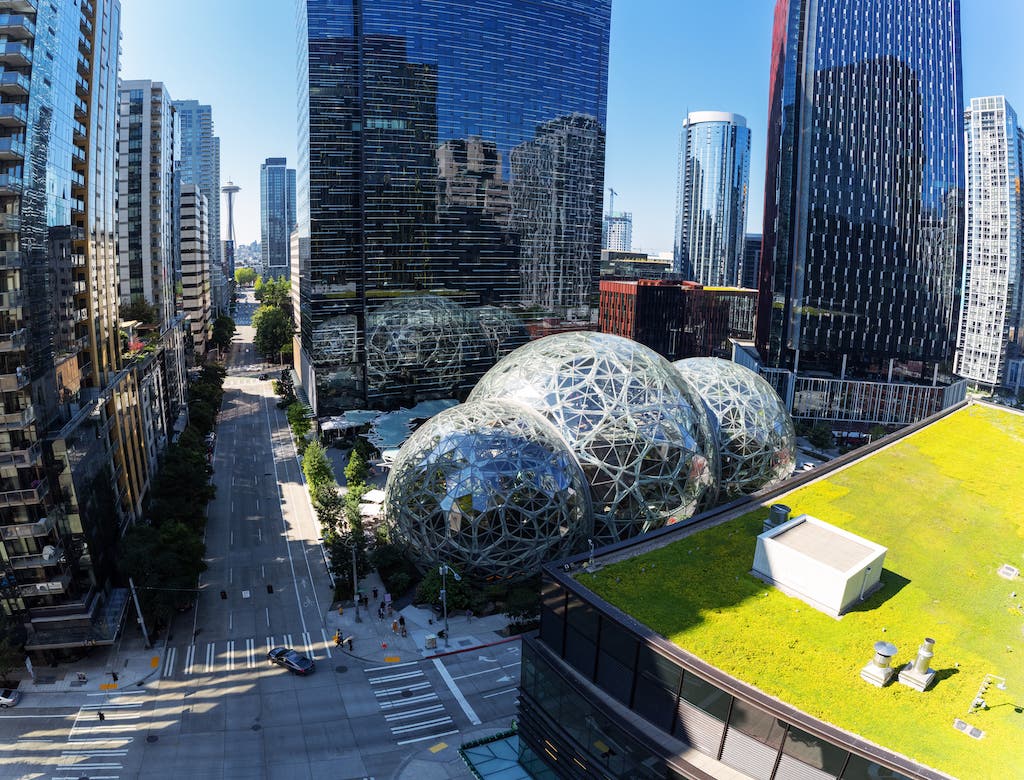
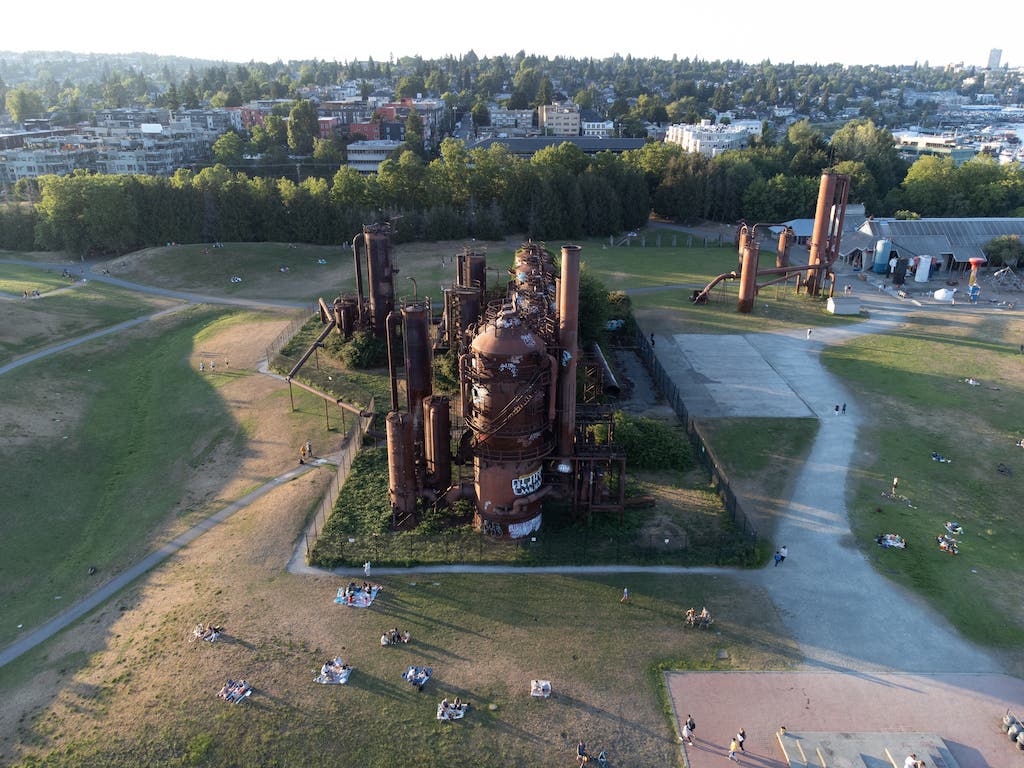
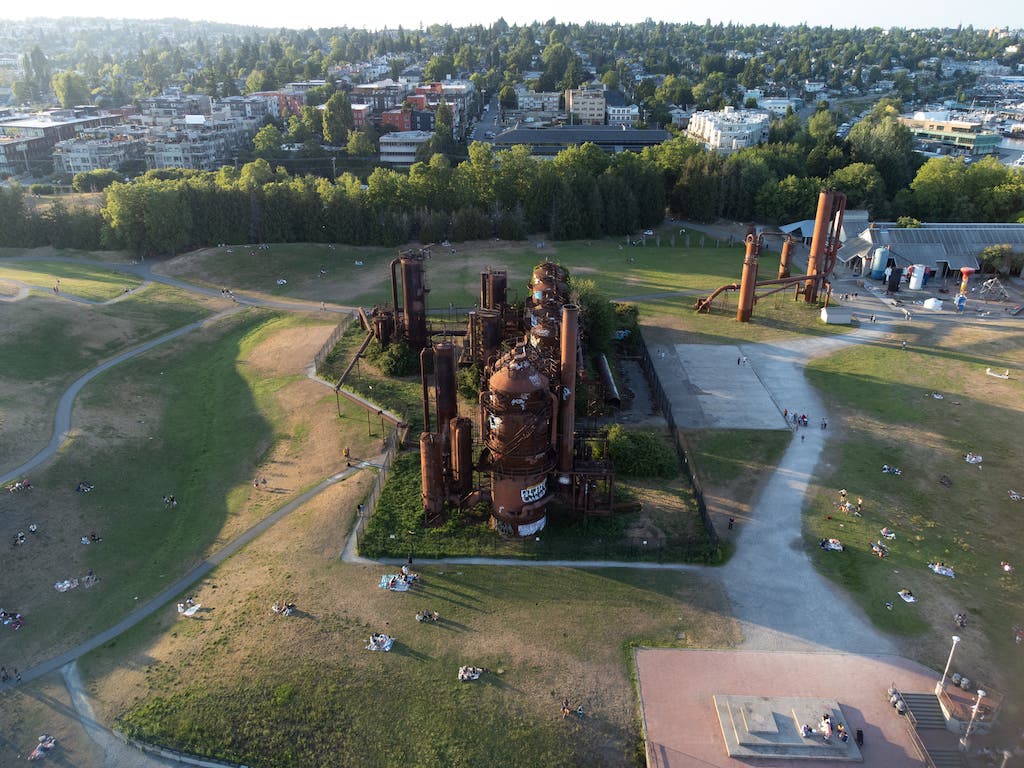
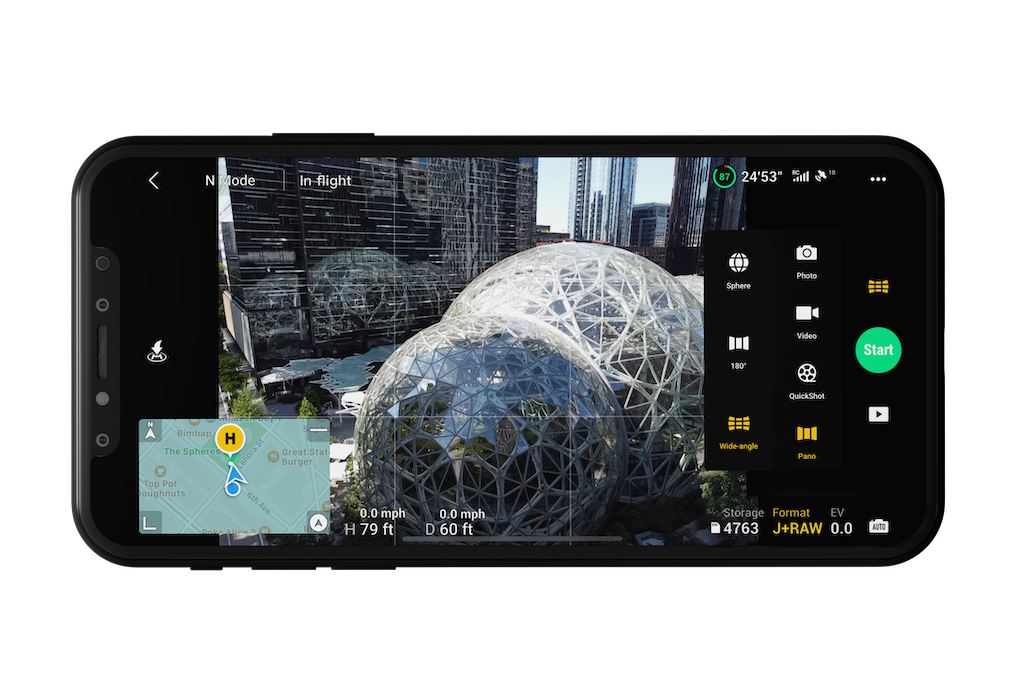 Another great way to maximize the DJI Mini 2’s photo capabilities is to use its built-in panorama modes. These modes are a great way of capturing a more expansive composition. They offer the ability to capture three compositions that you can’t normally get in a single image in auto mode. To take advantage of the wide, 180 degree, and spherical panoramic photos in the Mini 2, you’ll want to switch your photo mode to panorama in the DJI Fly app. You’ll then select from one of the three available options.
Three available modes for your DJI Mini 2 drone photos:
Wide
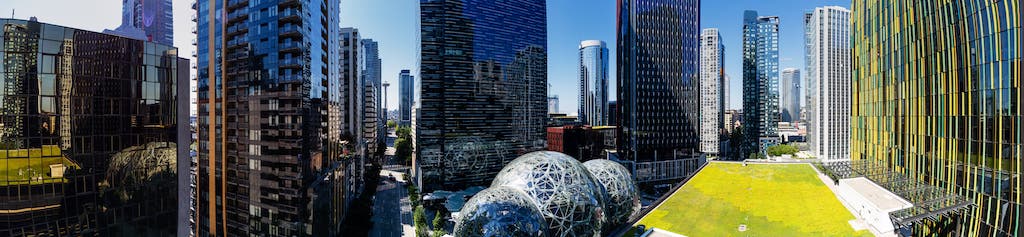
180 degrees
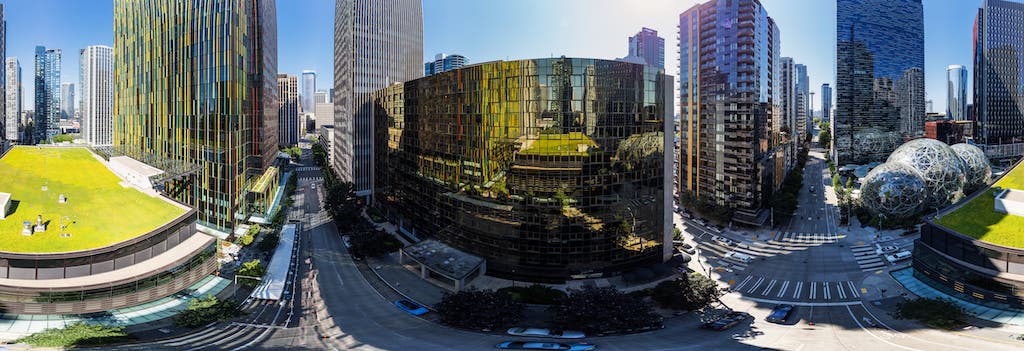
Spherical
The DJI Mini 2’s photos can benefit from an inexpensive accessory for the lens, known as a neutral density polarization filter, or ND/PL. These useful filters come in various densities, and can improve the overall quality of your DJI Mini 2 photos.
Take a look at the before and after example below. You can see how the ND/PL filter was able to reduce the glare in the scene and increase the saturation in the colors.
Before
After
In order to better illustrate the benefits of using these filters, I’ve exported images with no added post-production edits. I matched the exposures in-camera. The only difference was a higher shutter speed in the base image, to compensate for the lack of light blocking that the ND/PL filter provides.
Most creators may not look at the DJI Mini 2 as their first choice for taking high quality photos. As you can see from this guide, that would be a missed opportunity. The DJI Mini 2 offers a variety of benefits over it’s much larger and more expensive counterparts. It has a small and lightweight footprint, offers high-quality photo features, is affordable, and super convenient for travel.
This guide should help you get the best possible photos from its small but mighty sensor. Finally, give these techniques a try and unlock the amazing DJI Mini 2 drone photos that can be taken.