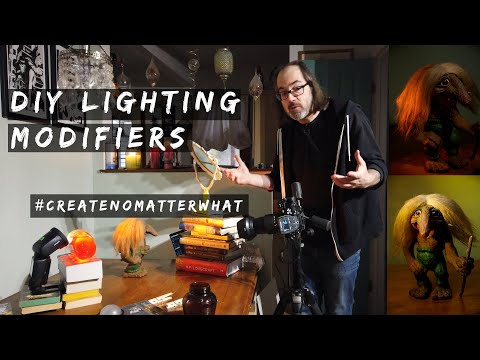
As photographers, it seems like we are always chasing the perfect light. Sometimes this is a stunning sunset, other times it’s a neon glow through our hotel window. Seeing and capturing light is what we do — but why chase the light when you can make it yourself? Let’s talk about simple and inexpensive ways to shape and control light that can help you capture the images you want, whenever you want. Of course, there are modifiers available for purchase, and we will talk about those later. But first, let’s dive into some fun and effective DIY light modifiers you can use today.
What is a Light Modifier?
Photography is often described as “writing with light.” If we think of our light source (whether it be a flash, continuous light, or natural light) as our ink, a modifier is our pencil. Anything we use to control, shape, or change the quality or color of the light is often called a light modifier.
Light bouncing off the side of a building, or diffused through tree branches, is modified. But, for our discussion here, we will say the tool must be purposefully used to modify the light for photography to be considered a light modifier.
Light Modifiers for Purchase
To best understand how to make our own light modifiers, we must first understand what modifiers are available on the market today:
Inexpensive and versatile, photo umbrellas are a helpful tool. Umbrellas are most often available in white or silver, and are used to bounce light. Some photographers prefer diffusion or “shoot through” umbrellas for more direct light. Umbrellas typically pack down easily to fit in a small bag.
When you want a directional soft light though, the softbox is king. Typically a bit more expensive than an umbrella, but often just as portable, the softbox is often used for portraits and product photography. Softboxes can be fitted with other modifiers, such as grids, for even more control.
Often paired up with umbrellas and softboxes are circular portable reflectors. These come in many sizes and typically fold to about ⅓ their size for travel. The most common are reflectors with white fabric on one side and silver on the reverse, or a “5-in-1” that offers the most versatility.
A bit more specialized, but incredibly useful for many types of work, are gobo projectors. As the name implies, these units allow the user to insert metal discs with precise patterns which can be focused (or defocused) in a consistent and highly controlled manner.
The beauty dish (which we mimic with one of our projects below) falls into a category called hard reflectors. These modifiers are used to direct and shape harder-edged light — often for up-close photos of faces. Hard reflectors serve a distinct purpose that is often difficult to replicate with DIY builds.
DIY Light Modifiers
Foam Core (aka Brooklyn Reflector)
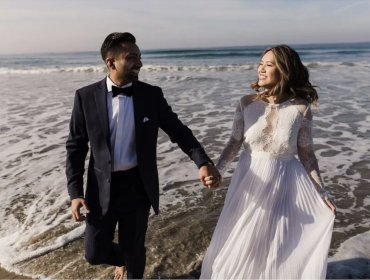
The most common and simplest way to modify light is to bounce it off a flat surface. Using a 2×3 foot piece of white foam board, you can control the direction of the light hitting your subject. For instance, you can place your subject with their back to the harsh sun and use the reflector to bounce light to illuminate their face in a pleasing way.
Roasting Pan Beauty Dish
For the feel of a beauty dish, you can use a disposable roasting pan (20-24”) and a pie tin. The shallow sides and flat bottom of the pan will work well as the beauty dish itself. Meanwhile, the pie tin will be the deflector. Start by cutting a hole in the center of the larger pan to accommodate your flash. Then, position the smaller pan inside the larger one 3” in front of the flash.
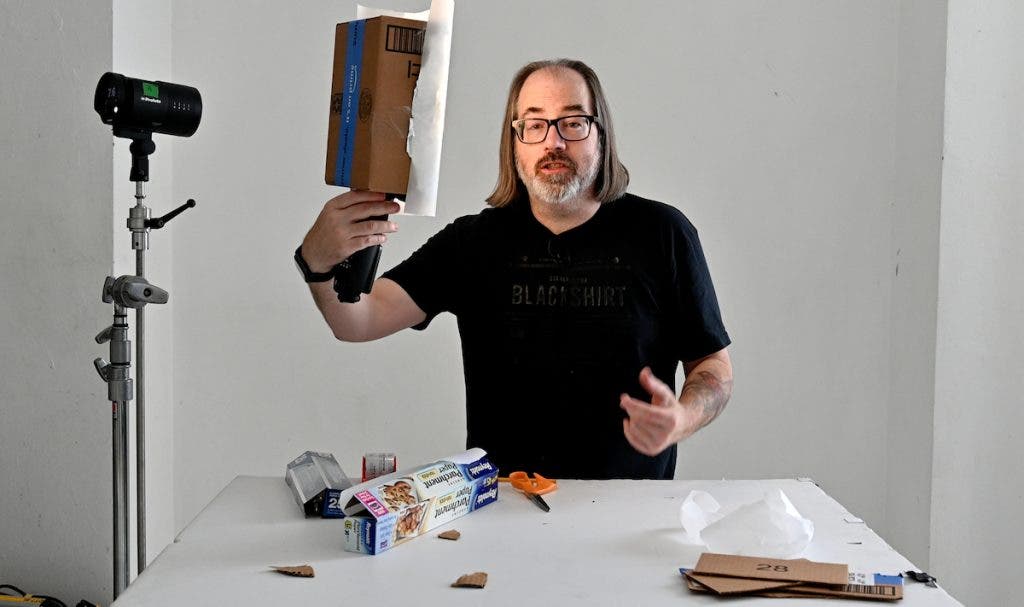
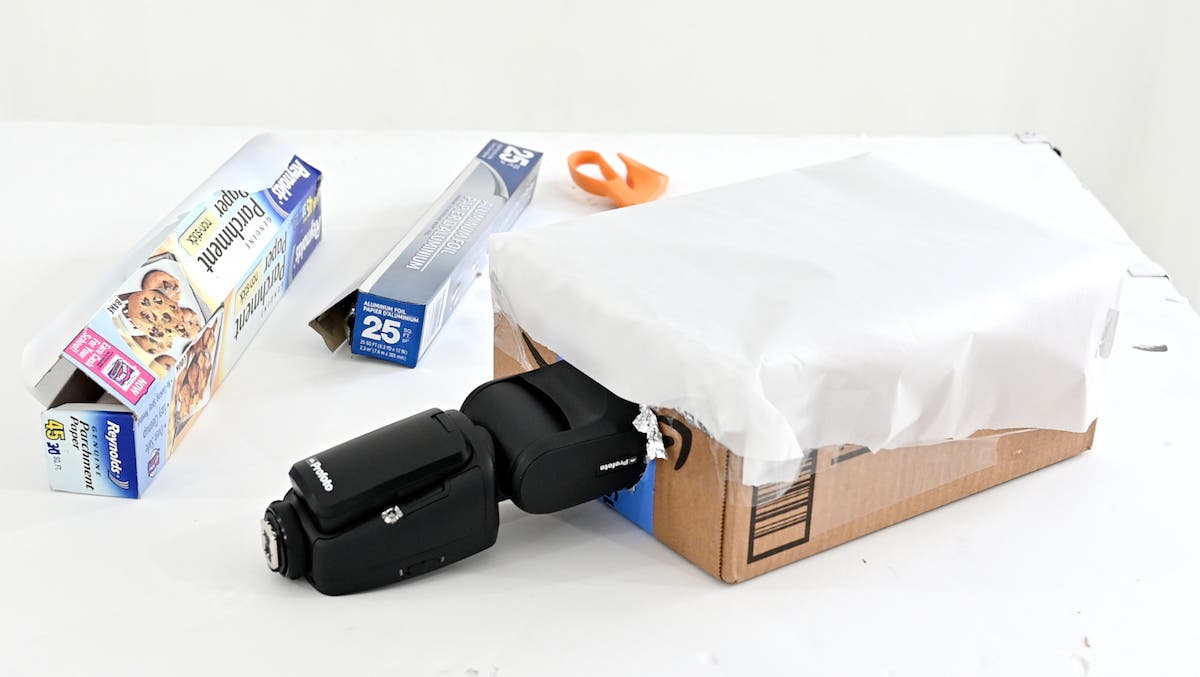
Shipping Box Softbox
Next time you get a delivery, save the cardboard box. Cut off the top flaps of the box. Line the inside with white paper or aluminum foil. Cut a hole in the back of the box and tape some wax or parchment paper across the open front.
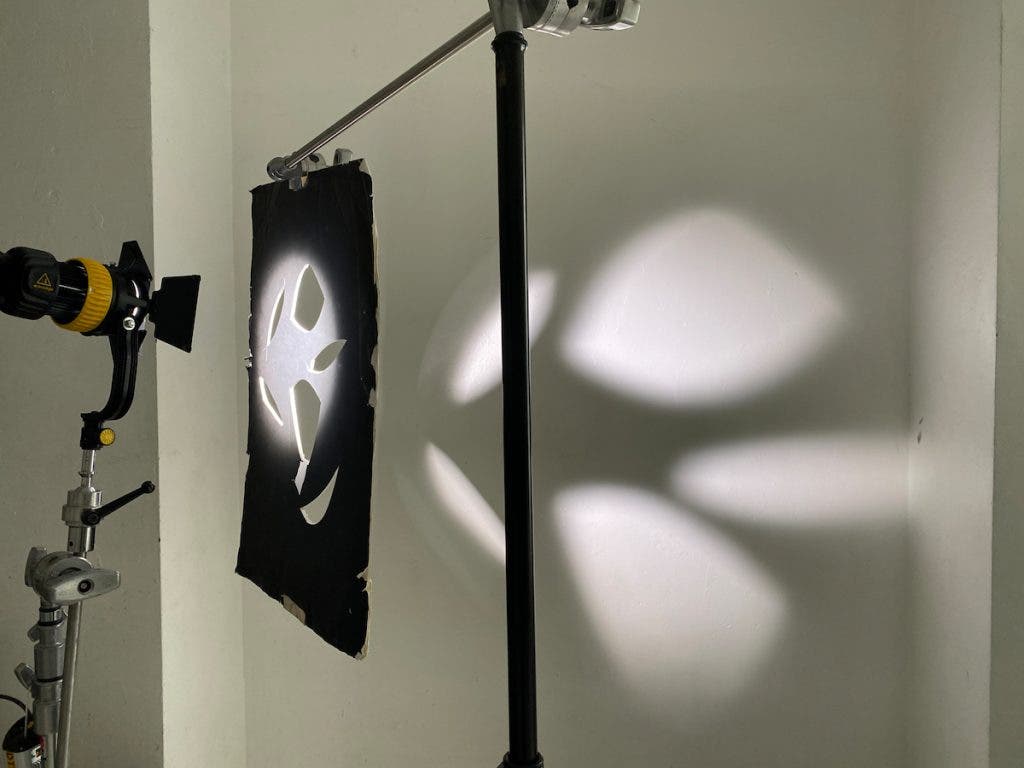
Foam Core Cookie
Take a large piece of black foam core board and cut several holes in either random shapes or a distinct pattern (long rectangles to replicate window blinds, for example). Focus your flash and shoot it through the pattern to create an interesting background or noir feel.
Milk Jug Lantern (with Tissue Paper)
Take a one-gallon milk jug and clean it thoroughly, cut off the spout, and create a hole large enough to accommodate your flash. Wrap a layer of tissue paper around the jug to create an omnidirectional light source. This is great for group photos as well as a pleasing on-axis fill with the flash on the camera.
Colander Cookie
Shooting your light through a colander or food strainer will create fun patterns that can be used to liven up a boring background or add effects to your portrait light. While many colanders have simple patterns, a quick search will find strainers with stars, flowers, and other neat shapes.
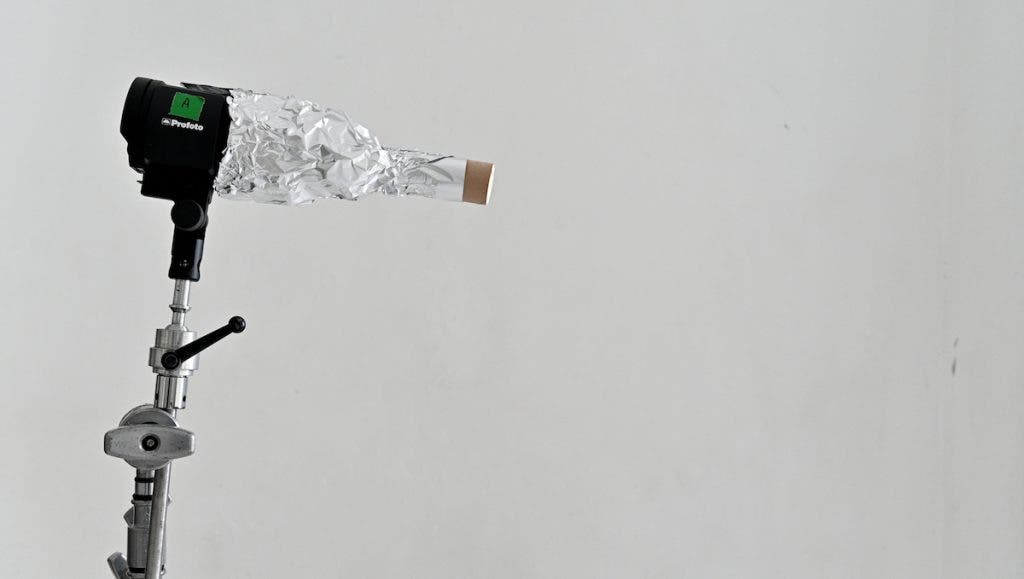
Foil and Paper Towel Roll Snoot
When you really want to highlight a small area with light, this snoot can be a great tool. Simply form a cone using the aluminum foil, slide the cardboard roll into the small end, and form the larger end around your flash head. Be sure to turn off any modeling light and shoot slowly to keep the flash from overheating.
Bed Sheet and PVC Pipe Diffuser
A large diffuser like those used in professional movie and photo sets can be made using 1” PVC pipes cut to length and joined with 90-degree corners. Use a bedsheet that has been bleached to pure white as your diffuser by clamping it to the frame with simple A-Clamps.
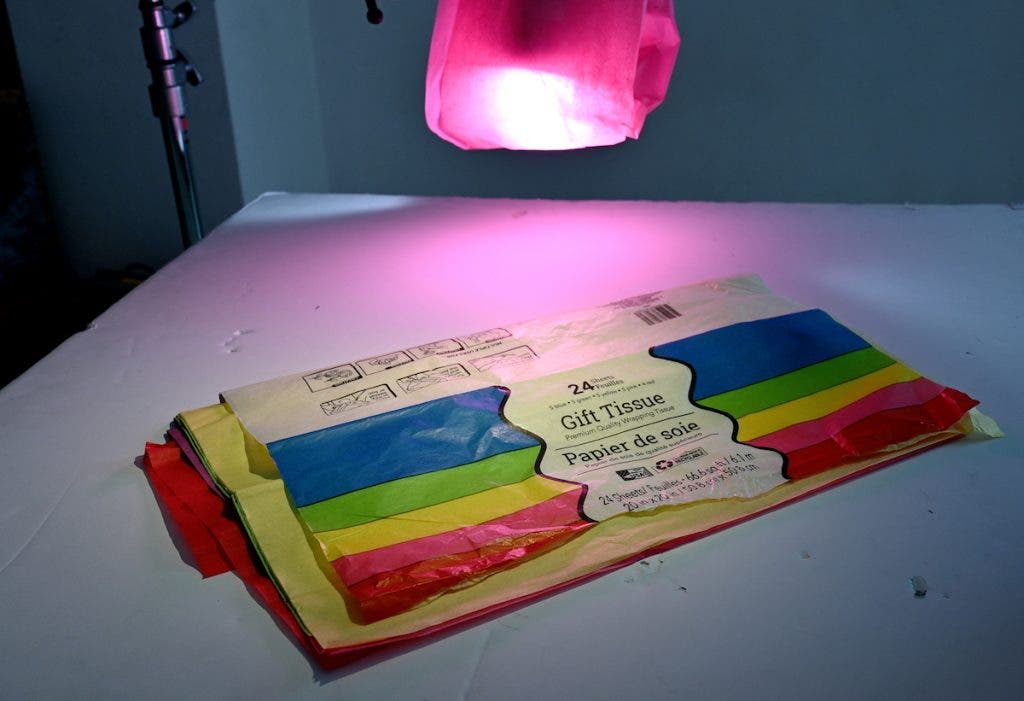
Color Gels from Tissue paper
One simple way to add drama and depth to your images is to modify the color of the light. This is easily done using colored tissue paper, which has the added benefit of diffusing the light. If you just want to change the hue and not the quality of light, try the various colors of plastic cling wrap.
Conclusion
To become proficient in photography lighting, the first step is to understand how light works. By experimenting with bouncing, shaping, and altering the color and texture of light with tools we can learn the true nature of light. Crafting our own DIY light modifiers can help to understand why you may eventually want to purchase commercial light modifiers. These commercial modifiers can give us consistency and reliability. But no matter how many professional softboxes we own, let us not forget the joy of DIY modifiers. Their organic quality of DIY light modifiers provide a richness unlike any store-bought modifier.
Learn more in the AdoramaTV video below: