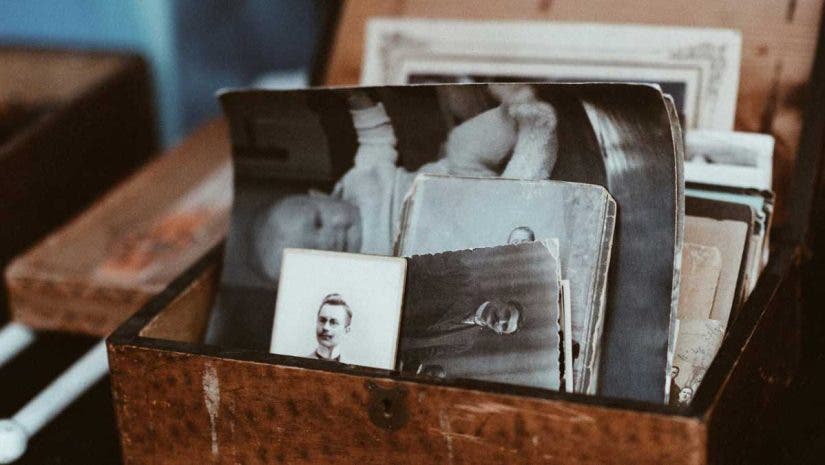
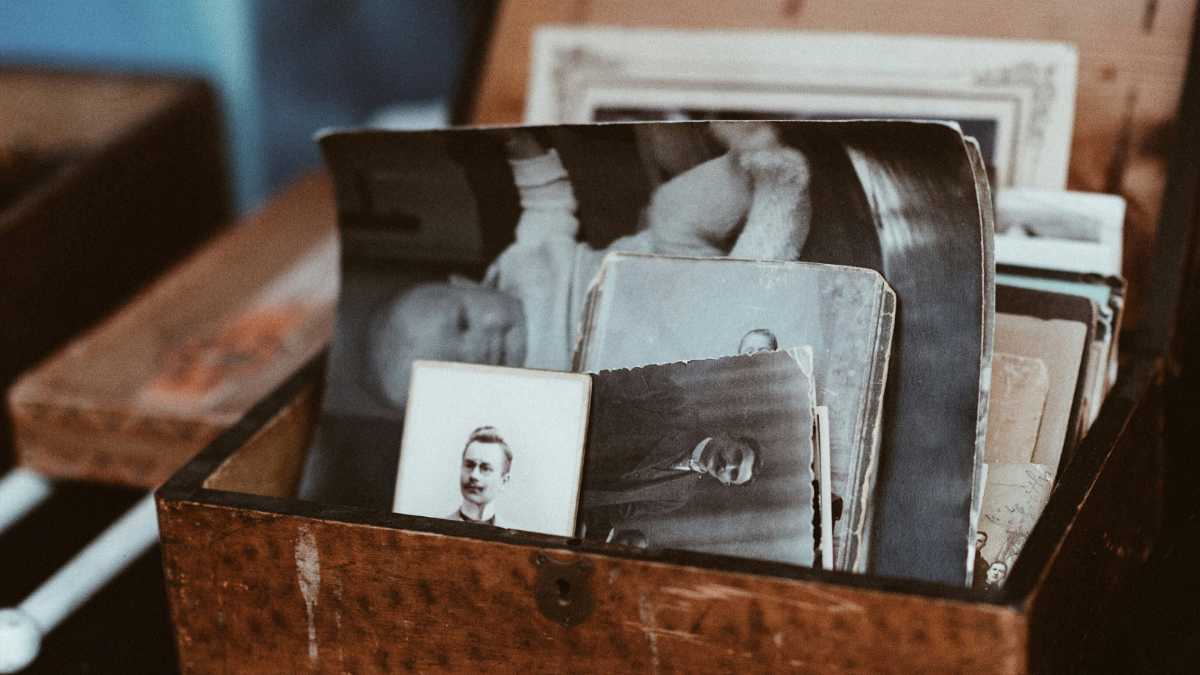
You may have a folder of photos you made in your film days or are just discovering the joy of analog photography. Maybe your aunt or grandmother handed you a shoebox with ancient prints and negatives. All you know is you want to bring this physical media into the digital world. You are looking for guidance on digitizing photos. This article will explain how to get old prints and negatives into your favorite image editing and cataloging software. We will discuss scanners, copy stands, and even phone apps to find the best way to digitize your photos.
What Does It Mean to Digitize Your Photos?
Digitizing your photos means using various tools and applications to transform analog photos into digital ones. Once, this was the sole purview of scanners, but much has changed. While scanners still play a role in this process, digital cameras and even photos can produce remarkable results. Digitizing photos is a great way to archive, catalog, and share your analog work. I have several boxes of prints and negatives that have been viewed by exactly one person: me. If you are the same, take this journey with me, and let’s get our unique analog work out there in the digital space for others to enjoy.
How to Use a Photo Scanner to Digitize Photos
As noted above, scanners have been photographers’ primary tool when digitizing photos. They are generally versatile and inexpensive when compared to lab scans. Of course, if you already have a nice digital camera that might work for you, see below. For now, let’s talk scanners.
I’ll break down this section by exploring three scanners and how you might use them when digitizing photos.
Suppose you are looking to scan printed photos only versus slides and negatives. In that case, most inexpensive flatbed scanners will do the job. With a scanning bed large enough to cover 8.50 x 11.70″ photos and documents, the Canon CanoScan LiDE 400 Slim Performance Scanner is an inexpensive option for digitizing printed photos. All you need to do is connect the LiDE 400 to your computer and use the included software or any image capture software to produce 4800×4800 PPI images. Considering we generally print at 300 PPI, you’ll be able to make enlargements as well.
If you want more professional optical quality and/or have negatives to scan as well, the Epson Perfection V850 is a powerful tool. The Perfection line is used by most of the professional photographers I know and offers 6400 dpi scanning of the highest quality. Add the fluid mount tray for absolute professional-quality negative and slide scans.
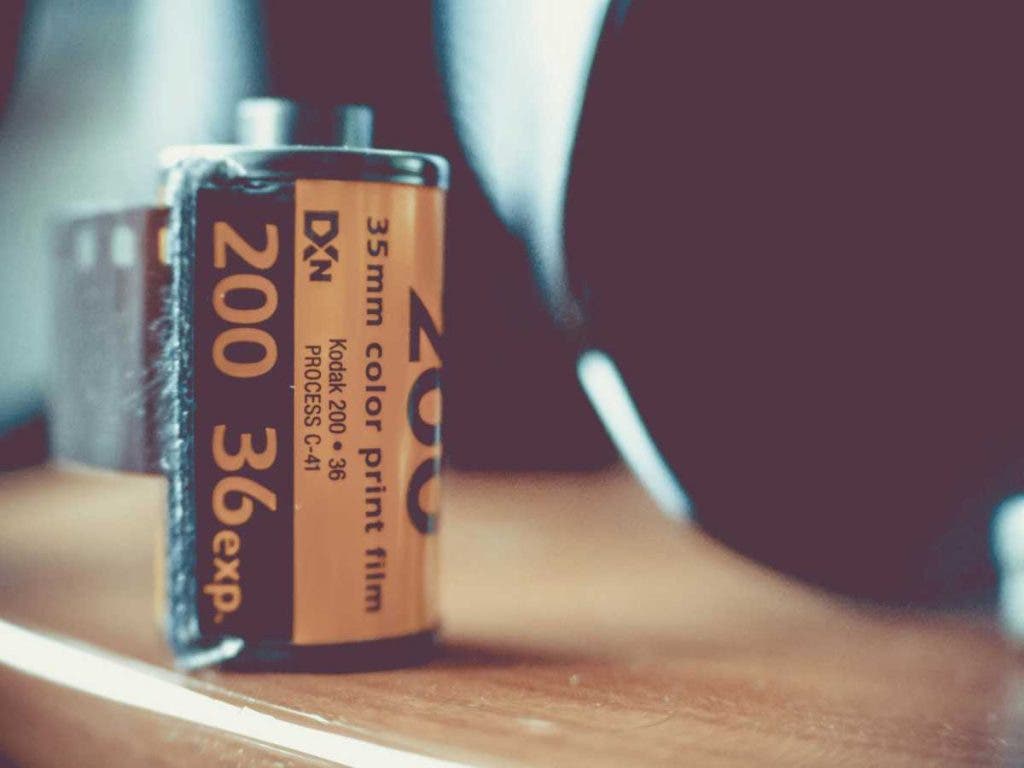
35mm has been the most common film size for decades, so if you have a box of old negatives, they are likely 35mm. Not to mention, great cameras are still being made that use this format. If you have 35mm negatives and positives (slides), you want to digitize the Plustek OpticFilm 8200i AI, which might be the ideal tool. With the ability to automatically scan strips of 6 images at a time at 7200 dpi, those rolls of film will be digitized in no time.
A scanner is a great way to digitize your collection of photos for easy sharing and archiving.
How to Use a Digital Camera to Digitize Photos
A scanner is a fantastic option for digitizing your photos, no doubt. However, many people find that using the digital camera they already own, plus a copy stand, is a better fit. If you are digitizing printed photos, using a camera means you don’t have a limit on the size of the photo you can capture. For instance, if your grandparents have a 16×20” print of their wedding day, most flatbed scanners will not handle such a large print. Your digital camera can. On top of that, using a mirrorless or DSLR camera will give you the option of capturing your images in RAW format.
Digitizing photos this way can be as simple as laying a print on the floor in a bright, open shade and hand-holding your camera. While this might be fine for quickly sharing an image with a friend, you’ll need a few tools for the quality digitization we want.
First, let’s talk support. A tripod with a lateral arm is a good choice. The Manfrotto 055 3-Section Carbon Fiber Tripod Kit with X-PRO 3-Way Pan/Tilt Head and MOVE Quick Release System is ideal. Using a good tripod ensures your camera is perfectly level and the photo you are digitizing is square in the frame. Be sure to turn on the composition guides if your camera has them. If you are digitizing larger prints, you may need to suspend your camera from a ladder or the like with a Magic Arm and Super Clamp.
While most cameras (and tripods) have internal levels, I’ve found a bubble level is a valuable accessory. The Kaiser Circular Bubble Level or LensCoat 3 Hot Shoe Bubble Level are both excellent options.
A copy stand is the best approach if you plan to digitize many normal-sized prints. For instance, the Smith-Victor CS36K 36″ Pro-Duty Copy Stand with 2x Flat Panel LED Lights and 2x Flexible Arms. With built-in light and a means to keep your camera perfectly level, a copy stand can speed up digitizing your photos.
How to Use a Phone App to Digitize Photos
For many, a smartphone might be the simplest solution for digitizing photos. Some phones have incredible high-resolution cameras. Beyond that, scores of apps help make the process simple and the quality high.
Before we jump into the apps, I want to talk about a fantastic device designed for smartphones that allows you to capture negatives and slides easily: the Lomography DigitaLIZA Max 35mm and 120 Film Scanning Kit with Smart Phone Mount. This device is a copy stand made for phones. It includes a light table and negative mount, allowing you to digitize your photos quickly. Of course, you can use the DigitaLIZA to capture images of prints, but this device is invaluable for negatives and positives.
Whether you use the DigitaLIZA scanning kit or not, Lomography’s online app, https://lomography.tools/digitaliza/, is a great way to edit your scanned images for free.
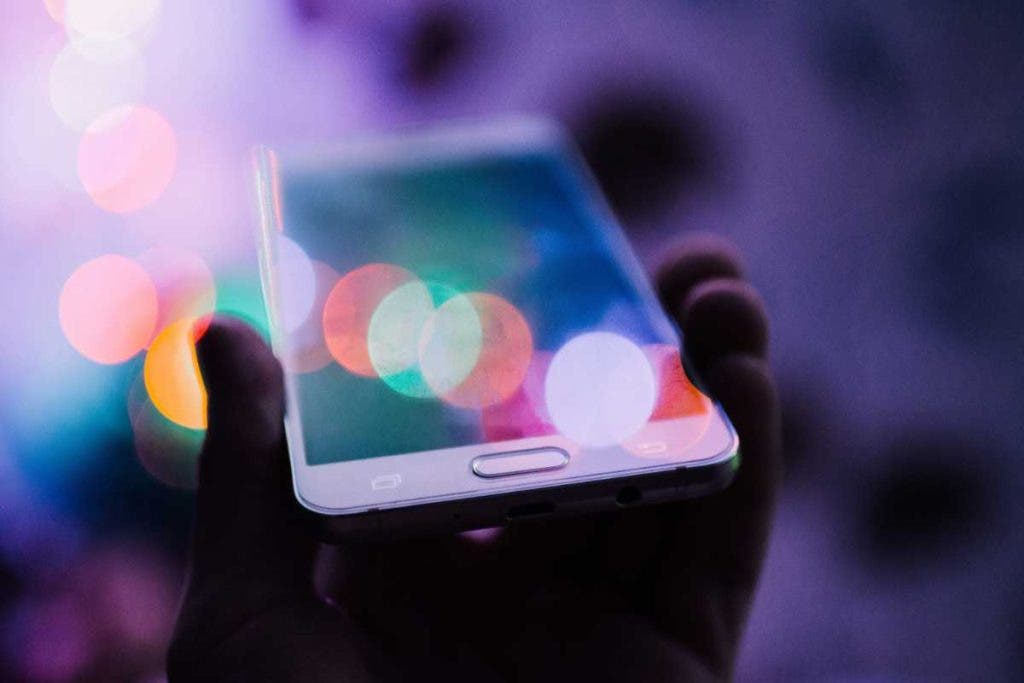
As noted, there are scores of apps that digitize or scan photos with your phone. For instance, the built-in notes app on the iPhone is free and straightforward to use. You can scan your images, Airdrop them to your PC, and edit them with your favorite software or DigitaLIZA.
Apps like Pic Scanner Gold allow you to scan multiple images with a single click. They recognize individual pictures and crop them into separate files, allowing you to digitize entire photo album pages at once. My favorite app for digitizing photos is Google PhotoScan.
While PhotoScan is not the fastest way to digitize photos with your phone, it has resulted in the best scans I have made with my iPhone. Like other apps, you line up your image and click the shutter. However, PhotoScan then has you move the phone around to the four corners, effectively combining multiple photos to create a single image without glare that is squared up and looks fantastic. Save these directly to your phone’s photo library or the Google Photos app. /im
Digitizing Photos: File Size and Formats
When digitizing your images, the file size and type depend on the process. For instance, you are generally restricted to a single size and file type when capturing images with a smartphone. With a mirrorless camera, you’ll have many options for formats and maybe only a few for file size; with a scanner, you’ll often have fewer options for types but many more for size.
Unless storage space is an issue, it is often best to digitize photos with a camera or scanner to capture the largest file possible. That being said, depending on the quality of your print or negative, there may be no need to go full resolution on your film scanner. It’s a good idea to do a couple of test scans to get a feel for the sweet spot.
You want to consider the end use of the digitized photo. Will you be making physical prints or enlargements? Here is the simple math to figure out the proper minimum resolution:
- Take the original size of your image; let us say it is 4×5”.
- Decide how large you want to print it: let us say 16×20”.
- Divide the enlargement size by the original print size. In our case, 4.
- Multiple that number by 300 dpi, which is the standard print dpi. So 1200dpi.
- If we scan our print at 1200dpi, we will get a file that is 4800×6000 pixels.
As for file format, if available, RAW will always be your best bet; most cameras have this option. For scanners, TIF is often your best bet.
For the most accurate color, I recommend using a color calibration target such as the Calibrite ColorChecker Classic Mini Target. I also suggest shooting tethered for the best results.
FAQ: Digitizing Photos
How can I digitize my photos for free?
For most people, the most straightforward free method to digitize photos is with a smartphone app. The only downside is this is not ideal for negatives and slides. Your phone may have a built-in app to digitize photos, or I recommend PhotoScan.
Is it better to scan or photograph old photos?
If you can photograph your old photos, this will likely yield better results than all but the best scanners. Shooting RAW when digitizing photos is a massive advantage regarding color accuracy and detail.
What is the drawback of scanning photos?
While some scanners have very high resolution and can scan film, their most significant drawback is the lack of RAW capture. Of course, you can make image adjustments during scanning, but those are then baked in.
Do you need a special scanner to scan photos?
While any color flatbed scanner can scan photo prints, special scanners are needed to scan film. Also, purpose-built photo scanners should have better color profiles and tools for dust removal, etc. If you want to archive prints and have access to a basic flatbed, it will undoubtedly get you there. But, if you want to make the most accurate and detailed scans, a photo scanner is best.
Conclusion
Digitizing your photos is a great way to share old memories. But it is more than that. It allows you to enjoy the tactile analog process of classic photography while still sharing your images online. We can’t all have gallery shows downtown or have distant friends and family swing by to look at the stacks of 4×6 prints created. We can digitize our work, though, and that, in some ways, is even better.
