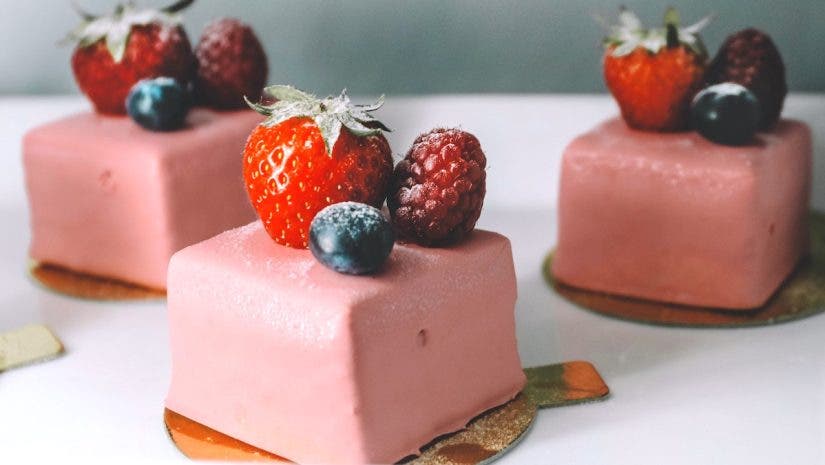
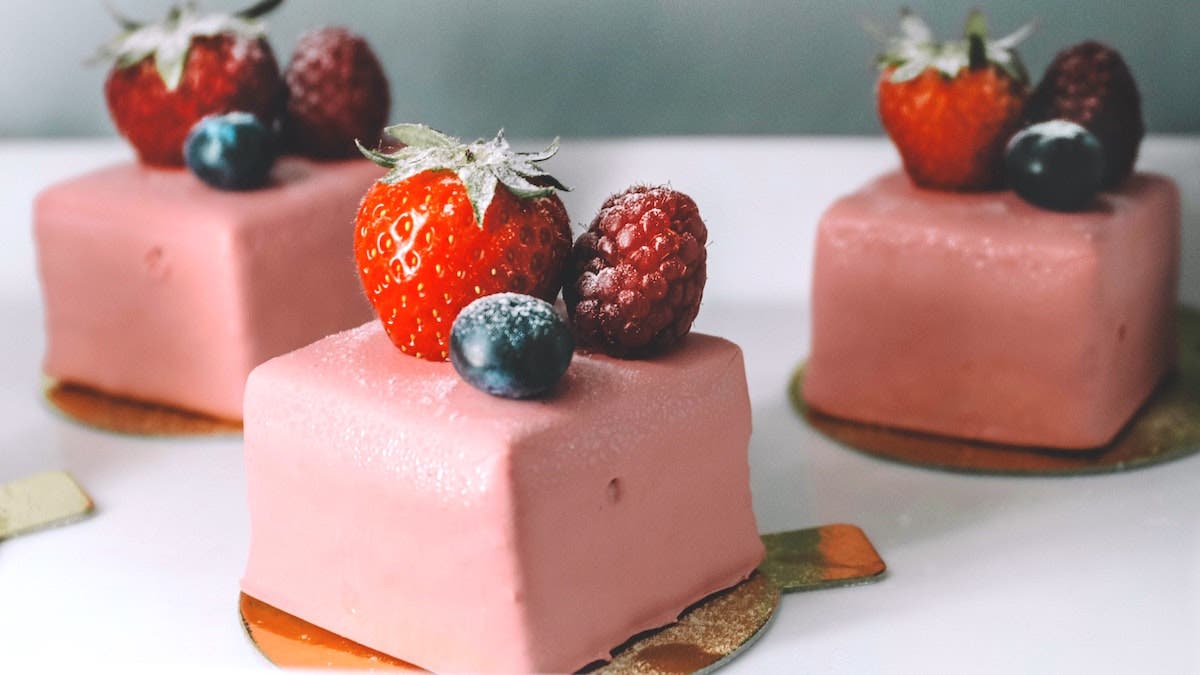
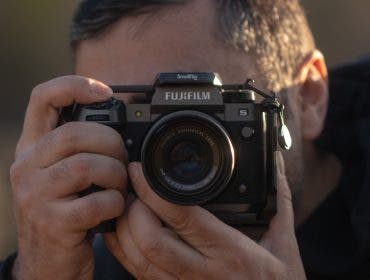
The yang to savory’s yin, there’s always room for dessert, especially when exploring food photography. Dessert photography, in particular, offers a fun and creative way to showcase the beauty of sweet treats. The art of photographing desserts borrows heavily from food photography recipes and requires the use of the same gear, but it still deserves its own presentation. Whether you’re a professional food photographer or just starting out, these 10 tips will help you capture mouth-watering images that will make your desserts look irresistible.
Dessert Photography Tips and Ideas for Irresistible Photos
- Choose a Light Source
- Experiment with Angles
- Focus on Details
- Play with Props
- Use a Tripod
- Edit Your Images
- Use Food Styling
- Create a Story
- Add Movement
- Have Fun
Dessert Photography, Tip #1: Choose a Light Source
It’s no secret that the main ingredient in all of photography, whether we’re shooting desserts or any other subject, is light. But which type of light is best for dessert photography? Well, to start, we can simply break it down between natural light and flash and then weigh our options vs our circumstances.
Natural Light for Photography Desserts
It’s hard to beat the soft, warm look of a naturally lit photo, especially when the light passes through some level of diffusion before falling over the dessert. Locations with beautiful available light also allow us to avoid having to break out our flash photography gear. For a dreamy portrait of your sweet subject, the light and airy look of natural light should give your photos the desired effect.
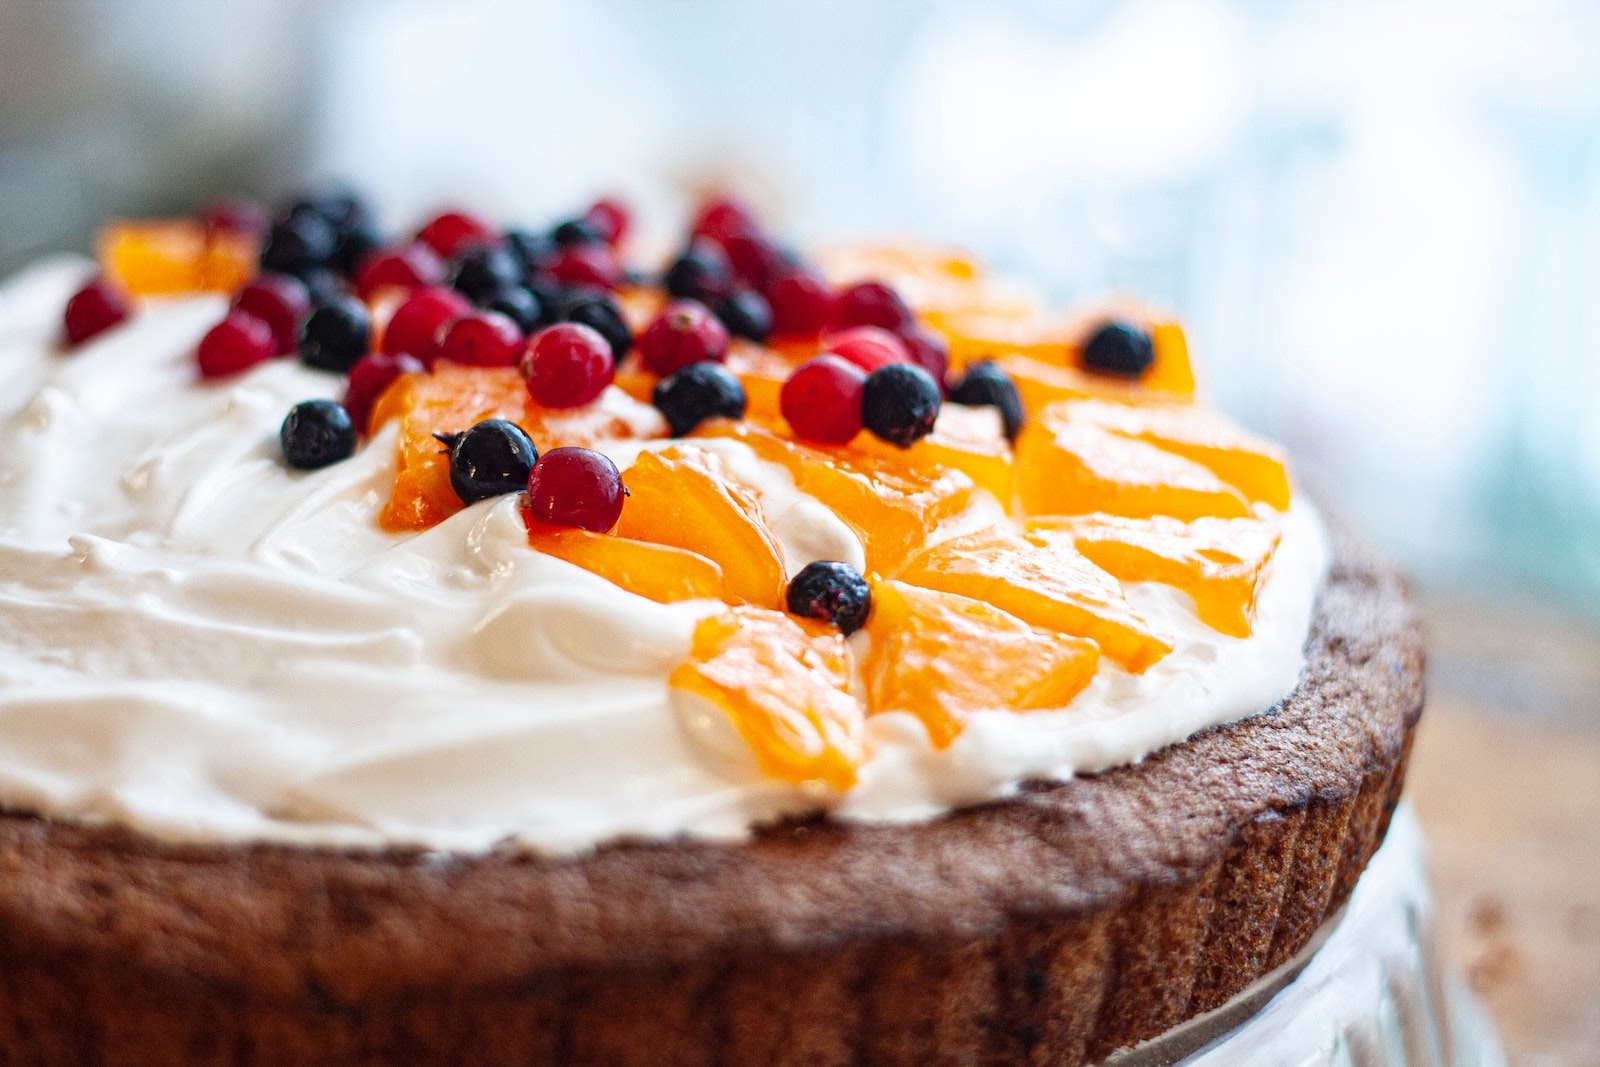
When scouting spots for your dessert photography, look for large windows, ideally with a sheer curtain or something similar to diffuse and soften the light. If the window does not have a sheer curtain, you can always place a large scrim (such as those found in 5-in-1’s like this) in front of it. It’s also a good idea to have some white mini v-flats or foam boards handy to bounce fill light back onto the desserts.
Flash Photography
In contrast to natural light, flash photography offers greater control over how we light our scenes. We can even use it to recreate the look of desirable natural light when the actual natural light doesn’t cut it. Furthermore, the directional light capabilities of flash can help bring out all the details in a dish or plate with baked goods, allowing for a truly sumptuous shot.
A common setup for lighting desserts involves placing a flash directly to the side and slightly above the dish. A v-flat or foam board is often placed on the opposite side to kick light back onto the dessert. If this sounds familiar, it is. Basically, this technique works much like the natural light setup described above, but it can be used regardless of the natural light conditions.
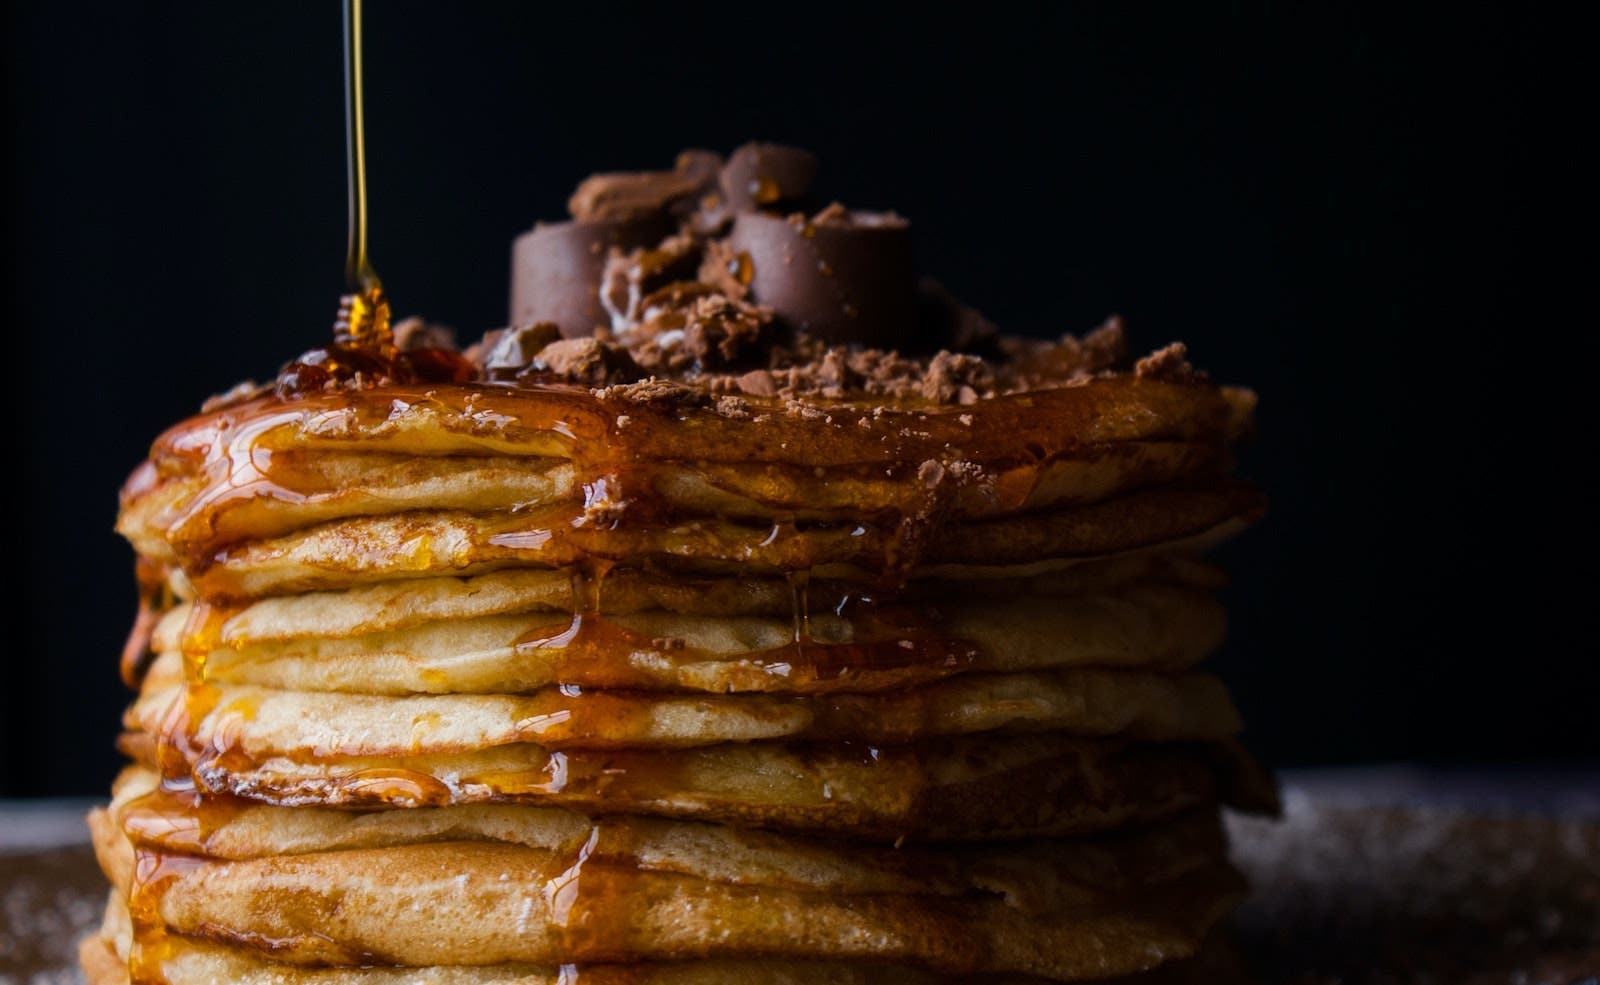
Using similar light placement, swap the bright v-flat used for fill with a dark v-flat to absorb the light, and lower the ambient while raising the flash power to create more contrast for dramatic results.
Tip #2: Experiment with Angles
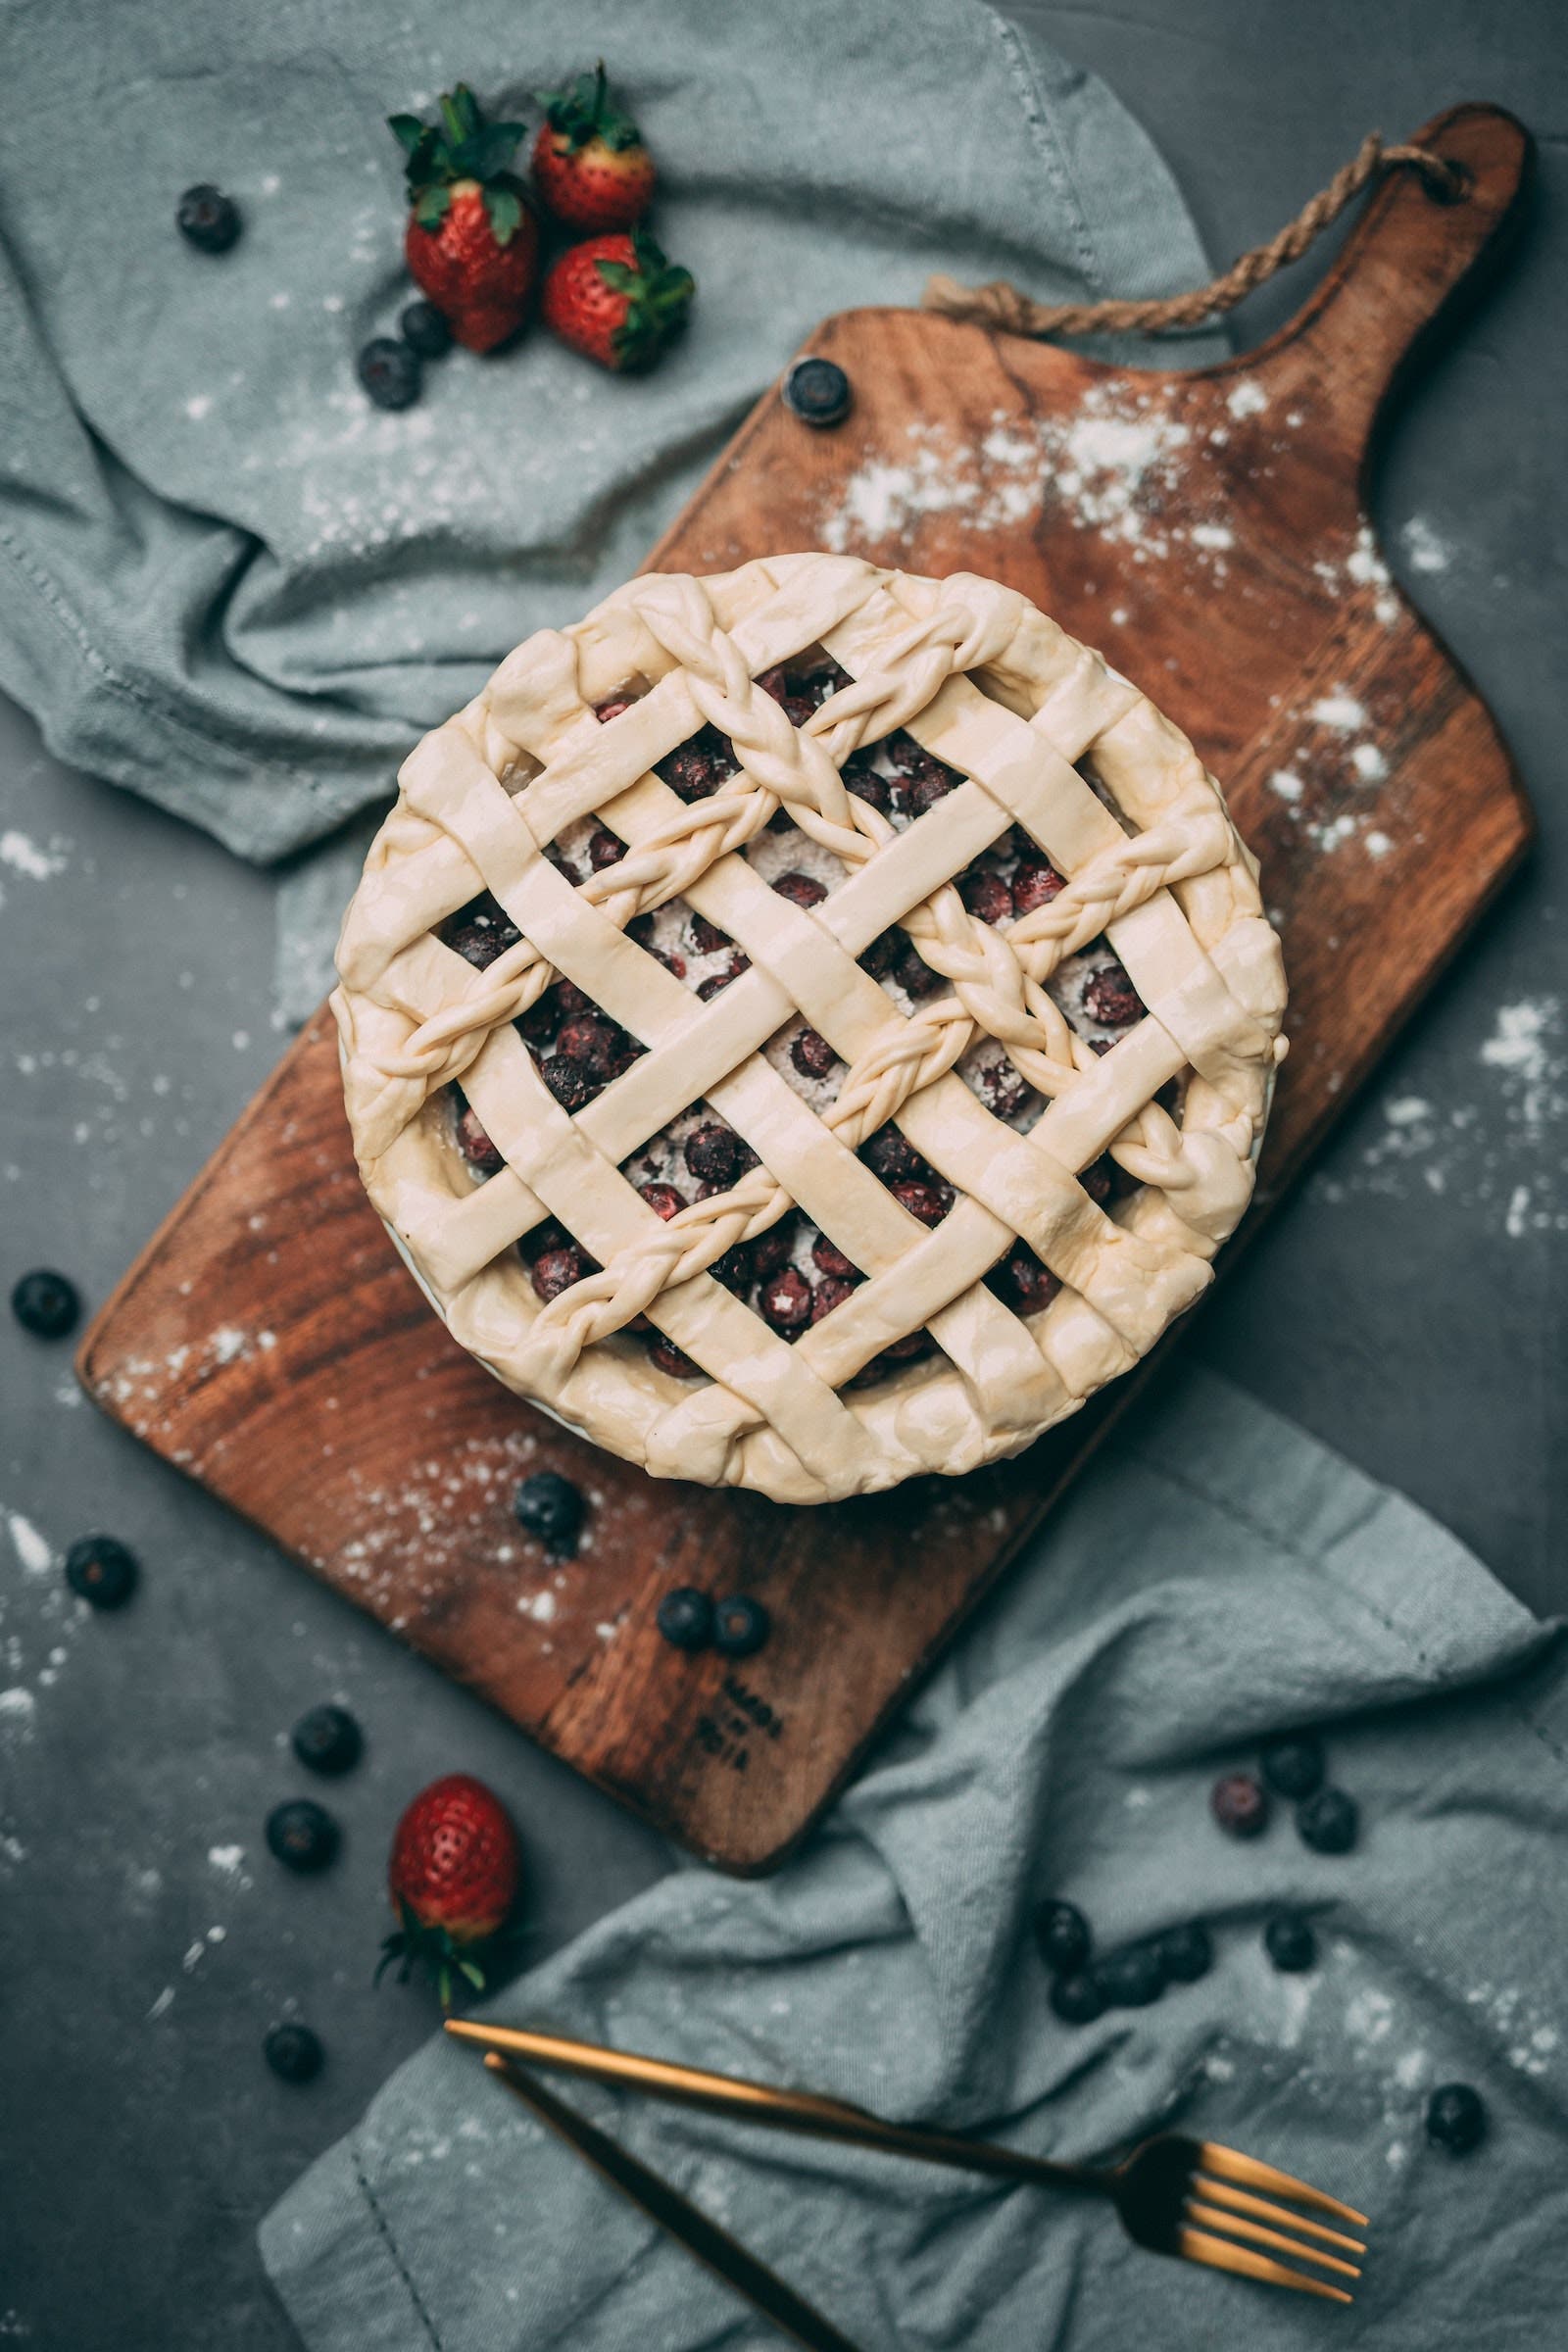
Don’t be afraid to get creative with your angles. It’s great to capture desserts at the same angle we’re used to seeing them when we sit at the table. However, you can also try shooting from above (a trendy go-to made easier when using a tripod extender), at eye level, or even from below to add variety to your dessert photography photos.
Tip #3: Focus on the Details
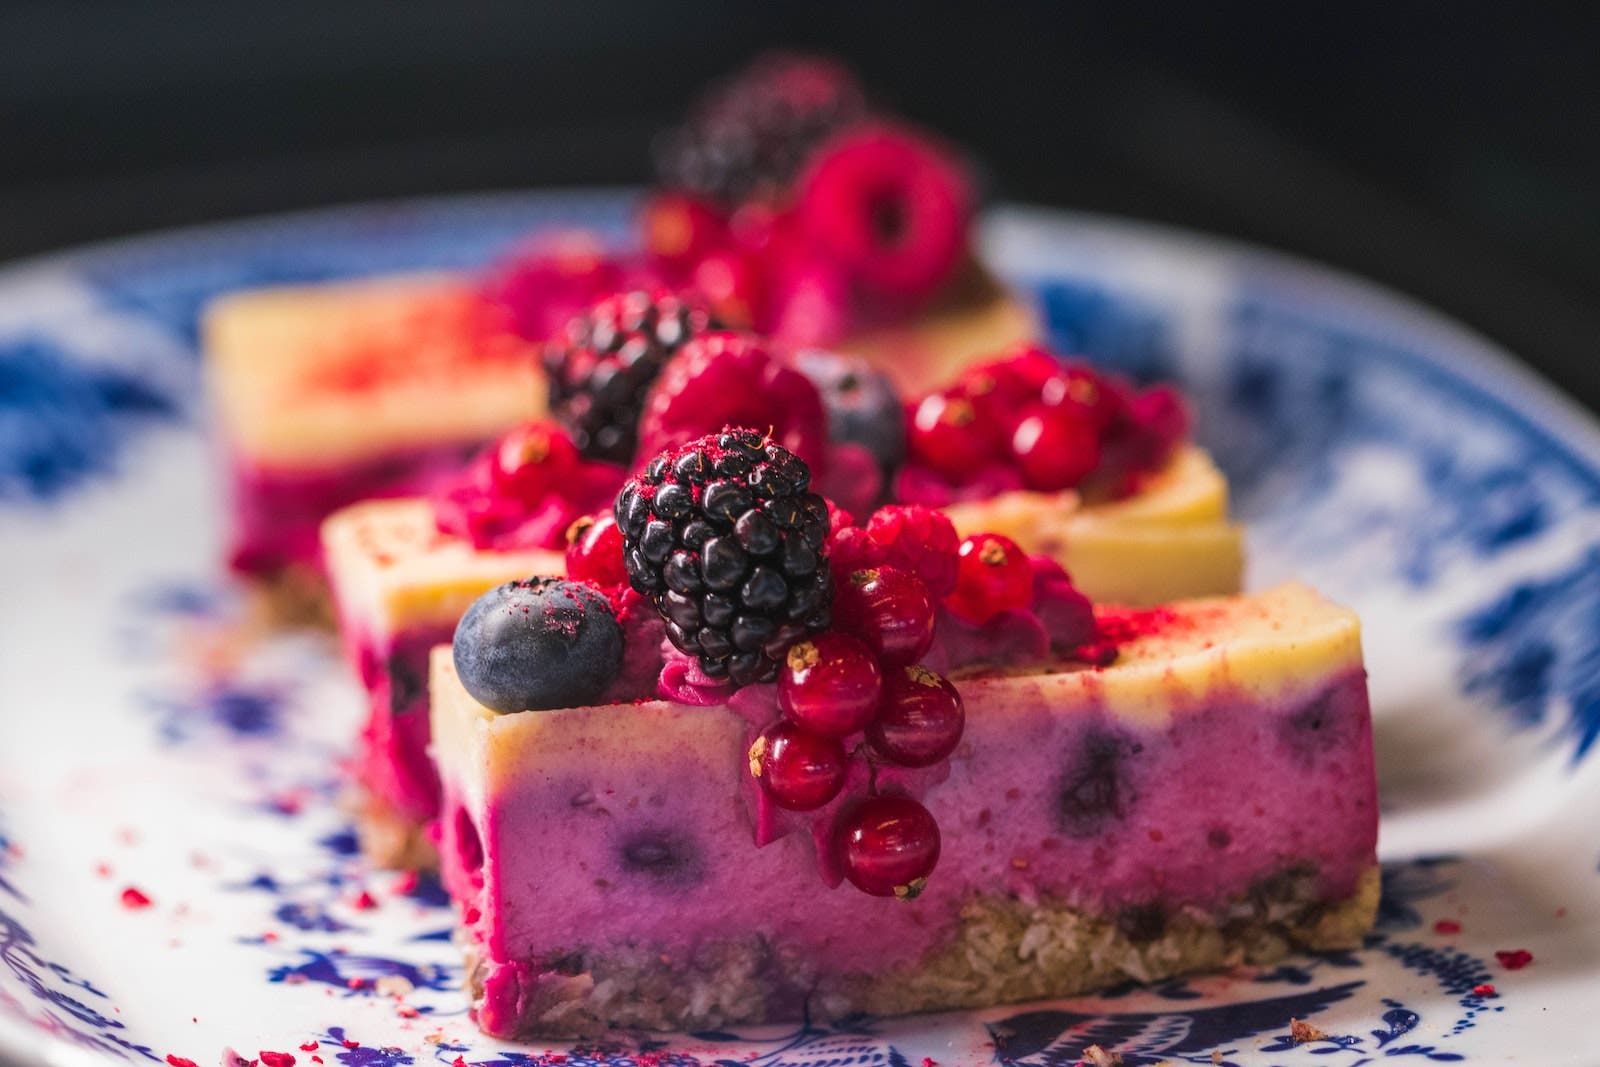
Desserts are all about the little details, so make sure to focus on them in your photography. Zoom in on the texture of the frosting, the sprinkles, or the crust to give your images a close-up look. Wedding photographers have this down to a science when it comes to capturing cakes, but it really applies to all sorts of desserts. If you have a macro lens, now’s the time to break it out.
Dessert Photography Tip #4: Play with Props
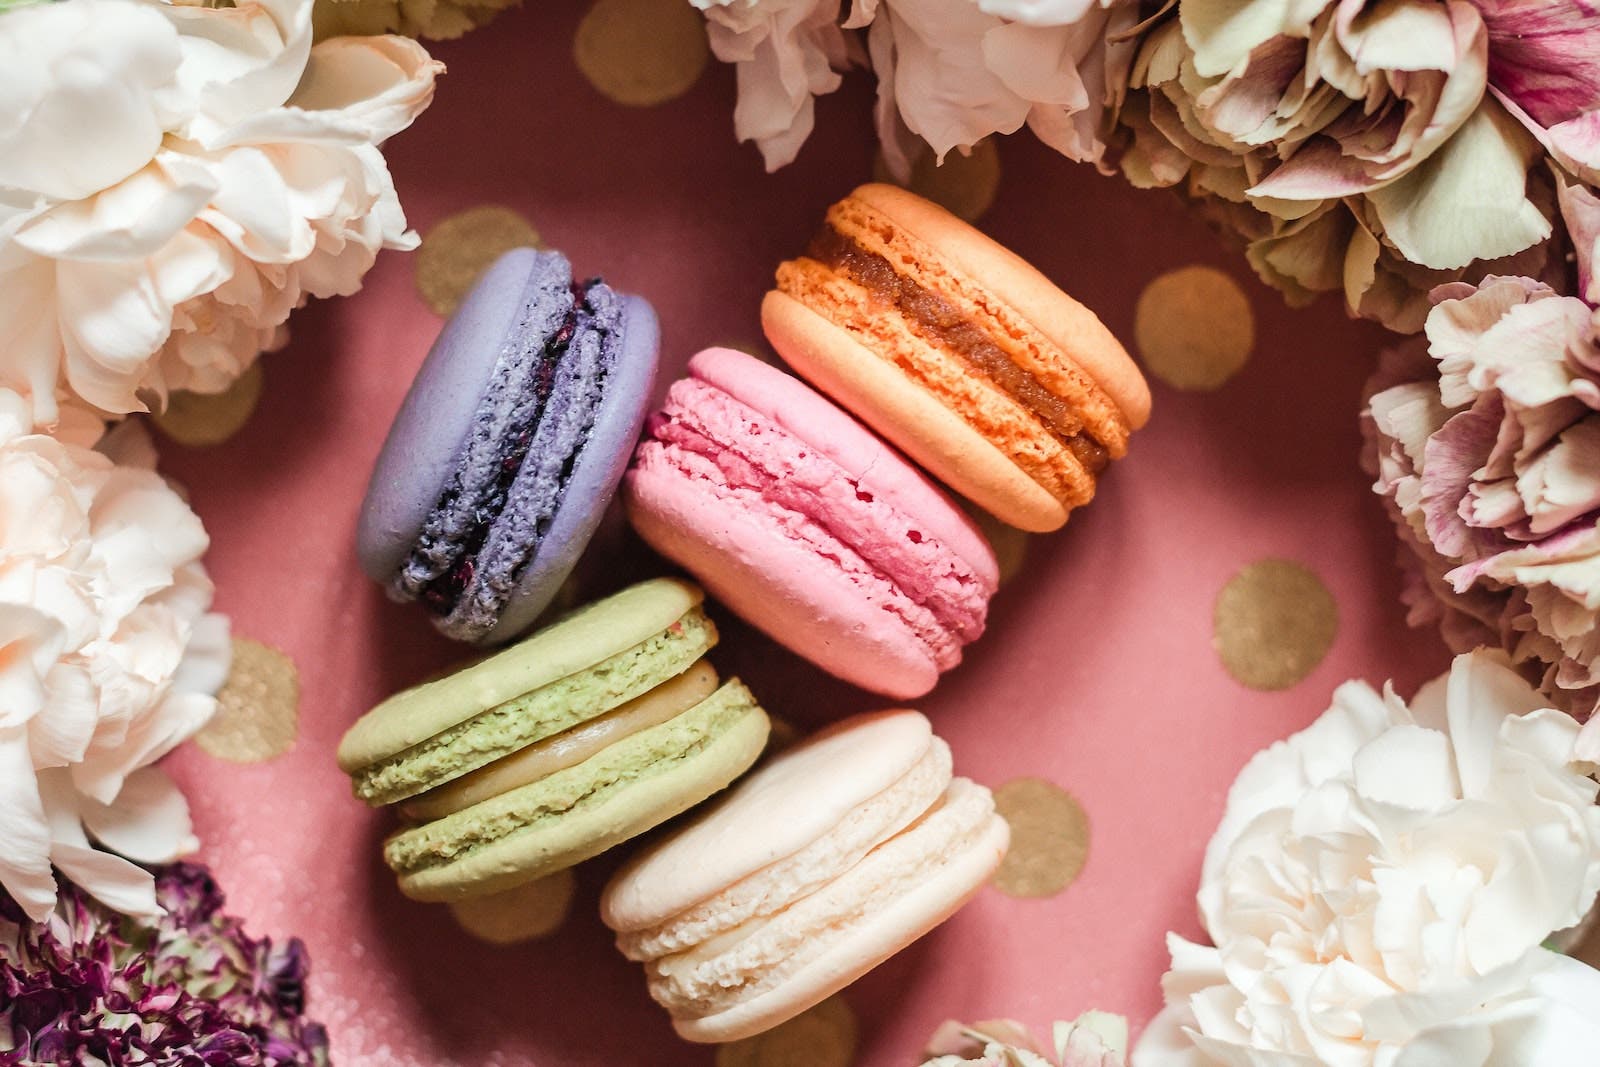
Adding props to your shots can help add context and interest to your images. Use plates, utensils, napkins, and other items to make your setup look believable and make your desserts look even more appetizing. While we may not often think of backdrops as props, using hyper-realistic backdrops like duo boards from V-Flat World can go a long way in making your dessert photos look their best.
Tip #5: Use a Tripod
Tripods are essential pieces of equipment for food and dessert photographers alike. Whether you’re capturing stills or video, they’re worth their weight in gold for getting clean shots. With a tripod, we can easily adjust the position and height of our camera to get the angle we need. Tripods also allow us to avoid any unwanted blurring due to unsteady hands, which can result from hand-held shooting at low shutter speeds in dim lighting conditions. As cliche as it sounds, if you want to take your dessert photography to the next level, use a tripod. It’s simple, but it’s true.
Tip #6: Edit Your Images
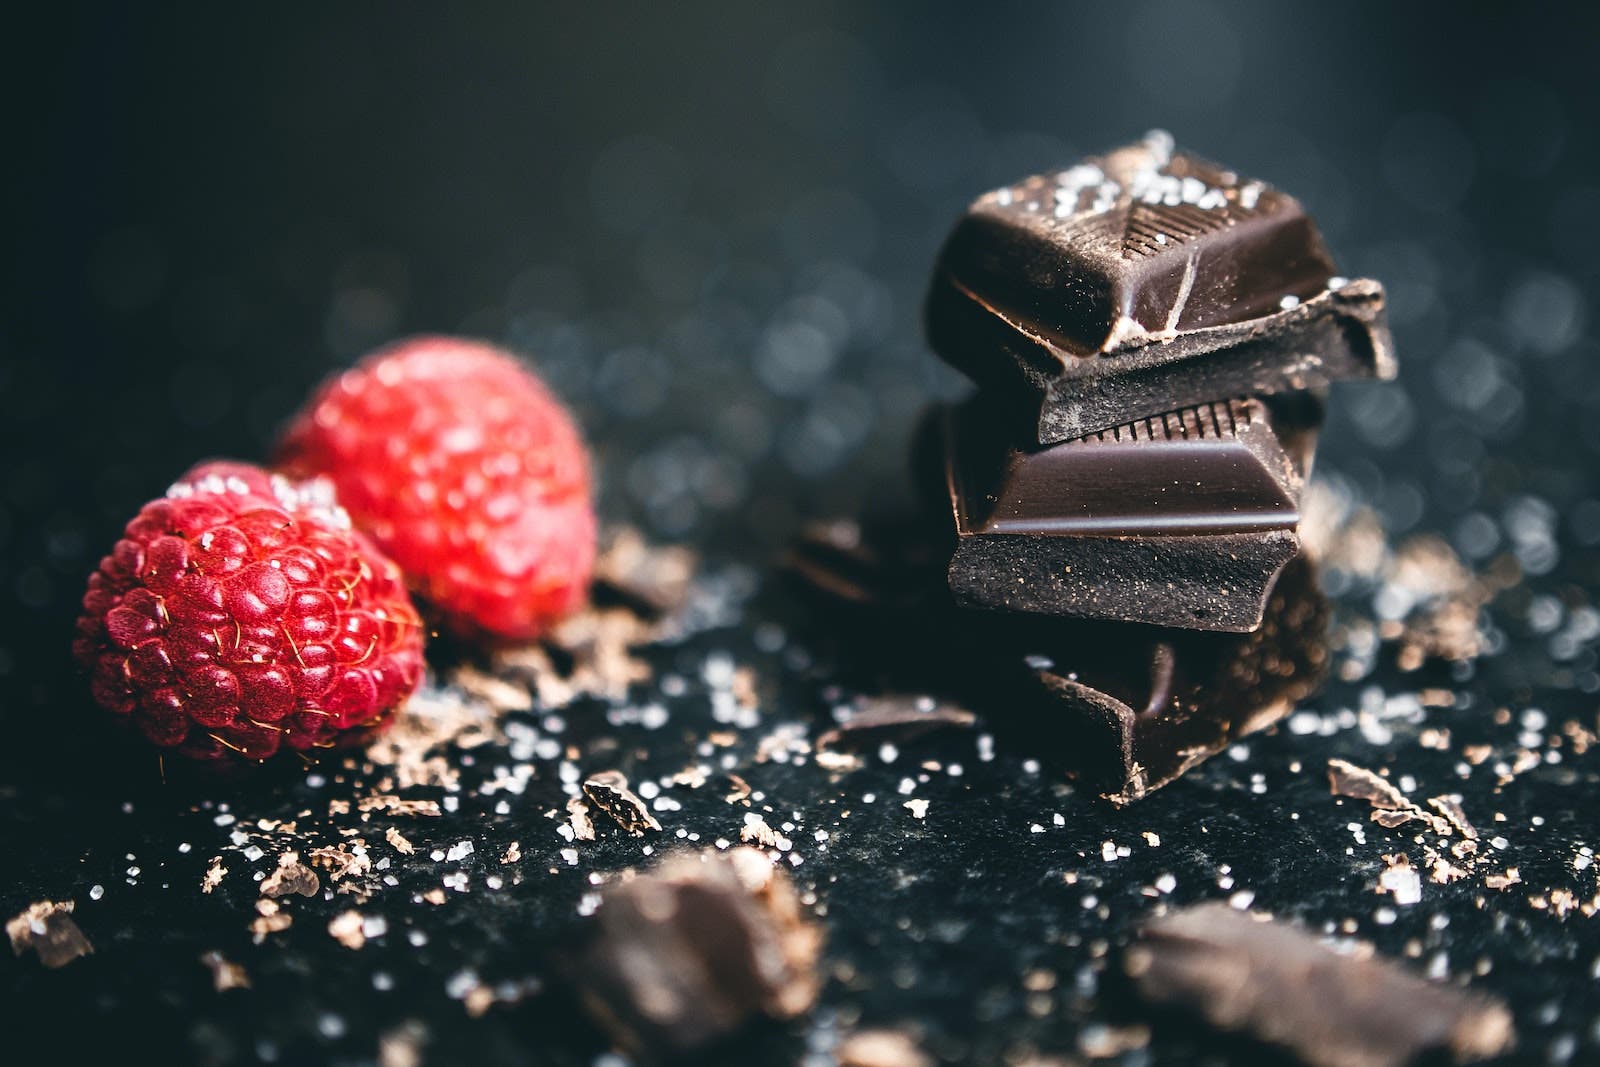
Don’t be afraid to touch up your photos in post-production. In fact, make it a habit to do so. It’s great to get your dessert photos as close to finished as possible in-camera, but a quick edit in post using your favorite presets will make the shots look even sweeter. Brighten up the shadows, enhance the colors, and crop your images to get the perfect pastry portrait.
Dessert Photography Tip #7: Use Food Styling
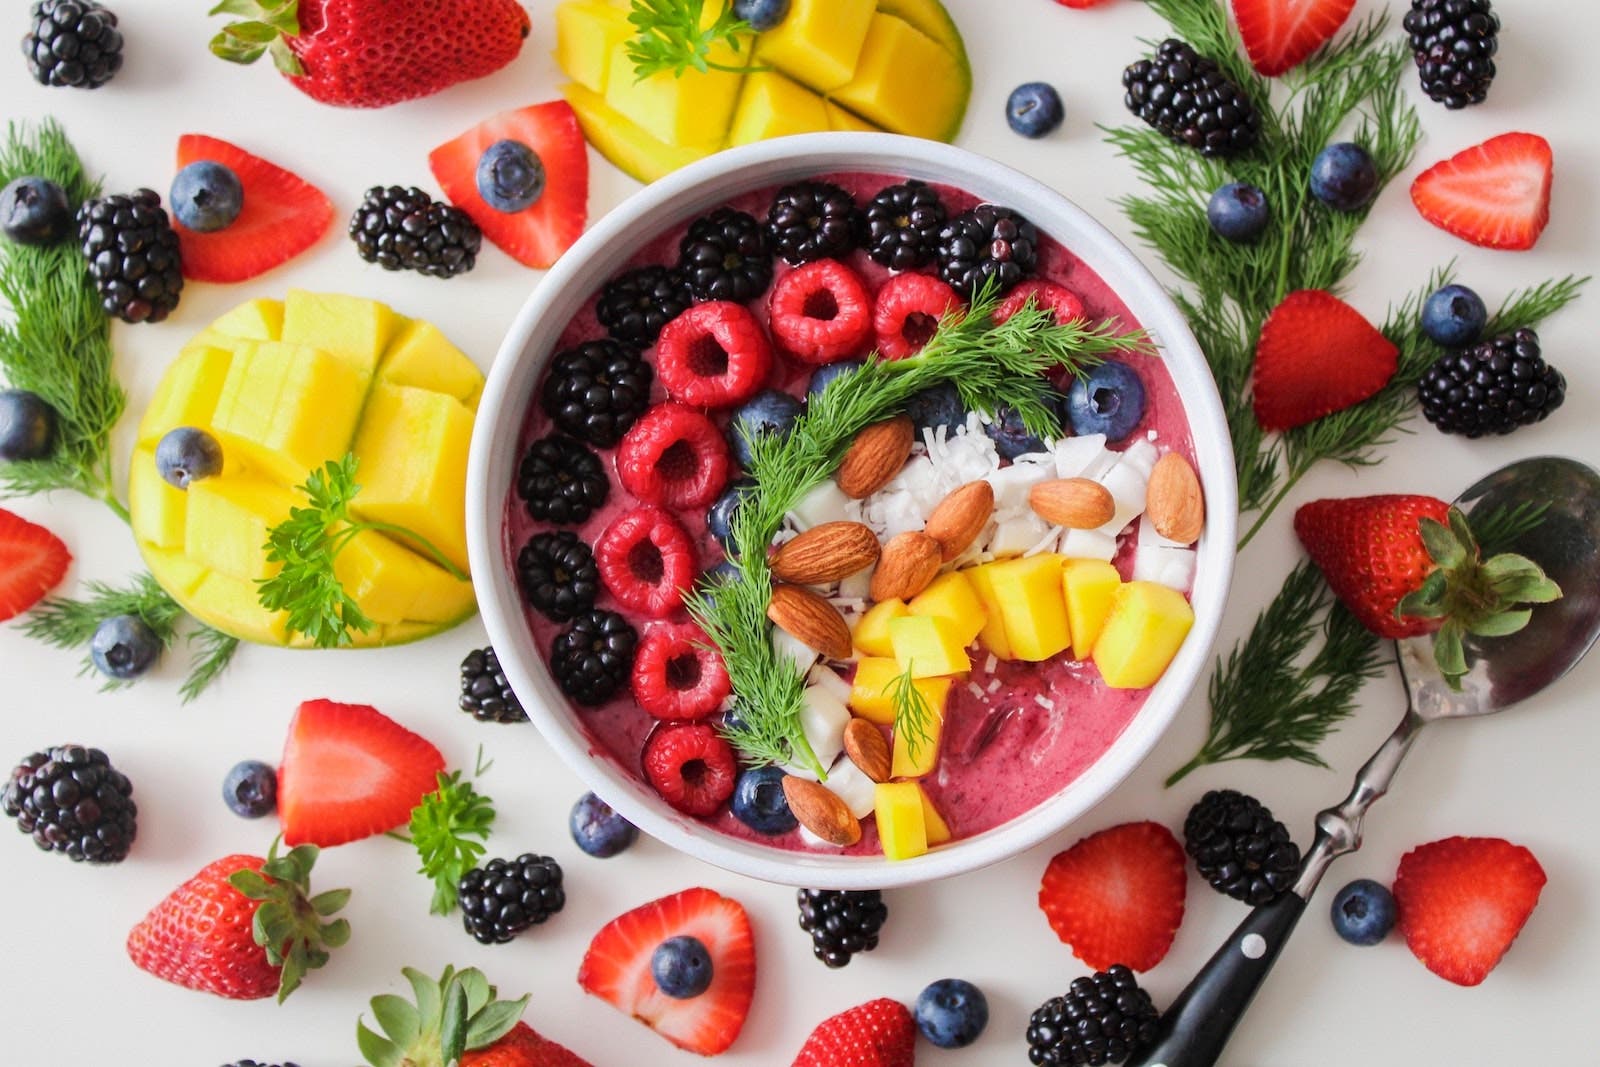
Food styling is an art form in itself. It involves preparing food to make it look its best for the camera and creating visual elements that are both visually appealing and technically accurate. Food styling involves using various plating techniques, garnishes, props, and lighting to make food photographs look tasty and inviting. The key here is to take your time to arrange the desserts in a visually appealing way. Just as you’d do when photographing human subjects, make sure they look their best before you start shooting.
Tip #8: Create a Story

You hear this a lot in photography, but think about the story you want to tell with your images. Use your photography to showcase the ingredients, the process, or the final product to give your viewers a full picture of what you’re creating.
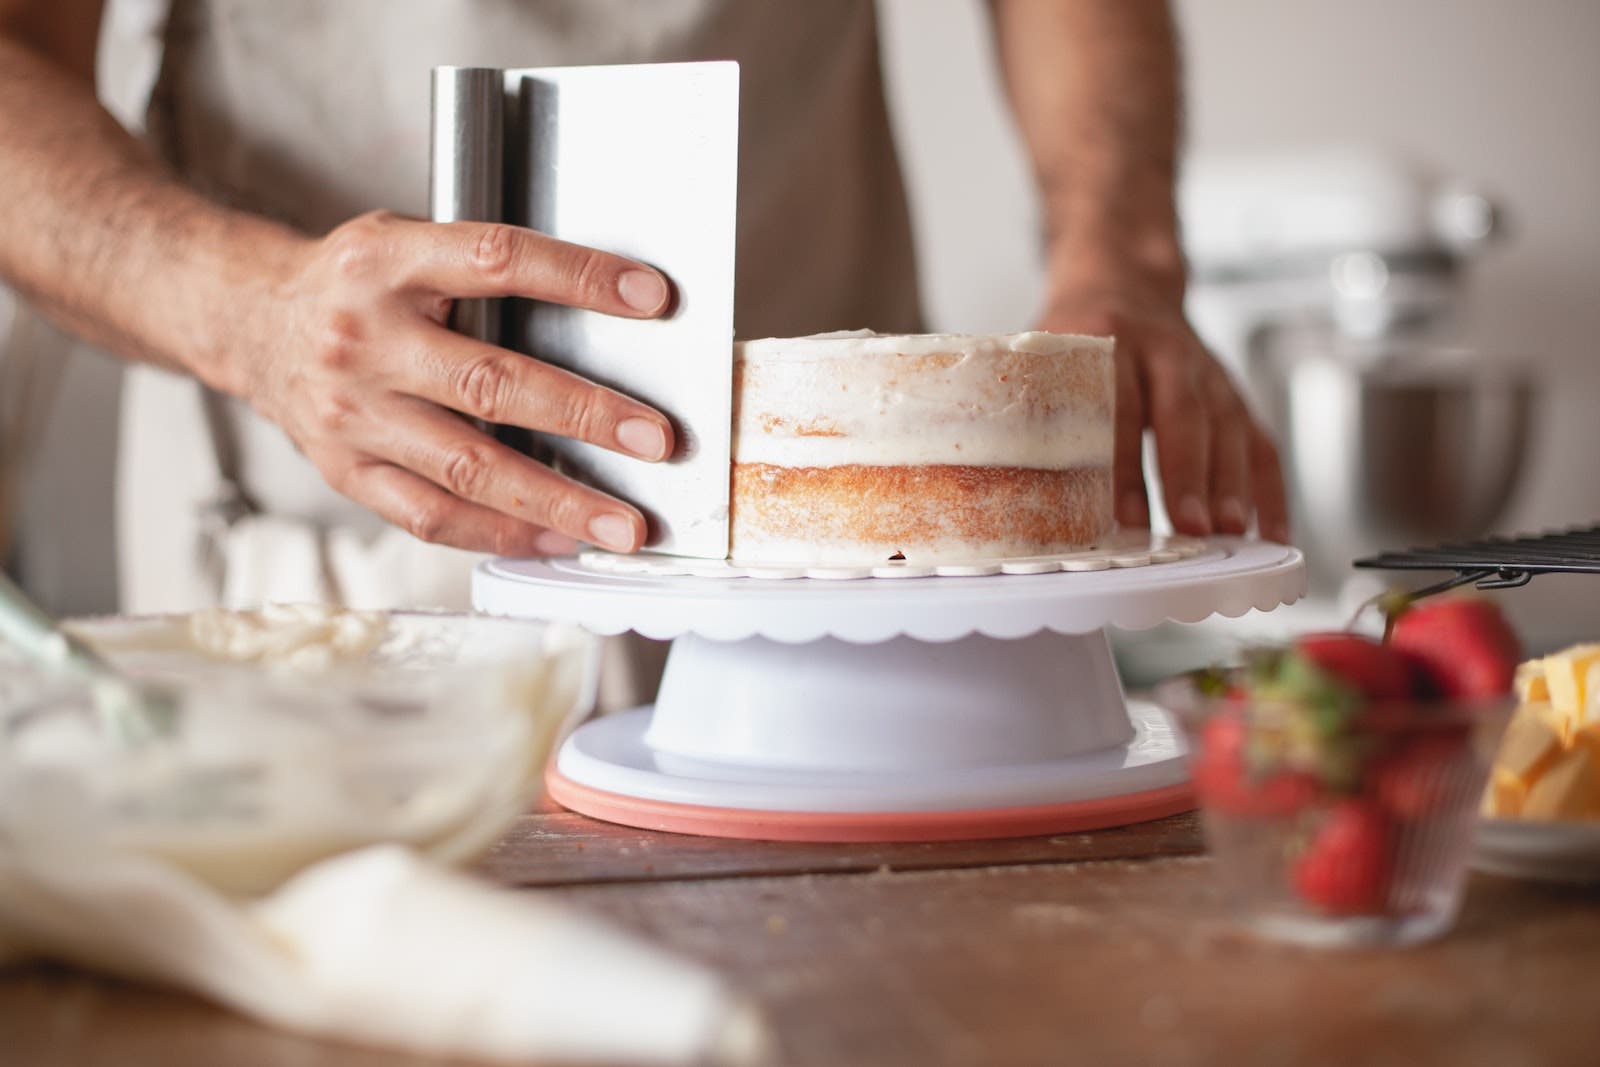
This might involve capturing the dessert at various stages of preparation, or even placing it in a lifestyle setting with people enjoying the dessert. Use wide, medium, and tight angles of the desserts to give context to the shots and further build out the story of the sweet dishes.
Tip #9: Add Movement
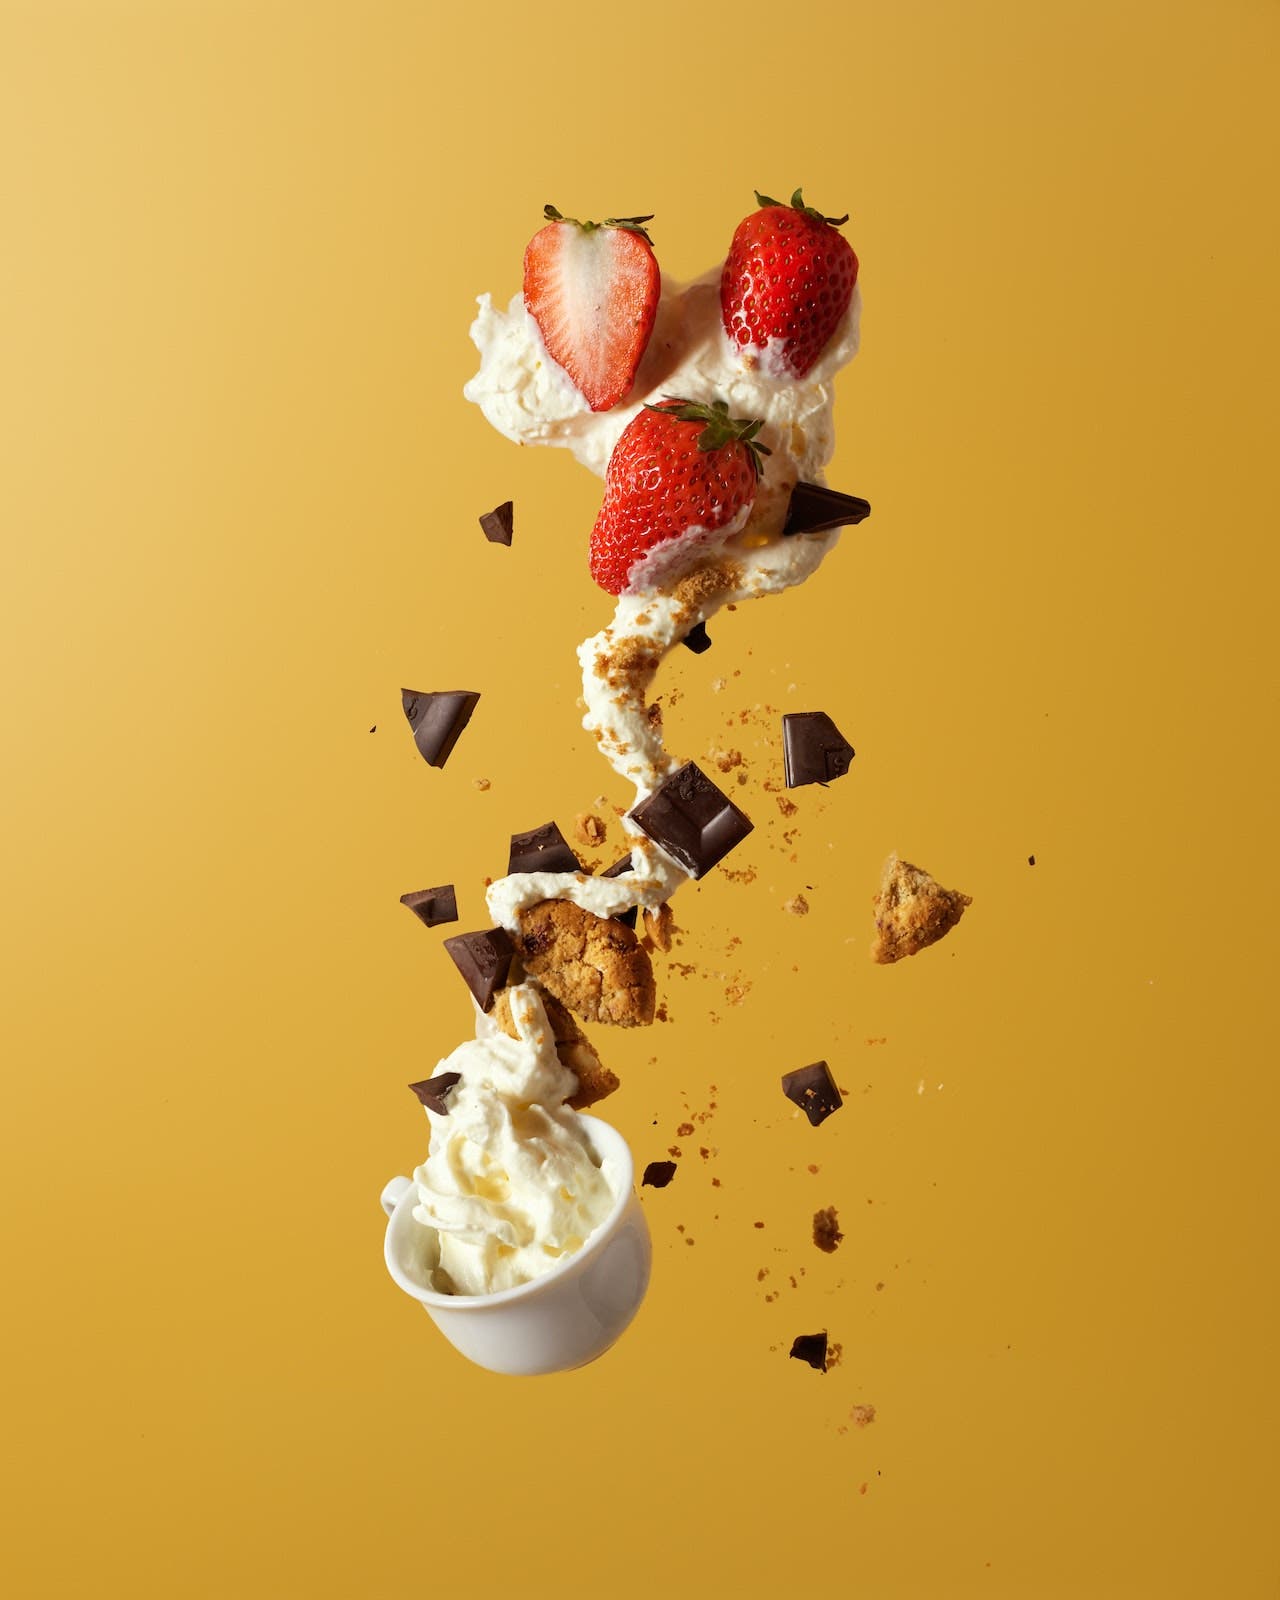
Adding movement to your images can make them look even more interesting. For example, try capturing the movement of adding melted fudge or other toppings to the dessert to make the photo more dynamic. Or, reveal the layers of the dessert in a toss or drop style photo as illustrated above. Just be sure to prep the area in advance to avoid extensive cleanups.
Dessert Photography Tip #10: Have Fun
Last but not least, have fun with your dessert photography. Experiment with different techniques, try new things, and don’t be afraid to make mistakes. The more you practice, the better you’ll get.
Conclusion
I hope you found these 10 dessert photography tips and ideas for irresistible photos helpful and informative. This particular area of food photography offers a fun and rewarding outlet that requires patience, creativity, and a willingness to experiment. By following these 10 tips, you’ll be on your way to capturing beautiful and mouth-watering images of your sweet treats in no time.
**Featured image by Dima Valkov
