Death Valley National Park in California — about a 2.5-hour drive from Las Vegas — is a landscape photographer’s paradise. This is especially true at sunrise and sunset, when long shadows sweep across dramatic landscapes that are typically bathed by beautiful light. But when preparing your trip to Death Valley, there are some important things to consider. In this article, I’ll share with you some of my favorite photos of Death Valley, along with some planning and photography tips.
Tips for Taking Photos of Death Valley
The three most important factors to consider when taking photos in Death Valley involve the word “early.”
- You want to plan your trip for early in the year (January or February). The temperatures are much cooler than they are in summertime.
- You want to get up early to catch the spectacular sunrises.
- Late afternoon and sunset are good times for photography, so you don’t want to head back to your hotel too early. You could miss a second chance at photographing the scenery in the dramatic lighting conditions.
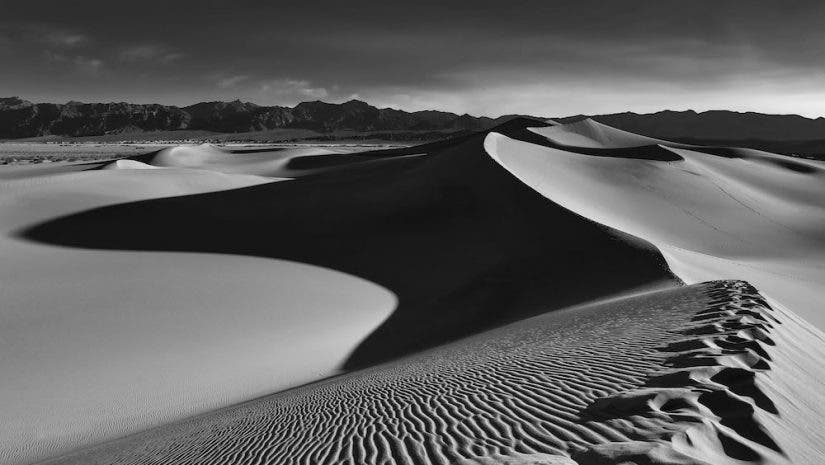
Basically, there are four main locations in Death Valley in which to make pictures. All (except the Racetrack) are within relatively short drives from Furnace Creek, which is the main hotel area in Death Valley. We’ll start with the Mesquite Flat Sand Dunes, where I took the opening image for this article.
That image, and the following image, are both hand-held shots. My goal was to travel light, so I did not bring a tripod. Instead, I boosted my ISO and reduced the noise in my low-light shots in Photoshop.

Mesquite Flat Sand Dunes
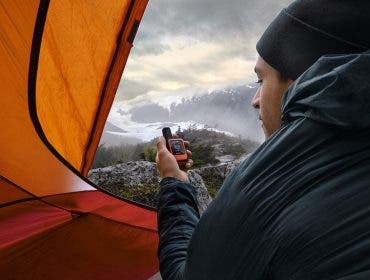
You’ll want to be at the sand dunes before sunrise so you don’t miss some of the best light of the day. You need to arrive on site in the dark, which means you’ll need a headlamp or a flashlight to help you find your way to picturesque locations. Some are at the base of the dunes while some are at the top.
So how do you find those locations? The key is to scout the site the day before so you have at least some idea of where you are going.
As far as gear goes, I recommend travelling light. It’s not easy walking through the sand, and even harder walking up a sand dune. I suggest taking one camera body and a wide-angle zoom, such as the Canon RF15-35mm lens. Pack it in a small backpack, in case you accidentally trip because you do not want sand to get anywhere near your camera and lens. Also, it can get wind so a plastic camera cover like an Op/Tech Rainsleeve and blower like the Giottos Rock Air Blaster are important accessories.
When it comes to photo techniques, I suggest trying to get the entire scene in focus, so your photographs looks like how scenes looks to your eyes. You can reach that goal by using a wide-angle lens (the wider the better), setting a small aperture, and focusing 1/3 into the scene.
You’ll also want to pack a polarizing filter. Adorama offers many polarizer filters for different size lens diameters.

Zabriskie Point
It’s easier to photograph at Zabriskie Point than it is at the Mesquite Flat Sand Dunes because there is a paved viewing/photo area. The main photo spot, where I took this photograph, is a short walk from the parking lot.
As with all the photo locations in Death Valley, you want to arrive before sunrise when the colors are warm and the light is soft.

Here’s the same scene photographed about 20 minutes after sunrise. For me, the harsh light is not as pleasing as the soft light in the previous photograph. That harsh light totally changes the mood and feeling of the scene.
For this location, I’d suggest bringing a zoom lens like the Canon RF24-105mm lens. Because you’ll probably be taking shots before sunrise, I’d recommend using a tripod.
Adorama offers dozens of tripods for every need and budget.
Be aware of where you place the horizon line: usually, dead center is deadly. You’ll notice that in all my Death Valley photographs, the horizon line is placed near the top of the frame because the sky was not interesting.

Badwater Basin
Walking in Badwater Basin is like walking on the surface of a foreign planet. The surface is rough and jagged, so you’ll definitely want to wear hiking boots.
My tips here are to photograph in the late afternoon and to get down low to the ground – making the foreground the main element in your photographs. Use the same “get it all in focus” suggestion that I mentioned above.
When photographing into the sun, as illustrated in this photograph, it’s important to keep the front element of your lens (or filter) super clean. One tiny spot on your lens or filter can look like a big blob in your photo. Keep your lens clean with a lens cleaning cloth.

Artists Palette
Go to Artists Palette in the late afternoon and stay until after sunset. You’ll see how this location received its name. You can walk into the hills, but you can get good shots from the paved viewing area.

Go to Artist Palette at midday, when this photo was taken of the same scene, and you’ll be scratching your head about its name. My tip here is to go late in the afternoon and stay until the sun is below the horizon line.

The Racetrack
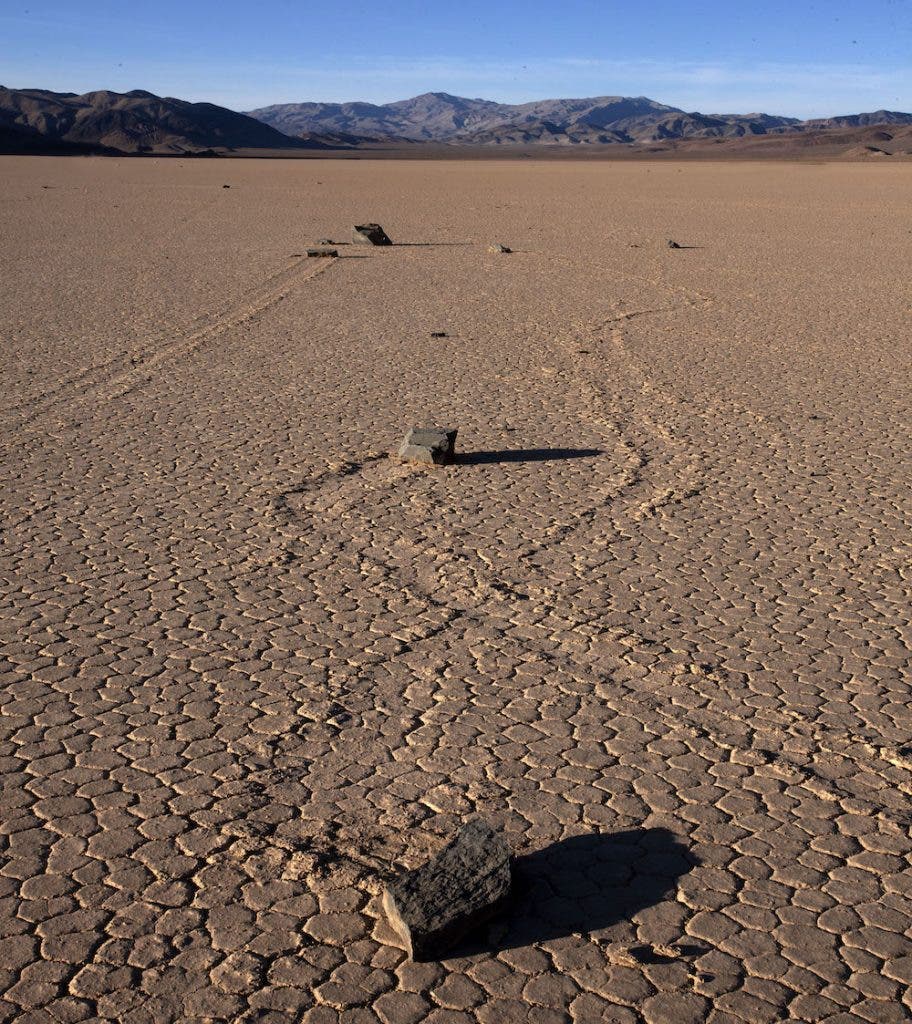
The Racetrack gets its name from the rocks that seemingly move (or “race”) across the landscape. Here, too, I recommend photographing low to the ground. You’ll need a 4WD vehicle with hard tires to get there because the road is very rough and long. How rough? Well, the last time I was there teaching a workshop, one of our SUVs got two — yes, two — flat tires.
I hope this article has prepared you to have fun and be safe in while taking photos of Death Valley. If there’s one last important tip I can give, it’s drink plenty of water!


