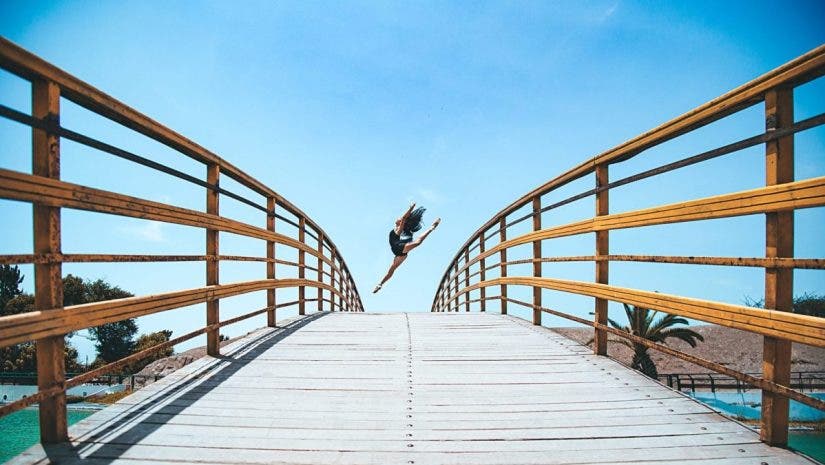
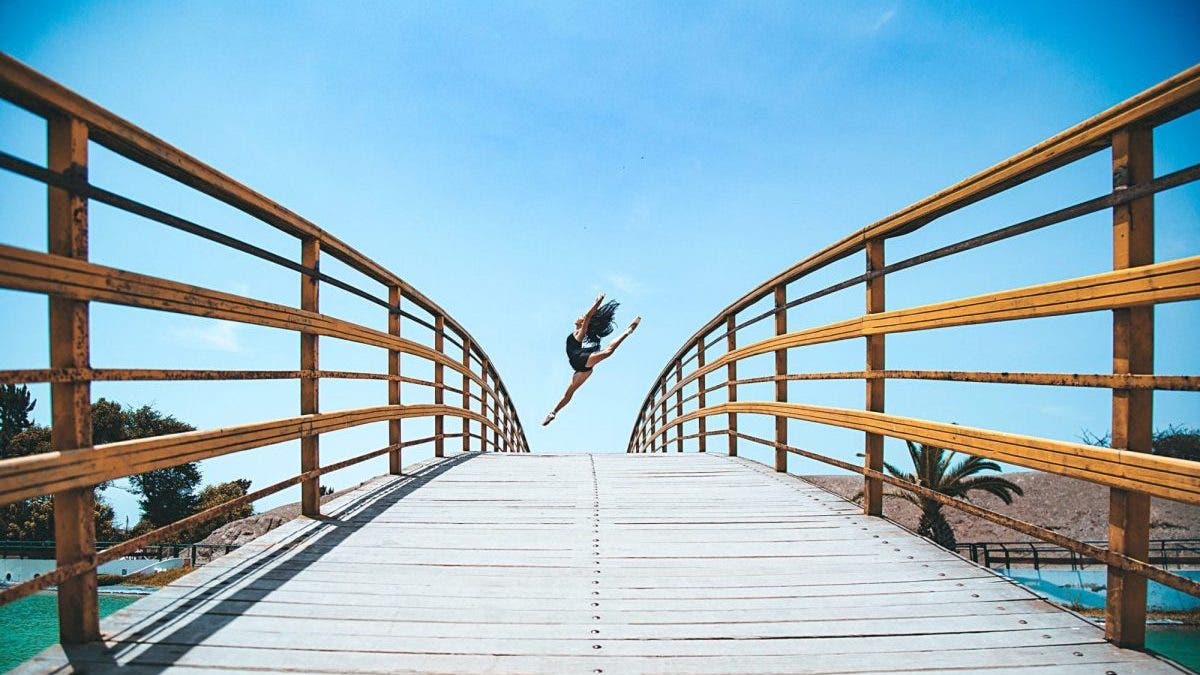
Within the realm of portraiture, situated somewhere near the corner of action photography and photojournalism, lies the art of capturing dance. Dance photography captures motion in a way that other photography genres typically do not. Working within this unique sub-genre requires a good sense of timing, an eye for movement, and a passion for capturing the beauty of dance in its many forms.
Dance photoshoots can be fast-paced and you’ll need to be able to work quickly. As such, whether you’re shooting a live performance or working with dancers in a studio, you’ll need to develop an efficient workflow to do the job well. To help ensure your success, we’ve compiled a list of dance photography ideas, tips, and examples that you can use on your next dance photoshoot.
Dance Photography Tips
- Anticipate Moments
- Choose the Best Lens for the Occasion: Wide Angle Vs Telephoto
- Capture from Multiple Positions and Angles
- Tell a Story with a Series of Images
- Freeze Motion w/ Flash
- Show Motion with Long Exposures
- Use Creative Portrait Techniques for Dance Portraits
Anticipate Moments
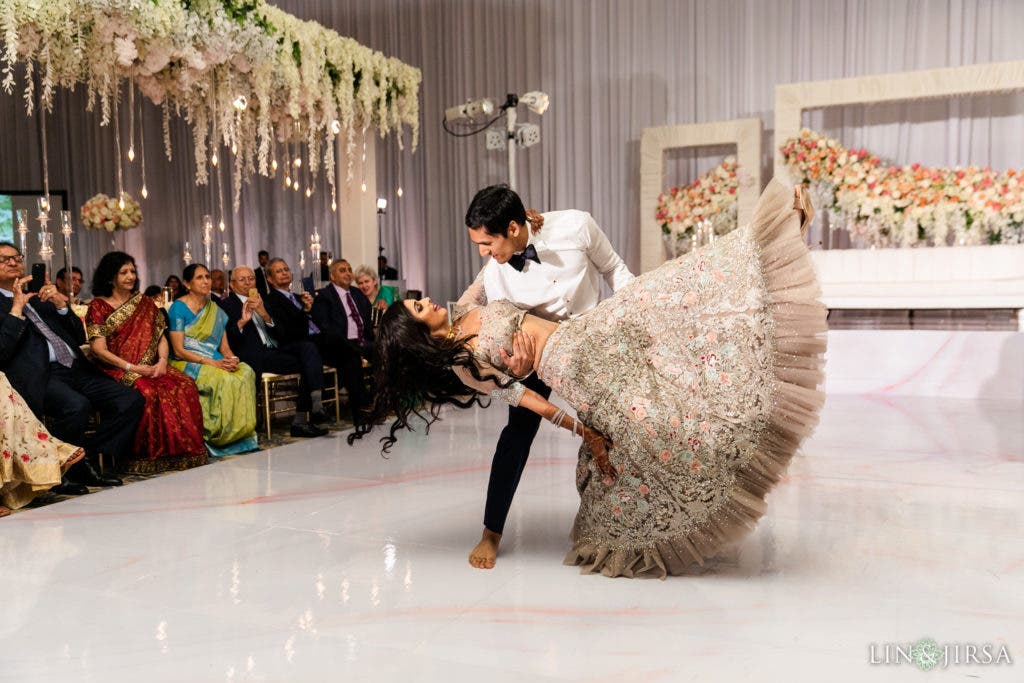
Dance photography is all about capturing the feeling of movement. To freeze a dancer in mid-air (which we’ll discuss later) or to capture the flow of a dance in a still frame, you need to be able to anticipate the movements of your subject. This can be tricky, as dancers are often constantly in motion. However, there are a few things you can do to help you anticipate moments in dance photography.
Pay Attention to the Music for Dance Photography
The rhythm and tempo of the music will often dictate the movements of the dancers. Paying attention to the music will help you get a feel for when the dancers might build up to a big moment, or take a pause (say for a dip), and so on.
Watch for Patterns in the Dance
Dancers often repeat certain movements or patterns throughout a dance. By paying attention to these patterns, you can better predict when a particular movement will occur.
Know the Dance Well
If you’ve seen the dance before, you’ll have a better sense of the flow and timing of the moves. While it may not always be possible to preview a dance before showtime, look for opportunities to catch a practice run or rehearsal whenever possible.
Pay Attention to the Dancers’ Faces and Bodies
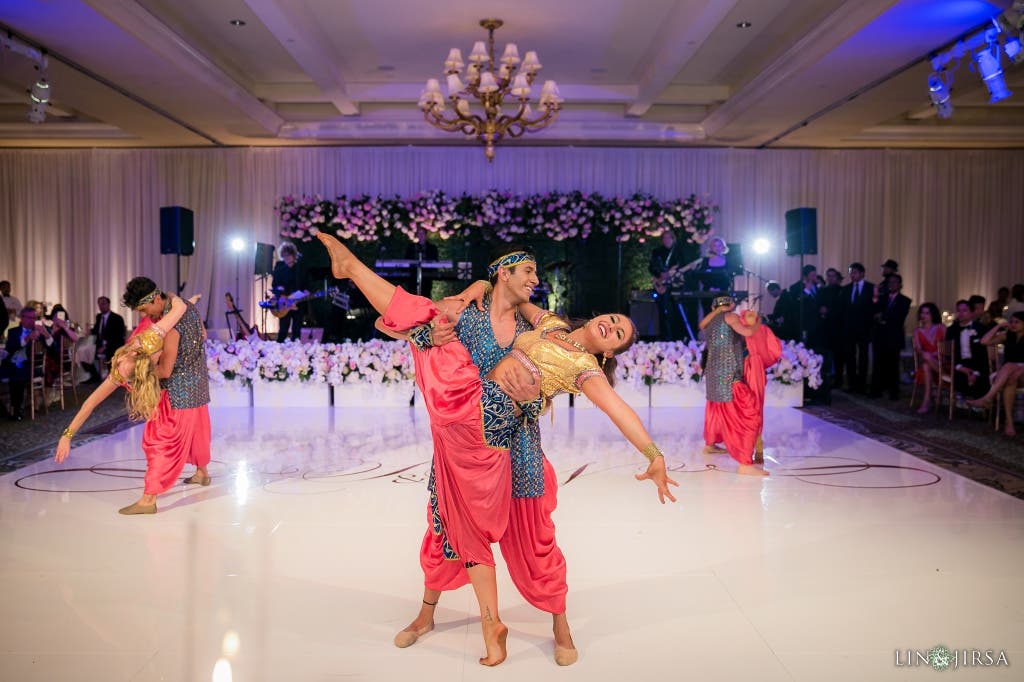
Often, dancers will give subtle cues just before they make a major move. By watching for these cues, you can be ready to click the shutter at just the right moment.
Of course, there will still be times when you still miss a shot. That’s just part of dance photography! But by anticipating moments, you’ll have a better chance of capturing some truly stunning images. On occasion, you might try staging some photos with the dancer holding a position or jumping into position on cue. This really only works for more traditional portrait sessions as opposed to photographing live dancing.
Choose the Best Lens for the Occasion – Wide Angle vs. Telephoto
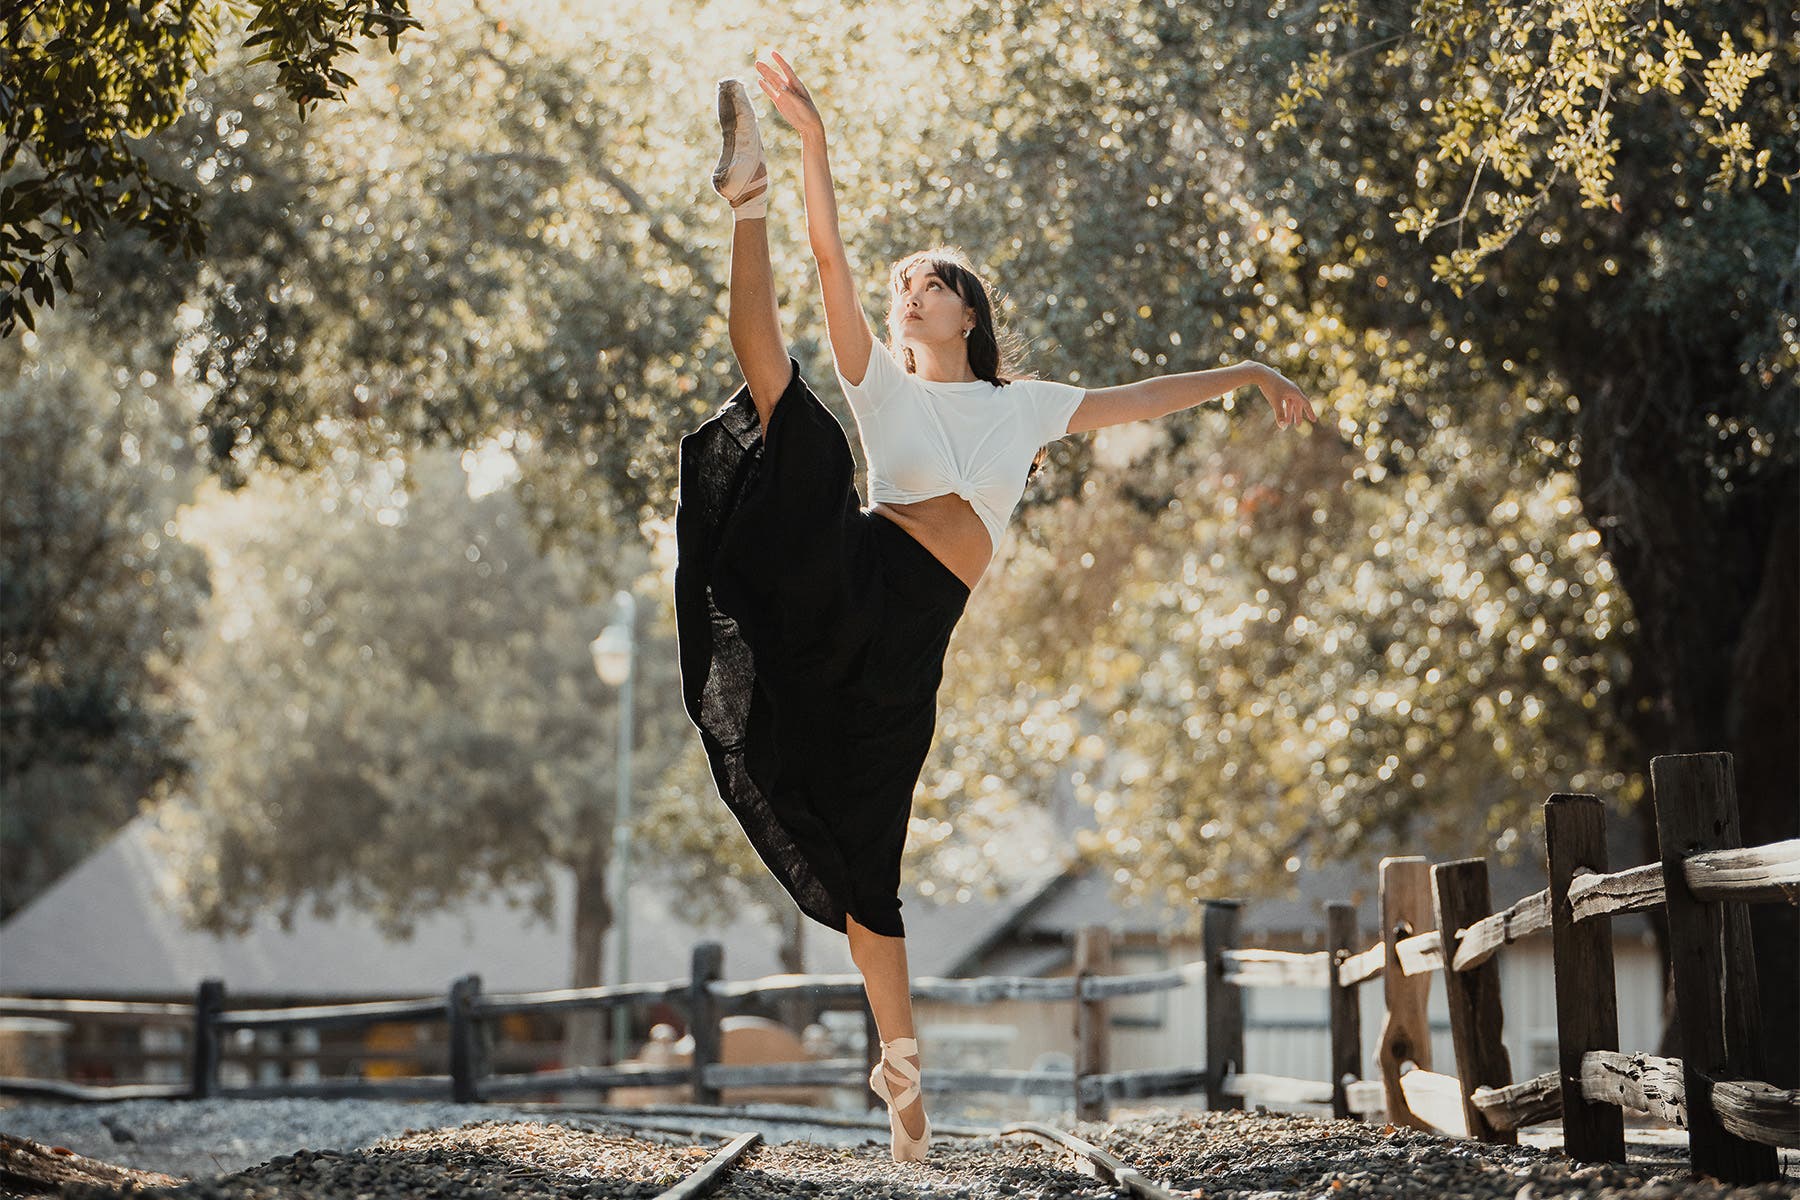
As a dance photographer, your main concerns regarding lenses will include focal length, aperture, and accessibility, typically in that order. At the end of the day in dance photography, diversity in equipment is key, and it helps to have options.
Focal Length to Cover Dance Photography

If you only have a single lens, then a semi-wide 24-70mm f/2.8 lens would probably serve you best. With this lens, you can safely cover a larger dance ensemble as well as a solo dancer. A telephoto lens, on the other hand, will allow you to zoom in at full resolution and capture more intimate details, such as the dancers’ expressions or details in their wardrobe. Assuming you have options, then plan to use all of them to create a variety of shots of the performance. If you’re shooting as part of a team, I recommend that you coordinate with one another and use different focal lengths.
Aperture
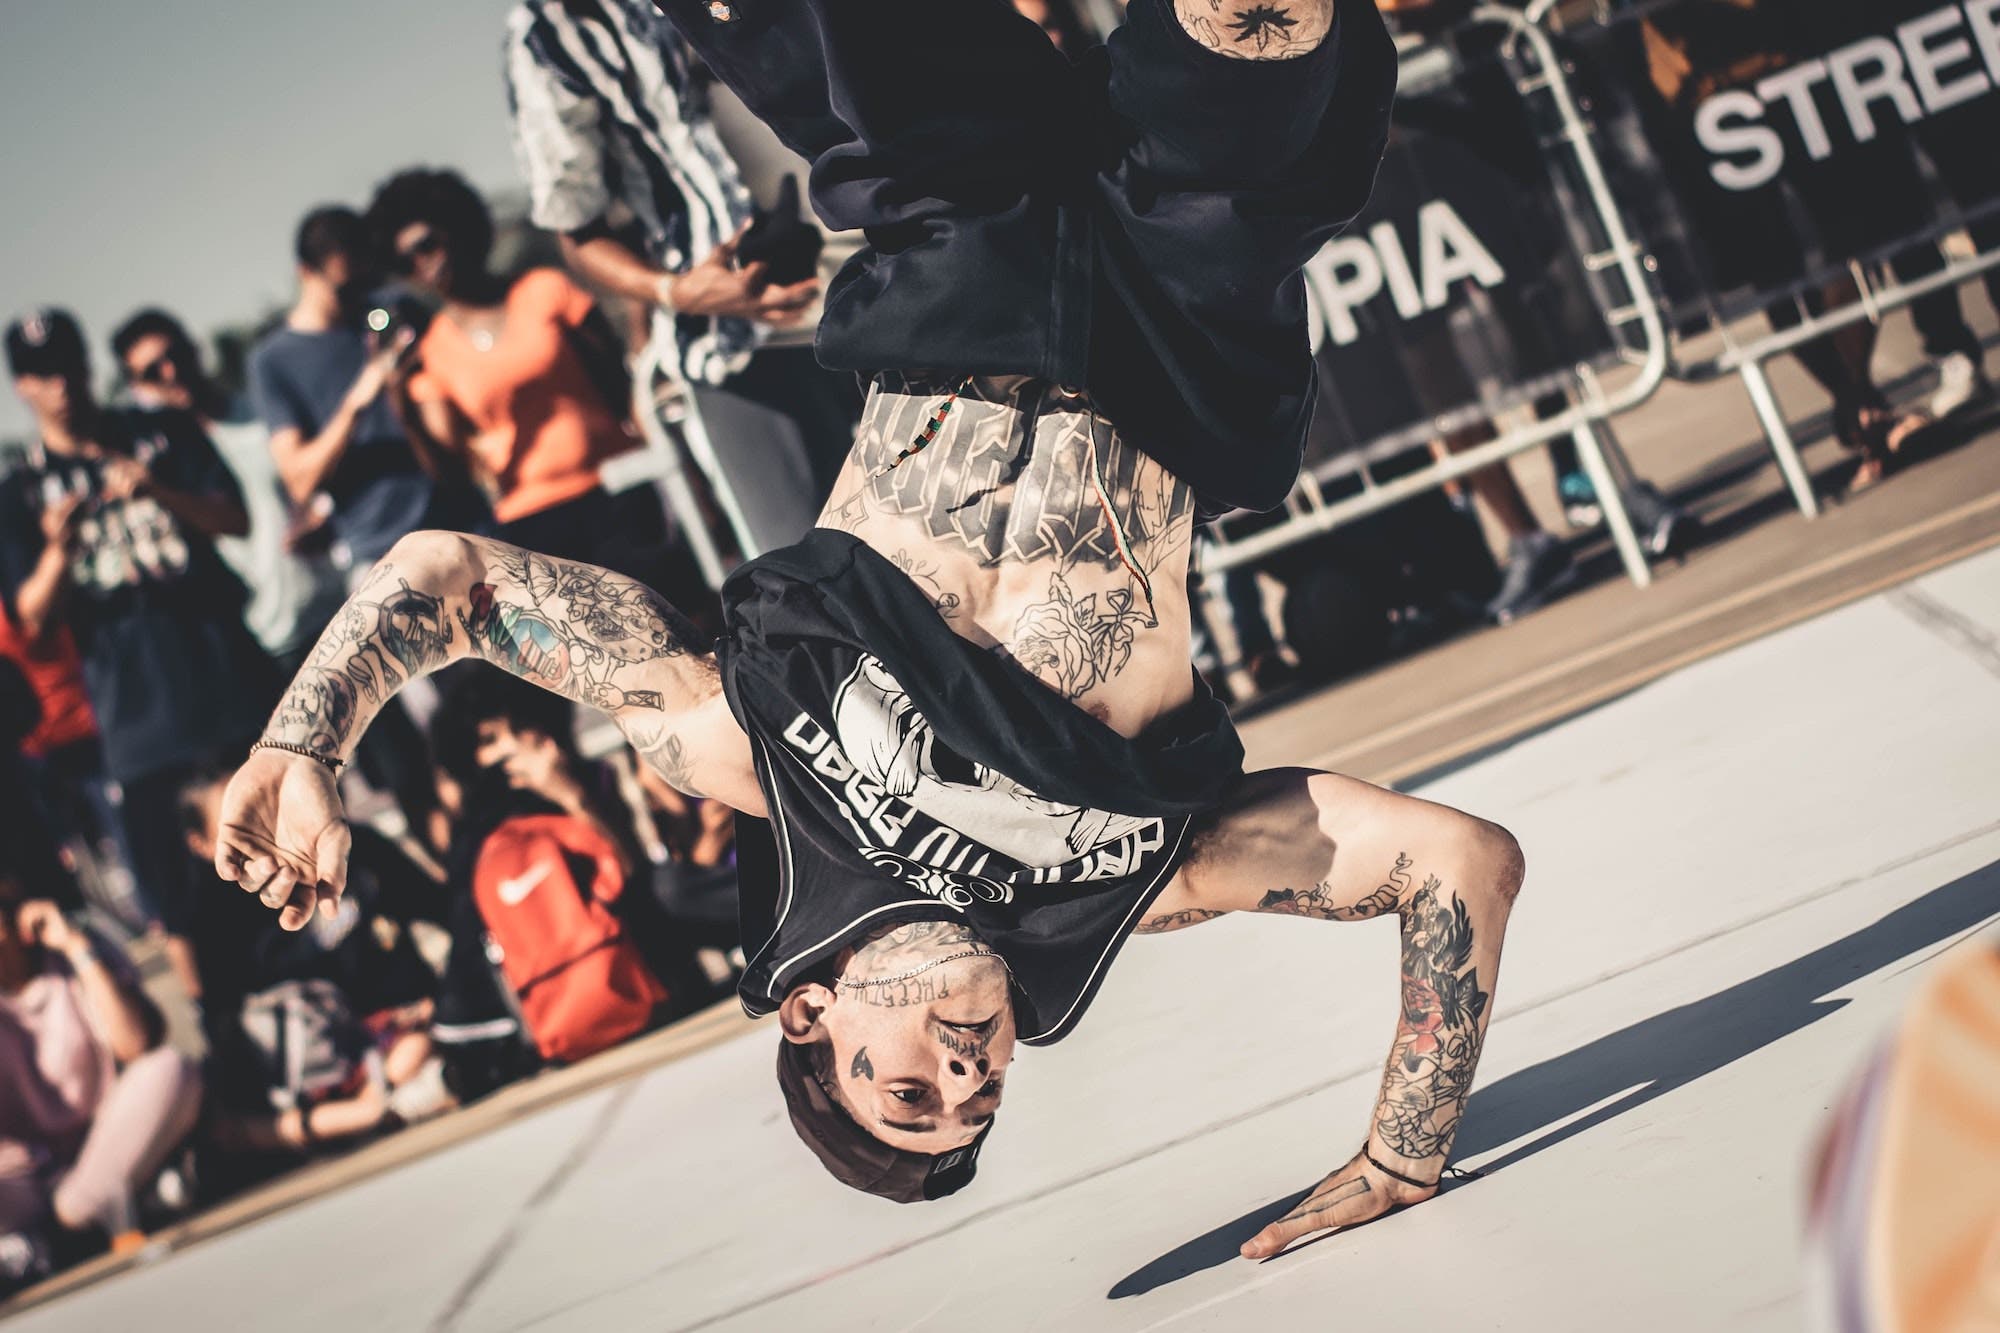
It’s important to keep aperture in mind as well while photographing dancers. If you want to preserve more detail while photographing a larger group of dancers, keep your aperture up around f/8. Otherwise, to isolate a single dancer from the group or else capture a solo dancer (or couple), you can use a wider aperture like f/1.4. The biggest benefit here is the ability to separate the subjects from the background while creating beautiful bokeh (depending on the backdrop).
Other Considerations for Lens Choice in Dance Photography
As I mentioned earlier, dance routines typically move quickly, so zoom lenses can help you move between focal lengths quickly. If you’re using different prime lenses, you might want to consider using two (or more) cameras at once, or else use something like a Spyder holster that will allow you to quickly change out and safely store your lenses.
Capture from Multiple Positions and Angles
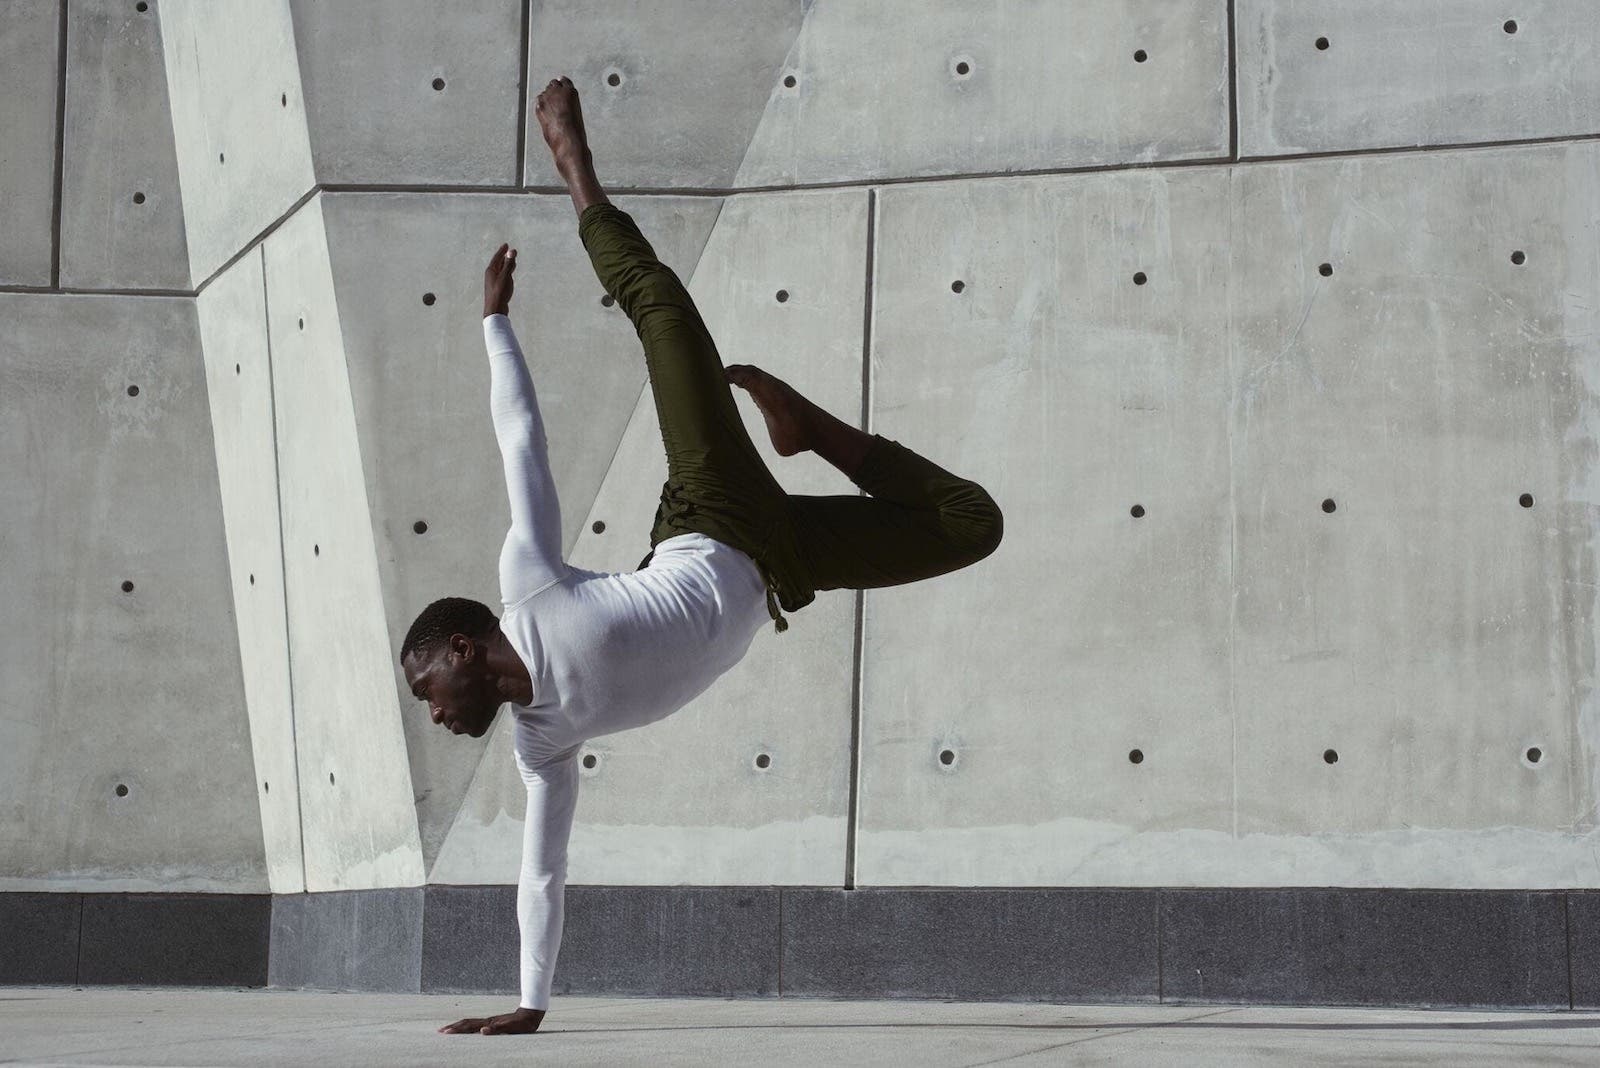
As is true in other genres of photography, it’s important to seek out the best angles. And remember, dancers are not generally stationary subjects. Capturing the fluidity and grace of a dance move often requires shooting from multiple positions and different perspectives. That said, the particulars of the dance will help dictate which positions and angles will work best.
Depending on the type of dance being photographed, some angles may work better than others. For instance, when photographing ballet dancers, photographer Joe McNally recommends shooting from above in order to capture the elegance of the dance. For hip hop or street dance, meanwhile, a lower angle can help to show off the energy and power of the movement.
Ultimately, the best angle for dance photography is often about experimentation and trying out different perspectives until you find one that captures the essence of the dance. In the video above, Ken Browar and Deborah Ory share their process for photographing dancers, and much of what they create has to do with how they connect with their subjects.
Tell Stories through Sequences

One of the best ways to tell a cohesive story with your images is through sequences. They can feature a series of images from a routine, as illustrated above. Or, you can take the “Hollywood” approach, which you’ll recognize from its common usage in television and movies. Using this method, you’ll capture wide, medium, and tight angles of the action as it unfolds. As an example, the scene will open on a wide shot to establish the setting, move into a medium shot to reveal the characters, and then zoom in for closer shots that share details of the character’s expressions as they interact.
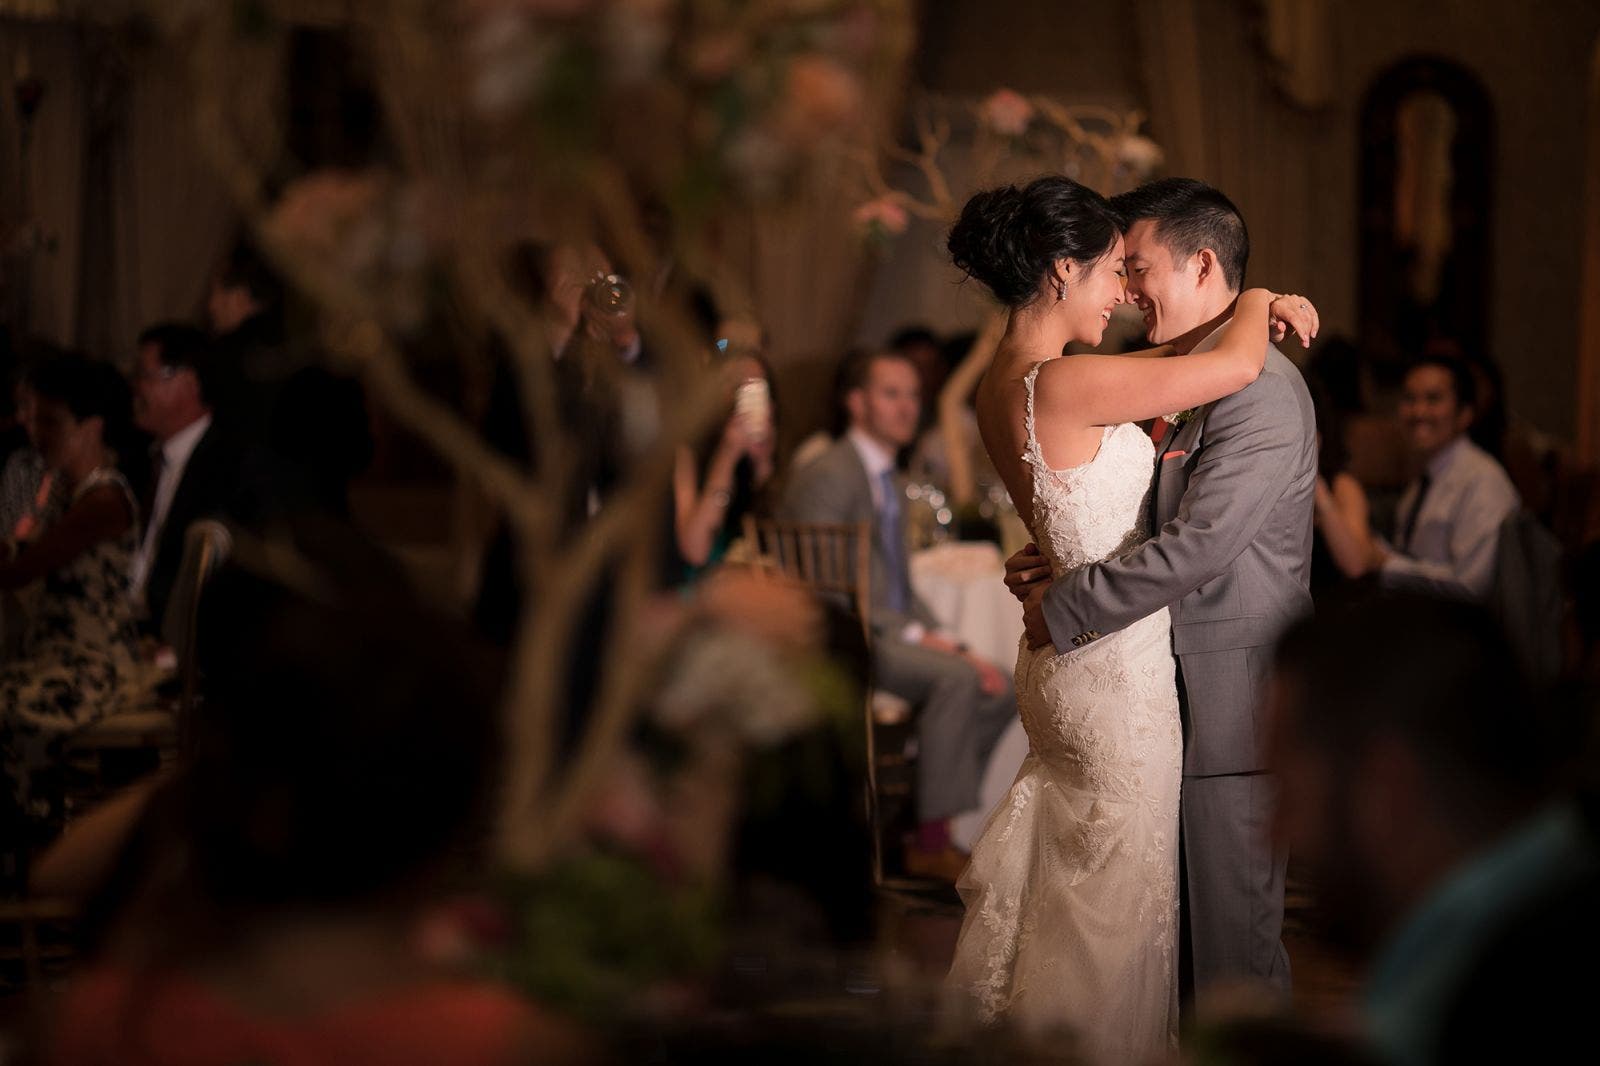
Photographers can use this technique as well when photographing dances, or most any portraiture, really. Take for example the bride and groom’s first dance. Wide shots of the dance floor will establish the scene and highlight guests as well. Then, medium shots can take advantage of using foreground elements (centerpieces, guests, etc.) to highlight just the dancers. And finally, closeup shots will allow you to capture the emotion in the bride and groom’s faces as they share their first dance. Capturing dance photos this way will open up opportunities to sell your clients albums or wall art, or allow for easy sequencing if capturing the images for a publisher.
Freeze Motion with Flash
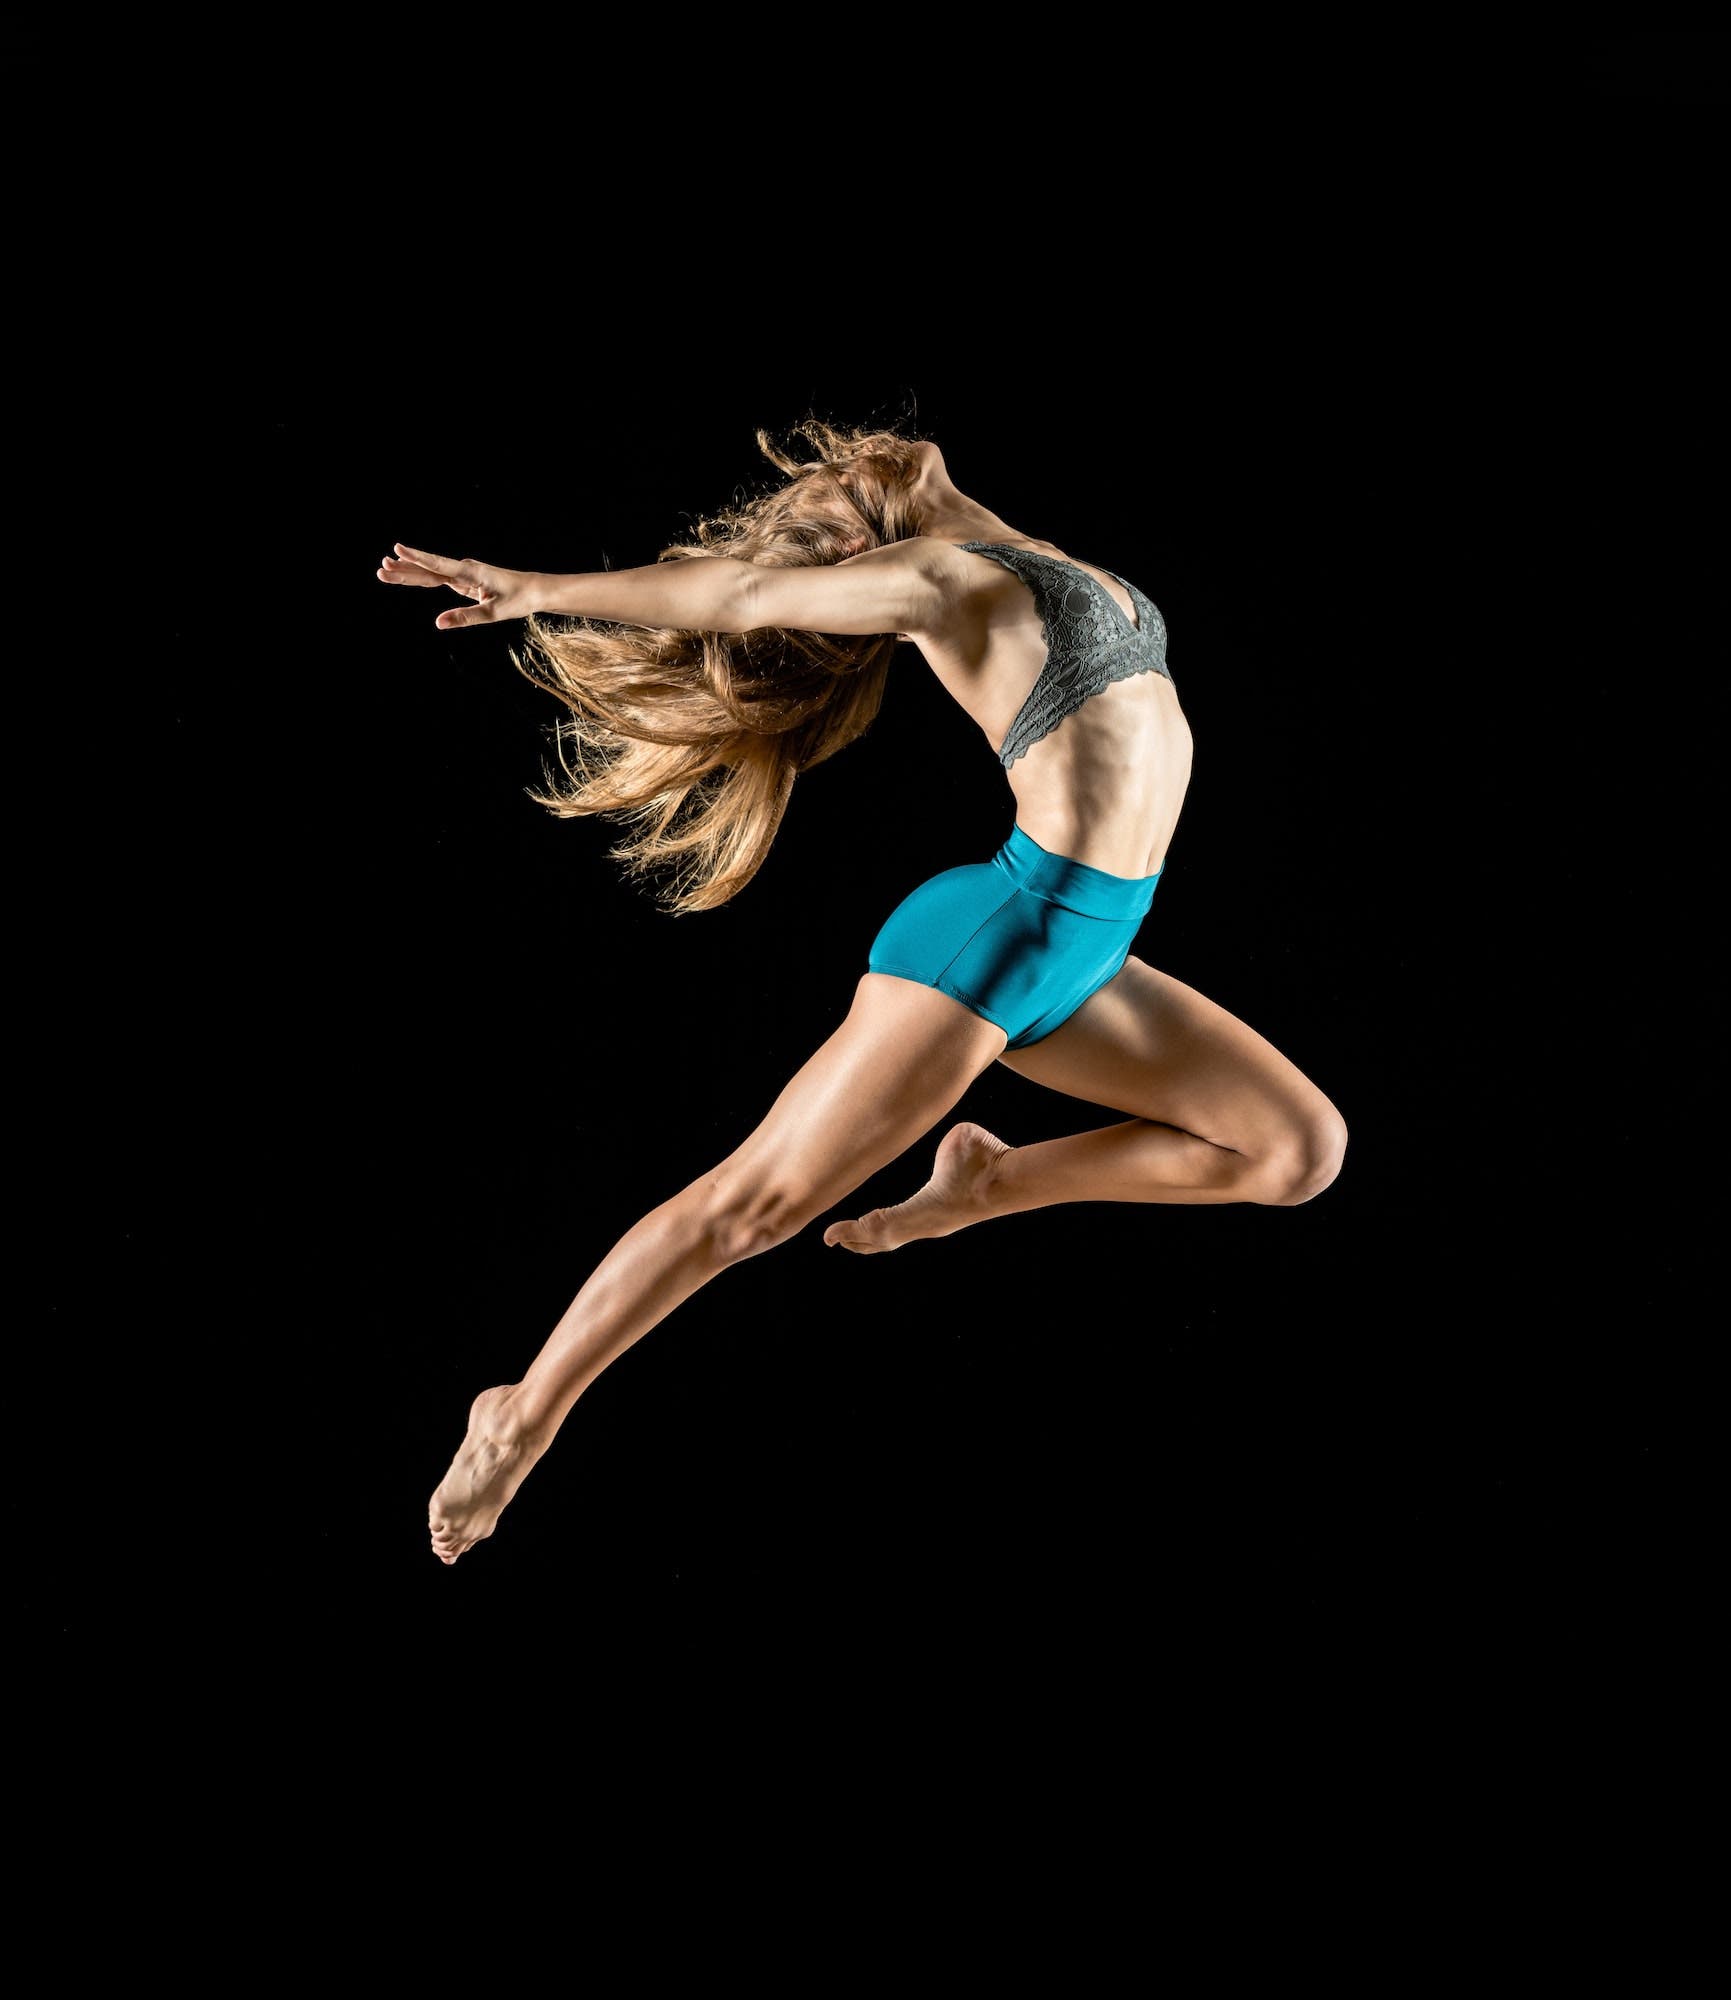
The best way to freeze motion is through the use of quick shutter speeds, and when needed, flash. Fast shutter speeds can get the job done when the available ambient light is bright enough to allow for speeds of 1/500 or faster. Other times, however, using flash will ensure you can freeze motion regardless of the conditions.
High-Speed Sync
If your flash features high-speed sync, you can use it with shutter speeds faster than 1/200 to freeze motion. Keeping the shutter speed above 1/500, when possible, typically helps ensure a sharper focus, especially with quickly moving dancers. It’s not absolutely necessary, however. You should also be able to adjust your flash duration.
Flash Duration
A shorter flash duration will allow you to adequately freeze motion without high-speed sync, especially if the ambient light or exposure falls on the darker side. Darker ambient light requires a lower flash power (and faster flash duration) and allows the light added by flash to be more impactful for freezing motion. Refer to your flash unit’s instructions to learn how to adjust your flash duration.
Once you’ve set your flash power and duration, as well as your shutter speed, use your ISO and aperture to balance out the light as needed. Understand, however, that the exact settings will vary based on preference and available conditions. From there, I recommend practicing and capturing test shots in different ambient light settings to know how your gear will affect your shots.
Show Motion with Long Exposures
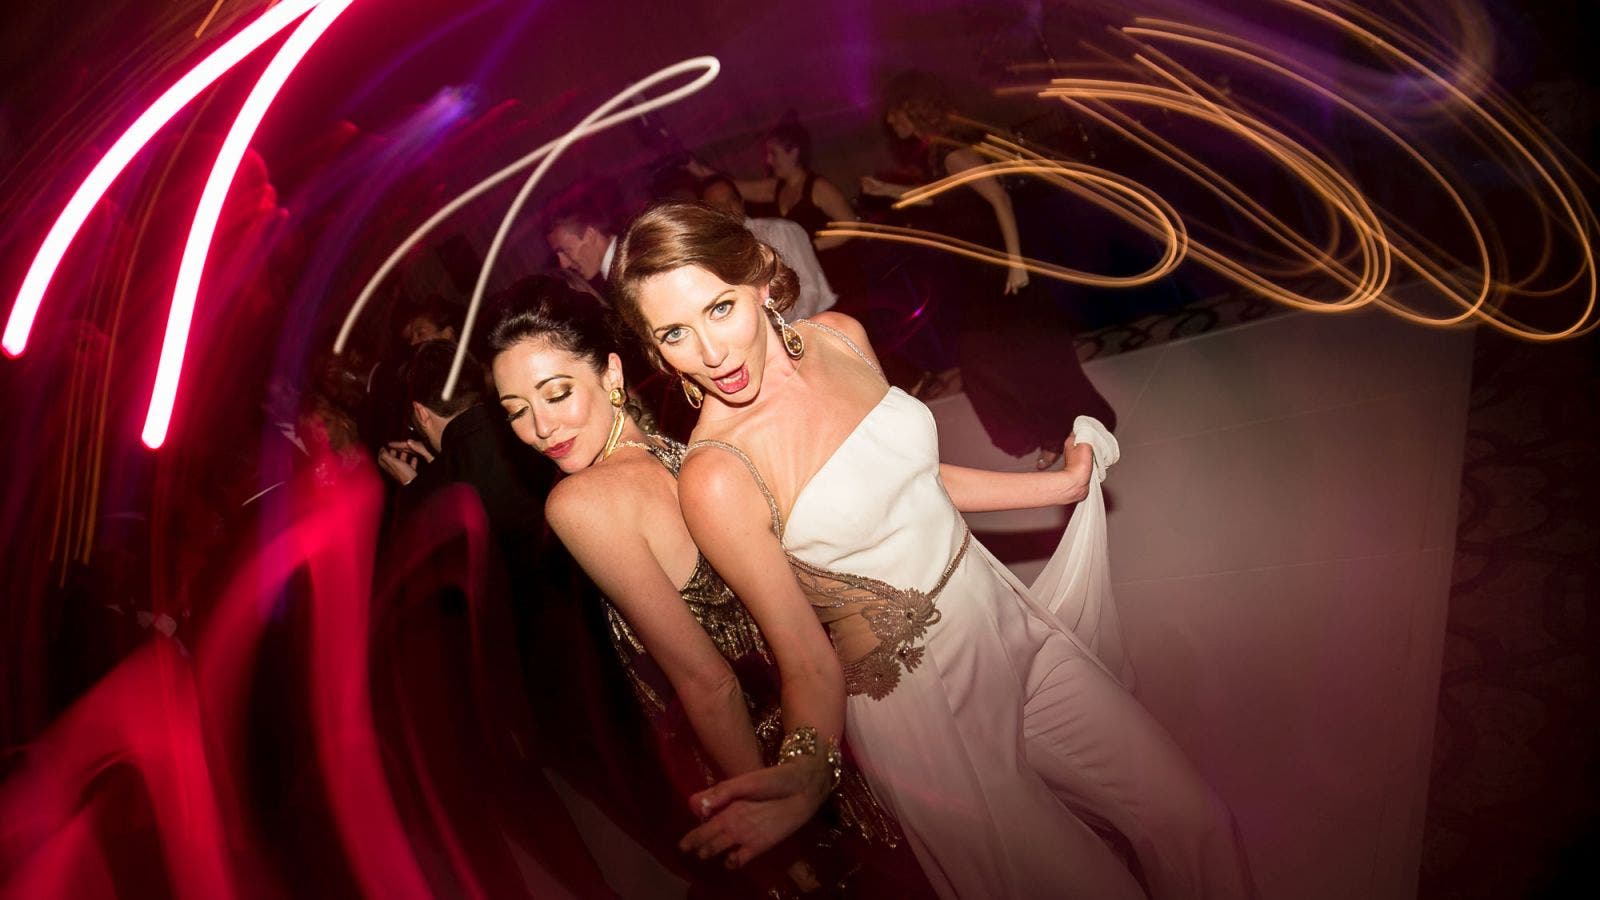
On the opposite end of the spectrum from the previous tip, we can use long exposures to reveal motion in a single frame. We can use different techniques, but the following two methods should allow you to capture motion in your dance portraits.
Long Exposures on a Tripod for Dance Photography
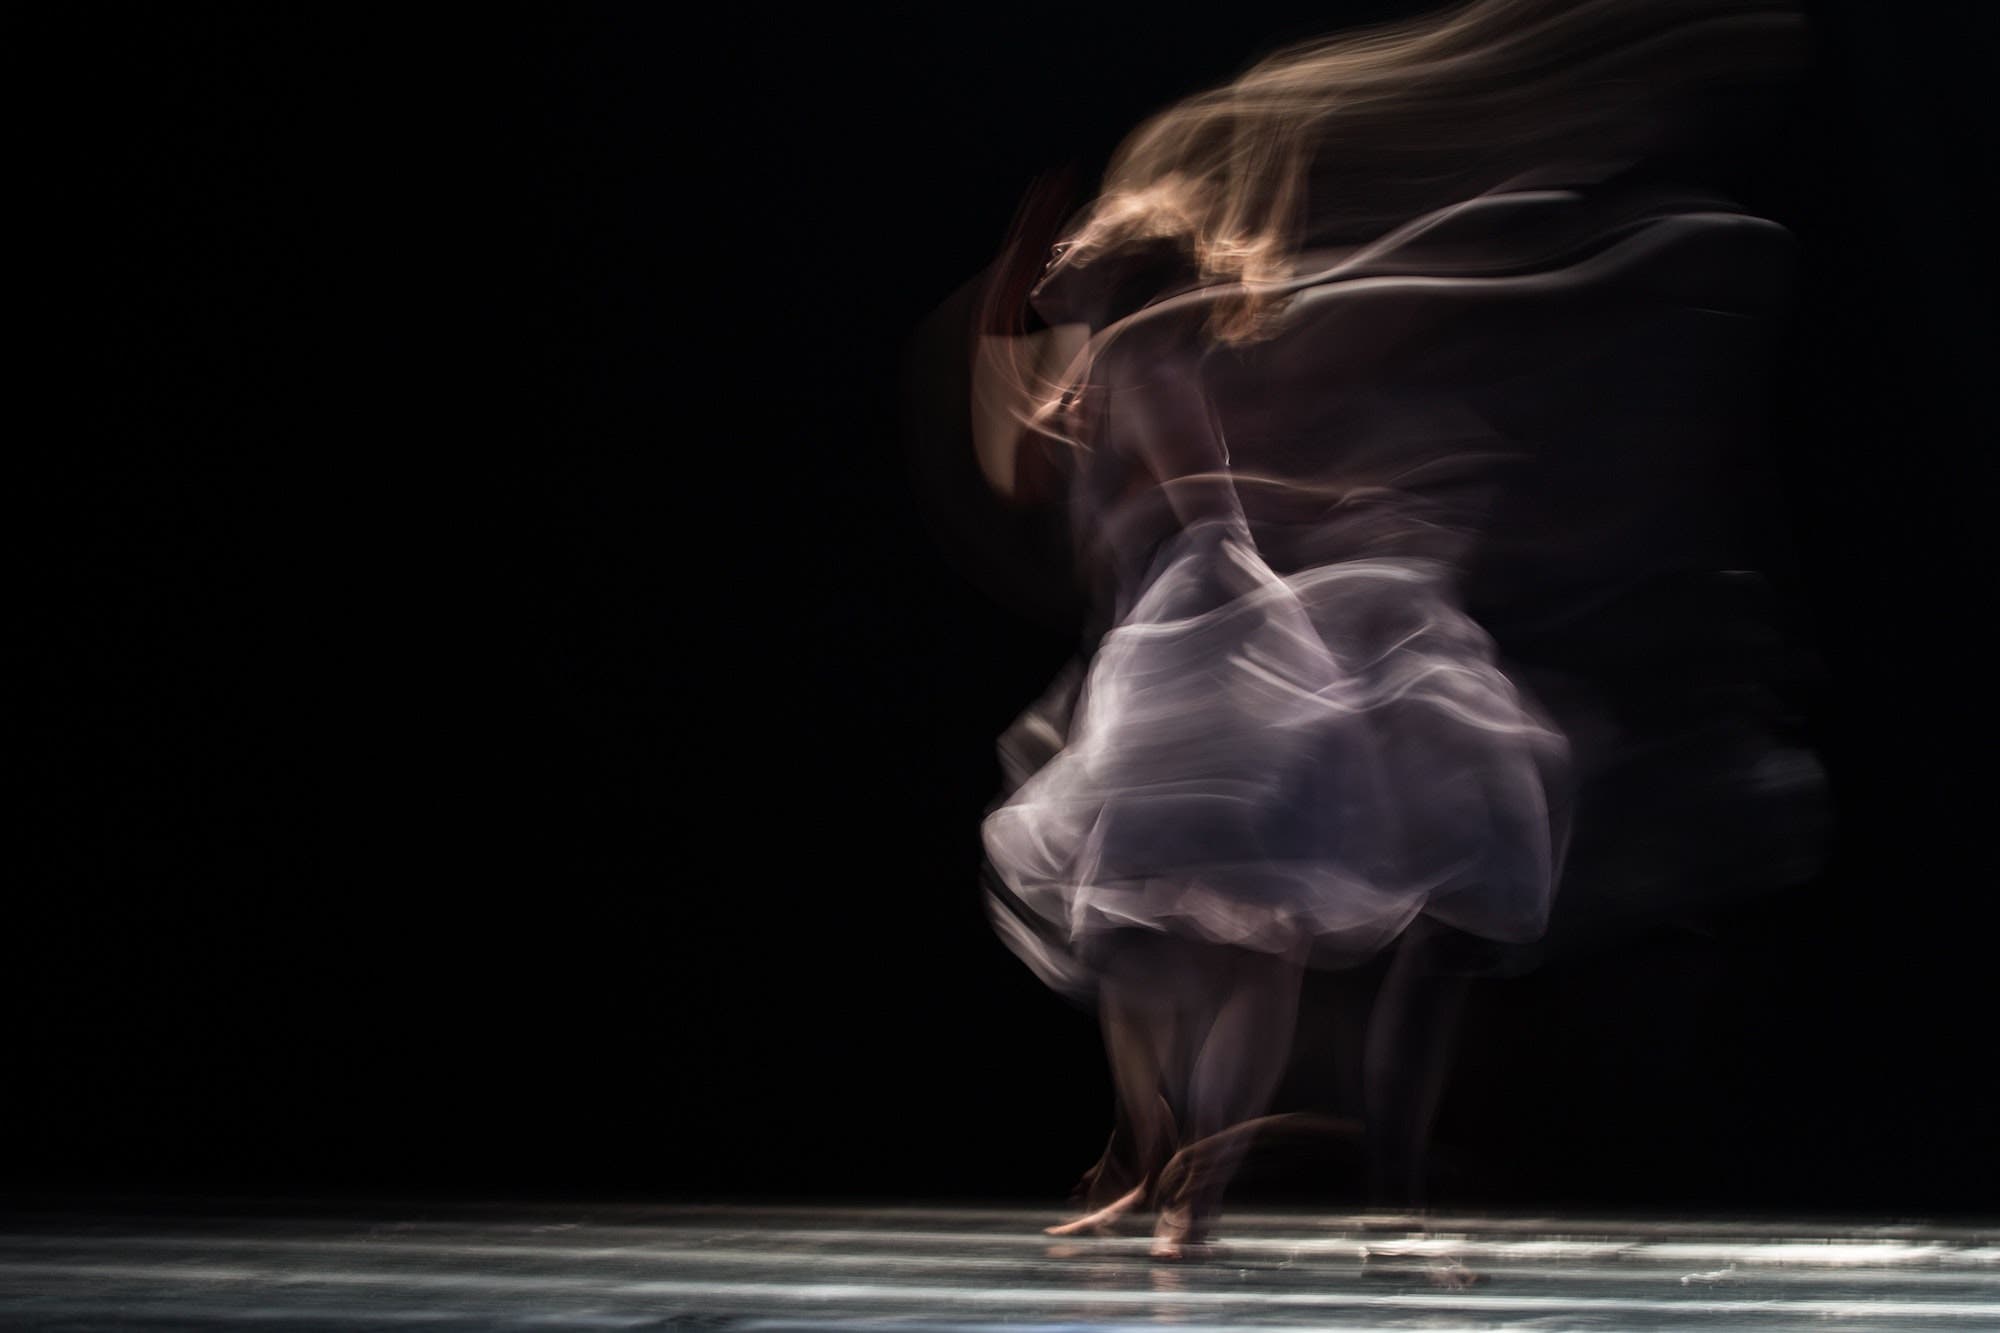
Taking long exposures on a tripod works well for capturing the sense of movement associated with dance. For this method, place your camera on a tripod and determine the best direction for capturing dancer(s) in motion. If you know the choreography in advance or pick up the dance flow early on in the routine, this method will have the best chance of finding success. Set your shutter speed to 1/60 or slower, depending on available light and how much motion you want to capture. The slower the shutter speed, the more ethereal or ghostly the dancers will appear.
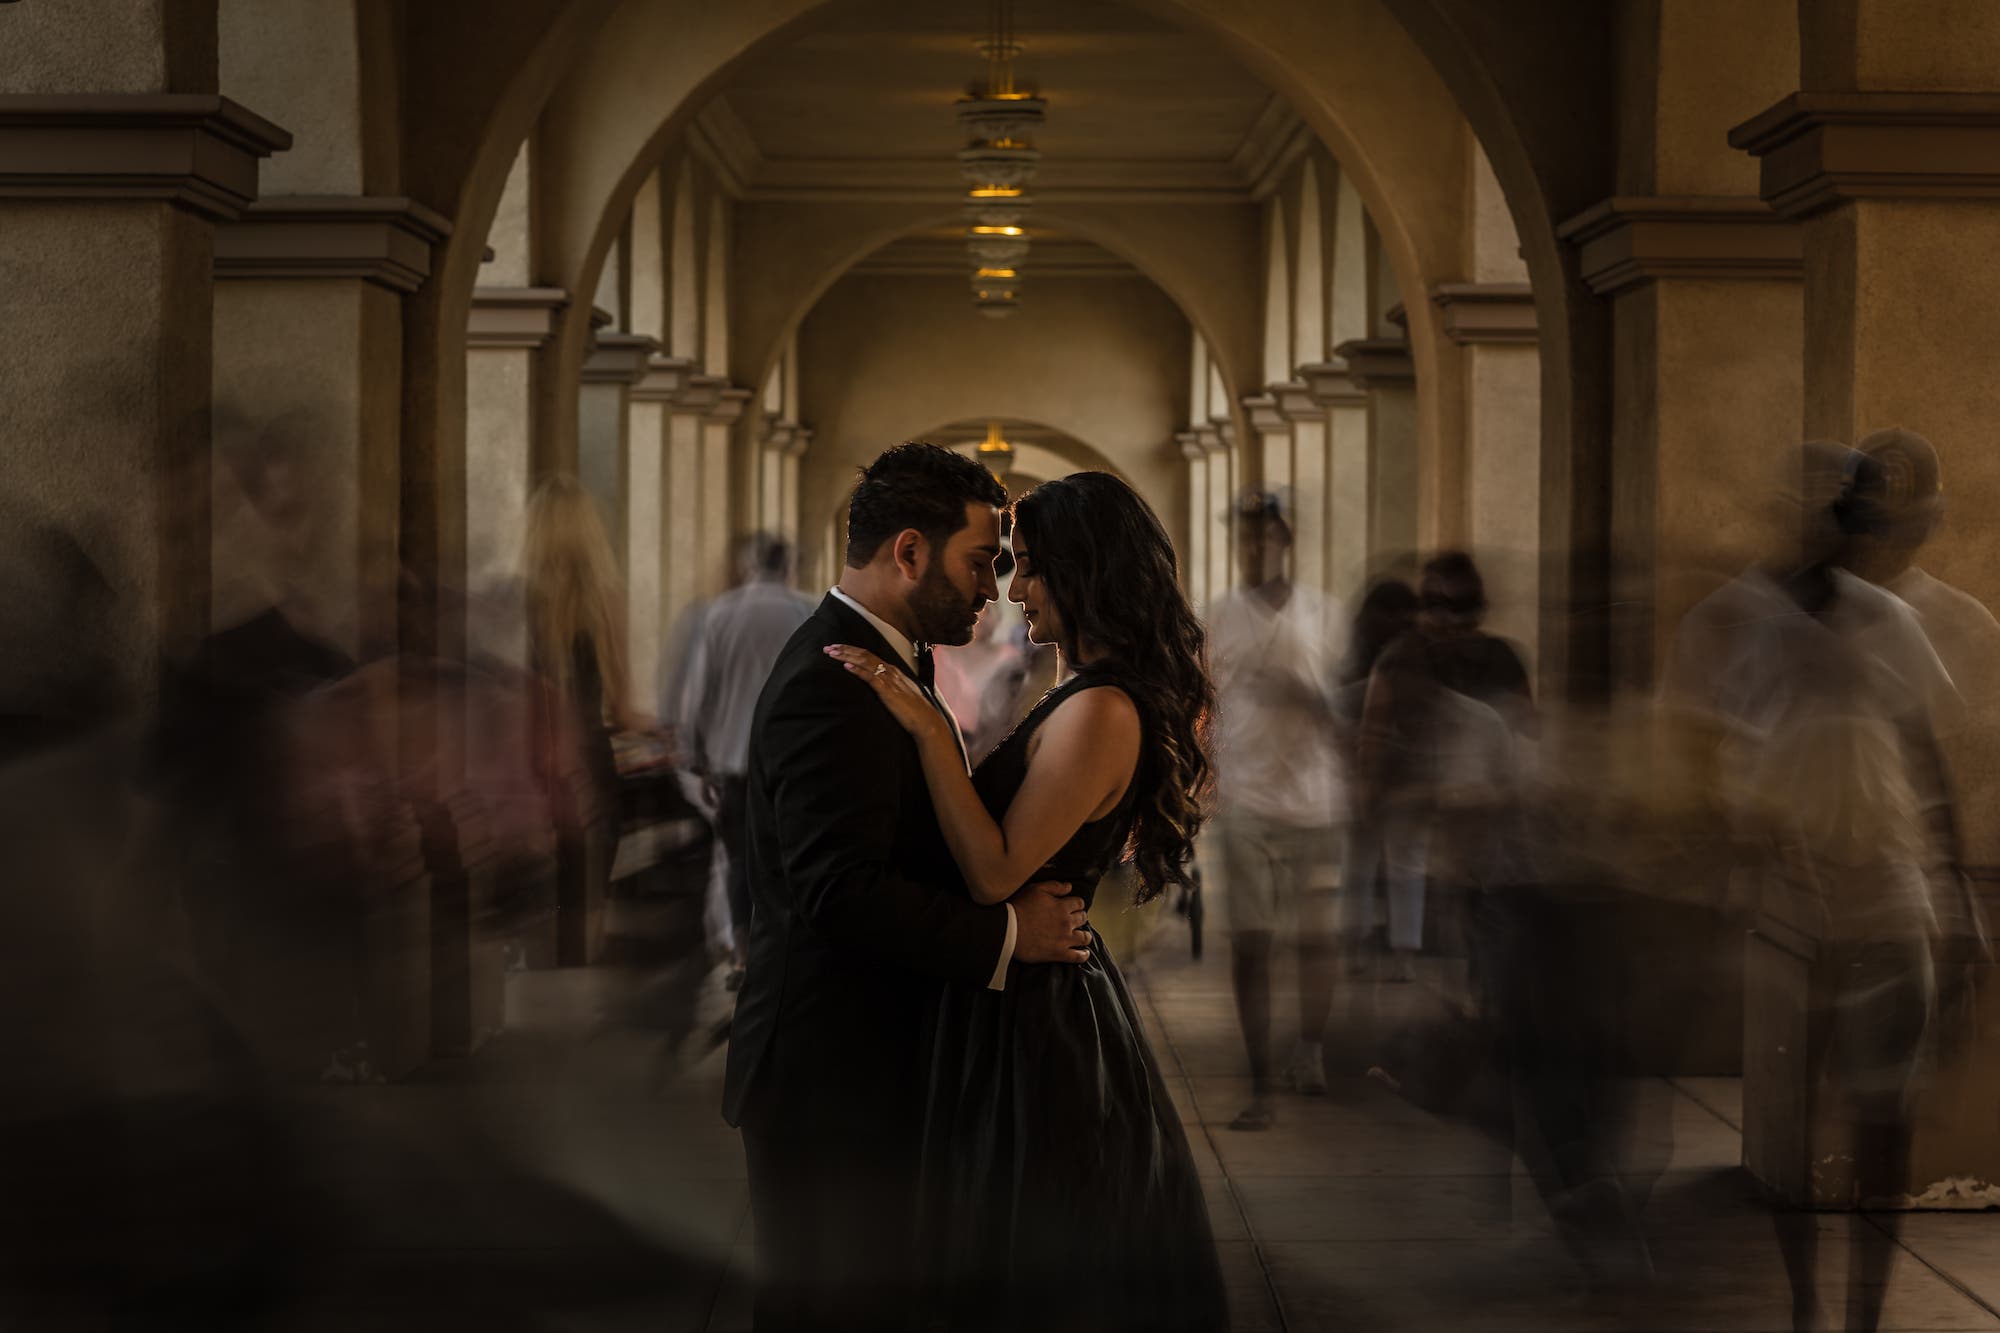
If one dancer holds their position while others dance around them, you can create a very cool effect, as seen in the engagement photography composite above.
Long Exposures with Panning
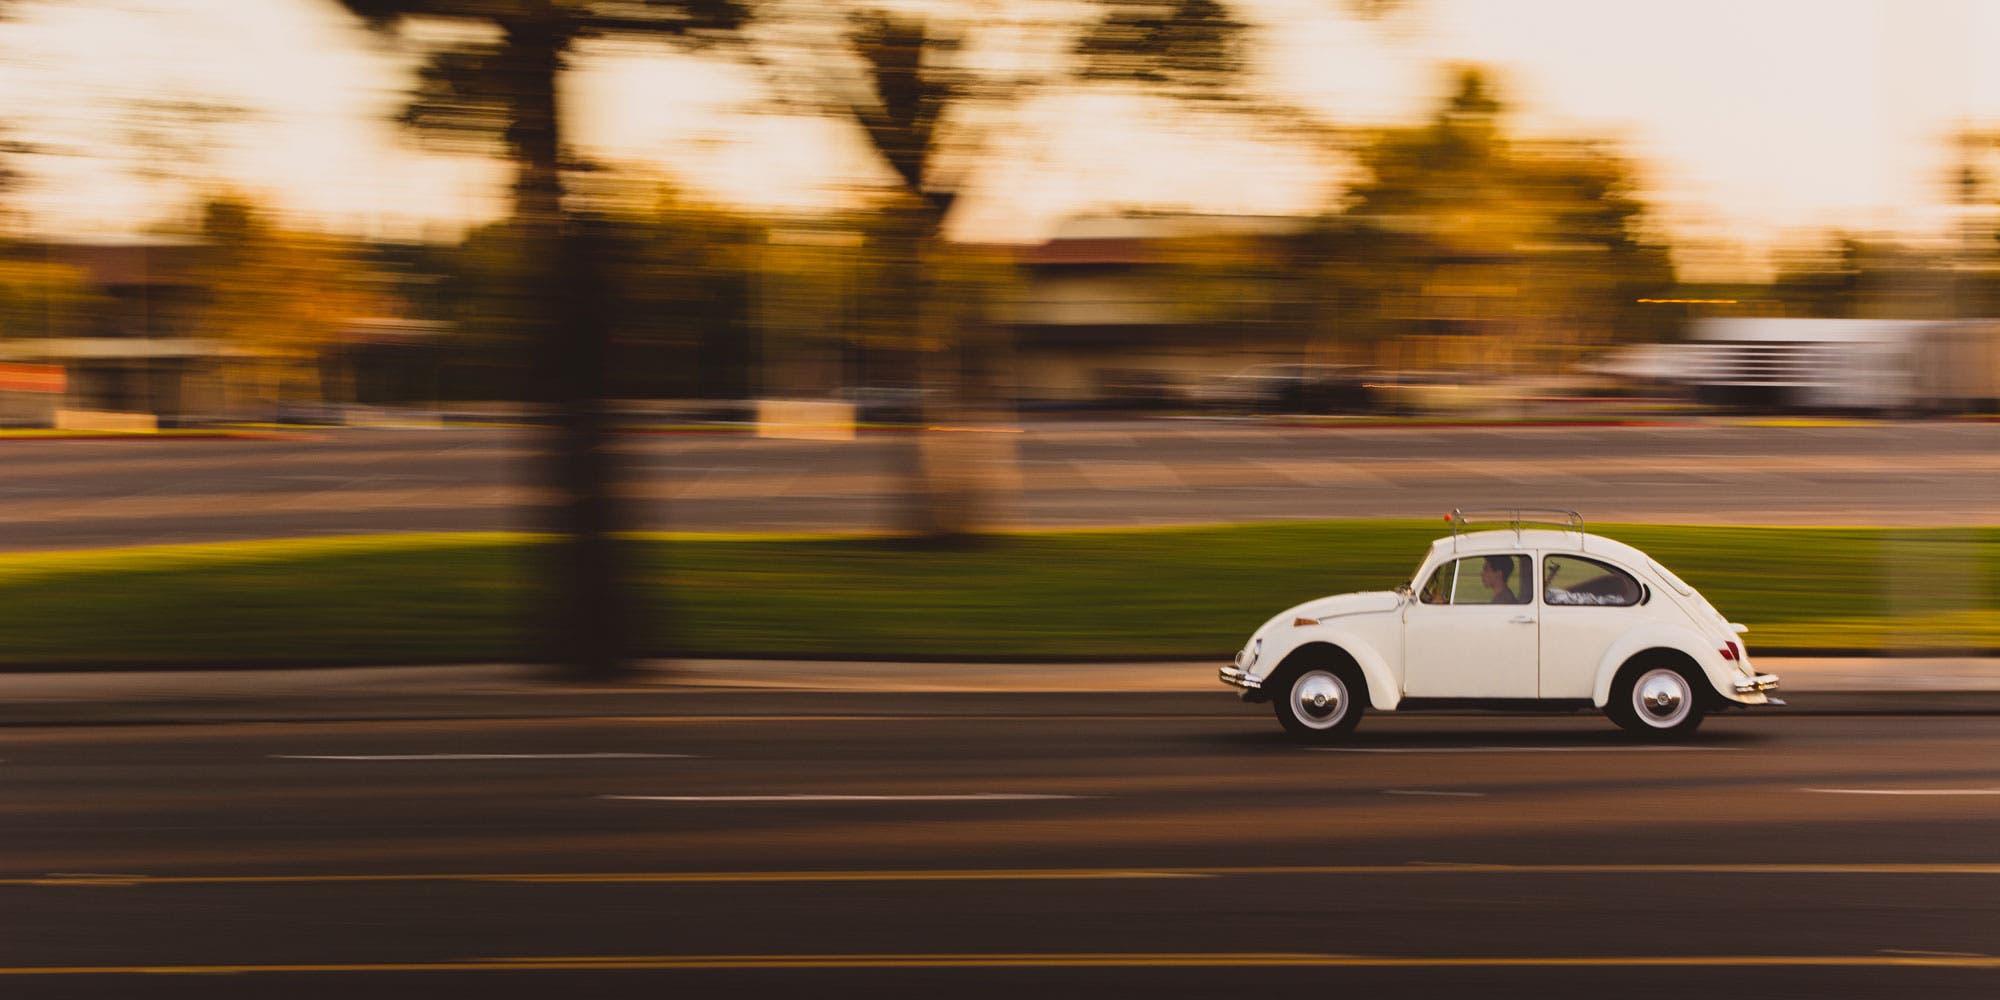
Another long exposure technique you can use to capture motion (while also freezing your subject) involves panning. Panning in photography means moving your camera from side to side (e.g., left to right) while you take the shot. To capture motion with panning in dance photography, set your shutter speed between 1/60-1/30 and follow the subject as they move across the scene. You can do this on a tripod, but it’s easier to pull off while holding the camera in your hands. Just do your best to stabilize the camera while panning and adjust the shutter speed as needed.
Here are some tips for stabilizing a handheld camera.
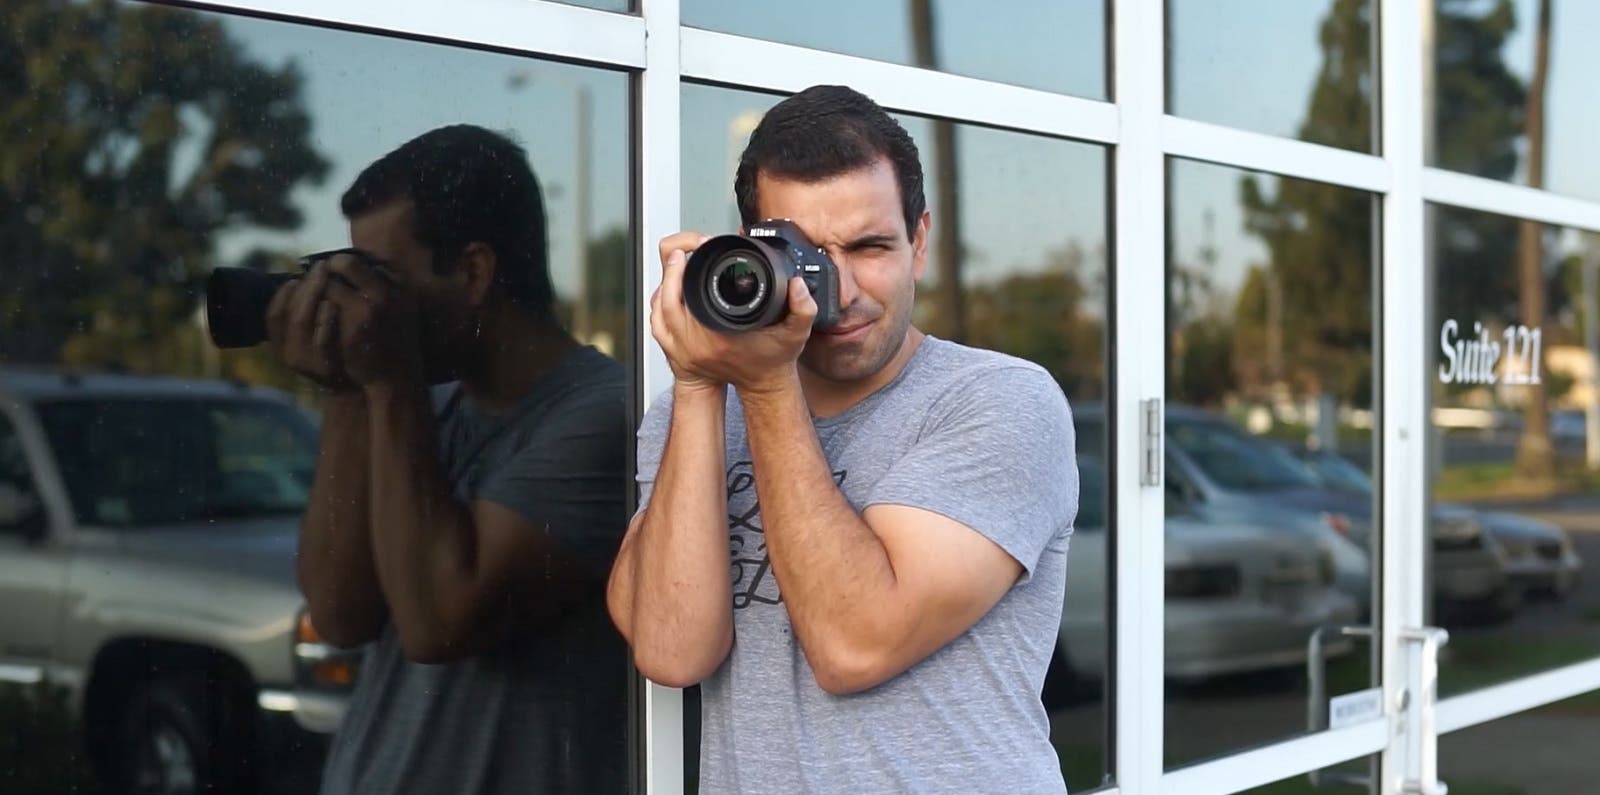
- Tuck your elbows in close to your body to keep your arms anchored to your body’s center of gravity.
- Lean against a stable object (like a wall) when using slow shutter speeds.
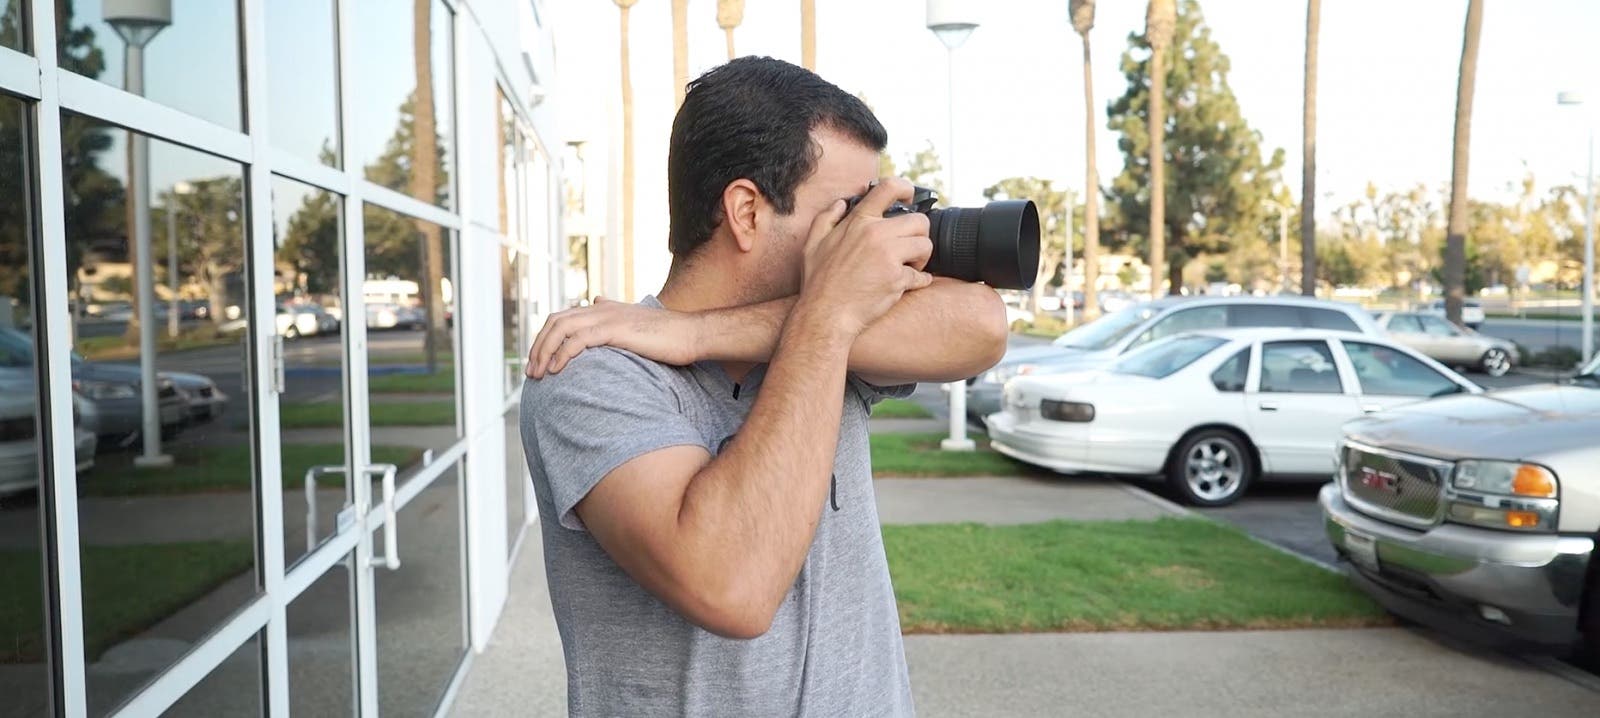
- If no wall is available, you can restrict the motion in your shooting hand by bringing the other arm across your chest and holding tight to your shoulder (see image above). Then, rest your camera on your arm for added stabilization. The downside here is you only have one hand available to make any adjustments.
- Plant your feet flat to the ground.
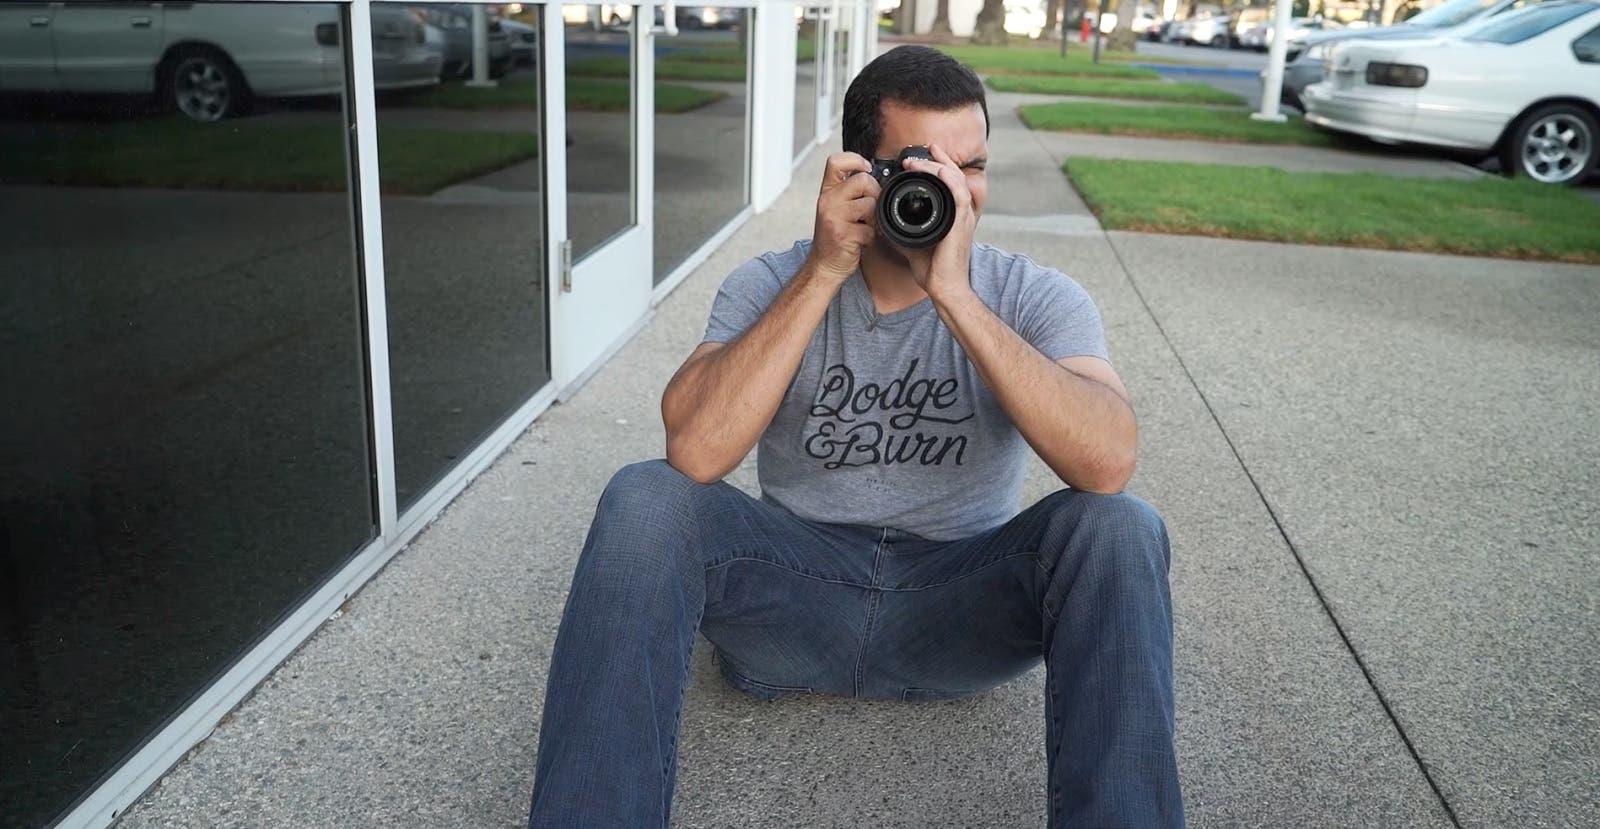
- If necessary, sit with your elbows resting on your knees.
- Remember to regulate your breathing.
Motion with Both Flash and Constant Light
In the video above, Gavin Hoey demonstrates how to capture unique motion dance photography while using both a flash (with rear-curtain sync) and constant light. The results are pretty spectacular. Check it out!
Use Creative Portrait Techniques for Dance Portraits

Don’t be afraid to experiment. Dance photography is all about capturing creative moments. Sometimes the best way to get that perfect shot is to try something new. For example, you could place your camera on a tripod and capture several images of a dancer in different spots in the frame, which you could then combine in post in a creative composite. So go ahead and experiment with different angles and shooting or editing techniques. You never know what you might capture and create. Here’s a list of ideas to incorporate into your dance photography and boost your creativity.
- Smoke Bombs
- Reflections
- Silhouettes
- Shoot-Through (Using Foreground Objects)
- Motion/Long Exposures
- Color Gels on Flash Composites in Post
- Creative Crops
Conclusion
I hope you enjoyed these dance photography ideas, tips, and examples. More importantly, I hope you’re able to easily integrate them into your dance photography sessions. Check out this video on Adorama’s YouTube channel featuring Omar Z Robles for more dance photography inspiration.
Featured image by Joel Valve.
