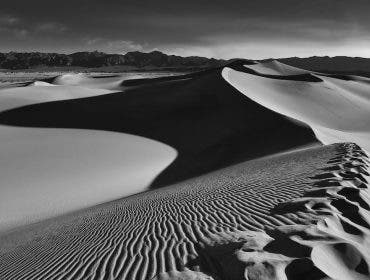
Adding a little glow to your images can go a long way in making the photo more appealing to the eye. Not only does adding glow give your image an ethereal touch, but it also helps to add depth to your image. By painting in a touch of light, or glow, you also add atmosphere to your frame, making things in the distance appear further away. In this guide, you’ll learn how to add this glow effect to your images by dodging in color. There are multiple ways you can add a glow effect to your photos, and this is not to be confused with the Orton effect.
Regardless of how much post-processing you like to do, you can spend two minutes or two hours adding glow to your image. In this case, we will be using Photoshop. Even if you’re new to the program, adding glow is a relatively simple technique that doesn’t take long to master.
Open Image in Photoshop
Open your image in Photoshop. Not all photos will look good with glowing effect, so choose wisely. Usually, the photos that take a glowing effect well are the wide-angle photos with a nice sunset, sunrise, or sunlight coming through clouds. Don’t force a glow effect on all your photos, or they simply won’t look realistic!
Create a Blank Layer
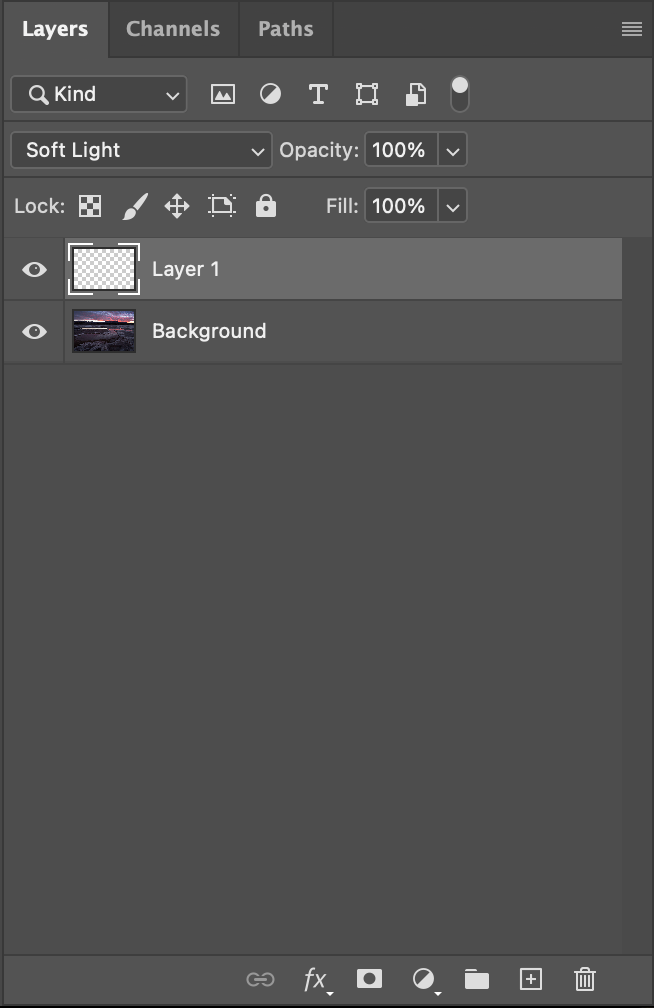
Create a new blank layer. Select the new layer button on the bottom right hand corner of your screen (to the left of the trash can). This will create a blank layer. Then, change the blend mode of this layer to soft light. The blend mode can be changed just to the left of the opacity.
Select the Brush Tool
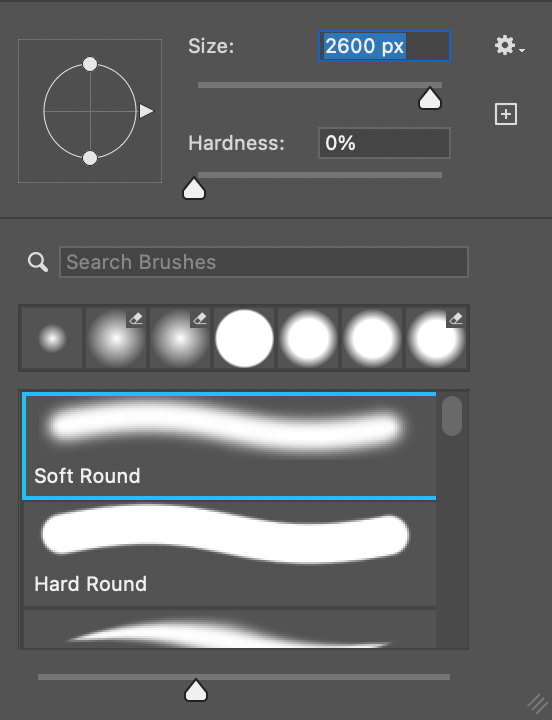
Grab the brush tool by hitting “B” on the keyboard, and adjust the settings of your brush. You want to have 0% hardness. The size of your brush will depend on the size of your image. Once you start painting, you can go back and adjust the size of the brush to your liking. You will also want to change the opacity of your brush in the top menu bar. I prefer starting around 10% opacity. Although, if you want to see the results more quickly, you can use 20%. A low opacity will allow you to slowly paint in the glow over multiple passes, making the adjustment much more feathered and natural.
Choose the Color You’d Like to Paint
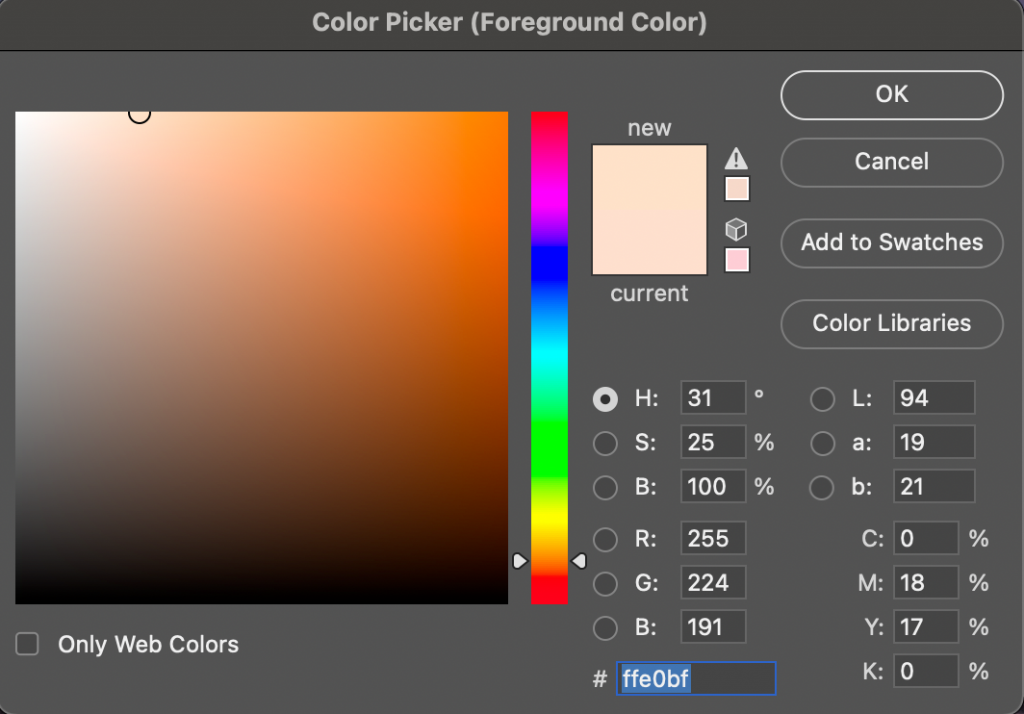
Select the color you would like to paint. You can pick the color by selecting the foreground color, located by default on the toolbar on the left side of the screen. The color you choose should depend on your photo. When the sun is still in the photo and my frame is very warm, I usually go for a yellow color. Other times, when the photo was taken during a beautiful pink sunset, I might paint pink or orange onto the scene. Play around with a few different colors to find what feels right for each particular photo.
Once you’ve selected the color, select the brightest version of the color with 25% saturation. The saturation amount can vary for each photo, but 25% is a good place to start.
Start Painting
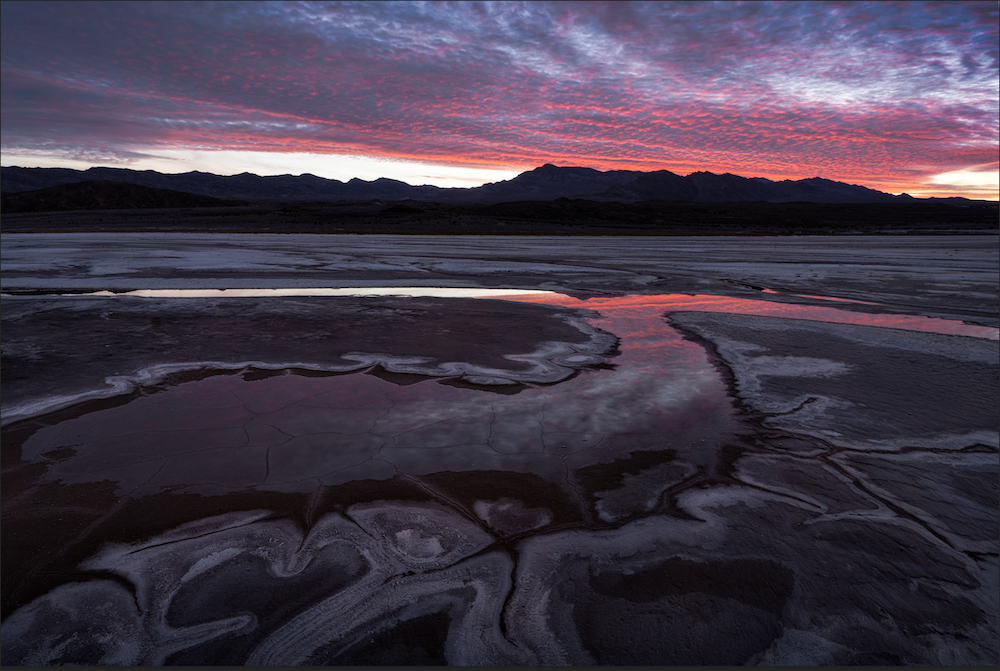
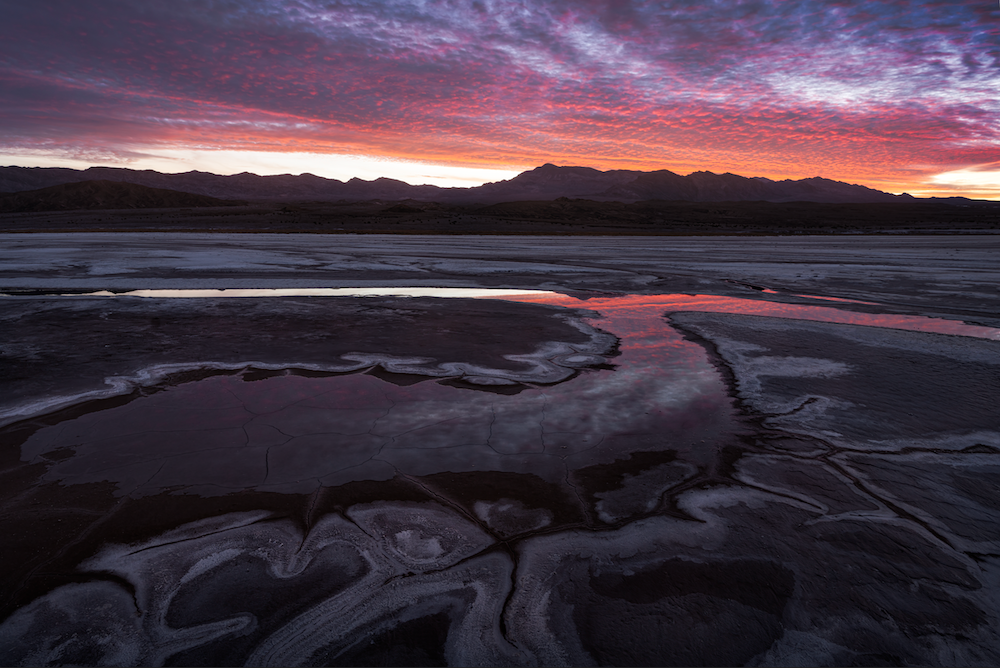
Now you’ve reached the fun part! Start painting on the layer. I like to paint on the background, especially to help bridge the gap between the foreground and the background. In this example, I’ve painted around the mountains in the distance to help blend them better with the sky. Paint multiple passes over spots where you’d like to have the glow. You may have to paint a few times before you see a difference. If you want a stronger effect, you can even create more layers to add even more glow. If you want a more precise effect, you can apply layer masks to your paint layers.
Evaluate Your Work
If you feel like the glow is having little effect, that’s okay! If it is really obvious that you’ve added glow, you’ve usually gone too far. The benefit of working in Photoshop is that it is very easy to turn down the opacity of the layers if you’ve gone too far with the painting. Make sure to tweak your settings and find what works best for your images and your personal taste. Different colors, opacities, and amounts can greatly change the look of your image.
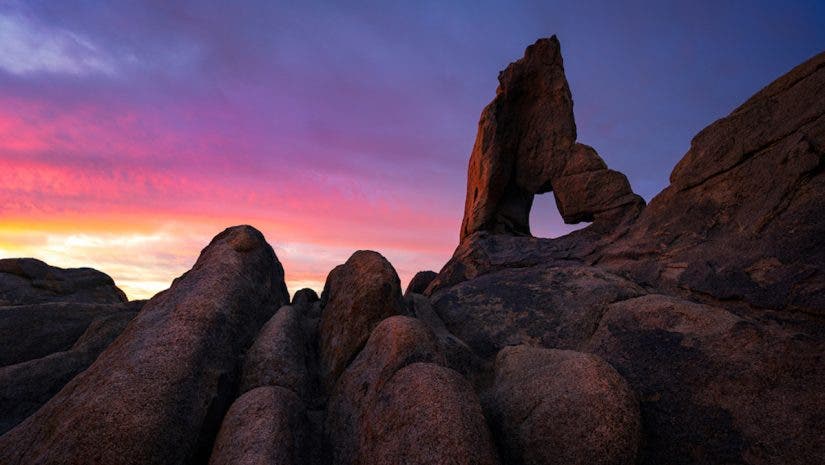
Before
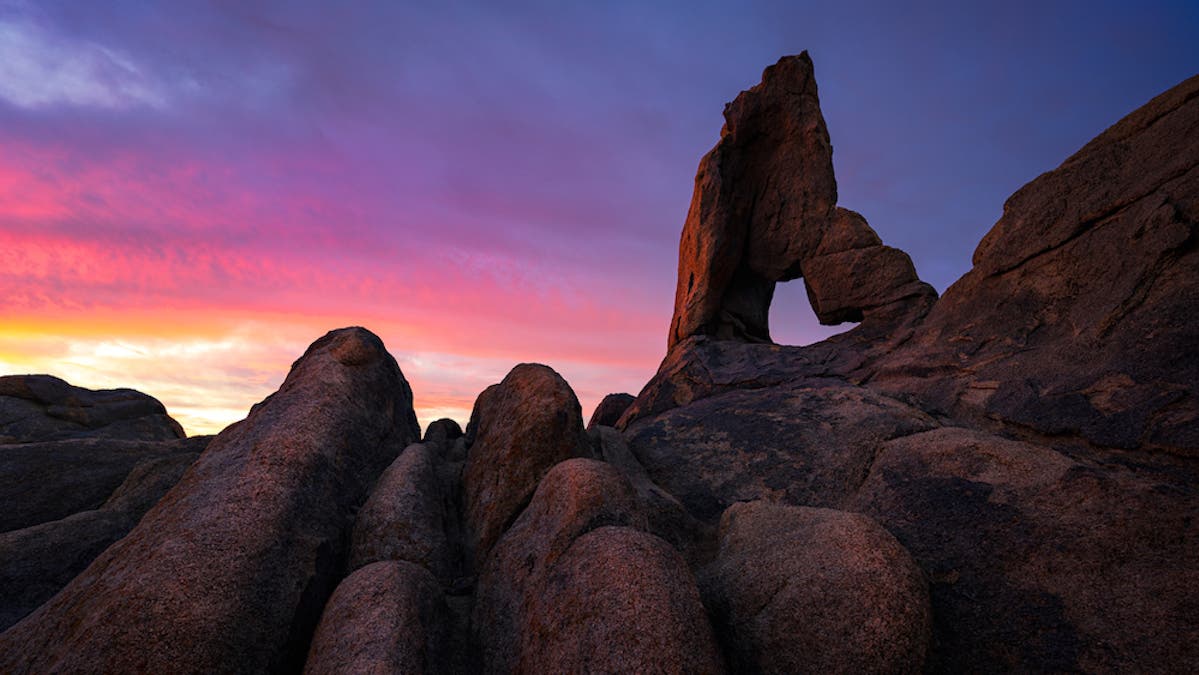
After
Additional tip: I always recommend saving the image, and coming back the next day to look at it again. You may find that you added too much, or not enough, glow once you have fresh eyes on the image.
Adding glow effect to photos can work on all kinds of photography, even including night photography and wildlife photography! No matter what kind of photographer you are, this is a great skill to have in your tool belt when opportunity arises.
If you’re looking to learn more about working in Photoshop, check out these 42West articles:
