Good light is essential for macro photography, but it isn’t always a given. Even when you carefully plan an outdoor photoshoot to benefit from the best sunlight, lighting conditions remain unpredictable and can easily ruin your photos. During macro photography, it can be even more difficult. You have to work within certain characteristics such as short camera-subject distances, long lenses that can cast shadows over the subject, a high magnification factor that produces a shallow depth of field, and narrow apertures to increase the depth of field. To have stable lighting conditions and take control over your photo session, you have to use artificial light sources, which can be flash units or continuous LED lights.
We have also covered the different kinds of off-camera lighting in a previous 42West article, if you need a refresher.
Contrary to popular belief, continuous LED lights aren’t only for studio use. Most of them are lightweight and easy to carry around. You can place them at a fair distance from your subject and create consistent lighting for the entire photo session. This setup works when you have a static subject (e.g., flowers, still-life) or one that moves slowly (e.g., snails). It also works when you don’t have a particular subject in mind and want to photograph in a confined area (e.g., macro scenes from a forest). So, if you are running around after a speedy subject, continuous LED lights aren’t for you. But, for everything else, you should consider them.
Benefits of Continuous LED Light
Having a continuous light source at your disposal allows you to focus on composition and storytelling. Instead of worrying about image quality and camera settings, you can focus on creating interesting compositions.
Imagine you could change the position of the sun, its brightness, and its color. You can have smooth and uniform daylight-looking illumination at your disposal. Instead of planning your photo session around the movement of the sun, you would carry an artificial sun in your pocket. Check out the following advantages of using continuous LED lights.
Preview the Effect of Light on the Subject
The first advantage of using a continuous light source is seeing the image’s effect before pressing the shutter release button. With flash, you can only see the effect of the added light after you take the photo. If you didn’t get the position of the light right, you have to redo the setup and retake the picture. When you use a LED light, you get to see the effect of light before taking the photo. Therefore, you can make better decisions and eliminate mistakes.
If you’ve just started to learn about macro photography lighting, seeing the effect of light and being able to adjust the lighting as you wish is a huge advantage. Try illuminating the subject from different directions, diverse framing possibilities, and using the entire range of camera settings. Understanding the effects of light on your photos will help you make the most of ambient light and level up the quality of light whenever it lacks.
Complete Control Over the Direction of Light
A LED light provides complete control over the direction of the light. You can use it to illuminate the subject from any angle (including above and below), illuminate the background, keep the subject in the dark, or create a uniform ambient light. Because LED lights are always on, you don’t have to worry about setting them off and synchronizing them with the camera.
Example: The Manfrotto Lumimuse 8 is an on-camera LED light, which means it comes with a hot shoe mount and allows you to mount it on the camera like a regular flash unit. It is the basic lighting setup — especially for macro photography — because it helps you light up the front of the subject and make it stand out. At the same time, you can attach the LED light to a tripod, hold it in your hand, or place it on improvised support. Besides directional flexibility, Manfrotto Lumimuse 8 has 550 Lux at 1 meter, filters for adjusting the color temperature, and 4-step dimming for adjusting light intensity. Furthermore, it weighs only 180 grams, so you can easily take it anywhere with you.
Full Control Over the Intensity of Light
The brightness of your light can also be crucial. A light too strong might startle an animated subject or wash off the bright colors of your subject. A light too weak might not be enough to allow you to use a narrower aperture or a higher shutter speed. The good news is continuous LED lights are designed to provide complete control over the intensity and diffusion of the light. Because you get to see how changing the parameters of light affects the scene, you can fine-tune light intensity as much as you want before taking the photograph.
Example: Lume Cube Single LED Light is one of the smallest continuous LED lights on the market (a cube with a side of 1.5 inches / 3.8 cm). However, you can adjust it in 1% increments from 0 to 1500 Lumens. It even has a low light mode for long exposures. Along with total brightness flexibility and daylight-balanced 95+ CRI light, Lume Cube has manual and wireless controls and a hot shoe mount. It is fully waterproof: therefore, you can use it in the rain or underwater. Lume Cube can also be used as a flash if you’ll ever need one.
Complete Control Over the Color of Light
The color temperature of the light affects the color accuracy of your subject and influences the atmosphere of your photos. When using only natural light, you have to photograph at different times of the day to change the color temperature of the light (e.g., shooting during the golden or blue hours). But when you use an artificial light source, you can change the color temperature in seconds. Moreover, you can produce natural-looking or artful colors.
Example: Aputure MC RGBWW Mini LED Light allows you to reproduce any color you like. It allows you to adjust the light’s saturation, hue, and intensity. Aputure MC has 360 degrees of hue and 100 levels of saturation. The app even has a Color Picker tool that allows you to choose a color from the scene in front of you and transfer it to the Apurture MC LED light. Aputure MC is helpful in commercial, product, and fine-art macro photography. Along with total color flexibility, Aputure MC provides wireless controls via a mobile app and several mounting options. It weighs 130 grams and is fairly small like the other LED options, so you can easily get creative with placing and directing light.
Endless Creative Freedom
A photo setup with a continuous LED light allows you to adjust the lighting’s color, intensity, and direction. In addition, you can use diffusers and modifiers to change the quality of the light and create special effects. Remember that you get to see the results of your settings before taking the picture.
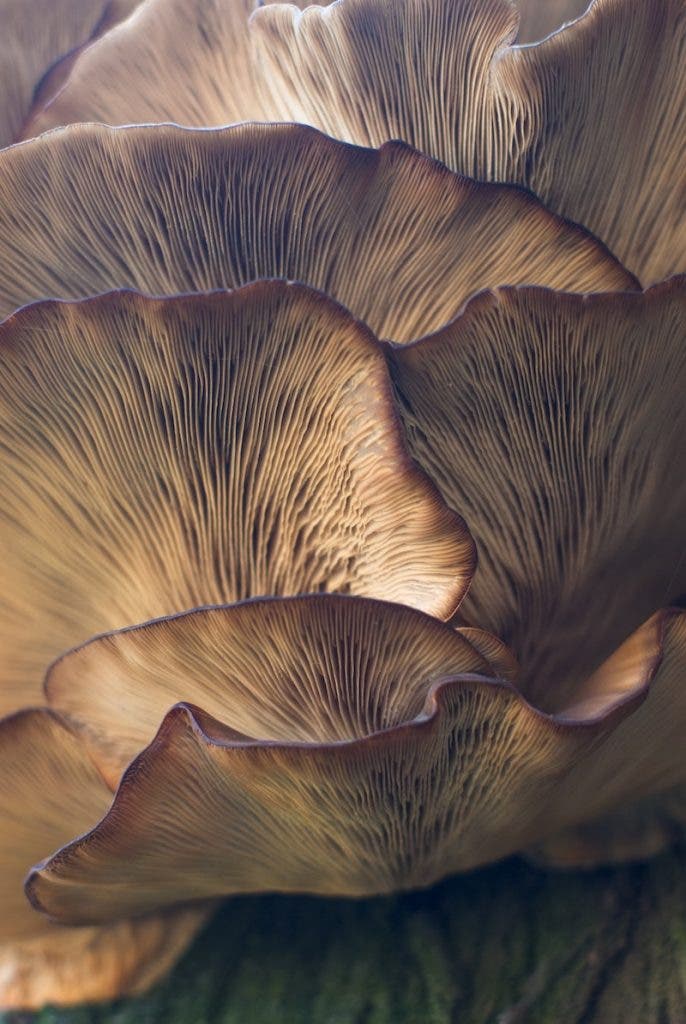
The possibility of preview gives you the freedom to experiment, explore your subject’s best features, and create artistic compositions. Focus on storytelling and reveal the most unusual aspects of your subject matter (e.g., texture, shape, contrast, color).
In terms of lighting setups, you can choose to mix the artificial light coming from your continuous source with the ambient light and flash units. Alternatively, you can overpower the ambient light and create dramatic compositions (e.g., backgrounds, silhouettes, etc.). You can also use the LED light to continue shooting after nightfall or in dark environments (e.g., caves).
A continuous LED light may also be the first step towards macro videography. The battery of a LED light usually lasts for approximately one hour at full brightness, giving you enough time to record video footage.
Concluding Words
Finding the right continuous LED light is a matter of personal choice and workflow. You may choose the most versatile LED light and experiment with different setups. Or you may want a LED light that complements your workflow and increases the artistic value of your current photos. For example, nature macro photographers will go for lights that reproduce daylight and provide soft illumination. In contrast, fine-art macro photographers will go for as much freedom of expression as possible. Regardless of your purpose, keep in mind that the lighting setup is essential for your work. It impacts the quality of your photographs. Therefore, professional photoss require professional lighting.
