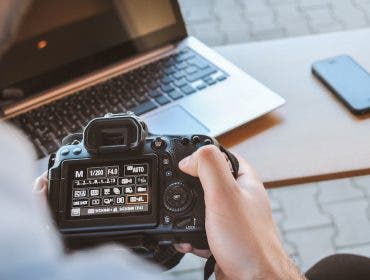
Clothing photography is a popular industry if you are starting with a studio setup or looking to expand your client base. Whether capturing pictures for a client or selling clothes online, in a store, or through some other medium, having high-quality images of clothing products is essential to positive sales.
This article will discuss the key points in how to photograph clothes. We’ll cover tips for displaying garments, the type of camera, lens and lighting equipment you should use, and how to best set everything up for success. So, by the end of this article, you’ll better understand how to capture any type of apparel.
How to Display the Clothing
There are several different ways to display clothing, but most revolve around using a controlled studio environment. This way, lighting is easily controlled, reducing shadows and wrinkles in clothing. Some of the following display techniques will be the best photographic methods when taking a single item or an entire clothing collection.

Try Using a Mannequin
When photographing clothes, a mannequin can be a helpful tool. By dressing the mannequin in the clothing, the photographer can get a sense of how the garment hangs and drapes on the body. This can be helpful when trying to capture the shape and form of the clothing. In addition, the mannequin can be used to help position the clothing for the best possible shot. For example, foldover collars can be positioned, and hems can be straightened.
When using a mannequin, it is important to ensure that it is well-lit and that there are no shadows on the fabric. To get the best results, we recommend setting up two light sources — one from behind the mannequin and one from in front. By bouncing the light off of a white wall or reflector, the photographer can create a soft, evenly lit image that really shows off the details of the clothing.
Learn more at Tips for Building a Home Photography Studio.
Consider Hiring a Model
Regarding fashion photography, hiring a professional model is the best way to showcase clothes. Models know how to pose and style clothing to create an appealing image. Before the model arrives, it is important to consider how they will wear the clothes. Will the model wear them normally, or in a certain style? If the latter, it is important to ensure that the clothes receive the correct preparation.

Preparation before a shoot may involve steaming or ironing the garments and ensuring that embellishments are securely attached. It is also important to consider how the model will stand or pose in the clothing. Will they be standing still, or will they be in motion? Depending on the answer, different types of clothing may work better than others.
Adopt a Flat Lay Technique
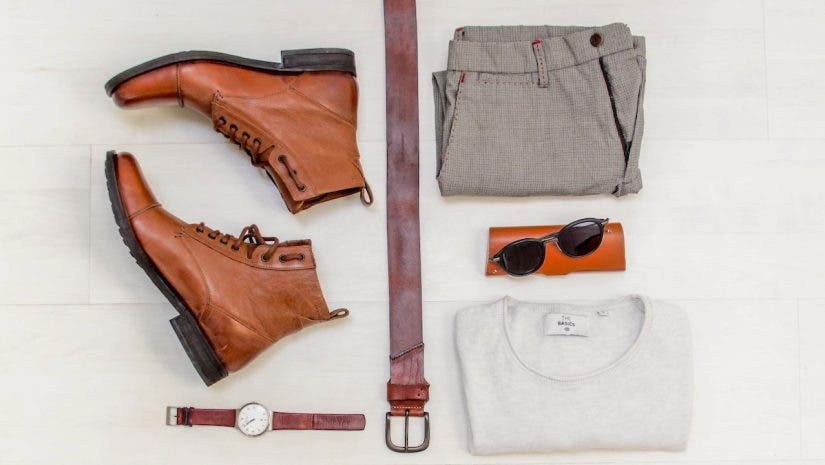
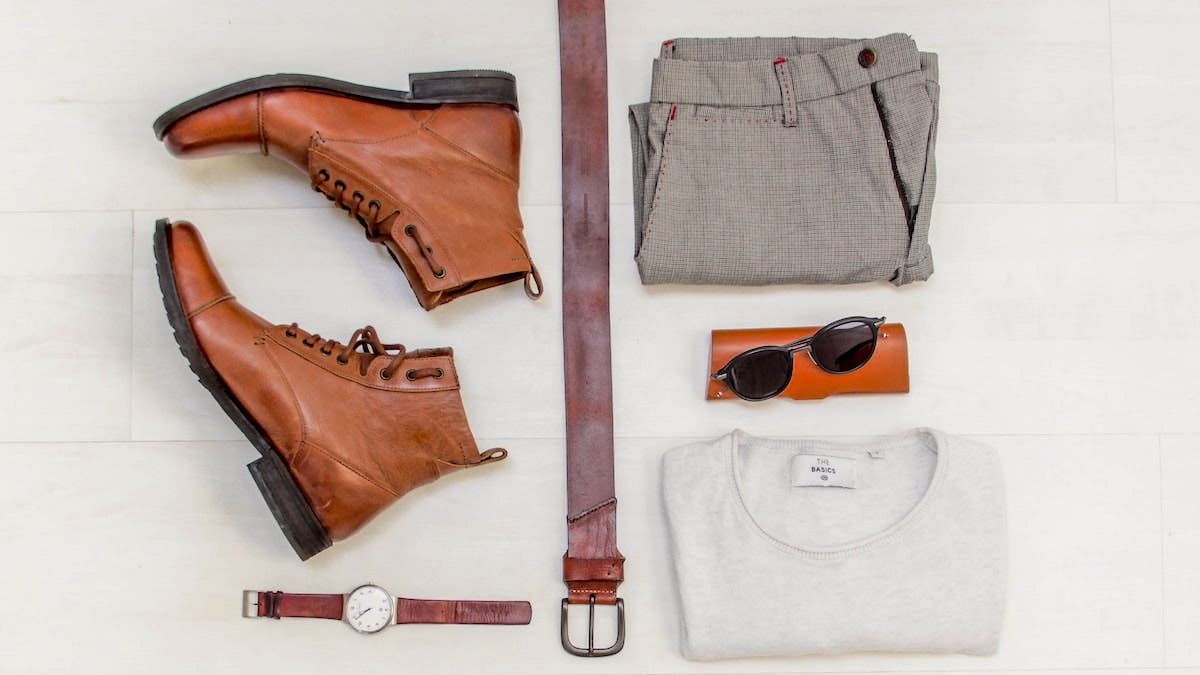
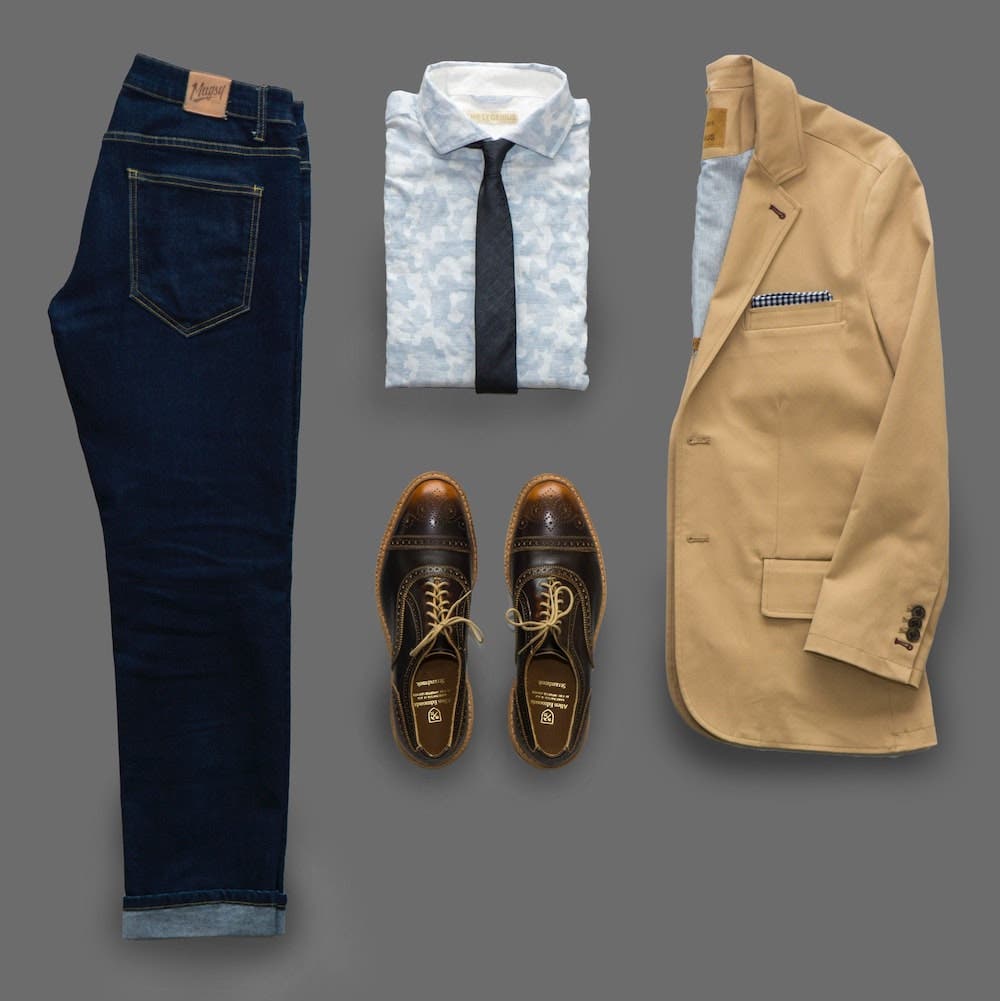
Creating a flat lay is a popular social trend when photographing clothes, especially for e-commerce banners. Flat lay photography involves laying the clothes on a flat surface and then taking a photo from above. While it may seem easy enough just to toss some clothes on the floor and take a picture, a few things need to be considered to create an effective flat lay.
First and foremost, the photo’s composition should be well-balanced, with each item playing its role in the overall design. Second, use props to add interest and dimension to the photo. Third, make sure the lighting is good. Continuous LED lighting or strobe lighting with softboxes are best. Finally, the background should be chosen wisely, as it can help to set the tone for the entire image.
Clothing Photography Equipment
When it comes to taking photos of clothing, there is a lot more to it than simply pointing and shooting. You’ll need to invest in specialized clothing photography equipment to make your garments look their best. Here’s a rundown of the essentials for any photographer who wants to up their fashion game.
Use the Right Lenses
It’s important to use the right lens to get a flattering shot. A wide-angle lens is typically used to show off the clothing in its entirety. Meanwhile, a telephoto lens should be used to get a closer shot or to highlight details. The lens’s focal length is also important. A shorter focal length will make the subject appear larger. Meanwhile, a longer focal length will make the subject appear smaller.
For this reason, it’s usually best to use a lens with a focal length of around 50mm when photographing clothes. This will allow you to capture the clothing without distorting its size or shape. If you are in the market for a new lens, consider a 50mm branded lens to suit your camera with an aperture of around f/1.4. Alternatively, for more flexibility, a 24-70mm lens will provide the ability to zoom in and out without having to change your lens.

Explore Continuous Lighting
When taking photos of clothing, many photographers opt for continuous lighting. This is because continuous lighting offers several benefits, including the ability to control the color temperature of the light more easily. When set to 5600K (daylight color temperature), continuous lighting can ensure that colors are accurately represented in photos. In addition, continuous lighting doesn’t need to sync with the camera’s shutter speed. Plus, many higher-end models offer 0-100% dimming control and wireless operability for several units via an app. This makes them ideal for a studio environment. This benefit is that you will save significant time when adjusting multiple continuous lights.
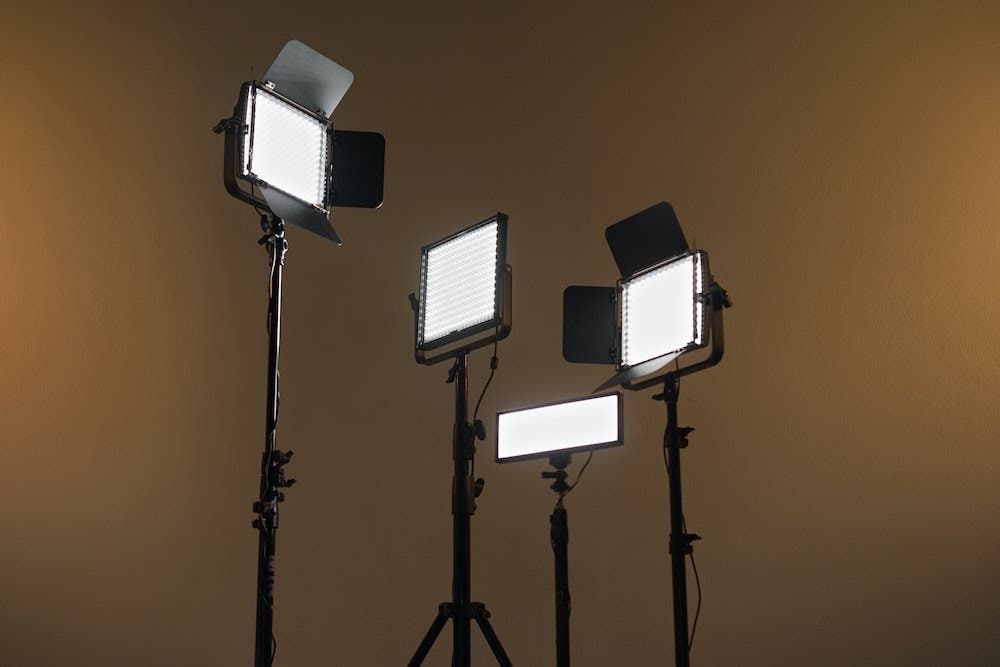
When it comes time to initiate a continuous lighting setup, consider two lights with softboxes on either side of the camera. The softboxes should be positioned at 45-degree angles and placed about two feet away from the subject. A reflector can also be placed underneath the subject to help bounce light back onto the clothing. The entire setup should be centered in front of a white backdrop for best results.
Choose the Correct Backdrop
As any fashion photographer knows, choosing the right background is essential when photographing clothes. A simple white background can help to set the tone of the image. It can also influence the way that the clothes are perceived.
One popular option for clothing photography is a cyclorama, which is a seamless white backdrop that helps to create a clean and simple look. Cycloramas can be expensive and difficult to set up, so they may not be an option for everyone.
Another option growing in popularity is to use a foldable V-Flat bounce board. These are lightweight, portable foam rectangles or squares which reflect (white side) or subtract light (black side) from a subject. V-flats are relatively inexpensive and easy to set up, making them a great option for budget-conscious photographers.
Never Shoot Without a Tripod
A tripod in a studio is an essential piece of equipment for any photographer, providing a stable platform for cameras, lenses, and other equipment. Tripods come in various sizes and styles, each designed for specific types of photography. For example, many studio photographers prefer to use a tripod with a boom arm. This allows them to position the camera above the subject and shoot directly down. This setup is ideal for photographing clothes as it provides an unobstructed view of the garment. In addition, using a tripod helps to ensure that the camera is level and stable, preventing unwanted blur or shake.
Setting Up for Clothing Photography
Prepare the Clothes Before the Shoot
Don’t go into a production phase without checking to see if your garments are in pristine condition. This means ensuring there are no wrinkles, all the buttons are in place, no loose threads, and all the strings are tied. You’ll also want to ensure that the color is consistent throughout the garment. Always check the labels on clothing and follow any cleaning or pressing instructions. This will help to avoid problems like shrinkage or color bleeding. If possible, steaming is always better than ironing as it minimizes the risk of damaging the fabric.
When working with delicate materials, like silk or lace, it is often necessary to use a fabric support. This can be something as simple as a piece of muslin or tulle pinned to the inside of the garment. This will provide added structure and prevent the fabric from creasing or wrinkling during the shoot.
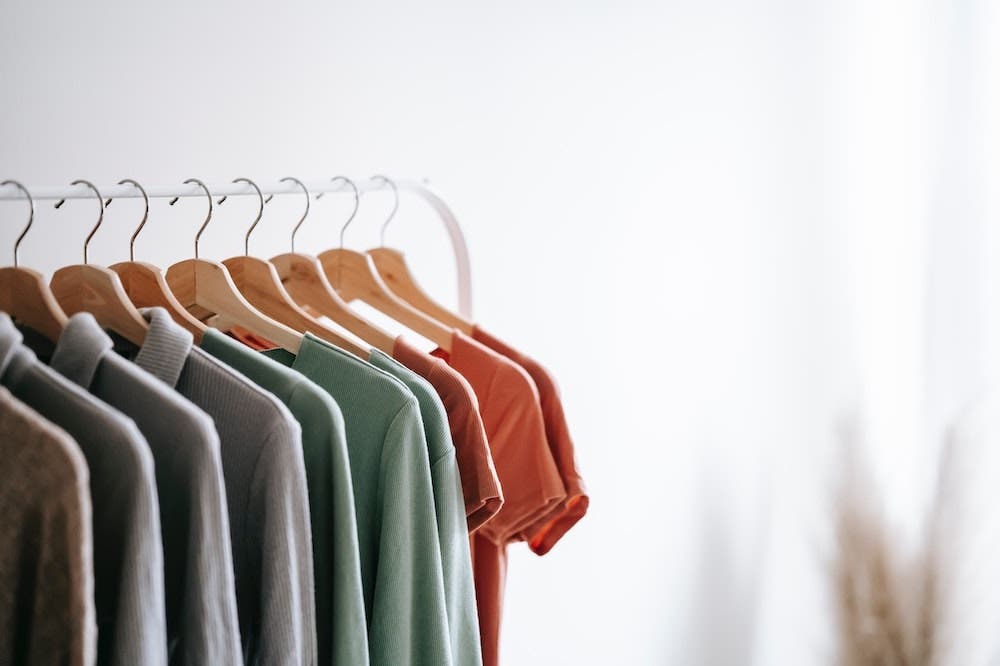
Once the clothes are ready, hang them in preparation for the different shots. This should include a full-body shot, a close-up of the garment, and a detail shot. Depending on the clothing you’re shooting, you may also want to include a shot of the model wearing the garment. For example, if you’re shooting a dress, you’ll want to include a shot of the model walking or sitting so that viewers can see how the dress moves.
Once you’ve selected your shots, it’s time to set up your camera and lights. Clothing photography typically uses fairly simple lighting setups, so you won’t need anything too complex. A few well-placed lights should be sufficient. Once your continuous lights are in place, you can focus on getting the perfect shot. Pay close attention to composition and framing. Make sure that the clothing is the star of the show. With a little effort, you can take stunning photos of any piece of clothing.
Where Should the Lighting be Placed?
Once you’ve prepped the clothing, it’s time to set up the studio lights. Clothing photography typically uses fairly simple lighting setups so that you won’t need anything too complex. A simple three-point lighting setup will suffice.
- The key light is the main light source and is typically placed at a 45-degree angle from the subject with a softbox. It’s best to adjust the output of the light between 80 and 100 percent so there’s sufficient light falling on the model or mannequin.
- The fill light helps to reduce shadows and is placed on the opposite side of the key light with a softbox or light reflector attached at around 50 percent brightness.
- The last light to set up is the hair light. It’s best to place this smaller light behind the subject as it adds definition and drama.
When positioning these lights, it is important to experiment to find what works best for the particular subject. However, generally speaking, the key light should be slightly higher than eye level to create a halo effect. The fill light should be at (or just below) eye level.
Camera Settings for Clothing Photography
Selecting the best aperture, ISO, and shutter speed for clothing photography can be a bit of a balancing act. On the one hand, you want to avoid too much noise or blur in your photos. On the other hand, you don’t want your photos to be underexposed or oversaturated. Ultimately, the best settings will depend on the specific situation and lighting equipment that you’re using. However, there are a few general guidelines that you can follow to help ensure that your photos turn out looking their best.
ISO
For ISO, it’s generally best to keep it as low as possible while ensuring that your photos are properly exposed. A setting of around 50, 100, or 200 will help to avoid any unnecessary noise or graininess in your photos. Be aware some cameras won’t allow shooting RAW at ISO 100.
Aperture
As for aperture, you’ll want to choose a setting that allows enough light into the camera while providing some field depth. Considering your focal length, an aperture of f/5.6 or f/8 is generally best for photographing clothes. This will help ensure that clothing is properly focused while still allowing for some background blur. For close-up detail, a shallow depth of field around f/1.4 or f/2.8 is often used by professionals when clothing detail is essential.
Shutter Speed
Finally, for shutter speed, you’ll want to choose a setting that minimizes camera shake and motion blur. Selecting the right setting all comes down to your lighting environment. For instance, if you are using strobe lights or flash photography, you will need to sync the shutter at the manufacturer’s default, commonly displayed as the letter “X” next to the shutter speed (normally 1/180). Again, the exact setting will depend on the situation and equipment that you’re using.

If continuous lights are your foray into photographing clothing, a shutter speed of around 1/250 is a good place to start. Check your camera’s exposure meter and histogram to see if you achieve the correct exposure. If the photo appears overexposed, increase the shutter speed to 1/500 or, if the photo looks too dark (underexposed), change the setting to 1/125 to allow more light to enter the camera.
Final Thoughts
Learning how to photograph clothing does take time to master. So, upon application, don’t fret if your photos aren’t at a magazine level of quality. Instead, take the time to ensure you have the right equipment for the job. This includes lenses, lighting, backdrops, and lighting accessories. Every little piece of equipment adds up to make a big difference in your final images. Finally, take care with prepping, styling, and setting up each garment with care. This will help your clothes look their best in photos.
