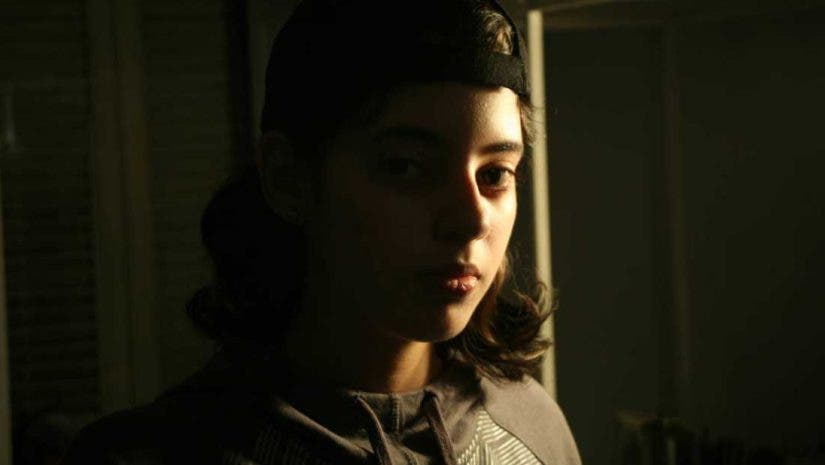
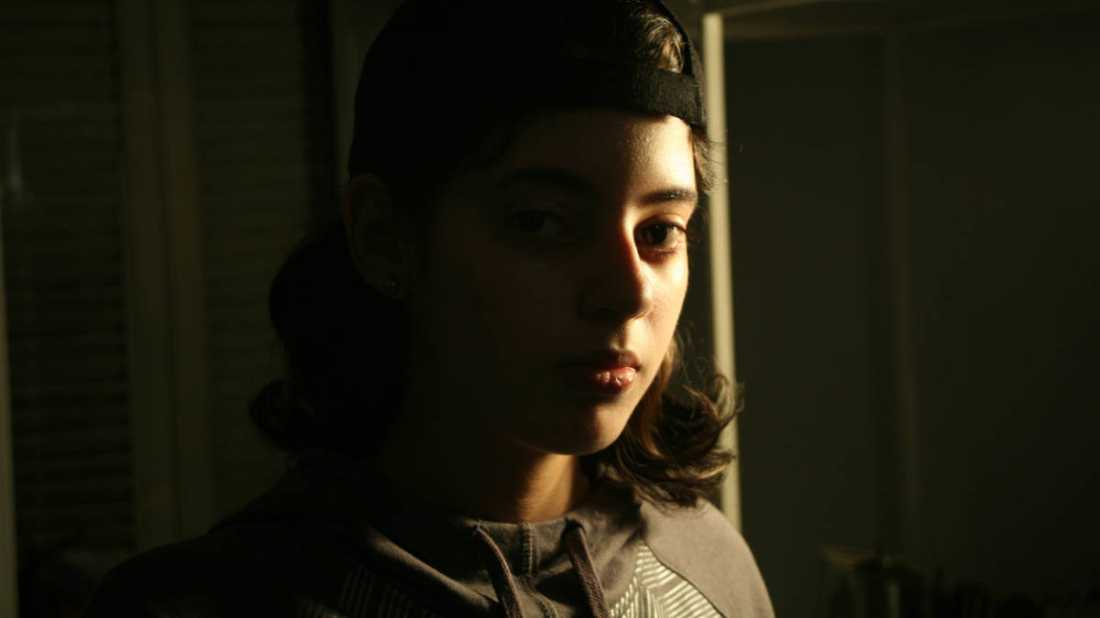
Photography is a two-dimensional medium, yet from the beginning, photographers, like painters, have worked to create images that feel three-dimensional. Scenes that pull the viewer in and feel like you could step into the frame. One powerful technique for this is Chiaroscuro lighting. This technique blends bright highlights with dark shadows to create depth in the photo’s visual and emotional representation. In this article, we will dive into why the Chiaroscuro lighting technique is so powerful when you should use it, and some practical advice on how to use it in your work.
What is Chiaroscuro Lighting?
Chiaroscuro lighting is a technique that uses high contrast to add a three-dimensional feel to images. Photographers should light the main subject with a pool of bright light, which is not quite blown out but much brighter than the general environment. The three-dimensional element is added by having additional light, often in the form of a separation light that “cuts” the subject out of the much darker background, though not wholly black. The subjects generally have a flow of dark to light to mid-tone to dark; this sculpting of light makes them feel like they have depth in the two-dimensional surface.
Characteristics of Chiaroscuro Lighting
In painting, Chiaroscuro is often presented with exact rules; in photography, we frequently bend these rules, and an image with the correct feel is called Chiaroscuro. That being said, here are some elements that will help you create Chiaroscuro images.
Bathed in Light
One key element, probably the most important to get the right feel, is that you should bath your subject in light. The subject should not just be in a well-lit space but instead specifically lit. You could think of this as placing the spotlight on your subject. That is not to say that you cannot light other areas brightly. As this is often the case. Instead, you should divide the space using pools of light in an overall dark frame.
Deep Blacks, Bright Lights
Your subject should have dark shadows to give the shape and form to their features. Contrast is critical in Chiaroscuro lighting. Along with dark but detailed shadows on your subject, there should be some areas of deep black in your image. Overall, the photos should have both deep backs and bright lights.
In an Environment
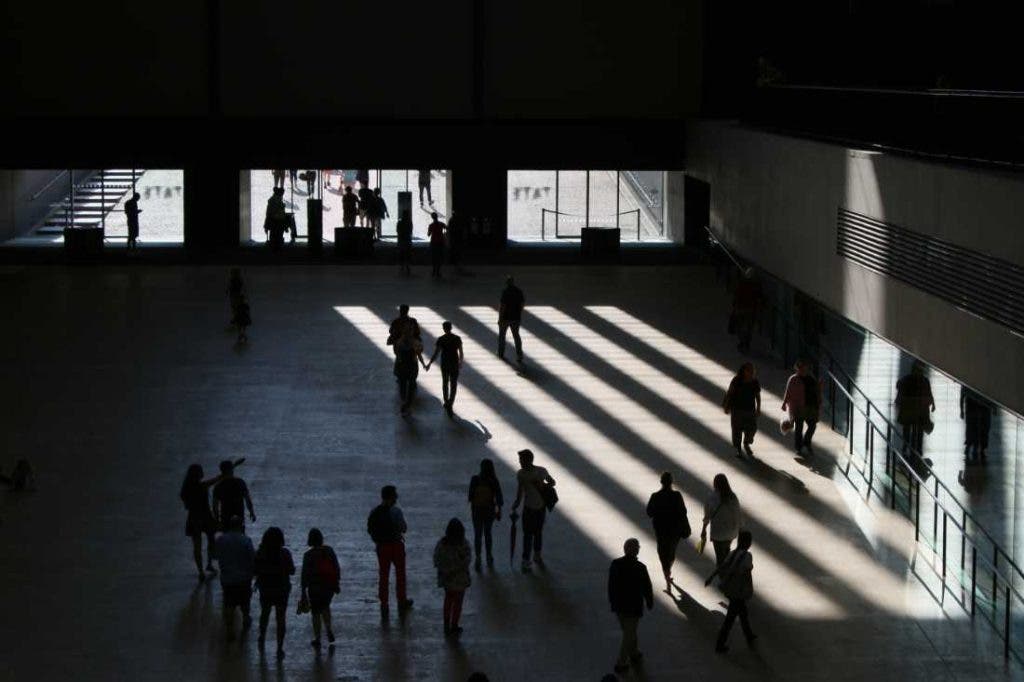
One key element that defines Chiaroscuro is that even with all this darkness and pools of light, the subject must be clearly in an environment. That environment can be as simple as a dark wall or as complex as a cathedral. Still, it must be present for an image to be Chiaroscuro. If your subject suddenly drops into a stygian black, that is another closely related style called Tenebrism.
Sculpted Light
The easiest part of thinking in a Chiaroscuro mindset is the contrast. Still, transitioning from light to dark is vital to give your images a three-dimensional feel. The sculpting of the light from black (or almost back) to dark shadow, to bright key, and once again to darkness is the key to making a fantastic Chiaroscuro image. Remember, the goal here is to create three-dimensionality. Much of this comes from getting the right feel, as it does from specific techniques.
Chiaroscuro Lighting Setup and Technique
Chiaroscuro lighting relies on high-contrast scenes that hold detail in bright and dark areas, so some light shapers are better suited for this kind of work than others. First, let’s talk about the lights and light shapers, and then we can look at the best ways to place these lights in your scene.
Best Modifiers for Chiaroscuro Lighting
Because we are lighting in pools of light, modifiers that give us the most control over the spread of light will be the most useful. Keep in mind that we want to maintain detail in bright highlights. A small softbox with a grid is a great light shaper that gives us both control and diffusion. Something like this Chimera Super Pro X with a Chimera 30-degree Fabric Grid would be ideal. Strip softboxes (also with a grid) are another option to light more of our subject. Perhaps this Glow ParaSnap 12×36″ Strip Softbox and Glow Heavy Duty Egg Crate Grid for 12×36″ ParaSnap Softbox.
If you are lighting from a distance, a focusable spotlight will do the job efficiently. This Dedolight Turbo Series DLED7 90W Bi-Color Focusing LED is one of my favorites. Snoots or a projector are great options for pools of light in our scene. Try this one from Flashpoint: Flashpoint BFP Optical Spot for Flash. Here is a Bowens mount snoot: Flashpoint Snoot Kit for Bowens Mount Strobes.
Positioning Your Lights for Chiaroscuro
Before deciding on the right light shaper, we must consider our scene and how we plan to light it. Since we want to produce pools of light, having your light source as close as possible to your subject will prevent it from spilling onto the rest of the environment. This will help produce the wrap-around “sculpted” feel we want. However, a wide scene with lots of background might make it hard to place your light close to the subject. In this case, using a focusable spotlight will be your best bet. While this can flatten the light, it will keep your lighting instruments out of frame.
Place your lights at least a 45-degree angle to your subject, if not completely, to one side. This will increase the shadow on the face and send any stray light off the frame vs. behind the subject. Which would light the background. Remember that we want some of the background in our shots. Depending on the environment, you could drag the shutter to give some ambient fill or use focusable lights to pepper the environment with bright pools.
Chiaroscuro Lighting Examples
I pulled three images to show you how you might use Chiaroscuro lighting in your work.
Add Mystery
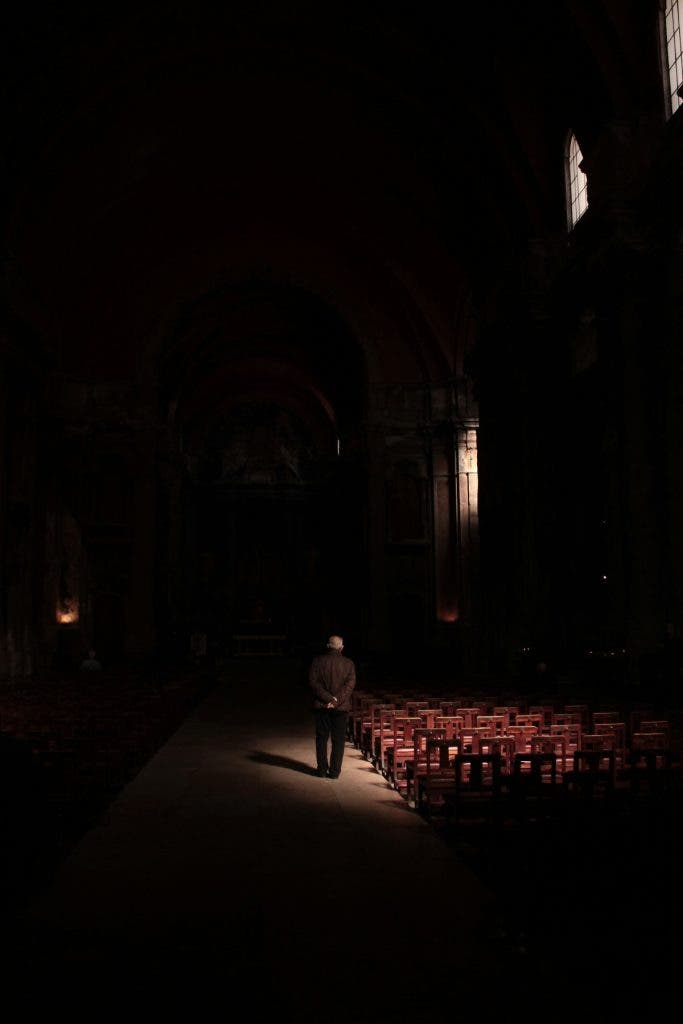
This first one is wonderfully deceptive as, at first glance, the subject seems to be lit by the natural light coming from the windows. Those who understand light know the lighting would be flat if the windows lit the space. Just out of frame, a spotlight shines on our subject, leaving them in a pool of light. The photographer has allowed the windows to blow out with a slightly longer exposure, giving us an idea of the environment and scale. Enough of the environment is lit here so the viewer can understand the space, feel, and mood of the image.
Add Weight to a Scene
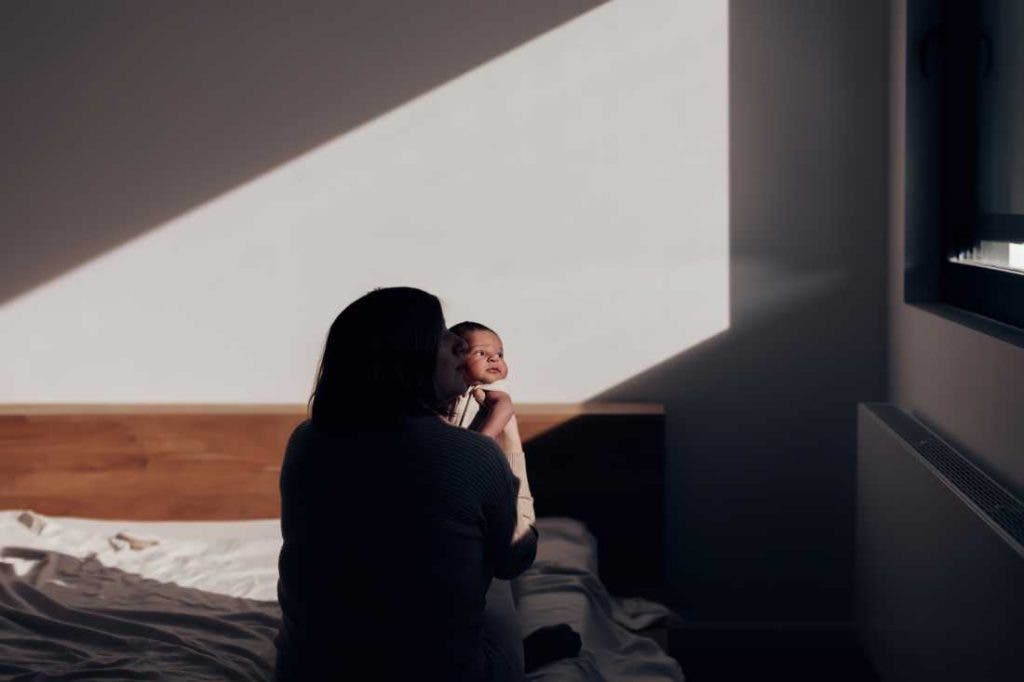
This next image is a wonderful example of natural light doing the heavy lifting. The photographer has wisely closed the window shade on the left of the image. They then allowed an out-of-frame window to shine its hard, direct light at the warm, white wall. This hard light brightly and beautifully illuminated the baby’s face. Because the light is highly directional, the adult holding the child becomes a silhouette against the brightly lit wall. The soft bounce off the wall defines the rest of the space, giving us a slightly underexposed room. The baby is the clear focus of the image, and our eyes are drawn to the child before they take in the austere environment. Here, Chiaroscuro lighting is used to add weight to a simple scene.
Strength and Power

This last image is lit with Chiaroscuro to give our subject strength and power. The image is heavily side-lit, creating deep shadows on one side of the subject’s faces while highlighting their muscle tone. Additionally, the green and white walls (behind the weight bench) are slightly under-exposed. This keeps the focus on our subject while revealing the space in which they dwell. With its sculpted light, this image shows us how Chiaroscuro can bring dramatic tension to our image. The sculpting of light also creates a beautiful three-dimensional scene.
FAQ: Chiaroscuro Lighting Technique
Many people confuse these two lighting styles as they share similar traits. The main difference between the two is that the subject is clearly in an environment in Chiaroscuro. Tenebrism surrounds the subject with absolute blackness. In both cases, the subject is in a pool of light. Still, in Chiaroscuro, the environment also has either an underexposed overall light or a series of light pools.
What makes Chiaroscuro powerful is the use of transition and contrast to produce depth and space. Balancing light to create evenly lit photos is thrown out the window in pursuit of emotion and depth. If we removed our knowledge of the subject from a Chiaroscuro image, the image would still be powerful. Even in the abstract, transition and contrast make for a striking image.
You can use Chiaroscuro to evoke many emotions, from grief to power. If I were to pick a single mood often related to Chiaroscuro, I would say mystery. The use of transition and pools of light will clearly show our subject. However, it usually takes a few seconds for our eyes and minds to dig into the darker parts of the image. This process draws us in. And since the light has created depth and three-dimensionality, we can fall into the images completely. We are then immersed in the subject’s world, if only for a short time.
Conclusion
Unlike Rembrandt, split, butterfly, broad, or short lighting, Chiaroscuro is not beholden to a fixed formula. Yes, we need pools of light and transition. However, we can achieve and use these in our work in many ways. When we reach the point where we begin to explore these types of styles as creators, we have reached the “next level.” The level where the emotional content of our work takes precedence over some posing guide or lighting diagram. Create emotion, create scenes, and create worlds with Chiaroscuro lighting.
