So, you’re a horse lover? Me too! Each horse has its own special characteristics, charm, and history that makes it unique. But how do you actually capture the essence of a particular horse in a portrait? In this article, I’ll go through several of my own approaches for capturing horse portraits — both for indoor and outdoor scenarios.
I’ve been a resident of Iceland since 2016 and as long as I’ve lived in here, I’ve been drawn to the power and mystique of the Icelandic Horse. What impresses me the most about the Icelandic horse is their strength to endure the elements. In any condition they can survive — whether it be snow, rain, or powerful wind. Now, why does this matter? Because it shapes how I want to capture the horse. And once we know what we want to capture, we can then plan how we capture it. In the case of the Icelandic horse, capturing the unique characteristics of mystique, wildness, compassion, and power is my goal. There are benefits to both indoor and outdoor portraits, which I’ll explain for each.
Indoor Approach for Horse Portraits
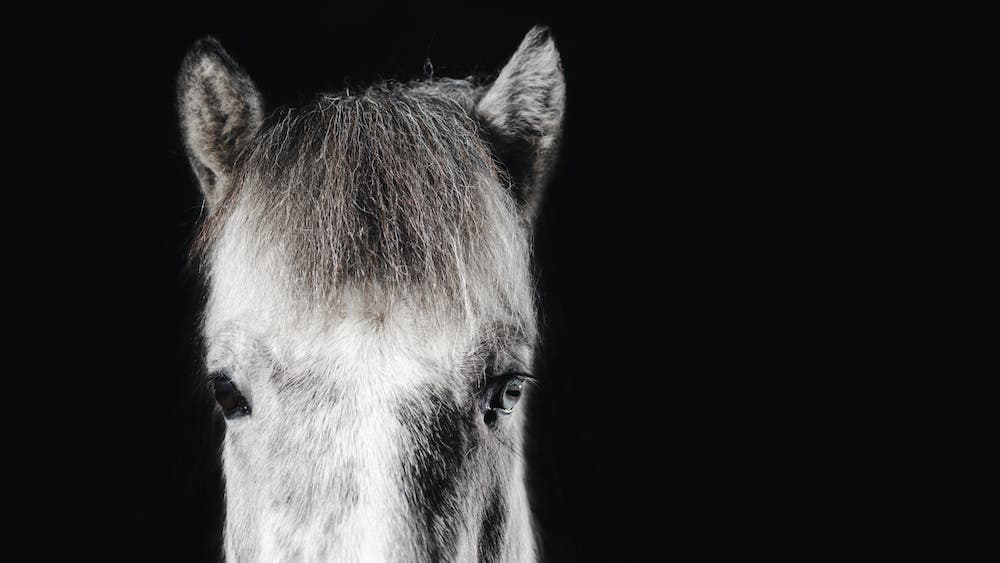
The story of the Icelandic Horse is deeply tied to the Icelandic people. And because of this, there are countless breeders and trainers across the country that make it possible to create a setting to portrait the horse using controlled lighting. The advantage of doing portraits indoors is that you can easily isolate the subject using constant lighting. This helps to better showcase the characteristics of the subject. So, what do you need to consider when setting up indoor horse portraits?
Tip 1: Create a Comfortable Environment
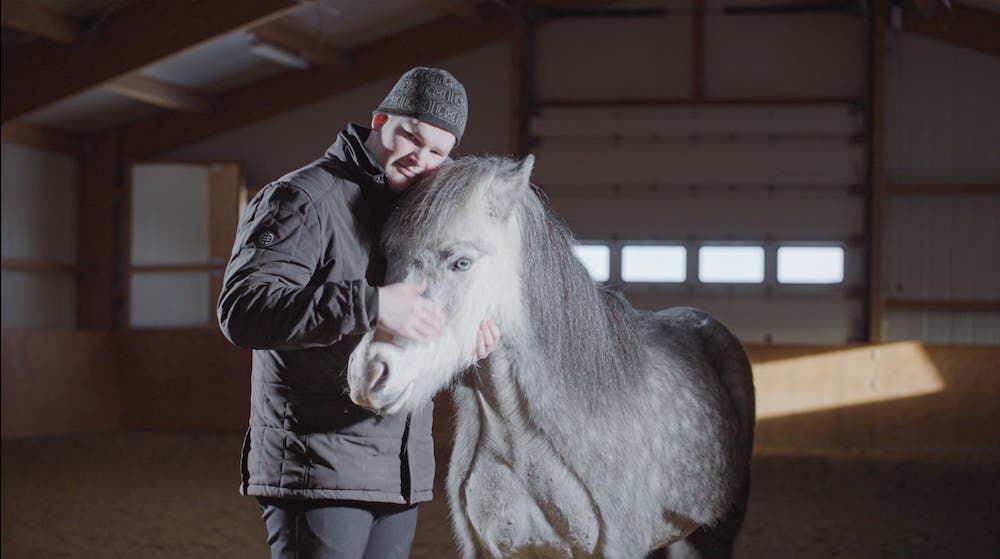
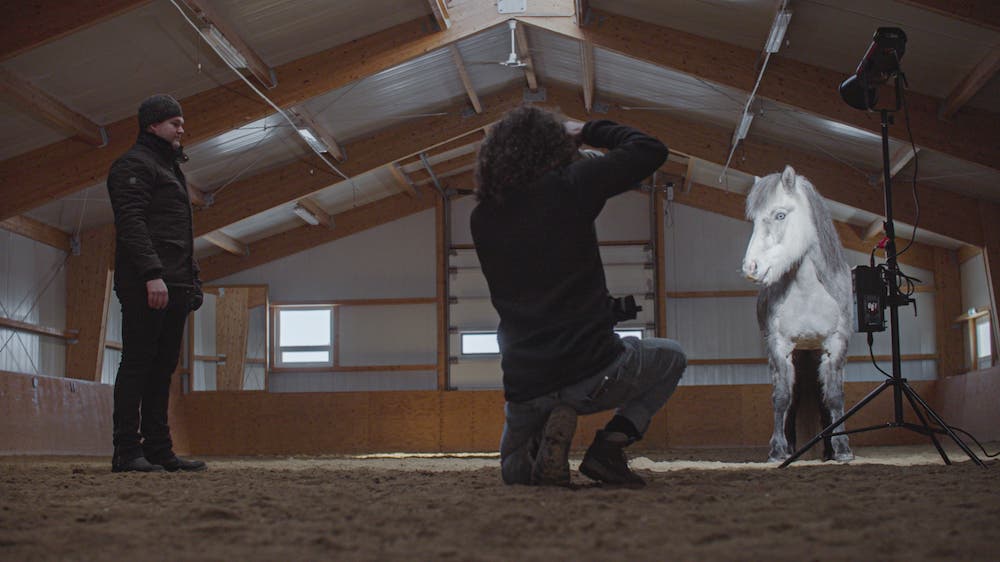
Wherever you are and whatever the type of horse you’d like to photograph, keep in mind that one of the most important elements of creating portraits is the setting. A subject must be comfortable and at ease in order for them to relax and present themselves naturally without hesitation. I’ve been fortunate myself to work with Kjarr Horses in the South of Iceland who have been breeding and training horses for decades. I visited their stables where I worked with two of their horse trainers who spend hours each day grooming and training the horses for shows and competitions.
The horses are incredibly calm and stress-free in their presence and in a location that they are familiar with. The trainers know how to encourage the horses to move and remain posed in certain positions, which makes creating portraits much easier and enjoyable. Because these horses spend more time around people, they’re also comfortable being in my presence as well.
Tip 2: Use Constant Lighting
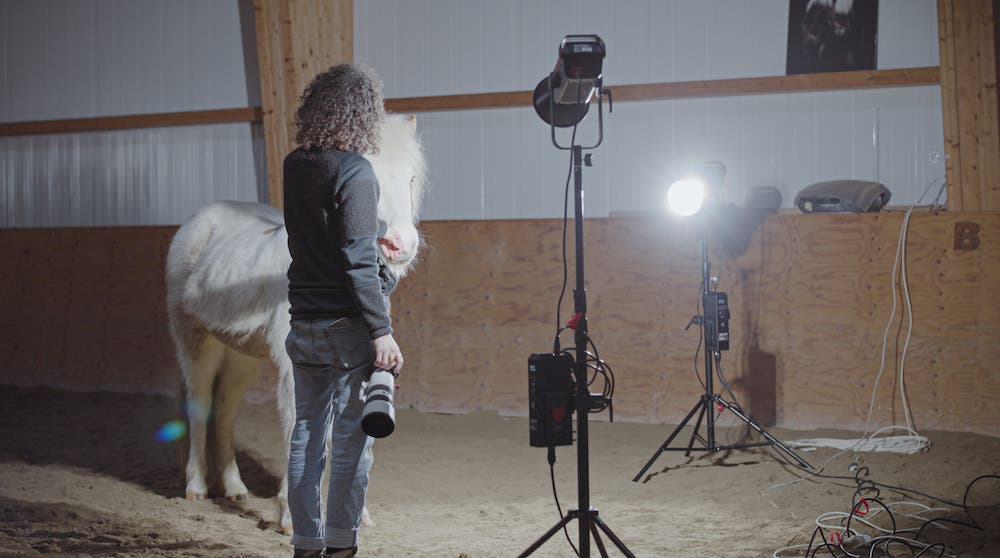
Whenever working with animals, it’s always a best practice to never use any sort of flash. The sudden burst of lights can surprise or startle animals because it’s something unfamiliar to them. This could result in the subject running away, injuring itself, or harming you as the photographer or the equipment. If the goal is to create portraits with a dark background, you’ll need to create enough of a difference in light between the subject and the background. LED lights, like the Aperture C300D II, are much better for shaping light because you can visually see the result in real-time at varying intensities and angles.
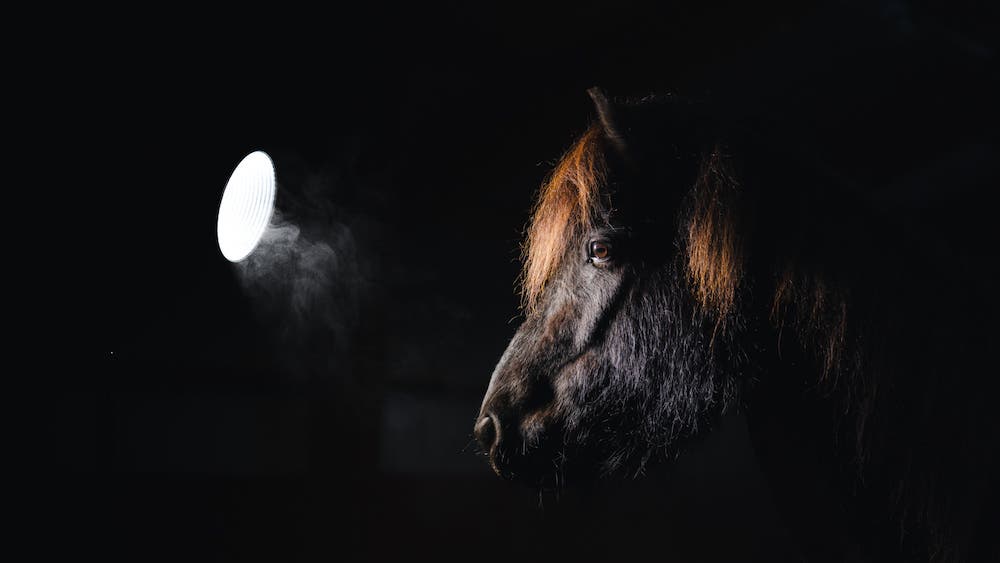
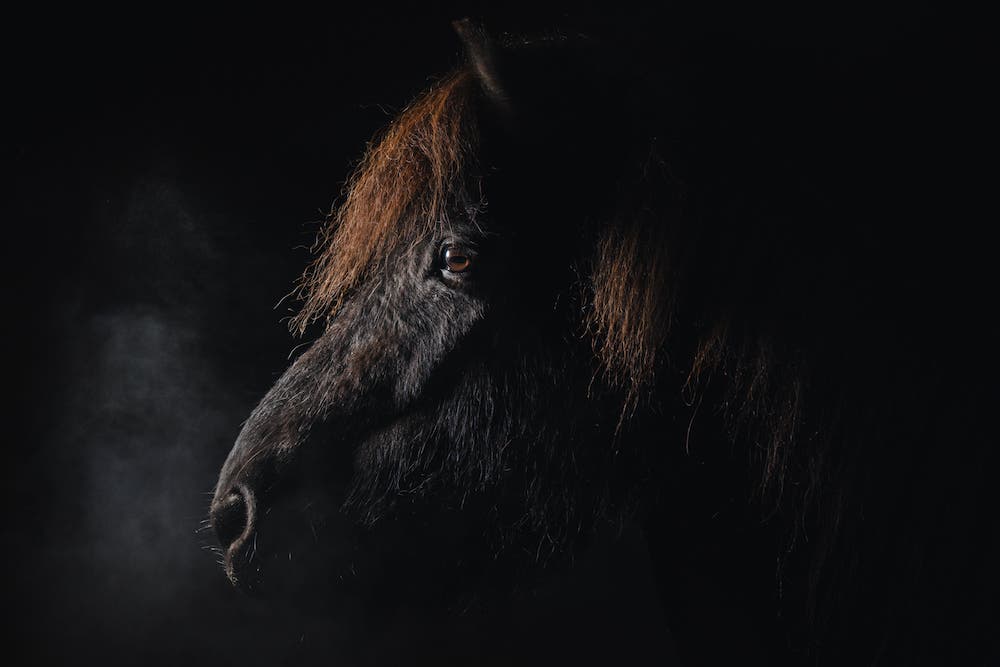
I like using these lights specifically because they can be powered either by plugging into a wall socket or using V-lock batteries if you need to work in a location without power options. Plus, you can use modifiers like reflector dishes and soft-boxes to create different looks if you want to experiment.
Special note: Always make sure you use a sturdy stand to mount the lights. If you want to be extra safe, you can even add weights or sandbags make sure the stands are secure.
Tip 3: Start with a Single Light
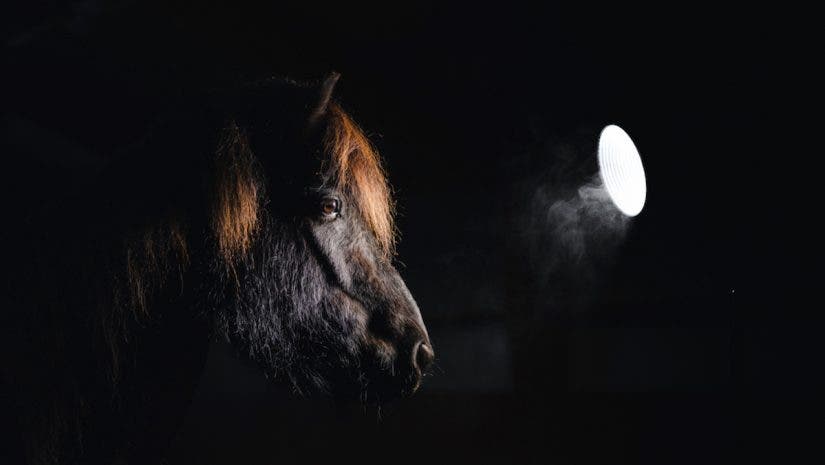
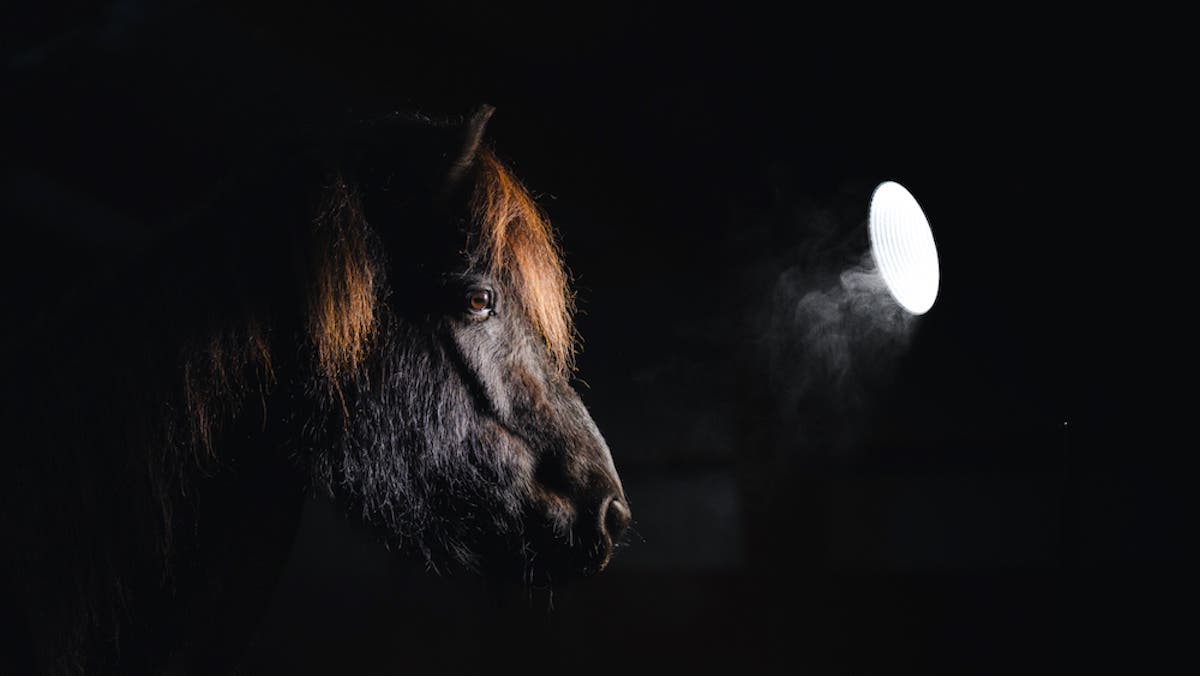
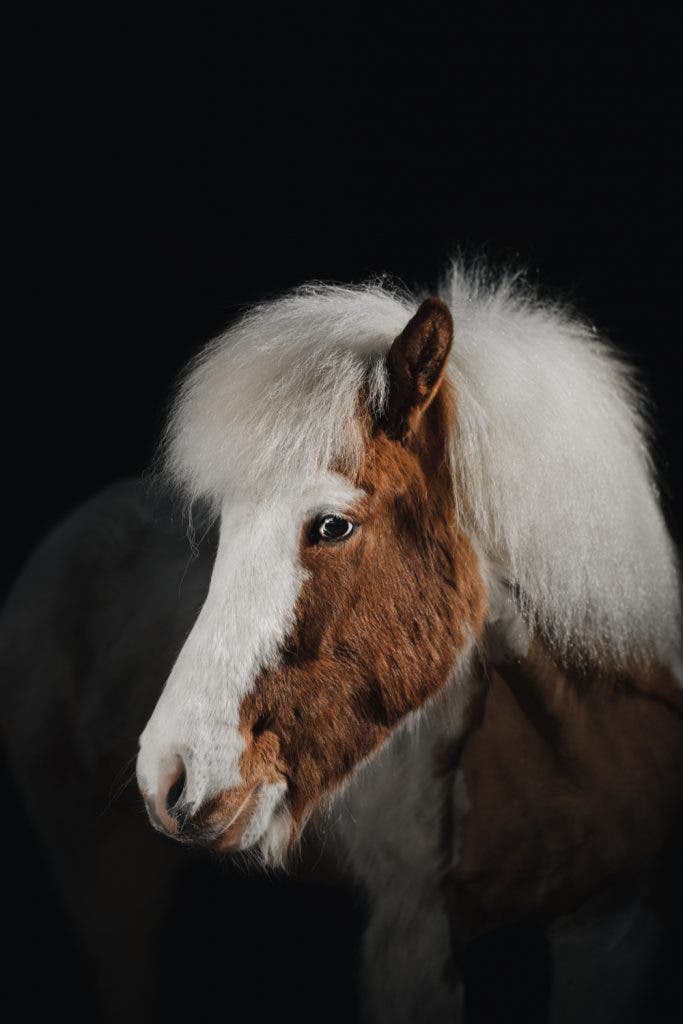
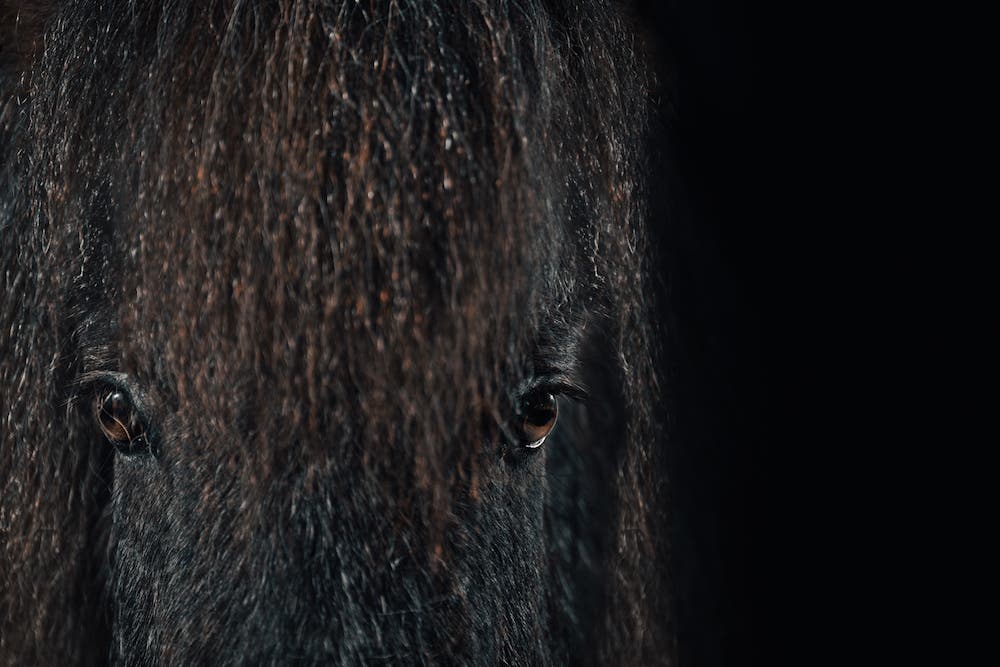
My standard approach is to start out with one single light and see how the subject reacts. It’s best to work when the ambient light of the space is minimal. If that’s not an option, you can still get great results during the day by bringing the LED lights up to 100% to create a greater difference in exposure between the subject and the background. Notice how the light in this riding arena is still much darker than the light on the face of the horse illuminated by the LED.
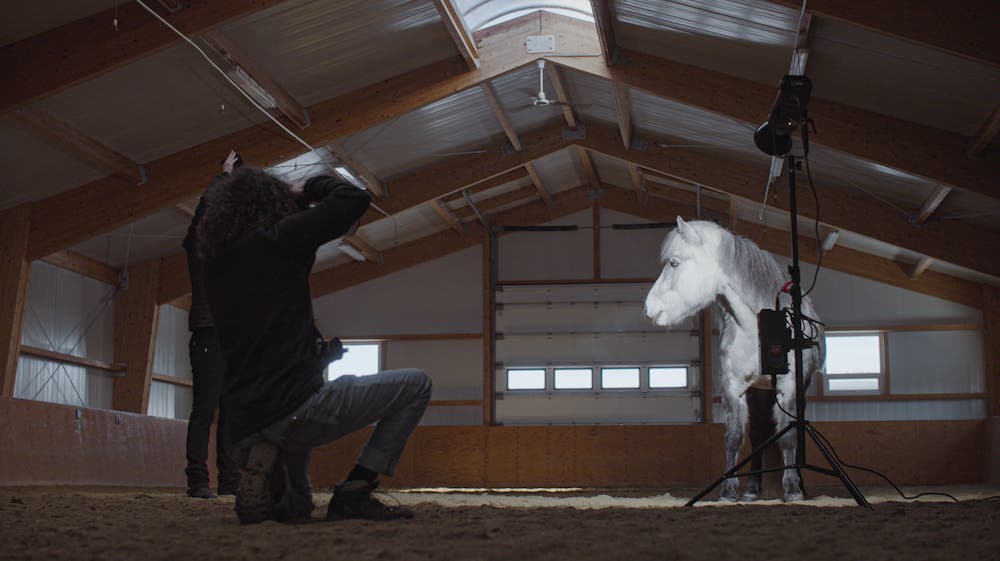
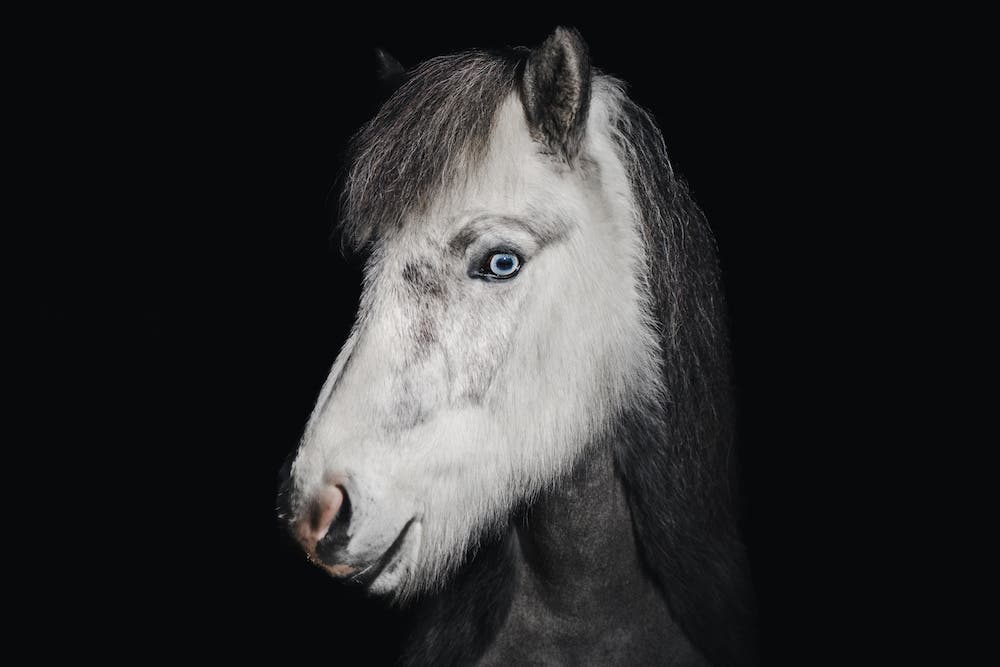
When using a single light, you can position the subject and the light in creative ways to create more dynamic contrast on the subject. You should limit the amount of light that spills onto the background. Using modifiers that direct the light are very helpful because they preven leak onto the backdrop.
With a single light, you can create dynamic portraits that focus on single elements of the subject. Place the light in various positions and change the distance and intensity to get different effects. A single light allows you to zone in on a characteristic — such as their fur, hair, and the power in their shoulders.
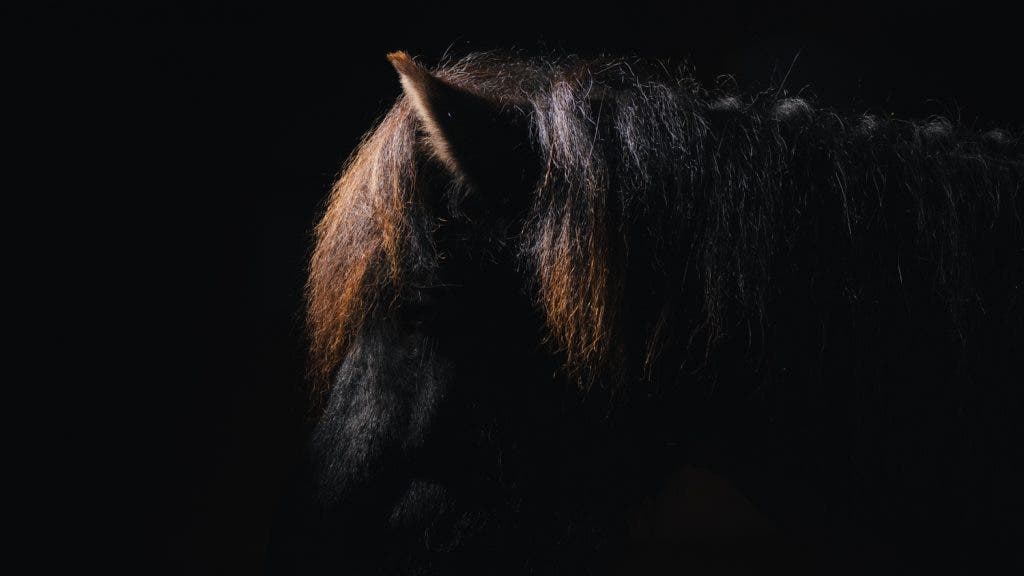
Tip 4: Big Open Spaces
One solution to light spillover onto the background would be to work in a very large space where the background is very far from the subject. This will also allow you to also get creative if you want to incorporate movement into the photographs.
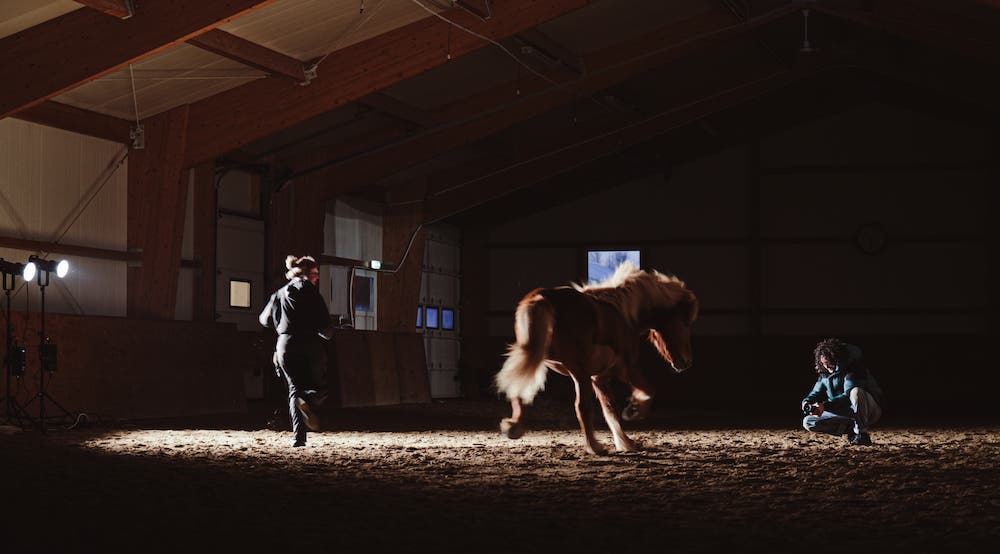
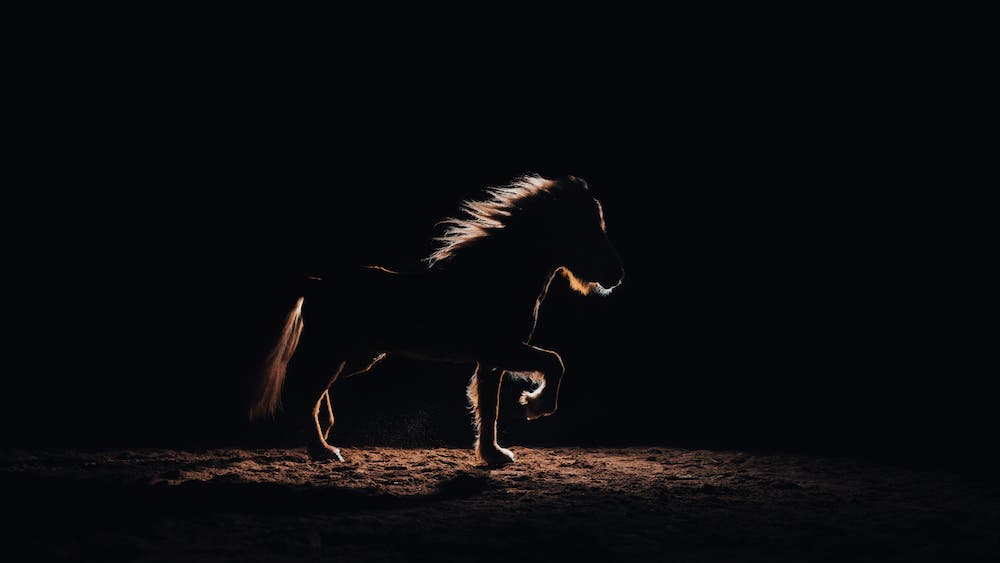
Tip 5: Use Two Lights and Experiment
With one light, you’ll be able to create silhouettes, rim lighting, and expose the subject from a single side. If you want to bring a bit more detail into the subject, two lights are key. By placing the subject close to one light and using another light to fill in the shadows, you can expose the subject and get a more dynamic feel.
Tip 6: Experiment with Lenses
Depending on the size and proportions of your subject, different focal lengths will result in different looks. I’ve found — for horses specifically — using a wide-angle lens like the Sony 20mm F1.8 results in a very skinny and tall-stretched face. This isn’t flattering to me. Instead, I step back a bit and use a 70-200 F2.8 GM OSS II lens. I find that — for the Icelandic horse — 70mm is really ideal.
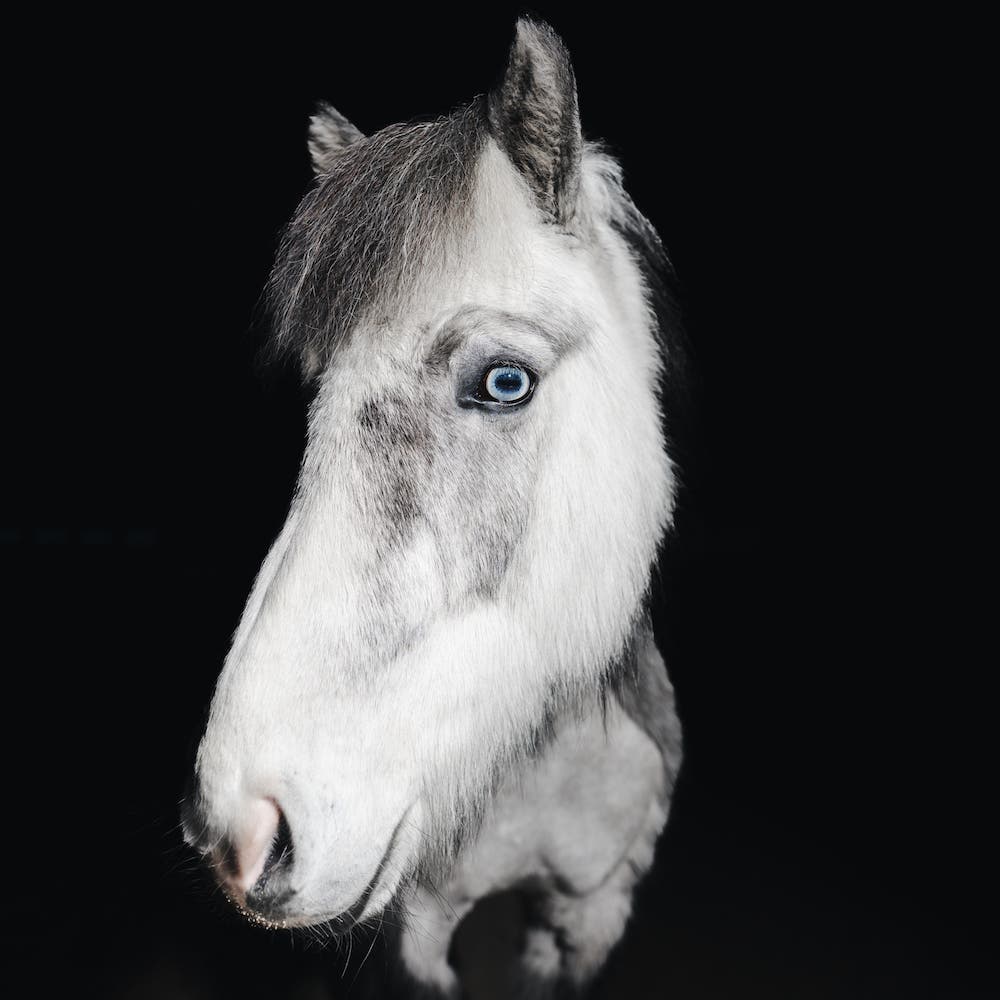
20mm: Shoulders and torso shrunken. Frail looking and warped. Face elongated and disproportionate.
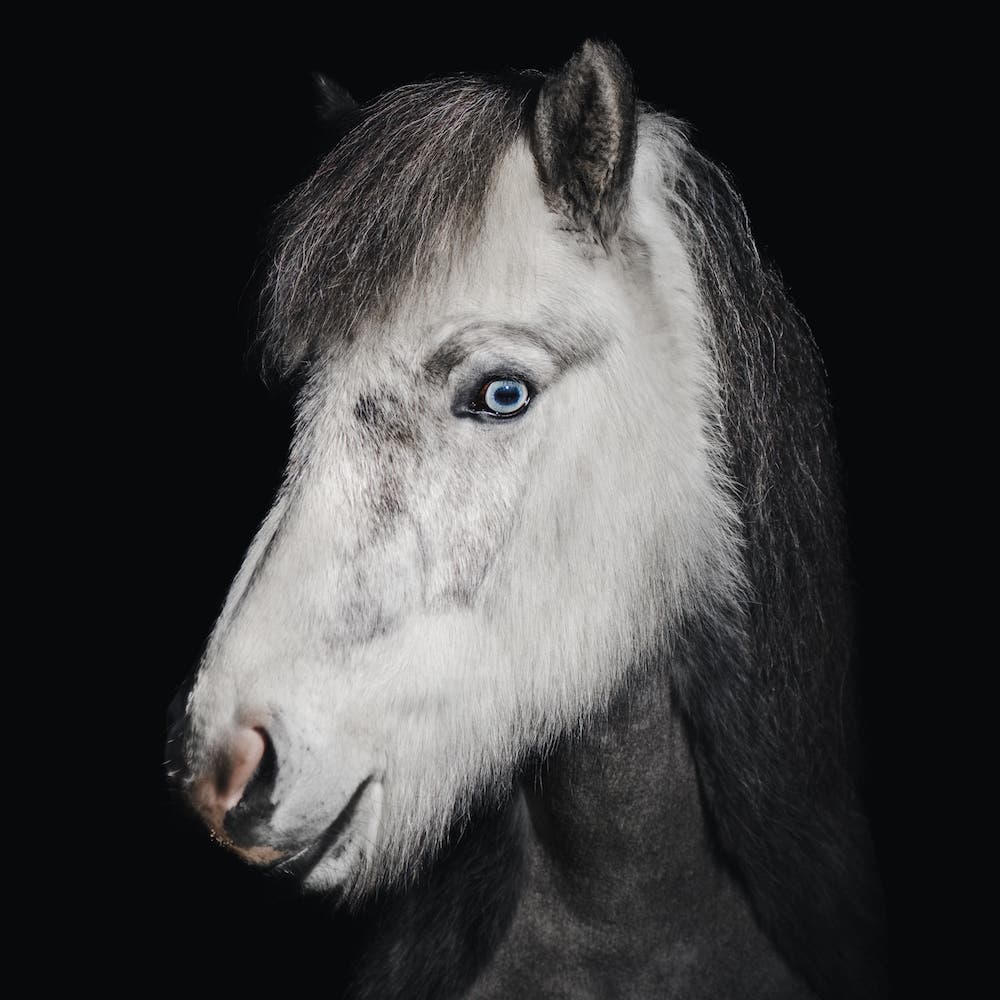
70mm: Shoulders and beck appear more connected, broad, and powerful. Face is wider and more proportional.
Tip 7: Use Animal Eye-Autofocus
On the Sony camera bodies, like the Alpha 1 and Alpha a7IV, you can enable animal eye autofocus. I’ve found this to be a total game-changer for my workflow. I can focus my attention more on the subject and their body posture, the lighting, and the other elements of the portrait, rather than on focus points around. Personally, I’ve been using the “wide” focus area and letting the camera catch the eye.
Tip 8: Custom Buttons
I’ve found that keeping the autofocus on continuous mode and setting up back-button focus can be very useful as well. By decoupling the focus from the shutter button and setting the focus for a custom button, you’ll find it much easier to concentrate on the composition.
Tip 9: Be at Eye Level
One of the most significant and simple improvements that you can make to any portrait is to modify your height relative to the subject’s eyes. If you’re taller than the eye-line of the subject, then you’ll be shooting down onto them. Anyone viewing the portrait will subconsciously associate dominance, because of the vantage point.
However, if you lower your camera relative to the subject and meet them eye-to-eye, the result will be a much more intimate portrait that feels mutually connective. Even being a little bit lower than the subject can result in a sense of honor. Plus, the interesting angles from below generally flatter the facial structure of horses — at least in my opinion.
Outdoor Approach for Horse Portraits
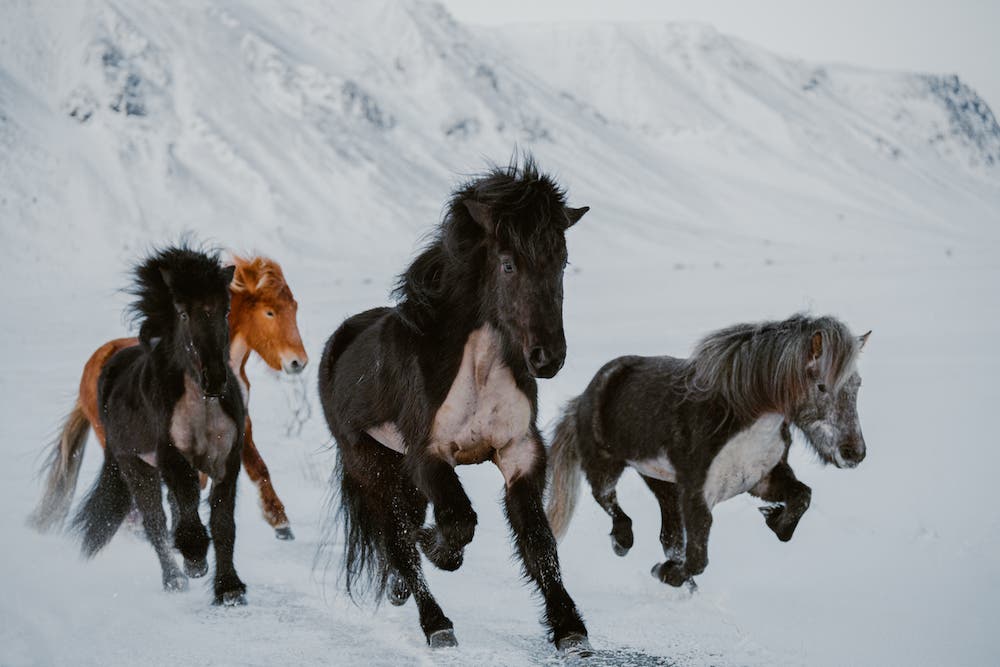
The story of the Icelandic horse is deeply tied to the Icelandic landscape. The climate of Iceland — harsh winters, rugged terrain, and intense weather — demanded the strongest horses. This shaped the Icelandic horse in many ways. In order to capture their essence in the landscape, we need to see them move.
Tip 1: Capture Motion – Be Stationary
Get the horses moving. Work with trainers who know how to work with the horses and come up with a plan to capture them in motion. For the Icelandic horse, I worked with the trainers for two methods:
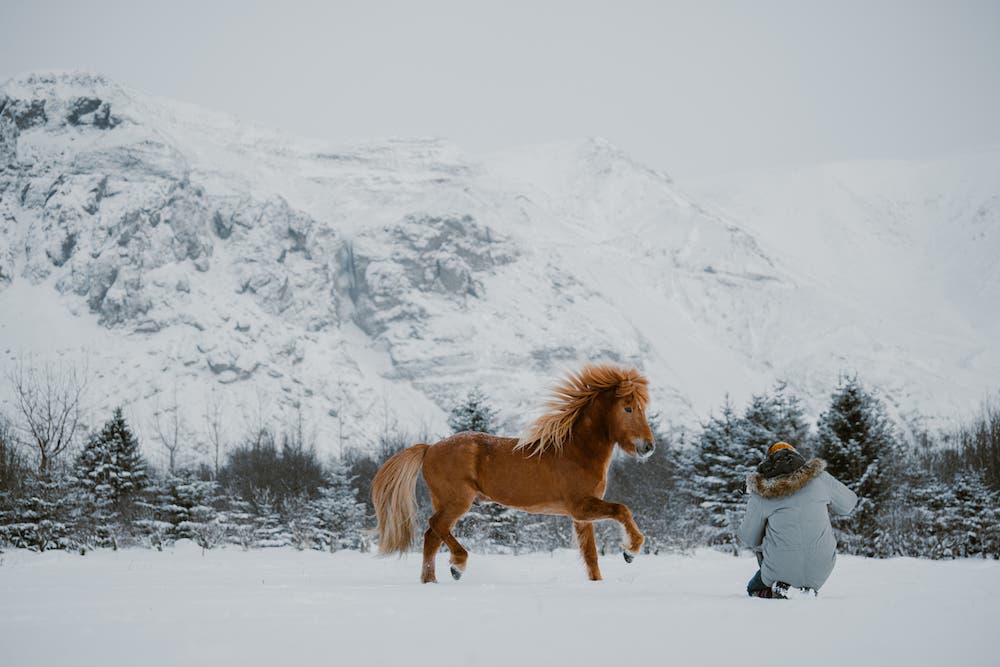
In the first method, I was stationary on the ground and the horse would react to clicking noises and cues made by the trainer. This would encourage the horse to run and show off its power. For this method, I combined many of the tips from the indoor portraits. I kept physically low, and used continuous animal-eye autofocus and my Sony 70-200mmm lens.
Tip 2: Really — Get Low
Blur the foreground by using a low aperture number (like f2.8) and incorporate one-third foreground out of focus and blurry. Be careful not to cut off too much of the subject’s feet. Using the swivel screen on Sony mirrorless cameras, you can basically be resting the camera on the ground. The blurry foreground really helps to isolate the subject and make them appear powerful and prominent within the frame.
Tip 3: Use High-Speed Mode
On the Sony Alpha 1, there’s the ability to capture up to 30 frames per second in burst mode with the CF Xpress Type A memory cards (80GB or 2x 160GB) Because horses move so quickly, it’s important to freeze the pinnacle of their movement. When I was reviewing the initial images with the horse trainers, they pointed out specific positions of the legs that they deemed more beautiful. The perfect stride — they called it — for the horse. When the horse is in perfect stride, its entire being is connected to that moment and you can see that its entire body and muscles are working in harmony.
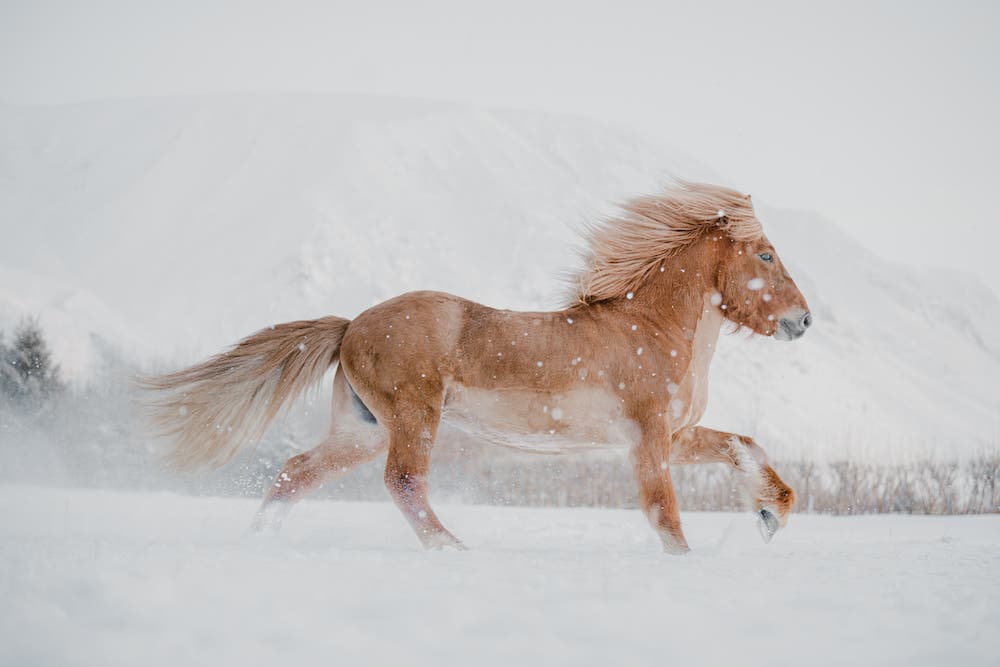
In high-speed burst mode, it’s much easier to select these moments after the fact rather than trying to anticipate and press the shutter at the climax. Although, this approach isn’t just limited to cameras with super high speed burst mode. Most of the Sony mirrorless line have high frame rates that allow you to capture multiple frames per second, increasing your chances of capturing the desired posture and motion of your subject.
However, it should be noted that this is not a solution to truly training your intuition to anticipate any compositional movements that would be aesthetically pleasing. Sometimes, studying photos of horses before going to shoot them can give you better awareness of what body postures are more appealing. Don’t rely on high-speed burst but use it as a tool to help you accomplish what might be a former limitation of the equipment.
Tip 4: Telephoto Zoom vs. Fixed Focal
From my experience, the best approach for horse portraits is to use a tele-photo zoom — like the 70-200 F2.8 GM OSS II or even the Sony 200-600mm F5.6-6.3 G OSS. If the subject is constantly changing its distance from you, then you could have a much easier time reframing and creating a composition. When the horse is at a maximum distance, start out at the maximum focal length — or even the minimal — to create both a close-up at a far distance, or a larger more environmental portrait. As the horse approaches, you can quickly change the focal length to the desired composition.
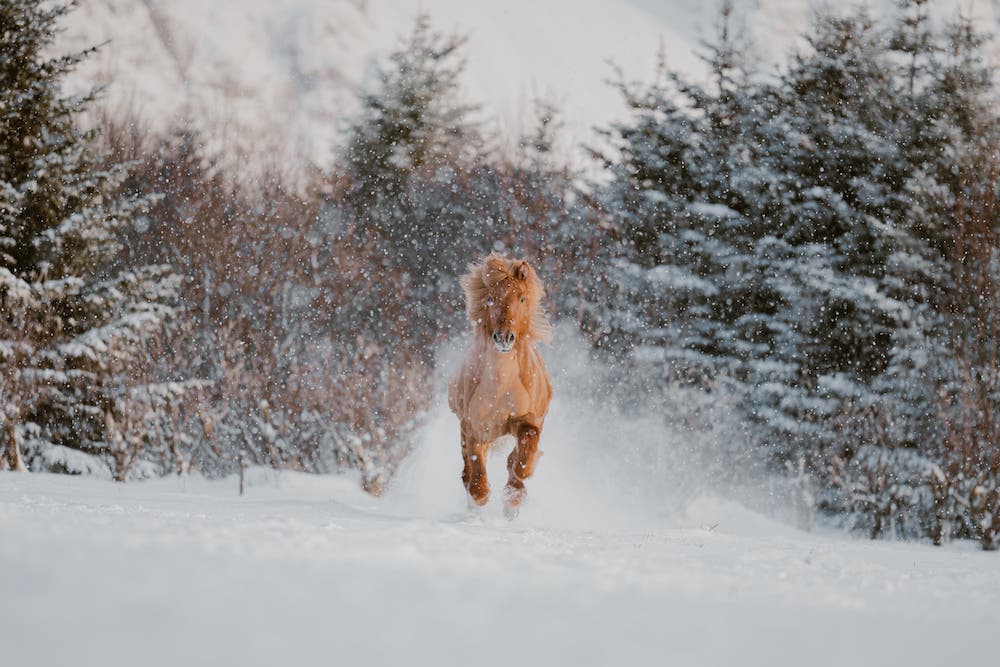
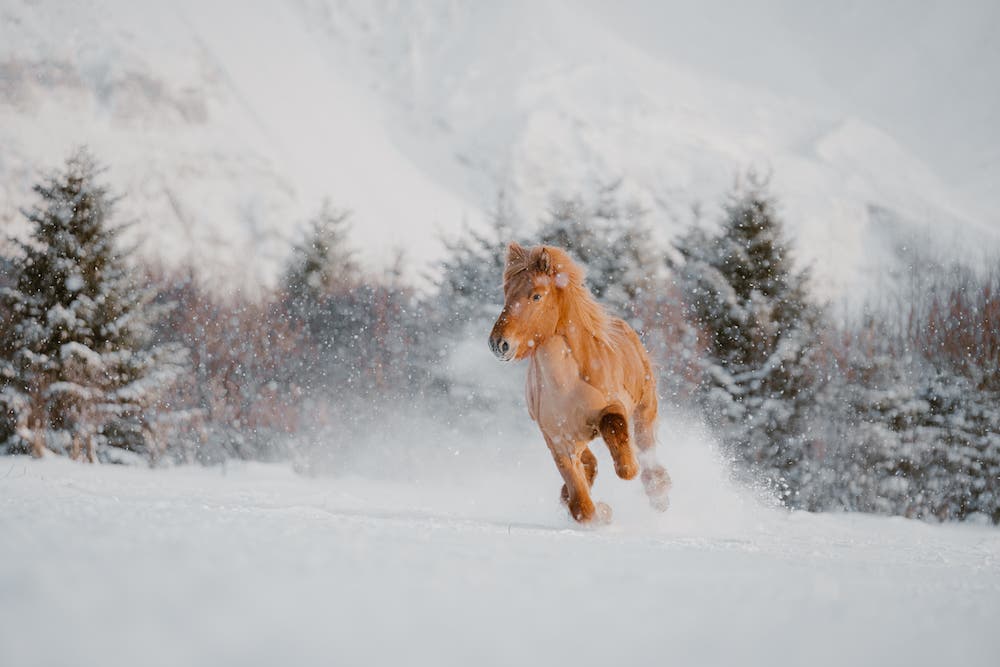
Tip 5: The Perfect Stride isn’t Always the Perfect Portrait
Of course, this doesn’t mean you can’t appreciate the photos where the horse is not in perfect sync . I also look for moments of emotion, momentum, or power in the movement. You can also look for other compositional elements that showcase the horse’s other features — like its hair, body, strong shoulders and neck.
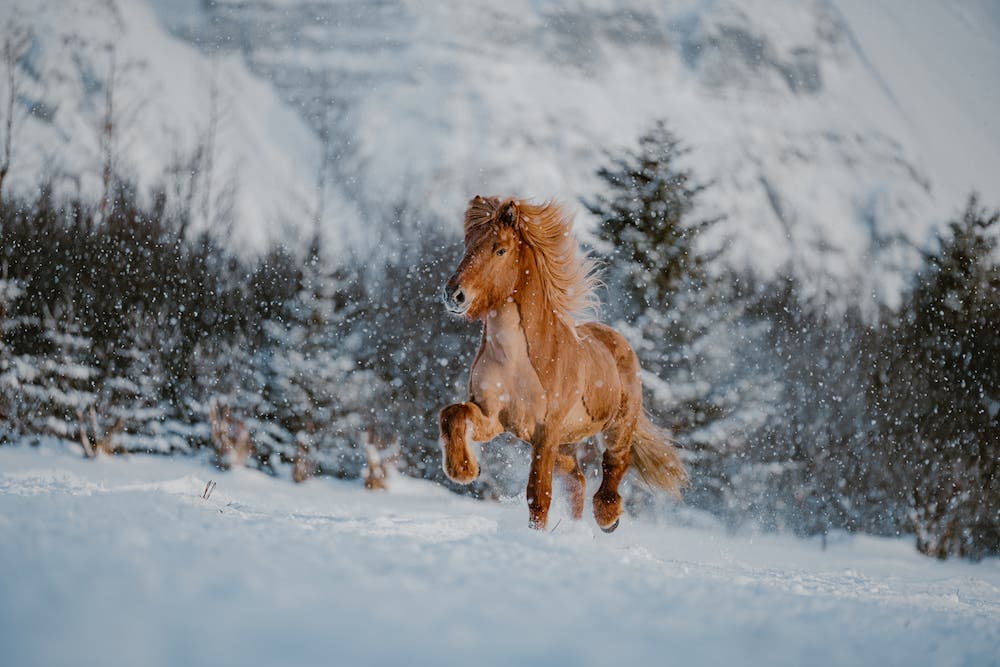
Tip 6: Capture Motion – Move with the Horse
Horses move quickly. If you’re stationary, you can expect to capture their motion from a limited perspective. If you can move with the horse, we’ll be able to expand your range of visuals.
For this approach, I was directed by the trainers at Kjarr Horses to join them in a daily routine of exercising the horses using two vehicles. There is one at the front to lead the horses, and one at the back to follow. The front vehicle just happened to have a back door that opened up and a sitting area, where I could position myself to photograph the horses as they ran toward the vehicle and down the road.
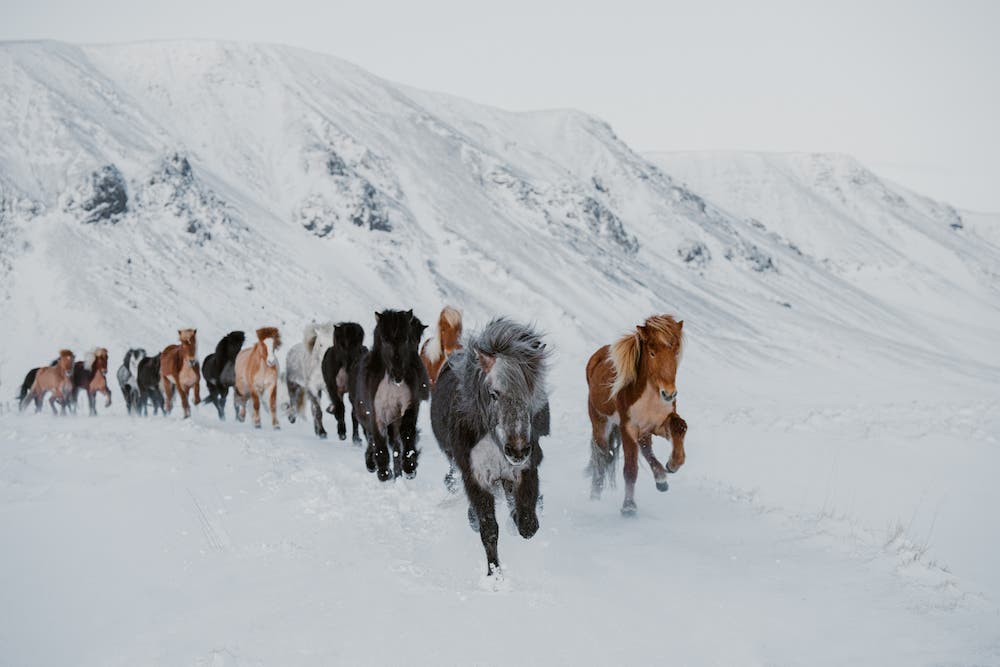
Of course, there’s many ways to do this. I wouldn’t necessarily recommend doing exactly what I did, for safety reasons. For example, you could ride in the front seat and when there is a turn in the road, shoot and aim backward towards the subject.
The advantage of taking this position and moving with the horses is that I could create a much broader range of portraits with different backgrounds, showing the horses as they truly moved through the landscape.
Conclusion
No matter your approach to taking horse portraits, what’s important is that you take into consideration the people who know the subject well, create a comfortable environment, and get creative with lighting to help tell a story. When you combine all of these elements — plus the right gear — you can create intimate and expressive portraits.
