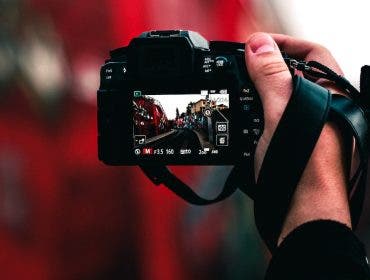
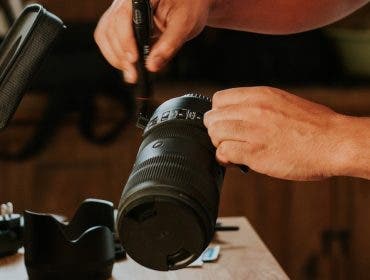
Understanding the many basic functions of your mirrorless vs DSLR camera is critical in your photo-taking journey. In order to capture the best images, you need to understand the many different camera shooting modes. Even if you already know how to shoot completely in manual mode, switching to one of the automatic modes is often going to save you time. It will also allow you to focus more on capturing a creative image, and less on adjusting the settings. In this post, we’ll be outlining and explaining how each of the camera shooting modes works, and diving into when you should be using each mode.
Where Can I Set a Camera Mode?
On most cameras, you can adjust the shooting mode by turning a wheel on top of the camera. Most cameras abbreviate the different modes, but you should see something along the lines of “M, S, A, P, AUTO,” and a few other options. By changing this wheel, you can move throughout different shooting modes on your camera. Most cameras have a button inside of this wheel that locks the settings. If that is the case on your camera, click this button, and turn the wheel to adjust the camera mode.

If you search the web, you may find many professionals telling you that manual mode is always the best. You may even understand shutter speed, aperture, and ISO already, and shoot in manual mode yourself. However, don’t overlook the value that the other modes can provide. Oftentimes, you can capture better photos by choosing a different mode to lock in one of your camera settings and allow the other two to change based on the light. Manual mode forces you to constantly change all of the settings any time the light changes. Using an automatic, or partially automatic, mode can adjust settings for you. You can then keep your eyes — and your mind — on the composition in front of you. Let’s review how each camera mode works.
Her are the main camera shooting modes:
- Full Auto
- Program Mode
- Shutter Priority
- Aperture Priority
- Manual Mode

Types of Camera Modes
Before getting into each camera mode, it’s important to understand exposure compensation. This dial — usually also on top of the camera — allows you to change how dark, or bright your image will be. On the wheel, you should see numbers ranging from -3 to +3, with the positive numbers representing a brighter image, and the negative numbers representing a darker image. You will need to set this while you’re out shooting for all camera modes except for Full Auto and Manual, where this option is chosen for you.
Try starting out with a value of -1.3. This will underexpose your image a bit, but still allow you to recover any bright highlights in your scene.
Full Auto
Full Auto mode, usually marked with “AUTO” or a green “A+”, is the point-and-shoot mode on your camera. All of the camera settings will be chosen for you. This mode is great for beginners who still don’t know what each of the camera settings do. As you become more advanced with your photography, you should branch out to one of the following camera shooting modes.
Program Mode
Program mode is usually marked with a “P”. This mode is a small step up from full auto. Both the aperture and shutter speed will be automatically adjusted based on the light values in your camera. However, you’ll still be able to adjust things like the ISO, exposure compensation, white balance, focus mode, and more. If you are a new photographer, this would be the next mode you should learn after you have Full Auto figured out.
Shutter Priority
Shutter Priority mode, usually marked with an “S”, is useful when you know the shutter speed you want to use for an image. When you choose Shutter Priority mode, you’ll be able to adjust the shutter speed, and then the camera will automatically choose the aperture for you. This can be useful in a couple different scenarios.
First, if you’re shooting sports, or fast-moving objects, you may know that you need to have a fast shutter speed. Set the shutter speed, and then the camera will automatically adjust the aperture to expose the image according to your exposure compensation dial. The downside of this mode is that the aperture will be chosen by the camera. This can affect the depth of field in your image without you realizing it.
Aperture Priority
Aperture Priority is marked with an “A.” It is one of the most popular modes amongst photographers. Aperture priority is similar to shutter priority, except it locks the aperture rather than the shutter speed. This mode is perfect because it allows you to control the depth of field in your scene and automatically adjusts the shutter speed. This doesn’t matter for most photographs. If you are shooting a moving scene, be sure to keep a close eye on your shutter speed while using this mode to ensure that the shutter speed is fast enough.
Manual Mode
Manual mode is marked by an “M” and is the mode that requires you to select all settings. This mode is ideal if you know what all of the settings do and how to quickly make adjustments to properly expose your image. The downside to Manual mode is you have to constantly be adjusting your settings. This is especially true if the light is changing or your scene is changing, taking time away from your subject or capturing creative images.
For more information, check out: How to Configure Manual Mode Settings on a DSLR Camera
Learn ISO
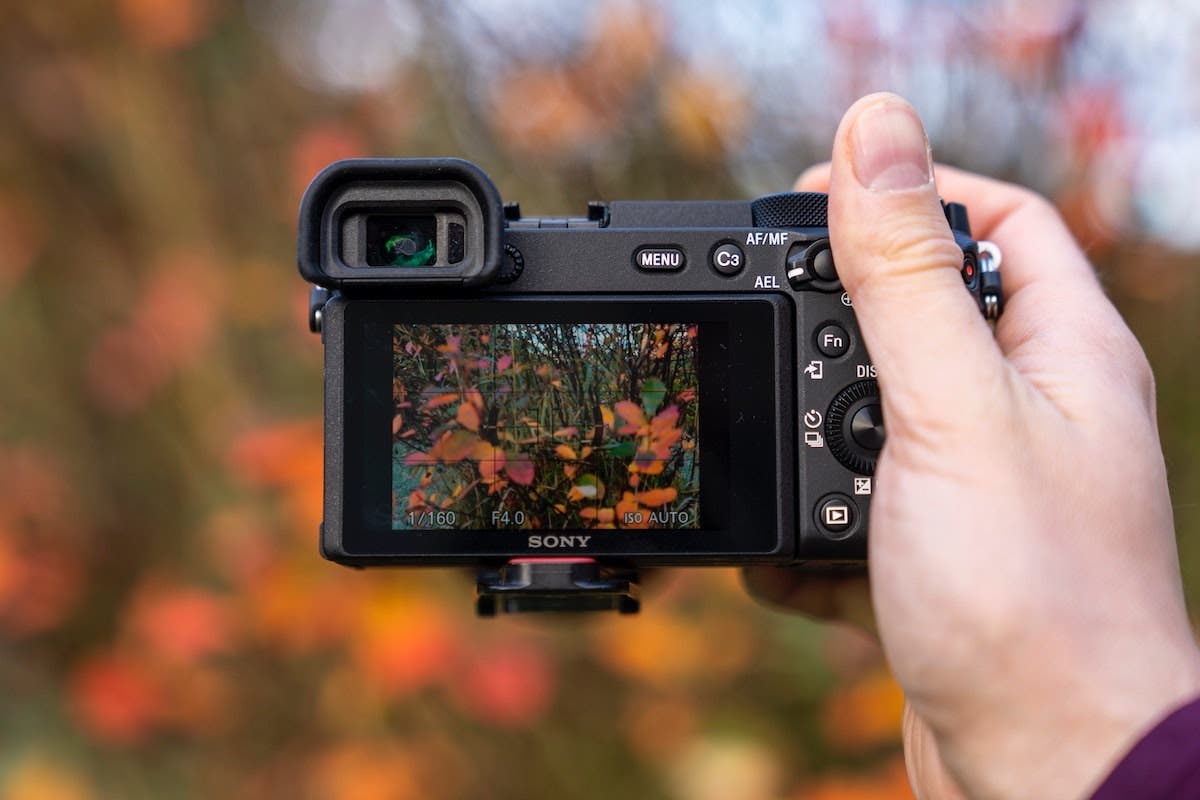
The third camera setting that we haven’t touched on yet is ISO. This is your camera’s sensitivity to light with a higher ISO, resulting in a brighter image. Be careful because the higher the ISO, the more grain you will have in your photo.
You have two options when it comes to ISO. First is to set the ISO to Auto. No matter which camera mode you use (including Manual), if your ISO is set to Auto, the ISO will be automatically chosen for you. This is beneficial because you don’t have to think about adjusting ISO, but can get you in trouble if you aren’t paying attention. Auto ISO can result in your camera turning the ISO up far too high in order to capture the photo at hand.
The second option is to manually adjust the ISO. This is the preferred method if possible. Ideally, your ISO is at 100 for every photo. Although, in low light situations, you’ll have to turn up the ISO to properly expose your scene. When you have Auto ISO turned off, you’ll always have to choose the ISO — even in some of the automatic camera modes.
Conclusion
While it’s possible to capture great images with any camera shooting mode, using the correct mode can make it much easier to focus on being creative, rather than having to worry about camera settings. When certain settings don’t matter, adjust the camera shooting mode and allow your highly sophisticated piece of technology automatically adjust the settings for you. Most of all, you should learn how all of the different camera settings work and use the modes to your advantage to capture the perfect images and unlock your full creative potential.
