ISO is one of the three parameters responsible for the amount of light captured by a photo. With aperture and shutter speed, ISO determines how the light affects the photographic film or digital sensor and — as a result — the image’s brightness.
Although it is as important as the other two parameters, ISO is often left untouched. As a result, not many photographers have used a different ISO value than the default ISO 100. Most cameras even have an Auto ISO mode that allows you to adjust shutter speed and aperture and let the camera deal with ISO.
But, like always, knowledge is power. When you understand what ISO is and how it works, you improve the quality of your photos, boost your confidence, and create more artistic compositions. And you’ll never let the camera make decisions for you.
What is ISO?
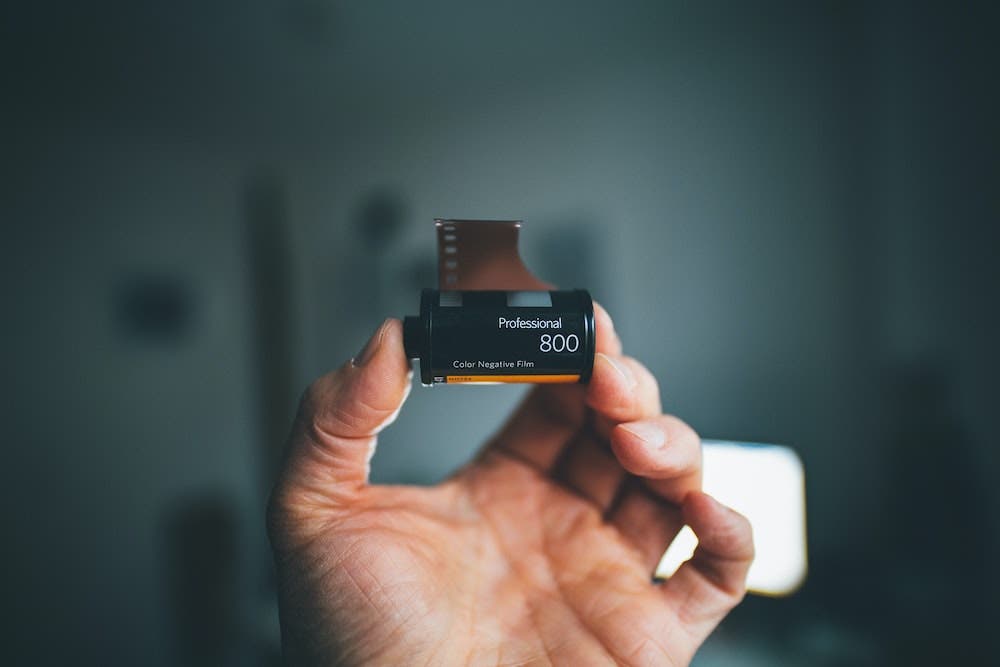
ISO is a system that describes how sensitive a photographic film or digital sensor is to the light. This is done by measuring the speed of the film (i.e., film speed).
The film speed defines the relationship between exposure to light and the lightness of the image. A fast film needs less light than a slow film to produce an image with the same lightness.
A photographic film has a single ISO value, clearly marked on the pack. Digital sensors also have a single physical sensitivity. However, digital sensors map a range of ISO values and allow you to decide how you want them to perform when photographing a particular scene and how bright an image is to produce.
What Does “ISO” Stand For?
ISO stands for International Organization for Standardization, a nongovernmental organization that publishes standards. The organization develops standards for all industries. Photography just happens to be one of them.
In 1974, previously used film speed standards, ASA and DIN, were combined into ISO standards. Today, we have a standard for digital cameras (ISO 12232:2019), one for color negative film (ISO 5800:2001), and one for black-and-white negative film (ISO 6:1993).
Camera manufacturers don’t give you all these details to keep things simple. Instead, they use only the name ISO and mention the range of ISO sensitivities the camera can reach.
How Does ISO Affect an Image?
The lower the ISO value, the less sensitive the film or sensor is to light. In other words, at small ISO values, the camera needs plenty of light to produce a well-exposed image. At large ISO values, the camera needs less light to produce the same well-exposed image.
If you take a picture in the same lighting conditions and increase the ISO value step by step, you’ll produce increasingly brighter images.
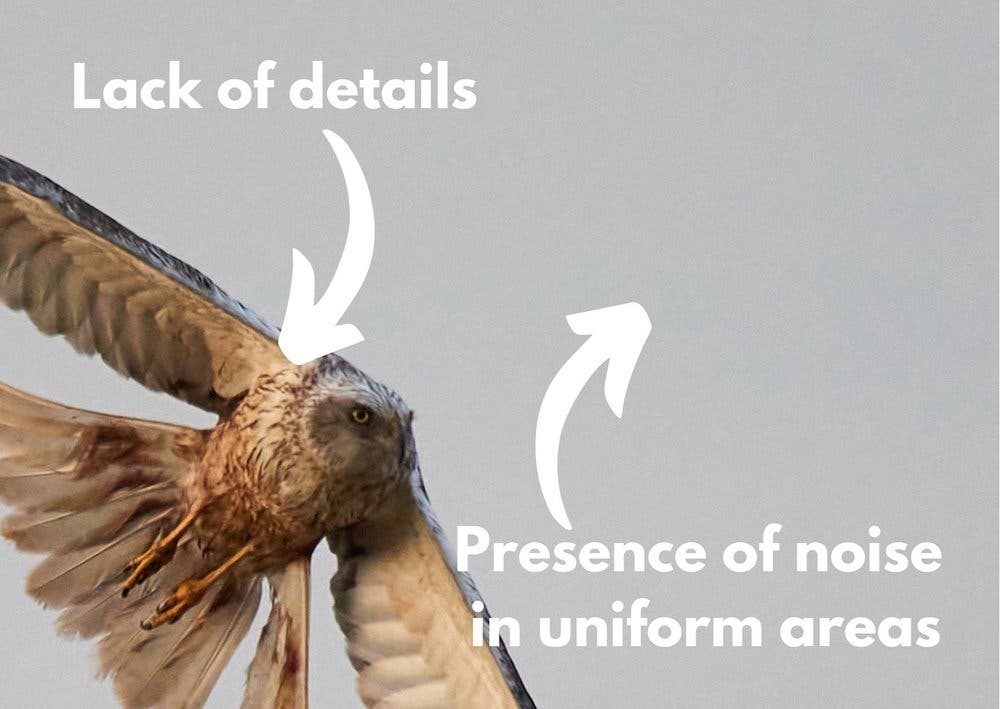
However, ISO affects more than the image’s level of brightness. At low ISO values, the image will have a broader dynamic range (i.e., the ratio between the maximum and minimum light intensities) and better contrast than at higher ISO values. It will also have less noise. At high ISO values, the level of noise increases considerably.
Common ISO Values
All modern digital cameras have ISO 100, 200, 400, 800, 1600, and 3200. However, performing digital cameras have a broader ISO range. They start with ISO 50 and go up to 4,000,000 on special cameras (like the Canon ME20F-SH). However, the normal upper value is more likely around 51,200 or 102,400.
You’ll notice that ISO values double with each step of the range. That’s because manufacturers use the ISO system with an arithmetic scale, for which to double the sensitivity, you have to double the value. The ISO system has a logarithmic scale as well, for which to double the sensitivity, you have to add 3° to the numeric value. ISO 100 on the arithmetic scale corresponds to ISO 21° on the logarithmic scale.
You will rarely need an ISO value above 6,400. But, if you specialize in night photography, you may consider a camera with a higher maximum ISO value. However, make sure that your camera provides a wider native range and not artificial extensions such as HI (High ISO) values. Extended ISO values produce noticeable noise and quite low-quality images.
What is Base ISO?
The base ISO is the unamplified sensitivity of your camera’s sensor. It is typically the lowest value of the ISO range – ISO 100 in most cameras and ISO 200 in a few (e.g., Fuji X-T2). Using the base ISO assures you the best image quality, the lowest levels of noise, and the broadest dynamic range. It is the recommended setting you should aim to use, when you have enough light in the scene.
Note: Although some cameras offer ISO 50, this isn’t the base ISO. It is a simulated stretch and usually lowers the image’s quality.
Understanding Noise Sensitivity
The photographic film with high sensitivity has a larger granularity and produces grainy images. Enthusiasts of analog or film photography like this and even try to recreate it using post-processing filters.
Similarly, at high ISO values, digital images may have colored or white dots and other artifacts. It is usually called ISO noise. However, in digital photography, noise is hardly acceptable or encouraged. Noise is the main drawback of working with high sensitivities, and you should do everything to avoid it.
Noise appears for a simple reason: when you make the sensor more sensitive to light, you also make it more sensitive to everything else. For example, it amplifies luminance and color variations you can’t see otherwise. This makes the image look grainy, like it is lacking color accuracy and sharpness. Just like a sound amplifier can reveal a lot of background noise when you turn the volume way up, images will also reveal a noise when you amplify the light signals recorded by the camera.
Nowadays, most professional cameras can produce high-quality images at ISO 1600 and above. Cameras with large sensors perform better at high ISO values, which gives an advantage to full-frame cameras. They also have built-in noise reduction systems, and you can filter the noise in post-processing. However, high levels of ISO noise are hard to remove without also removing details from the image. Therefore, it is usually better to avoid it in the first place.
How to Change ISO
Most photographers change ISO when they want to use specific values for aperture and shutter speed, and the available light isn’t enough.
Regardless of your camera model, you can only change ISO when your camera is in one of the following modes: Manual, Program, Shutter Priority, or Aperture Priority.
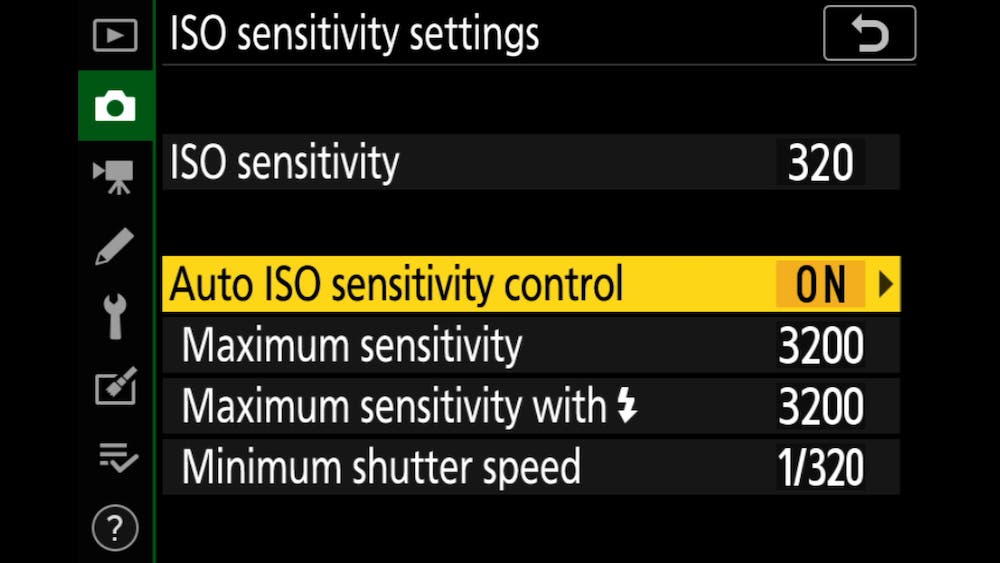
To change ISO, enter the camera’s menu and look for ISO sensitivity settings (Nikon), ISO speed settings (Canon), or similar. Then, choose the ISO value you want and save the changes. Higher-end cameras may have a dedicated ISO button or wheel that gives you quick access to changing ISO.
What ISO Setting Should I Use?
Treat each scene separately and base your decision on the quality of light and your stylistic intention. Evaluate how much light you have and what aperture and shutter speed you want to use for your composition. Aim for the lowest ISO value possible but don’t exclude the possibility to increase it when necessary.
Usually, you may need to increase the ISO when the shutter speed has to be fast to avoid camera shake (e.g., a tripod is not an option) or blur (e.g., a moving subject). For this, it is enough to have less light than you need. It doesn’t have to be night or you to be in a cave.
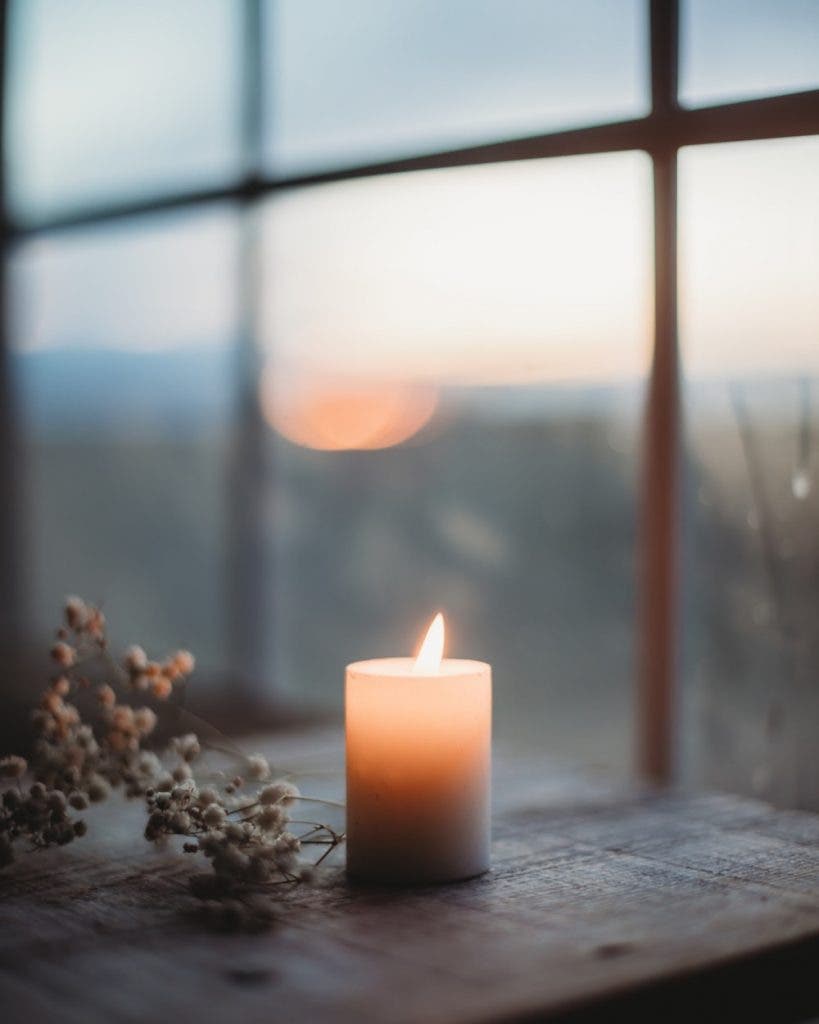
When you don’t have enough artificial light sources while shooting indoors, increase the ISO to 200, 400, or even higher if you want to capture a candlelight atmosphere. The same applies to outdoor photography when there isn’t enough ambient light (e.g., in winter, evening, on a rainy day, etc.).
Photographers also tend to increase ISO when photographing moving subjects such as sports, wildlife, and children — whether they shoot outdoors or indoors.
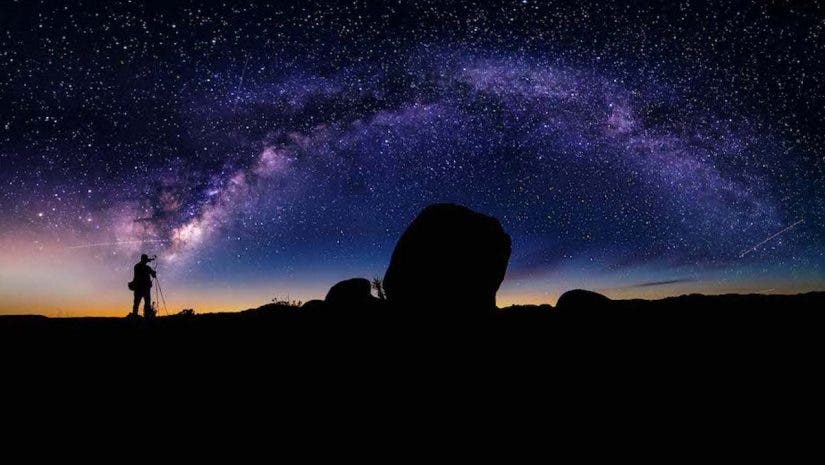
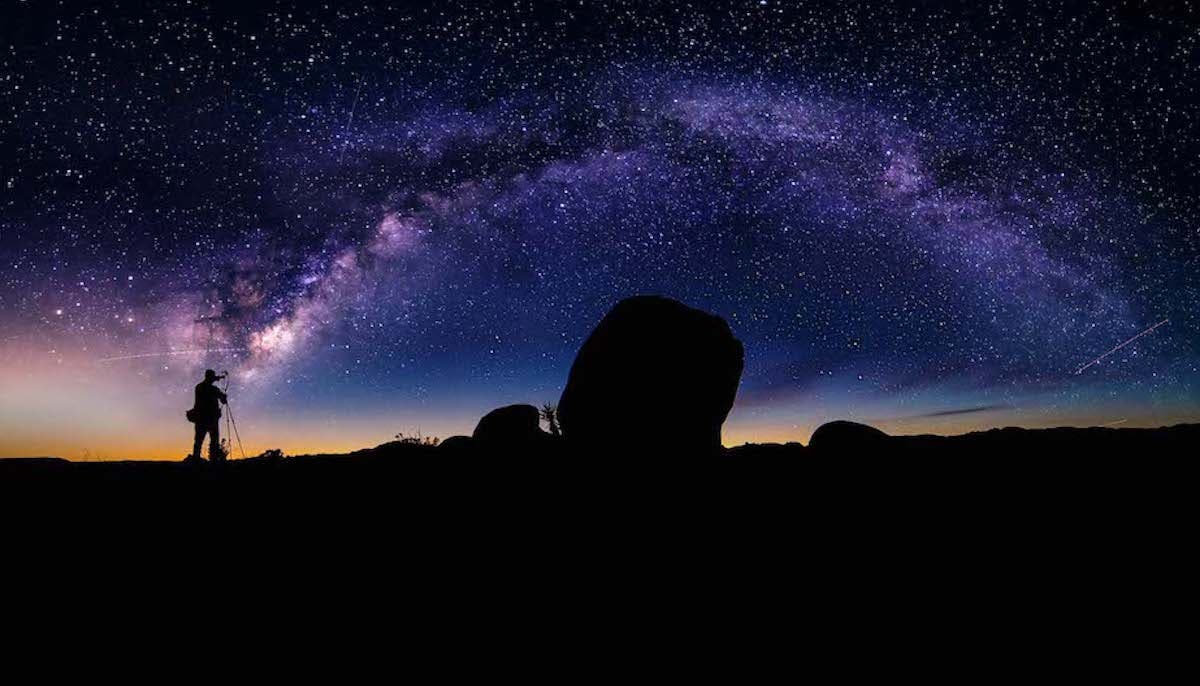
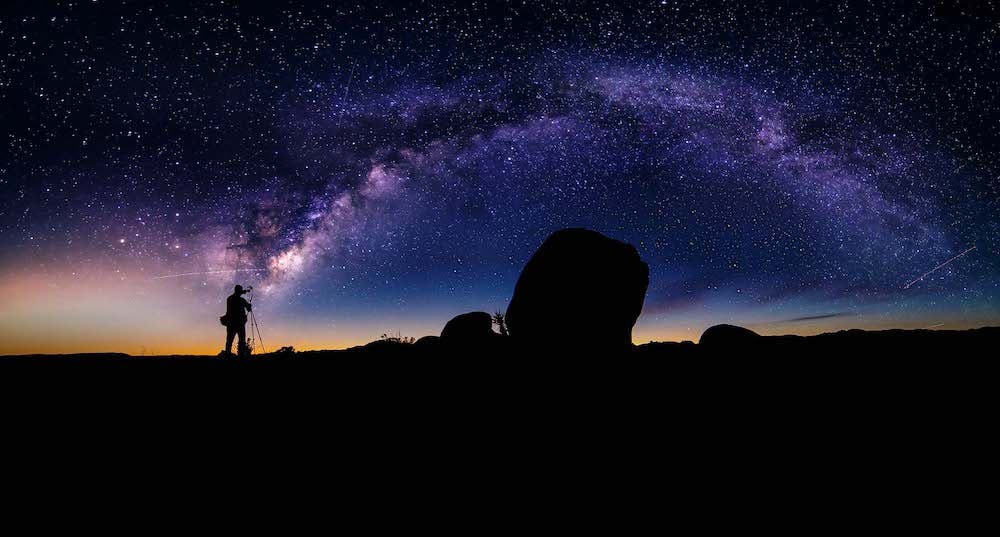
You can create artistic photos during blue hour using a low ISO value and a very slow shutter speed of several minutes. However, if you move into astrophotography you may prefer to use high ISO (e.g., 800, 1600, or higher) and avoid using too long shutter speed, because they want sharpness and clarity, and to avoid recording star movements, which begin to give you star trails already at 20 seconds exposures depending on your focal length.
As you can see, ISO is not a set and forget value, but depends on your scene and the type of photography you do.
When to Use Low ISO
Use low ISO when the lighting allows you to use any shutter speed and aperture. If you don’t need to make your photographers brighter, don’t increase ISO. You’ll probably be OK with ISO 100 when you photograph landscapes in bright daylight. Use a tripod to photograph static subjects (e.g., still life, food), or have flash units or continuous lights at your disposal.
You can also stick to low ISO even in low lighting conditions when you aim for low-key photography (i.e., deliberating underexposing your photos to create a dark, gritty atmosphere).
When to Use High ISO
Use high ISO when you don’t have enough light but don’t want to compromise on shutter speed or aperture. You’ll probably need to increase ISO when you photograph fast-moving subjects, use macro or telephoto lens without a tripod to stabilize the camera, or freeze motion in candid photographs taken in less than perfect lighting.
You can also use high ISO in perfectly good lighting when you aim for high-key photography (i.e., deliberating overexposing your photos to create a very bright artistic composition).
Final Thoughts
ISO might be confusing and overwhelming. There is more than one notion with the same name, and you can find plenty of different opinions on how to use ISO. The best thing you can do is get to know your camera and see how far it can go before starting to produce low-quality images. Increase ISO when no other alternative is possible or for creative purposes. And practice until you find the best settings for your photo setup.
