Aperture, shutter speed, and ISO are the first three parameters a beginner photographer should learn. That’s because they decide the way the camera deals with light. And, as you know, photography is the art of capturing light.
However, shutter speed and aperture affect more than the exposure to light. They also dictate whether your images will have blurred areas or not. As a result, they are crucial parameters in composition. And although you can leave it to the camera to decide what aperture, shutter speed, and ISO to use, it is rarely recommended.
Furthermore, when you understand what aperture is and how it affects your photographs, a lot of creative opportunities open up. You’ll be able to take amazing photographs in any lighting conditions, but you will also know how to achieve a strong focal point, hide a busy background, incorporate contrast, and create more appealing compositions.
What is Aperture?
Before telling you what aperture is, we should tell you what the lens’ diaphragm is. A diaphragm is a thin and opaque circular mechanism placed in the light path of the lens. When closed, the diaphragm blocks the light completely. If you take a picture with a shut diaphragm, the image will be completely black (no light will reach the sensor or film inside the camera). When open, the diaphragm lets a certain amount of light pass into the camera. As a result, a photographic image forms on the film or sensor.
Aperture is the parameter that says how much the lens’ diaphragm opens to let light pass into the camera. In other words, it controls the size of the opening in the diaphragm and the amount of light that reaches the sensor or film.
The minimum and maximum values of aperture vary from lens to lens. Being a mechanical parameter, you can’t exceed the range of apertures your lens provides.
How Aperture Affects Exposure
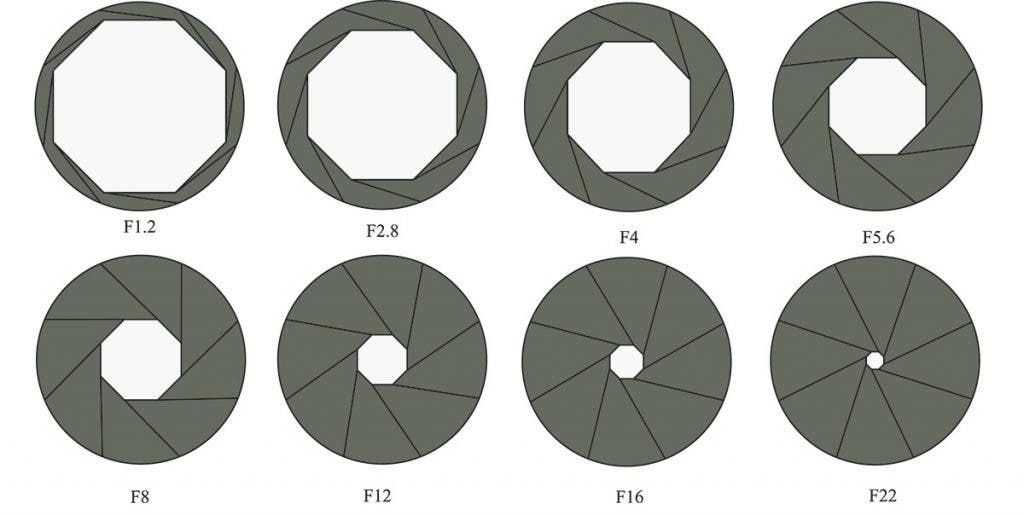
When you set a wide aperture, the opening in the diaphragm is large. As a result, more light passes through and reaches the sensor or film. The camera captures more light and creates brighter images.
When you set a narrow aperture, the opening in the diaphragm is small and allows less light to pass through. When less light enters the camera, the image will be darker.
Therefore, in low lighting conditions (e.g., golden and blue hours, overcast days, winter, etc.), you may want to use larger apertures to avoid underexposing your photographs.

On the contrary, in bright lighting conditions (e.g., midday on a summer day, sunny days, snow photographs, etc.), you may want to use smaller apertures to avoid overexposing your photographs.
Don’t forget that aperture and shutter speed go hand in hand. To expose the film or sensor to more light, you can either use a larger aperture or decrease the shutter speed and prolong the exposure time. Alternatively, you can either use a smaller aperture or increase the shutter speed and have a shorter exposure time to reduce the exposure to light.
How Aperture Affects Depth of Field
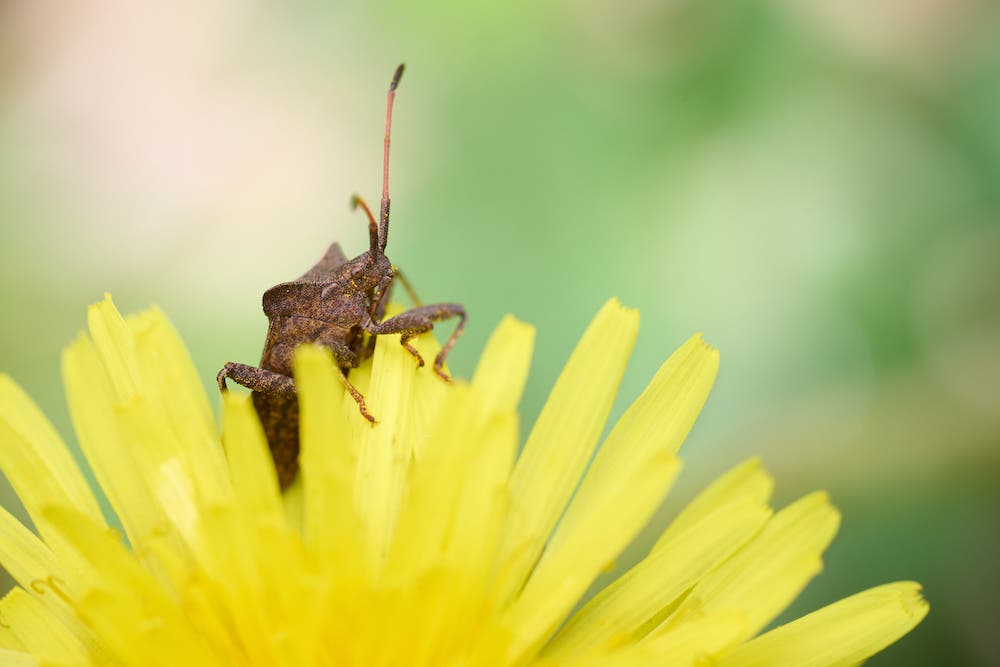
Depth of field (DoF) is the distance between the closest and the furthest objects in the frame that are acceptably sharp. It dictates how much of the frame will be in focus. A deep depth of field means that the entire frame is in focus. A shallow depth of field means only objects close to the camera will be in focus, and the background will be blurred.
When you rotate the focus ring, you change the distance between sensor and lens, trying to catch the intersection of the light rays sent by the lens exactly on the sensor. But cameras and lenses aren’t perfect. They can’t represent a point as an actual point but as a spot. Acceptably sharp means the spots are small enough that the human eye perceives them as points. And here, the aperture has something to say.
Due to the geometry of the lens, the sensor will register a larger spot when the aperture is wide than when it is narrow. As a result, it will register much of the frame as a blur (or bokeh). Wide apertures produce a shallow depth of field, while narrow apertures produce a deep depth of field.
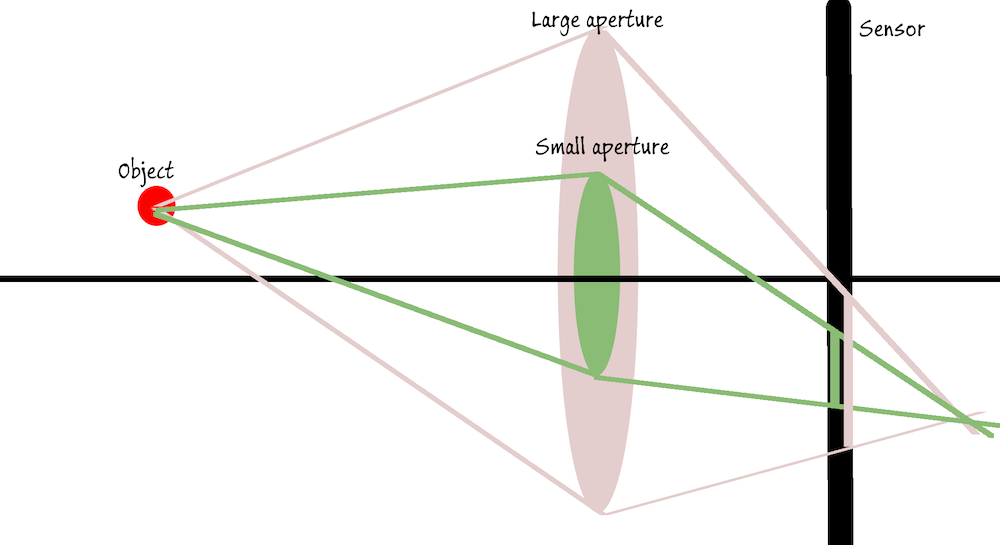
So, if you want to have the entire frame in focus (for example, a landscape photograph), use a narrow aperture. Use a wide aperture if you want to hide a busy background and have only the subject in focus (for example, a portrait).
Understanding F-Stop and F-Number
The lens aperture is measured in f-stops or f-numbers, which you’ll see marked on the lens as a ratio (e.g., f/4 or 1:4). That’s because it is the ratio between focal length and the diameter of the diaphragm’s opening.
Therefore, the wider the opening of the diaphragm is, the smaller the f-stop is. A wide aperture will have a small f-stop (e.g., f/1.4), and a narrow aperture will have a large f-stop (e.g., f/22).
F-stops vary between f/0.9 and f/45 and can go as far as f/96 and f/117. When you increase the f-stop value with one step, you halve the amount of light that enters the camera. To achieve the same image brightness, you need to double the exposure time.
However, most lenses offer an aperture range between f/2 and f/22. Lenses with extreme apertures are rare and expensive. They also may have other drawbacks, such as increased weight, lack of sharpness, and optical errors. But for the specific purpose of increasing the depth of field on a macro lens, Canon released a lens with a minimum aperture of f/96 (Canon MP-E 65mm). So, if you need extreme wide or narrow apertures, you can find lenses that provide them.
You’ll find the lens’ minimum f-stop written on it and sometimes mentioned in its name (e.g., AF-S NIKKOR 500mm f/5.6E PF ED VR). Not the maximum f-stop, though. The reason is the minimum f-stop (the widest aperture available) may vary, while the maximum f-stop doesn’t depend on the lens’ design. Most of the time, it is the same for all lenses. Manufacturers take pride in providing lenses with wide apertures.
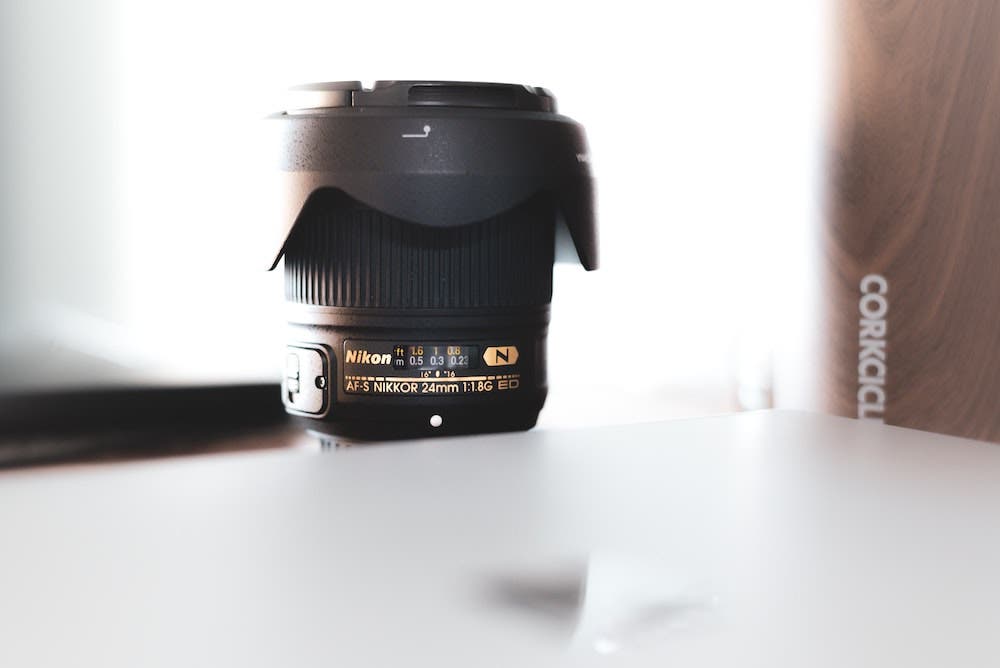
Zoom lenses are another example where the widest aperture varies. They may not offer the same minimum f-stop for their entire range of focal lengths. For example, a 55-300mm lens may offer a minimum of f/4 at 55mm and f/5.8 at 300mm (e.g., Pentax 55-300mm f/4-5.8). It is more expensive and constructively harder to maintain the same largest aperture at different focal lengths.
How to Pick the Right Aperture
To make things easier, you can group the aperture range of your lens into three categories:
- Wide aperture (e.g., f/2.8, f/4, f/5.6)
- Narrow aperture (e.g., f/16, f/22)
- Regular aperture (everything in-between wide and narrow categories, such as f/8 and f/11)
To pick the right aperture, start by examining the scene you want to photograph and evaluating the lighting conditions. Then, decide on a depth of field that will benefit your composition. If you don’t have too much light and want a shallow depth of field, go for a wide aperture. If you have bright light and want a deep depth of field, go for a narrow aperture.
Choose one f-stop from the category that fits your choices and take a picture. If you aren’t satisfied with the result, change the aperture one stop up or down according to your necessities.
Remember that you have other parameters at hand, which can help you create good photographs without compromising the aperture. For example, if a narrow aperture is what you need to have your subject in focus (e.g., macro photography), then use a slower shutter speed to achieve correct exposure.
How to Change the Aperture on Your Camera
To change the aperture, set the camera to Manual or Aperture Priority mode. The Manual mode lets you set all the parameters manually. The Aperture Priority mode lets you set only the aperture and decides the rest of the parameters based on available lighting conditions. It is useful when you need a specific aperture and are willing to compromise shutter speed to use that aperture.
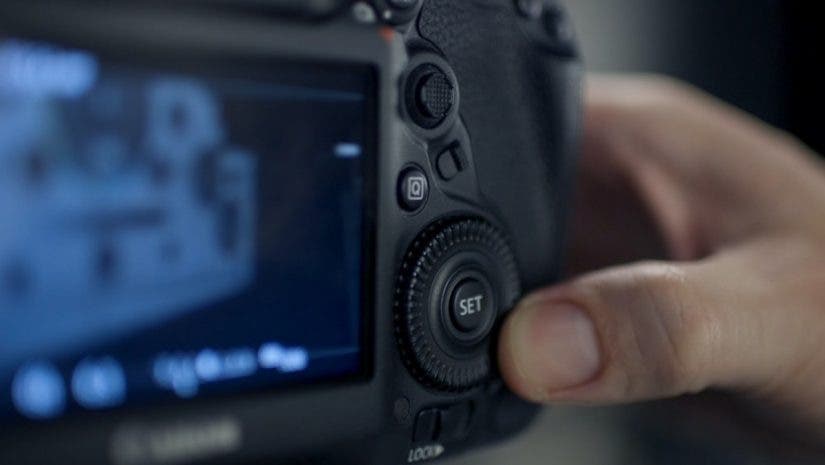
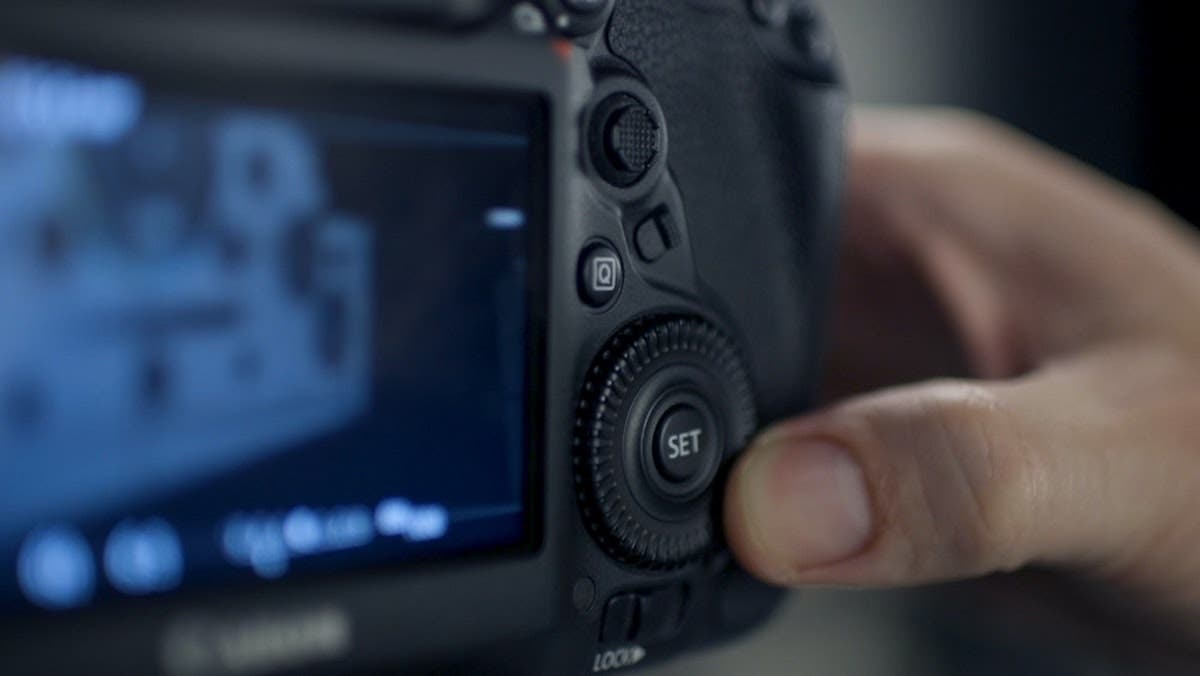
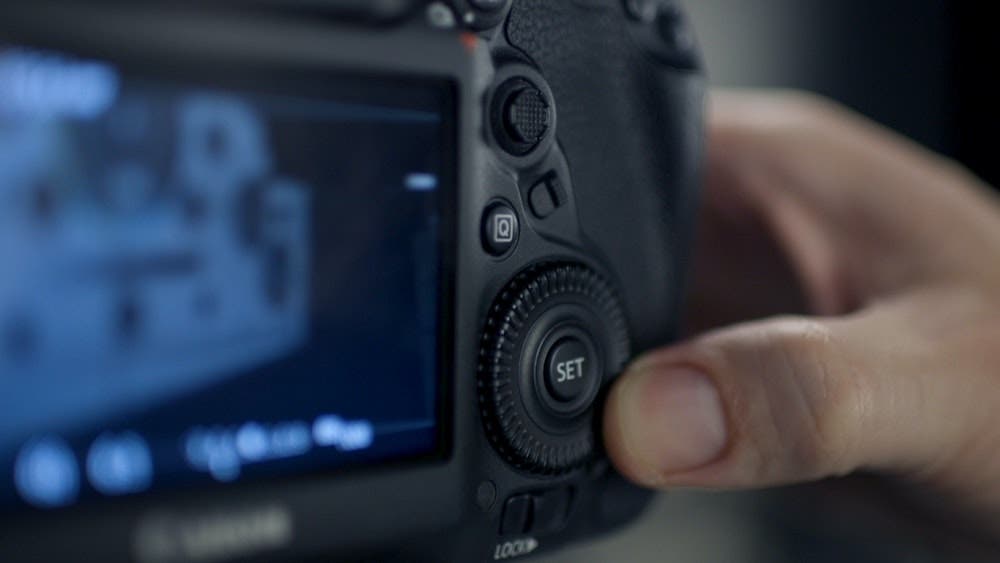
Most cameras have a dial-wheel that controls aperture and shutter speed. They also have a button for switching between setting the shutter speed (the default functionality of the wheel) and aperture. When the camera is in Aperture Priority mode, the wheel controls the aperture by default. When in Manual mode, you need to keep the button pressed to change the aperture unless your camera has a dedicated dial for both aperture and for shutter speed.
You will see the f-stop you are at on your camera’s LCD screen.
What Aperture Should I Use?
Your aperture depends on the scene you photograph and your artistic purpose. For example, if you want to freeze motion, you’ll need a fast shutter speed. To achieve good exposure, you may need to use a wider aperture and reduce the depth of field. On the contrary, if having a deep depth of field is a must (e.g., landscape photographs), you may need to use long exposures or increase the ISO value.
Finding the correct aperture is a trial and error process. Start with an f-stop you think will do OK and go from there. As a general rule, especially if you don’t have a high-end lens, stay away from the lowest and highest f-stops available. Sometimes they produce noise or optical distortions.
Final Thoughts
Knowing how to work aperture is essential for creating the visual story you want to convey. It allows you to make the most of a photo setup and take great photographs even in harsh conditions. You get to control the depth of field and, therefore, the elements that affect the composition. Aperture is your friend whether you want to do portraits, landscape photos, macro shots, or photograph Christmas lights.
