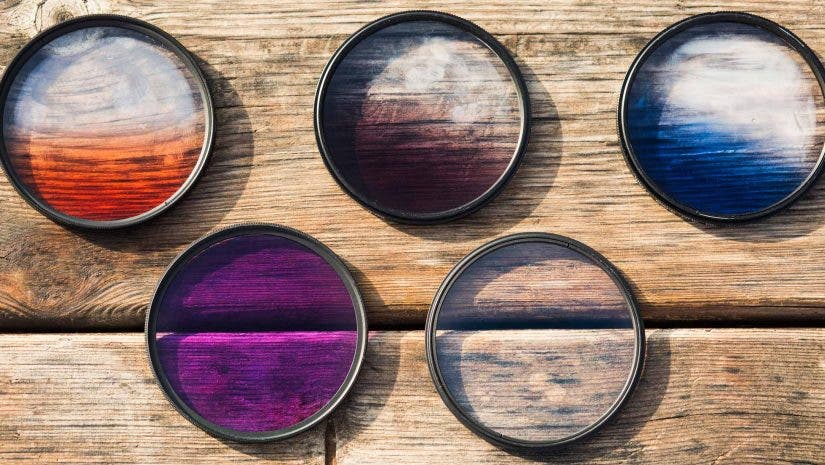
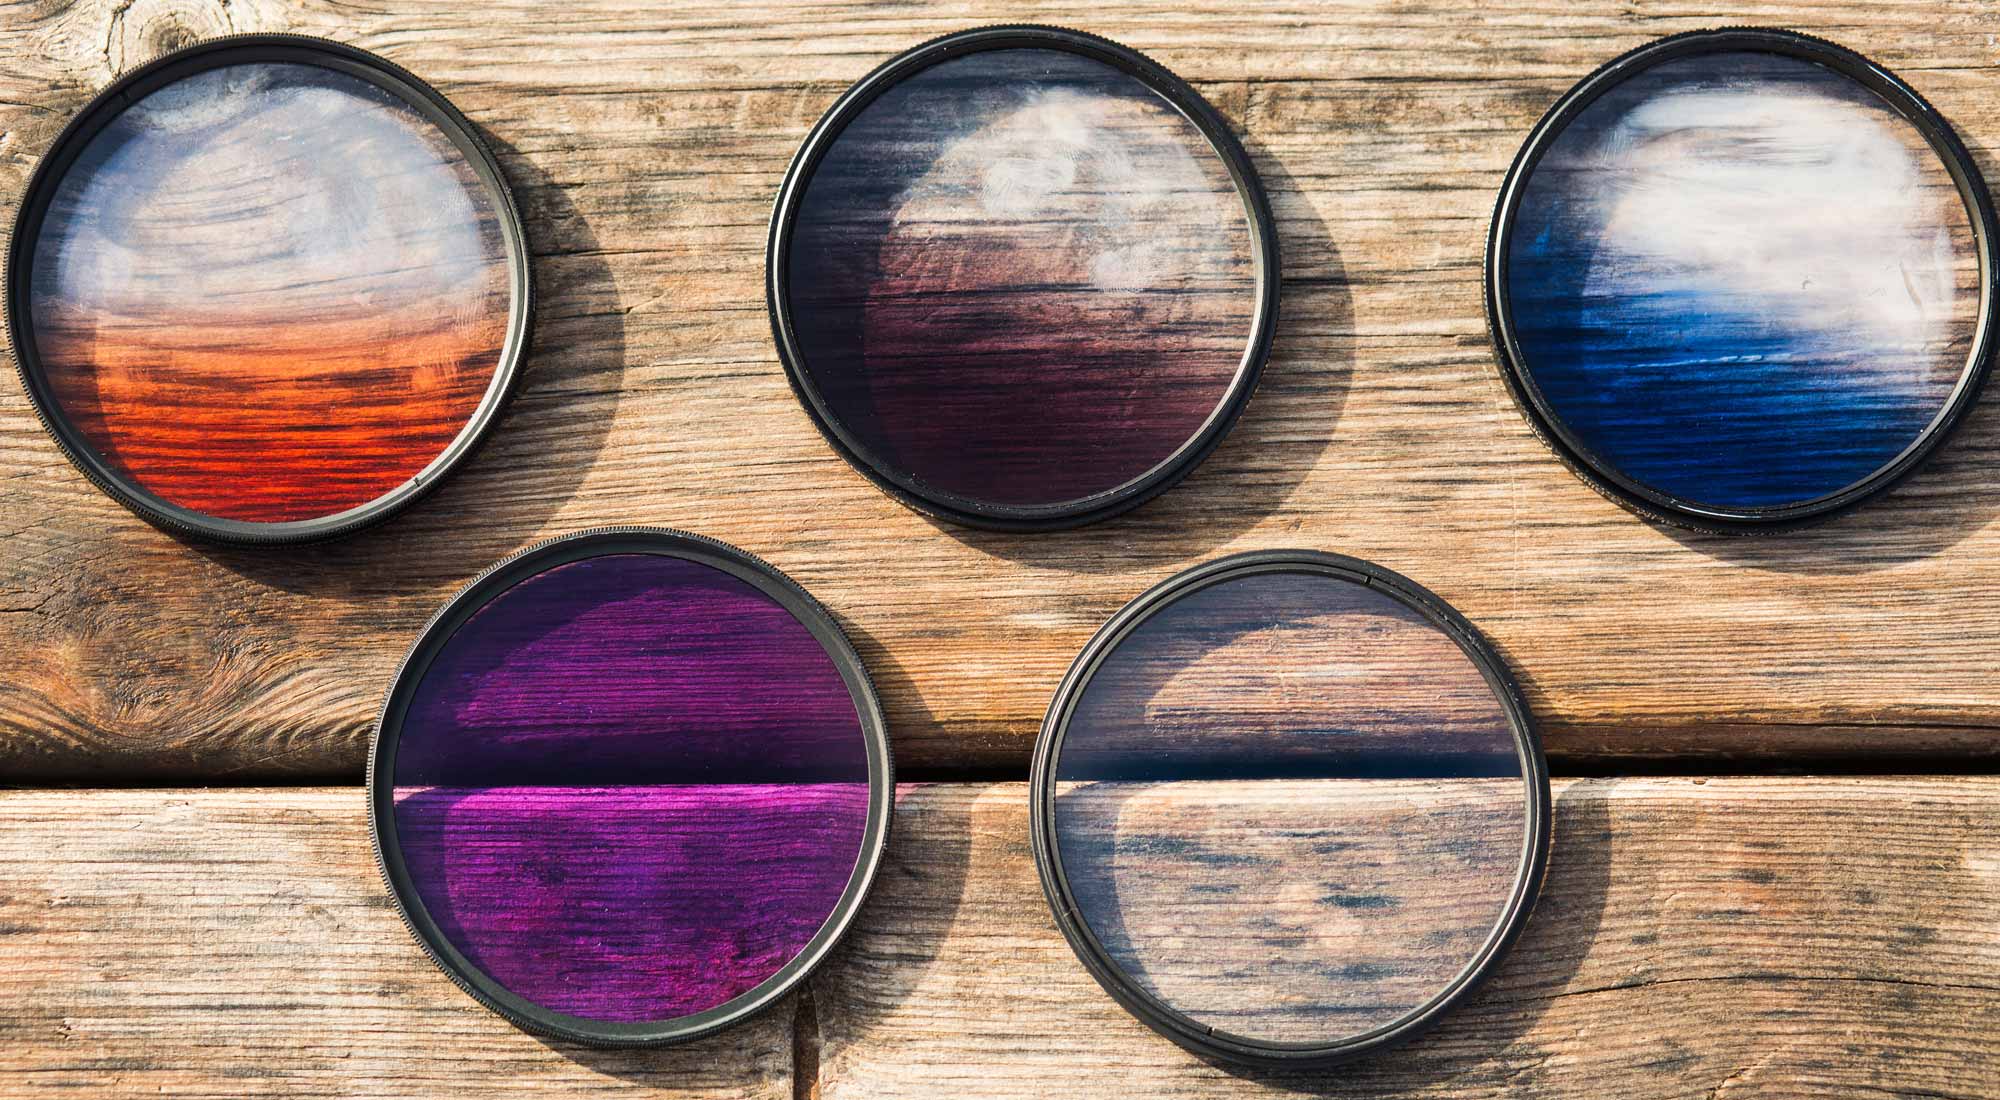
As a budding or aspiring photographer, you’ve likely seen or even used camera lens filters before. Photographers use these little pieces of glass for a multitude of reasons, but the most common use for photo filters is managing tricky lighting conditions when shooting.
Filters help minimize glare and reflections, enhance colors, reduce light coming into the lens, and more. Each lens filter serves a specific purpose, as each one is built to deliver a specific effect that can help enhance the final look of an image.
How are Camera Lens Filters Used in Photography?
They Protect Your Lens
The most affordable types of camera lens filters are clear and simply used for protection. These are great for protecting the front lens element during normal shooting situations. Plus, the clear glass does not affect your images in any way. Protective lens filters eliminate the possibility of scratches, cracks, and dust accumulating on the surface of your lens.
They Can Correct or Enhance Colors
There are certain types of photo filters that can alter or boost the colors in your images. Some have the ability to correct the color temperature of a scene. Meanwhile, others can enhance color and contrast for a more vibrant image.
They Help Ensure Accurate Exposure
When working with particularly difficult lighting conditions, photo filters are a great option for achieving even and accurate exposure across your entire image. They do this by blocking some of the light that enters the lens (in varying degrees). These are particularly helpful when shooting outdoors during daytime, particularly when using fast shutter speeds may not be enough to avoid overexposure.
They Add Impact to Your Images
Camera lens filters can help improve your images in various ways. They’re useful for increasing contrast in an image, creating more vivid colors, eliminating glare and distracting reflections from water and glassy surfaces, and more. But adding filters to photos also gives a little oomph to an otherwise lackluster shot by adding some interesting effects, like multi-point “stars” on light sources or softened edges.
Different Kinds of Camera Lens Filters
1. Screw-On Filters
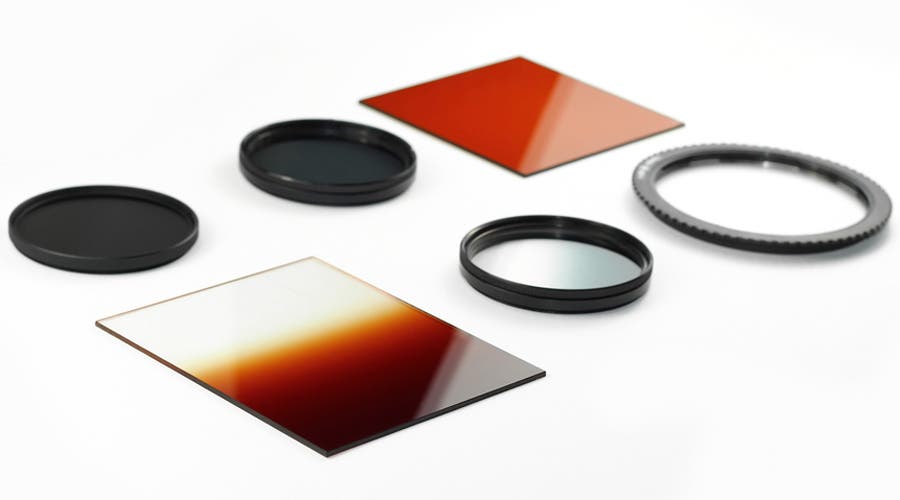
Also called a circular filter, this is any camera lens filter that is directly mounted and screwed onto the front of a lens. There are different camera filters that fall under this category. This includes the most commonly used ones like polarizers, ND filters, and color filters. They usually vary in diameter or thickness, and the thickest ones can sometimes produce vignetting in your images.
2. Drop-in Filters
Drop-in filters are used primarily with telephoto lenses. They often have larger front elements and cannot always be used with a standard screw-on filter. As its name suggests, a drop-in filter is inserted into a small, specialized compartment near the rear part of the lens.
3. Square Filters
These filters are normally used with a lens filter holder that is attached to the front of the lens. You’ll only need to get adapters for your lens filter holder in order to be able to use one or more filters of different sizes. This type of filter is popularly used for landscape photography.
4. Rectangular Filters
Another popular choice for landscape photographers is rectangular filters, which are also mounted with a filter holder. Using a rectangular filter gives the photographer more space to move around the subject without risking uneven spots. Its most popular size is 4×6, but there are smaller and larger filters available as well.
7 Types of Camera Lens Filters
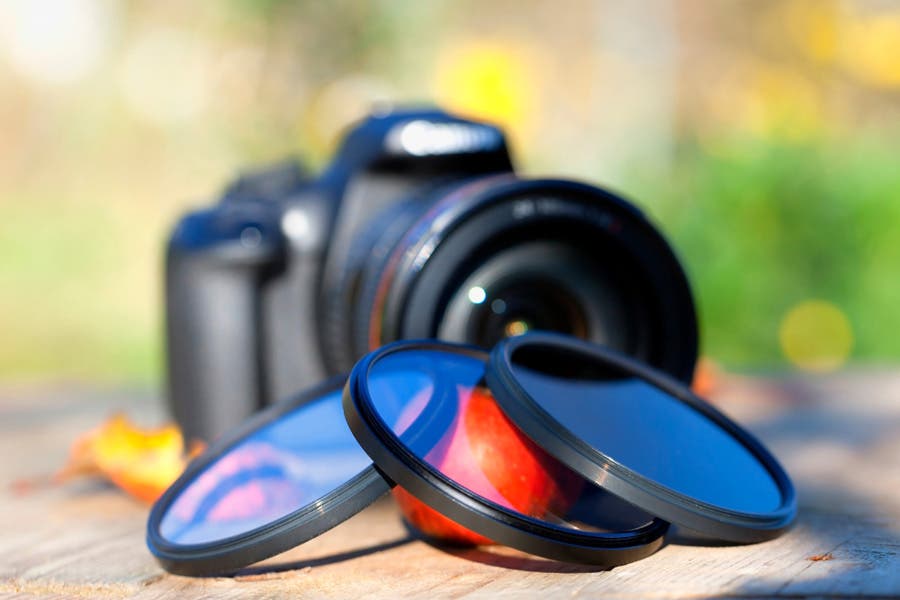
Filters are relatively inexpensive as far as camera gear goes, but if you don’t know the right ones to buy for your own needs or how you can use them to improve your photos, you may just end up wasting your money.
In the following lens filter guide, we explain the different types of camera filters and their corresponding effects to help you figure out which ones you need:
UV and Skylight Filters
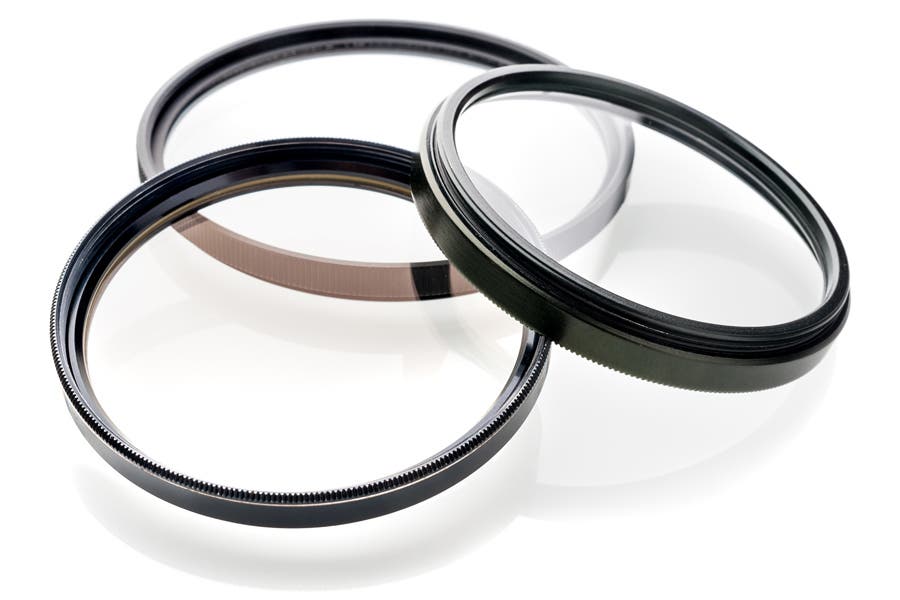
Protective UV and skylight filters are often used to protect the front element of a lens against moisture, dirt, and scratches. This makes them ideal for shooting in wet, dusty, or muddy environments. In the past, UV filters were also used to prevent the UV light from causing haze and fogginess in older photographic films, which were typically more sensitive to UV rays.
On the other hand, skylight filters are every photographer’s best friend when shooting under a clear blue sky. They can reduce the excessive blue cast that often appears in photographs taken outdoors. They can also keep skin tones free of color reflections from objects that are around the subject.
Keep in mind, however, that with a skylight filter as your lens’ protection, the image quality of your photos may be compromised as it can intensify lens flares that tend to add a color tint and reduce image contrast.
Because most photographers keep a UV or skylight filter on their lenses for protection, it’s important to invest in a high-quality filter that will stand up to rugged use without detracting from the overall quality of your images.
After all, it doesn’t matter if you’re using a $2,000 lens if you’re shooting through a $5 filter. Cheap filters diminish the sharpness and resolution of your photographs. That’s why it’s always wise to invest in a high-end camera filter.
As you shop for lens filters, explore multi-coated options that will retain the quality of the images your lenses will produce.
Most suitable for: All kinds of photography
Polarizing Filters
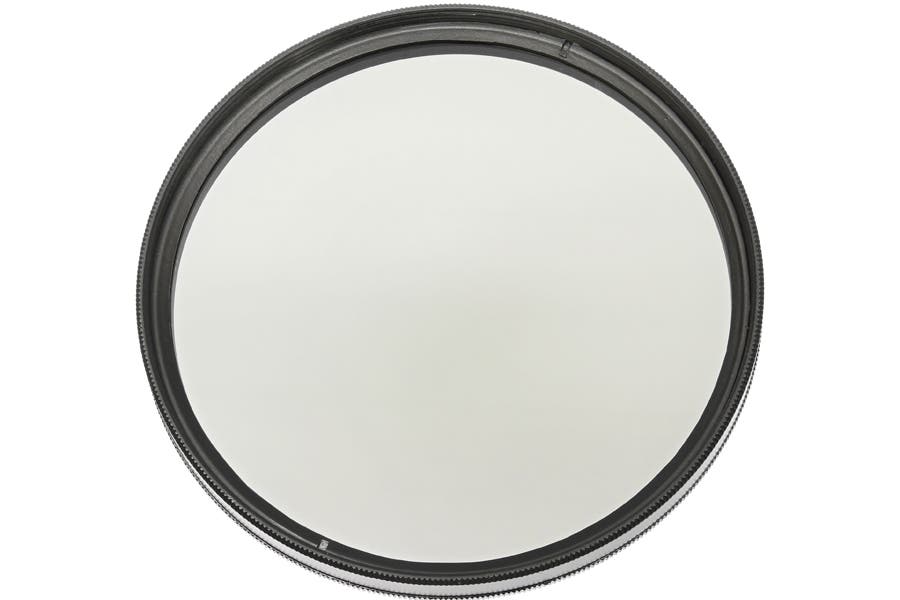
This NiSi polarizing filter is ideal for landscape photographers or anyone shooting in bright sunlight. Multi-coating helps remove glare and unwanted reflections from your images. The Rounded design allows these filters to be used on wide-angle lenses without the dreaded vignette some filters can cause. NiSi filters are designed to produce natural and accurate color while increasing tonal saturation. With knurled sides for easy use and a waterproof coating, this filter is ideal for working in less-than-ideal environments.
Polarizing filters, like sunglasses, add depth to an image by saturating its color and reducing reflections. These filters have a rotating mount that’s easy to attach to a lens. Once a polarizing filter is mounted on your lens and the subject is already framed, you can slowly rotate the filter while watching how the image changes on your camera’s viewfinder or live view.
Polarizers are best for shooting landscapes. They darken skies and make colors pop, as well as eliminate glare and reduce reflections on glassy or water surfaces.
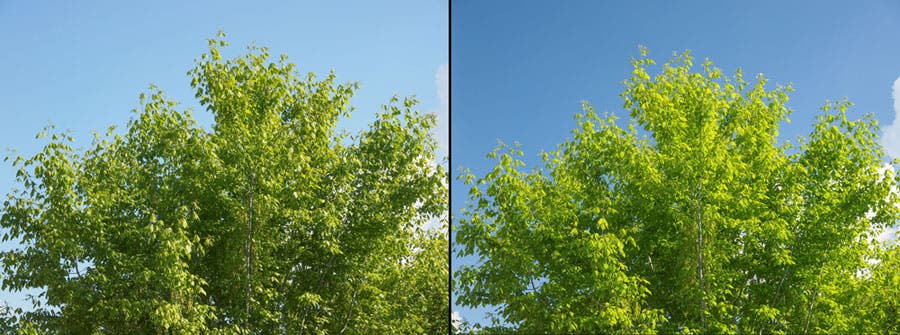
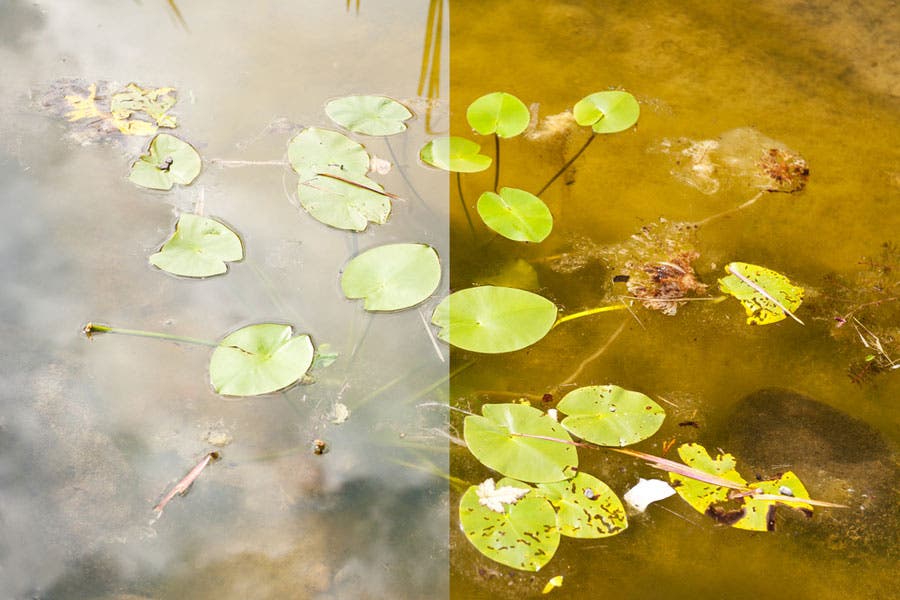
Avoid panning your camera when photographing landscapes because it can create uneven, dark areas in the sky. Also, you need to be careful when using this filter with an ultra-wide-angle lens, as it can also cause the blue color of the sky to look uneven in your photos.
Polarizing camera filters come with a bit of a learning curve. If you’ve ever seen a photograph where one corner of the sky looks artificially dark or has an unreal blue tint to it, the photographer most likely didn’t know how to use camera filters such as polarizers.
When using a polarizing camera lens filter, you’ll have the most success when the sun is directly overhead. If the sun is at a lower angle, it’s harder to get natural and realistic-looking results. That’s why polarizers are such great accessories for the harsh light of midday but are less useful at sunrise and sunset.
Most suitable for: All kinds of photography
Watch this Adorama TV episode to know more about UV filters and polarizing filters.
Neutral Density Filters
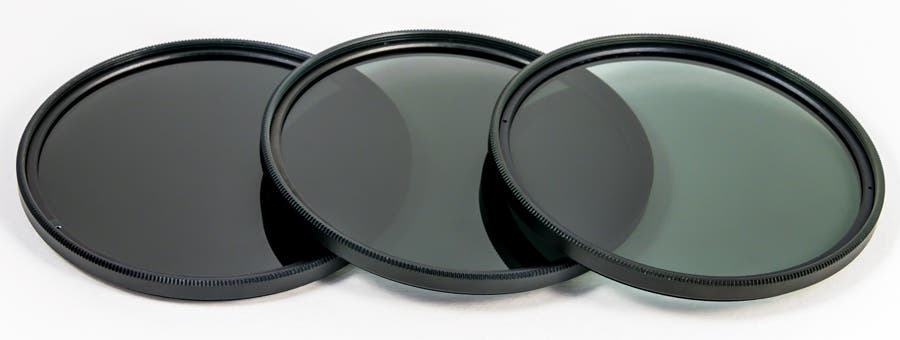
Neutral density (ND) filters are sheets of dark-colored glasses that reduce the amount of light that enters your lens and hits to the sensor, but without affecting the color of the resulting image. This includes excess sunlight and powerful light from studio flashes.
An ND filter doesn’t need any adjustment at all, and you can still use the metering and focusing system of your camera and lens even with this filter attached to your lens.
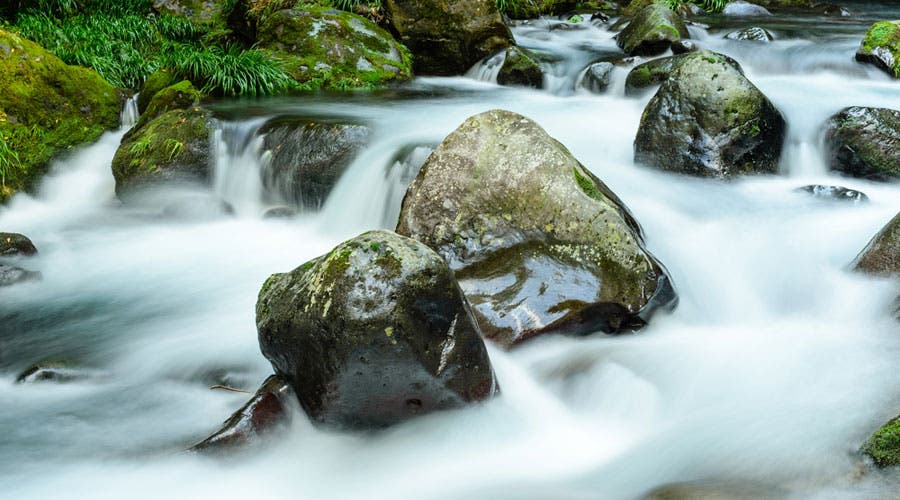
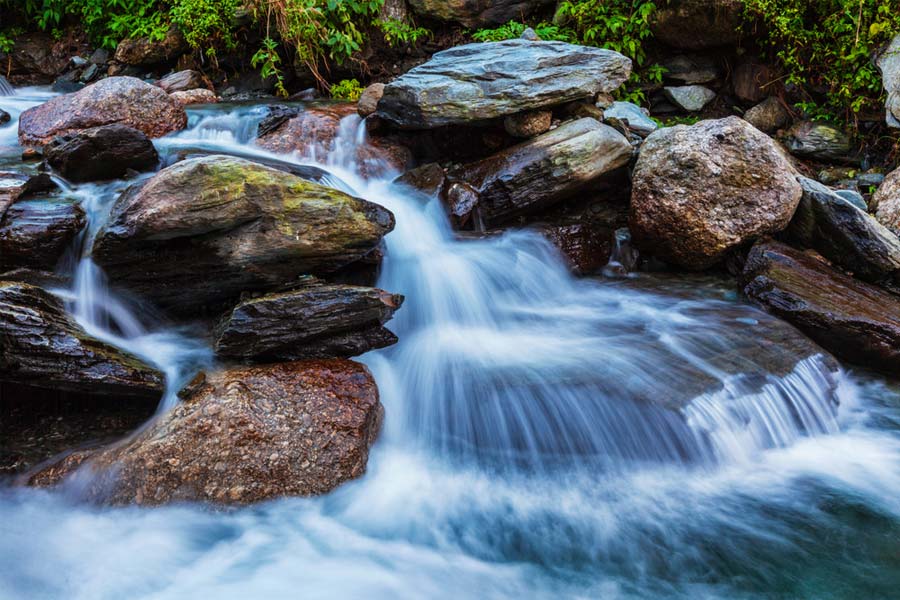
By reducing the intensity of incoming light, this filter allows you to shoot with slower shutter speeds without overexposing your image. In that case, if you’re going to take a photo of a moving subject like flowing water, make sure to use a tripod for more dramatic motion blur and to ensure that everything else is tack sharp.
Neutral density filters are rated in stops of light. For example, you can use a 2-stop ND filter to block a smaller amount of light, or a 10-stop ND filter to block a significant amount of light. The more stops of light your filter blocks, the longer shutter speed you can get away with.
Some ND filters for your camera are variable, so you can rotate them to block more light or less light as needed. This is a handy feature if you like to keep your photography kit light and compact. You can invest in a variable ND filter and enjoy a variety of filtering options in one compact accessory.
Most suitable for:
- Landscape photography
- Flash photography
- Street photography
- Photographing moving bodies of water like rivers and falls
Graduated Neutral Density Filter
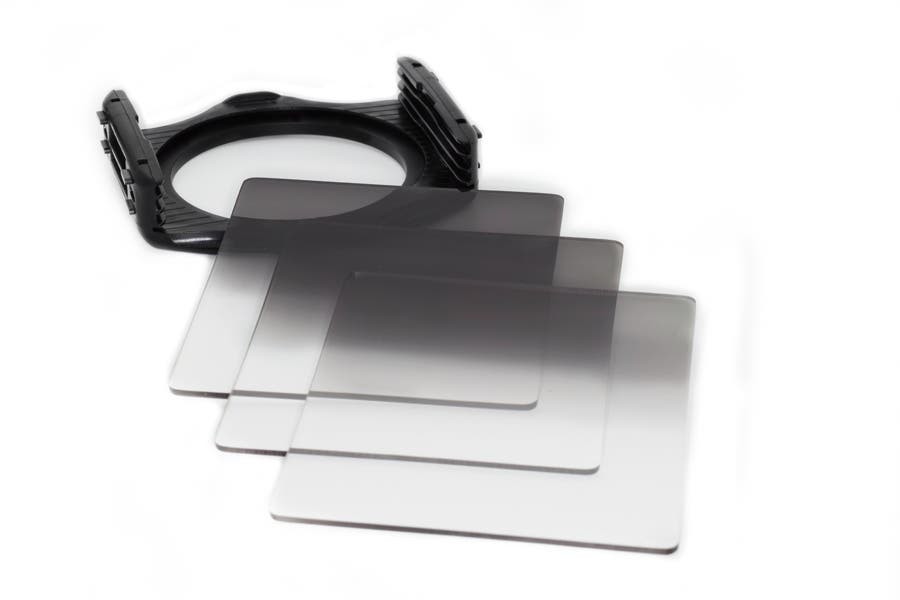
Graduated neutral density filters (also known as ND Grad or GND filters) have a vertical transition between dark and clear to balance the exposure between the sunny sky and its darker foreground. They vary in darkness and are measured in “stops”—the number of stops of light determines how much it will darken part of the scene you are trying to capture.
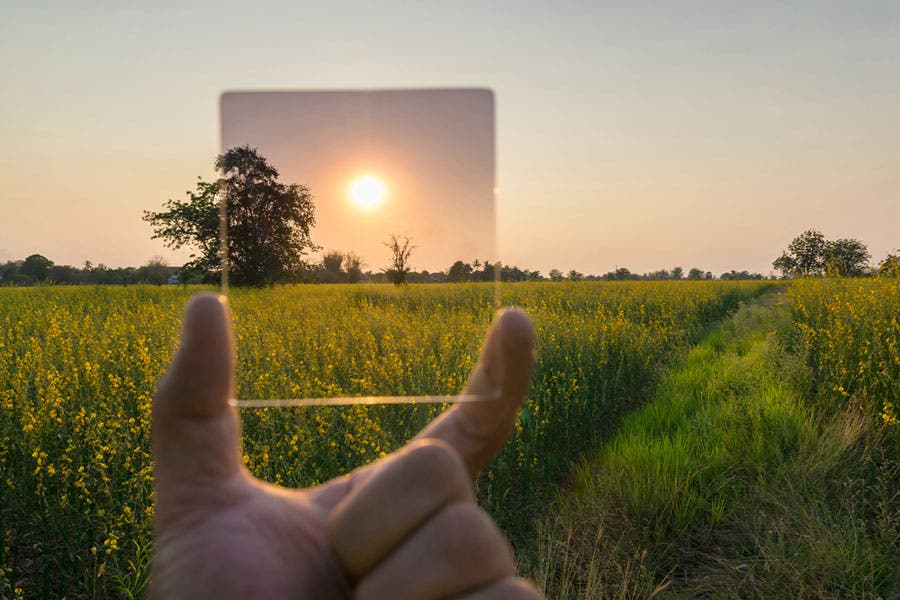
GND filters generally come in three common types: soft-edged, hard-edged, and reverse.
Types of GND filters:
- Hard-Edge GND Filter – Has a neutral gray half that sharply transitions to clear at the center. It is mostly used to balance out high-contrast scenes, such as a flat horizon with bright skies and a dark foreground, to create an evenly exposed image.
- Soft-Edge GND Filter – More commonly preferred for its smoother gradient between the dark and clear areas, this filter is best used if the horizon is not perfectly straight or flat; you can also opt for this if the hard-edge filter tends to create a noticeable midline for your chosen scene.
- Reverse GND Filter – Special filter that landscape photographers use to shoot beautiful sunrises and sunsets when the sun is much closer to the horizon. Unlike regular GND filters that transition from dark to light in the middle, this type changes from dark (for the sky) to darker (for the sun) on the top half and then all clear on the lower half (for the foreground).
Graduated neutral density filters are a very handy accessory for managing tricky lighting situations. Digital cameras are rapidly expanding their dynamic range capabilities. However, all photographers will eventually find themselves in a situation where one part of the frame requires more exposure time than another.
By investing in a GND filter for your camera, you’ll be able to handle complex lighting situations without relying on Photoshop or Lightroom. Additionally, get the exposure right in camera and you’ll spend more time shooting and less time in front of your computer screen.
If you don’t know how to use camera filters that feature a graduated range of neutral density, try a soft-edged filter for the most predictable and attractive results before moving on to other varieties.
Most suitable for:
- Landscape photography
- Shooting during the golden hours: after sunrise and before sunset
Color Correcting Filters
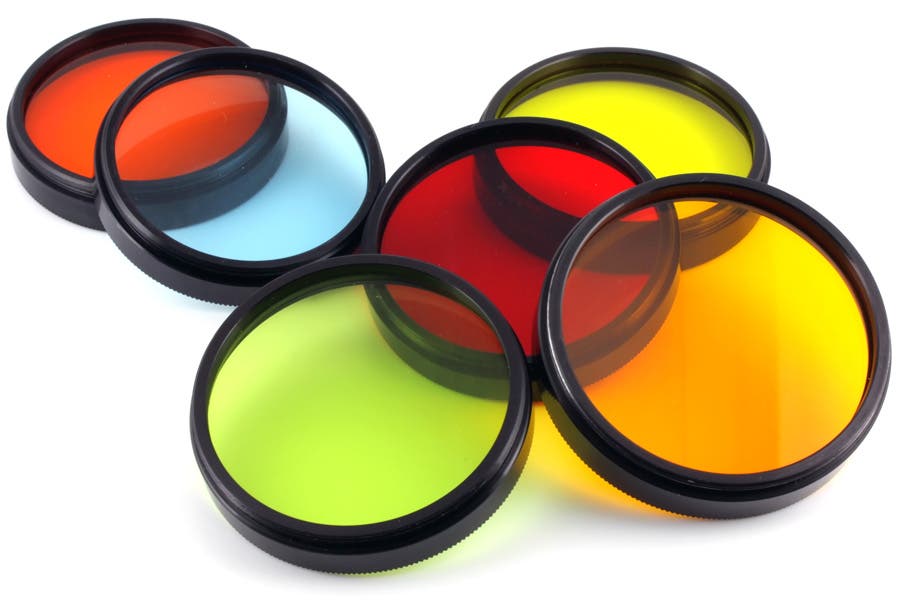
Color correcting filters, also known as cooling and warming, color conversion, or color compensating filters, are used to correct and/or enhance the color of your scene. Warming and cooling filters are great for correcting indoor lighting and making your scene look gloomier or sunnier while other colored filters are great for bringing out certain hues in a scene.
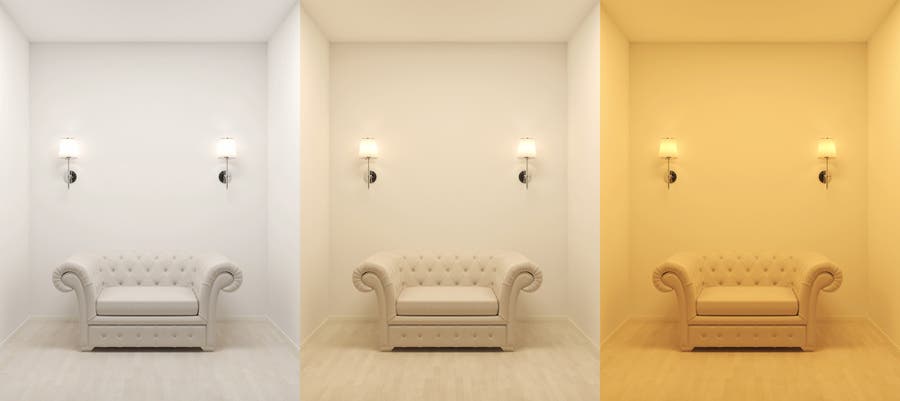
For those who’d rather skip the color correction in post-production, these are helpful in making your images look more beautiful, accurate, and realistic.
As more and more photographers switch to shooting in RAW over the JPEG format, color casts and white balance have become less of a pressing concern while shooting. However, it’s important to think about color correction at every stage of the photographic process.
Of course, some scenarios, like working with natural light, require less color correction. But any time you shoot with available light in cities, office buildings, or other public spaces, it’s best to correct the color at the time of shooting.
If you ever find yourself struggling to get an accurate skin tone under fluorescent lights or hoping for less of a blue cast on snowy days, consider color correction filters for your camera. They can be a major timesaver.
Most suitable for: All kinds of photography
Close-Up Filters
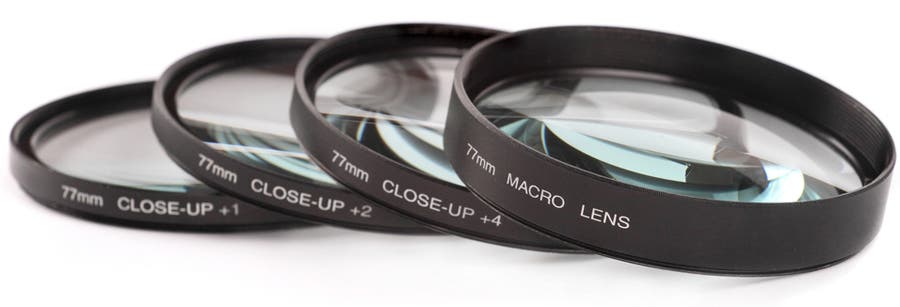
B+W has long been the go-to brand for professionals and those who seek the highest-quality filters. We invest so much in getting the right lens; why would we compromise on a piece of glass that will sit in front of our lens? Close-up filters allow you to reduce your minimal focusing distance without losing light. These B+W filters can easily stack to increase magnification and produce amazing results. When you want to get in close but not sacrifice sharpness and contrast, these B+W filters are a great choice.
Close-up filters (macro filters or diopters) enable macro photography without using a dedicated macro lens. Many photographers purchase these small pieces of glass rather than invest in more costly macro lenses, especially when they don’t necessarily have to take close-up shots all the time.

Then again, these lens filters can’t replace the magnifying power of actual macro lenses. Close-up filters are just like reading or magnifying glasses that help regular lenses focus more closely on subjects.
If you’re interested in exploring macro photography but you don’t have the budget to invest in a new lens, adding a close-up filter to your camera kit can expand your gear’s functionality at a modest price point.
Some lenses even come with a close-up filter for adding macro photography functionality. These supplemental close-up filters are designed for use with that specific lens and work seamlessly with your lens’s focal length and inner elements to help you get physically closer to your subject without sacrificing sharpness.
Close-up filters are among the least common types of camera lens filters, but they can be very helpful when you use them correctly.
Most suitable for: Macro and still life photography
Special Effects Filters
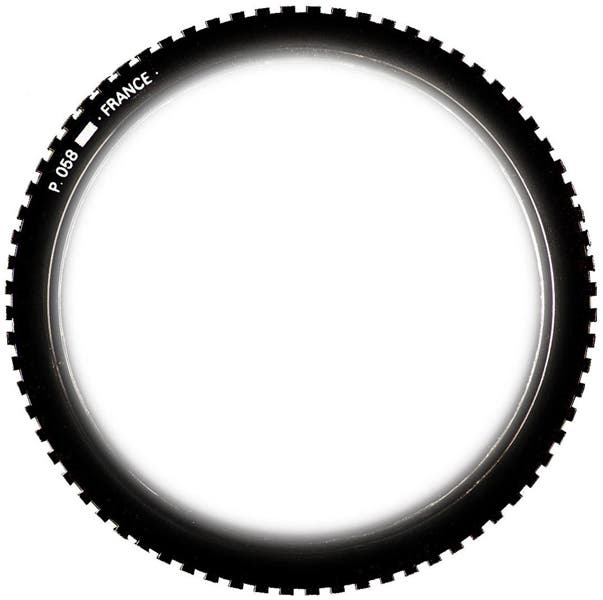
Special effects filters serve different purposes in improving your images. Perhaps the most popular type of special effects filters is the starburst filter. It effortlessly adds a noticeable twinkle to image highlights and light sources such as street lamps and Christmas lights. You can choose from filters that produce two-, four-, six-, or eight-point stars and light flares.
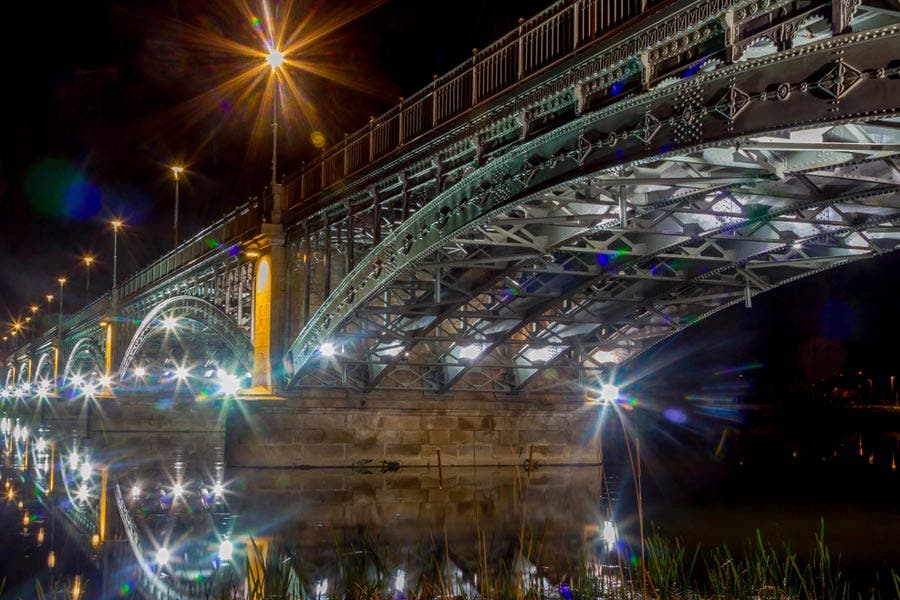
Other special effects filters include infrared filters, multivision, center spot or diffusion filters, and day for night filters. However, most of these have lost their popularity since their effects can now be easily reproduced in Photoshop. What can’t be easily replicated, however, are the unique effects of bokeh filters on out-of-focus blur.
Every photographer will inevitably go through a creative rut of one type or another. If you find yourself searching for inspiration or having a hard time feeling engaged by your photography, special effects filters are a flexible solution to shake things up.
A small investment and a simple-to-use piece of equipment can transform the visual quality of your images. Of course, not every special effects filter will work well for every scenario. Trying out your new filters in new settings and with new subjects just may be the nudge you need to get back into a creative flow state.
Most suitable for: All kinds of photography
How Do I Choose a Camera Lens Filter?
When choosing a camera lens filter, there are three primary questions you should ask yourself:
- What do I want my new filter to do?
- Which lens or lenses do I want to use my new filter with?
- What is my budget for a new camera lens filter?
Because no two filters are the same, it’s important to determine what exactly you’re looking for in a filter before you buy.
Know the Different Kinds of Camera Lens Filters
Do you want to cut reflections and achieve bold contrast and colors? Then a polarizing filter for your camera is the best choice.
Do you want to be able to keep your shutter open longer for blurred motion in bright environments? It’s time to invest in a neutral density filter.
Are you hoping to find a new creative edge for your portraits or landscapes? Check out special effects filters for a whole new look.
Choose the Right Filter Measurement
Every lens has a specific filter measurement. If you know you want to use a filter with one specific lens or another, you’ll need to reference that filter size before you make a purchase. Most lenses list the required filter size somewhere on the lens itself. It will be denoted as a measurement in mm with a symbol that looks like this: ⍉. Finally, common filter sizes range from 58mm to 77mm.
If you want your filter to be usable with multiple lenses, buy a filter for the largest lens measurement in your kit. Additionally, you can adapt any filter with step-up or step-down rings to work with other lenses as well.
Dial in Your Budget
Budget is a key consideration. You don’t want to purchase the least expensive filter or you’ll sacrifice visual quality. Cheap filters are also more prone to getting stuck on lenses. Finally, if you’re not using ultra-expensive lenses, you can get away with a middle-of-the-road budget for filters.
Camera Lens Filter Overview
| Lens Filter | Effect | Photography Type |
| UV & Skylight Filter |
| All |
| Polarizing Filter |
| All |
| Neutral Density Filter |
| Landscape and Flash Photography |
| Hard-Edge Graduated ND Filter |
| Landscape Photography |
| Soft-Edge Graduated ND Filter |
| Landscape Photography |
| Reverse Graduated ND Filter |
| Landscape Photography |
| Colored Filter |
| All |
| Close-Up Filter |
| Macro Photography |
| Special Effects Filters |
| All |
Small as they may be, lens filters play a huge role in the outcome of your images. If you like instant results and hate spending time and effort in post-production, using lens filters is the option for you and we hope this lens filter guide was able to help you understand how and when you can use them to improve your photography.
Camera Lens Filters: Frequently Asked Questions
How do I keep my filters clean?
Whatever kind of filters you use, remember that they are precision optics and must be treated with care. Most filters come with protective plastic boxes, and they should be stored in these boxes after use, not left loose in the bottom of your gadget bag. Protective filter wallets and cases are also available. Clean filters as you would a fine lens, using a lens brush or blower brush to remove loose dirt, a microfiber cloth to remove fingerprints and grease, and lens tissue moistened in lens-cleaning fluid for general cleaning.
Filters seem to come in all kinds of sizes. How do I know which to choose?
Simply look at your lens’s specifications and you will find the filter ring size listed. That’s the size you need. Got more than one lens with different sized filter rings? You can mount a filter that’s larger than the front ring of your lens by using an inexpensive step-up ring to allow your lens to accept the larger filter. Example: a 62-to-72mm step-up ring will let you mount a 72mm filter on a lens having a 62mm threaded front ring.
I already use step-up rings, but when I shoot with filters this way, the corners of all of my images are dark. Why?
You may be using a step-down ring, which is a no-no: you cannot mount a smaller-diameter filter on a larger-diameter lens without cutting off the corners and/or edges of the image (i.e. vignetting). That’s why you should always buy filters that fit your largest-diameter lenses, And you should also consider buying filters that are somewhat larger than your largest-diameter lens so they’ll be able to fit any future lenses you may acquire. This is especially important with wide-angle lenses, which can sometimes vignette slightly even with filters that seem to fit. If you do lots of shooting with ultra-wide-angle lenses, check out the wide-angle filters offered by some makers, and consider using oversize filters.
What are the advantages of square filters?
If you do a lot of shooting with different cameras, including digital, 35mm, and medium-format cameras consider using square plastic or acetate filters that slide into a special filter holder that attaches to your lens. Several different makers offer good ones. While not as durable as glass filters, these systems are used by many pros, perform very well, offer a wide variety of filters types, and provide maximum mounting flexibility.
Do I need to adjust my camera’s auto exposure settings when I use a filter?
No. Today, the overwhelming majority of cameras feature through-the-lens autoexposure and auto-flash systems so you no longer have to calculate of filter factors–that is, the increase in exposure required with various filters or combinations of filters. In most cases, the camera calculates and sets additional exposure (if any), and you’ll get a perfectly exposed shot. So long as you use the camera’s built-in metering system, you will get the right exposure even when metering manually. If your exposure is slightly off (most common with stacked filters and very dark filters) you can easily lighten or darken it using your camera’s exposure compensation control. Make sure to check the result carefully on your LCD, especially if your camera displays a histogram, which will tell you if exposure is accurate.
What about filters and auto white balance?
Depending on the nature of the filter you’re using, auto white balance could be misled by your filter. If it is a neutral density filter or polarizer (which is effectively neutral density) then it won’t affect white balance. But if there is any color in your filter–a split ND tobacco filter, for example–it’s better to set white balance manually to avoid unwanted color shifts.
I own an all-manual camera. How do I make sure my filter exposure is correct?
If you’re a traditionalist using a manual camera and a separate handheld exposure meter, just remember that filter factors are the same as f/stops, and are additive. For example, a circular polarizing filter has a filter factor of 2. To get the right exposure when using it, you open up two stops from the metered exposure. Add a .3 neutral density filter (filter factor of 1), and you have to open up 3 stops from the metered exposure. Simple!
