Boom pole operators have an exceptionally important role that is often ignored by the director and other department heads. That is, until you have your first editing session with audio issues that make you want to pull out your hair. This article will be a starting point for capturing audio on set and learning how to use a boom pole. Like many skills, this is something that needs to be practiced before you can be considered very good.
To start, here are some examples of boom poles:
What is a Boom Pole?
A boom pole is a multi-sectioned, extendable microphone holder that is made to get the microphone as close as possible to your subject(s) while keeping the boom operator out of shot.
Boom poles vary in length. There are several different maximum lengths of boom poles, with a 12-foot boom pole being the most common. There are also 20-foot poles for very wide shots. You can get shorter boom poles but, when you need the extra length and don’t have it, you will be wishing you got the slightly longer boom pole.
What is a Boom Pole Made Out of?
Boom poles can be made of three different materials:
Plastic is the most affordable, while also generally being the lightest. However, it is also the least rigid and most likely to bend or break. I would personally avoid plastic boom poles unless you are on an extremely shoe-string budget.
Aluminum, while heavier and more costly than plastic, is a good balance of reliability, price, and performance. This is the perfect middle ground for most people who rarely operate a boom.
Carbon fiber is the best boom pole material, but it is also the priciest. Carbon fiber boom poles are extremely light for the rigidity and reliability they provide. My personal recommendation is, if you have the budget and will be booming with any frequency, go for carbon fiber. You may be holding this boom in weird positions that will put strain on your arms and back. You will not regret spending the money to save your boom pole some weight and your body from extra stress.
What’s the Purpose of a Boom Pole?
Put simply, a boom pole’s purpose is to be able to record sounds, usually dialogue, at a very close distance to the subject. They usually have several sections that extend out from the base so the boom operator can reach very far from their body. This allows them to remain in a position where they do not interfere with the camera operator, lighting, or the frame. A boom pole connects to an audio recording device where the sounds are captured for the editor to later review.
So with the advent of lavaliers (especially wireless lavaliers), why would a human still need to hold a long stick with a microphone attached to it? The simple reason is: it is still the cleanest and best sound to capture the subject’s audio and a small amount of sound from the surrounding area.
The sound from a boomed microphone also sounds so much richer than a lavalier. A lavalier needs to be hidden, which can cause it to sound a bit too isolated. Therefore, the boom pole doesn’t seem to be going away any time soon.

Setting Up a Boom Pole
The cabling of a boom pole is an important step in making sure you set yourself up for success when running the XLR cable either around your boom pole or through it ( if your boom pole has an integrated XLR cable). When wrapping your XLR cable around the boom pole, make sure that it is taught so that you don’t have the cable banging against the boom pole creating handling noise.
Always start by extending out the sections closest to the microphone. This is the thinnest section and, therefore, the lightest. When extended away from your body, every gram of weight makes a difference. If you were to extend the other way (from the base out), you would be putting a lot more weight at the end further away from your body.
Another way to use a boom pole is to attach the boom pole to a stand. This will fix it in place. This is effective for subjects that are not moving around, such as a seated interview. To accomplish this, you will need a boom pole, a C-stand, a gobo head, and a boom pole holder.
A good option for this is the Flashpoint kit below:
The most important part of the boom pole is, quite clearly, the microphone. There is a shock mount at the end furthest away from the boom operator. This is usually a set of thick bands made out of rubber which separate the mic from the rigid construction of the boom pole. This limits the sensitive microphone from capturing handling noise. To get the mic into the shock mount, you slide the mic through the rubber bands to avoid it from touching the metal or plastic parts of the boom. Each shock mount is slightly different, so you may need to refer to your manual.

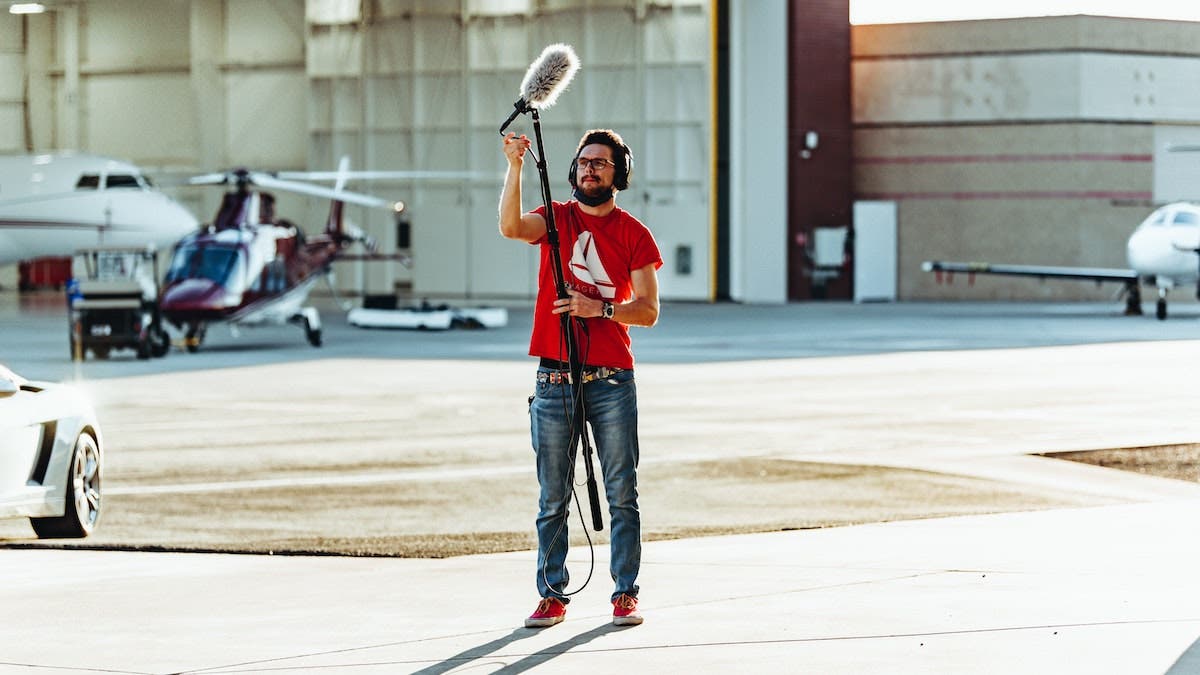
How to Hold a Boom Pole
There is the stereotypical image of a boom pole being held across the boom operator’s back and into the scene. Although, truthfully, this is not very practical for extended periods of time — except in very rare circumstances. This is because it puts you in an awkward position and will lead to back strain.
While the way you hold a boom pole is dependent on many different factors, the standard way of booming is to keep the boom pole as level as possible, over your head, and high enough to be out of the frame. Keeping the boom pole level is the best way to ensure you don’t get the boom pole in the shot. If you were to hold it like a fishing pole, you are much more likely for some part of the boom to get in the shot. You should aim the tip of the microphone to capture the voice a few inches away from the mouth. You don’t want to point the microphone directly at the mouth.
Sometimes you will need to boom from below. This may be required if there are overhead lights that would cause the boom pole to cast a shadow. There may also be situations where, to lessen the background noise, you boom from below to exclude as much offending noises as possible — for example, the waves of the ocean.
How to Reduce Handling Noise
One of the most important things to think about when holding a boom pole is minimizing your handling noise. Some of the things that can cause handling noise are:
- Cables knocking against the boom pole
- Your hands moving along the pole
- Repositioning the boom pole to catch different subjects.
Some boom operators find it better to wear gloves. A gloved hand may slide along the boom pole with less friction than a bare hand.
You should also consider the camera framing. Make sure the boom pole does not dip into the frame and ruin the take. A good boom operator is also very observant. You need to know if the camera is moving, if the talent will be moving, and how to still capture them while not dipping into frame.
A boom operator also needs to consider is the lighting. The boom is usually so close to the frame that it can cast a shadow. Therefore, you need to find a position where the shadow it will not be visible in the shot.
The microphone at the end of the boom should be as close as possible to the subject(s) while maintaining a safe distance from the edge of frame. Distance is extremely important and getting the mic as close as possible is paramount. Sometimes, if you have multiple subjects in the same frame and they are not close to each other, you may need to have more than one boom to capture both voices cleanly. You don’t want to try and cover too much distance too quickly with a boom, it will surely lead to less-than-ideal sound recording.

Final Thoughts
In order to use a boom pole effectively, you need a lot of practice. This means getting on set and doing it. When you are starting to operate a boom pole, I suggest getting some pointers from someone who can judge your technique. It is a tricky thing to boom audio correctly and to not mishandle this powerful stick of audio power. All the while, make sure you don’t get shoulder and back pain. Last tip: get comfy sneakers!