Weather photography is definitely one of the most challenging yet rewarding types of photography that you can get into. If you’re the type who likes taking photos of unusual sceneries that you definitely don’t see on a regular day, much less in photos, then this a good niche for you.
In this article, we’ll help you capture stunning images of heavy dark skies, lightning storms, and maybe even a few snowstorms. Better than doing it “right,” we’ll also highlight how you can prepare for it and keep yourself safe while you bring your weather photography to the next level.
Weather Photography Tips

Do Your Research
As part of your preparation for the weather shoot, do some major research ahead of time. Weather photography comes with serious risks that may keep you from ever bringing home any winning shots. At the same time, you have to make sure that you’re heading out for a reason and won’t be putting any efforts to waste.
Check Weather Forecasts
Depending on what you’re chasing after, like fast-moving rain clouds or thunderstorms, schedule your shoot when and where it’s expected to take place. Radar apps are also of great help to many storm chasers, so you may want to download weather apps like Storm, MyRadar, or Radarscope.
You should also check the national weather service for safety measures and other information that you’ll need to know to ensure a safe location shoot.
Get to Know the Area
If the storm is near you, make it a point to know the area so you can determine where you can safely position your camera and how you’re going to drive in and out of it. If it’s an unfamiliar place, search all you can about it and bring a physical map, just in case.
Don’t rely on your cellphone if you’re not entirely sure whether or not you’ll get coverage in the area, especially during a storm. You’d be much better off with a satellite-based GPS unit, but it can be very expensive for many.
Bring the Right Gear
When shooting under harsh and extreme weather conditions, you’ll definitely need a few other things aside from the stuff that you regularly have in your camera bag.
Protective Gear
The first, most obvious type of gear you’ll need is protective gear for your camera and for yourself. These include the following covers and sleeves that are designed to keep you and your gear safe from rain, dust, and grime:
- Waterproof Camera Bags
- Camera Covers
- Lens Covers/Sleeves
- Microfiber Cleaning Cloths
- Raincoats
Shooting Gear
As for your camera gear, it’s highly advisable that you bring the following to ensure that you can capture great shots despite the unfavorable shooting conditions.
- Professional Camera – With manual camera settings
- Sturdy Tripod and Weight Bag– Ensures camera safety and stability even in moderately windy shooting conditions
- Multiple Lenses – Enables you to shoot at varying focal ranges
- Neutral Density (ND) Filter – Blocks out more light, especially when shooting lightning bolts with a slow shutter speed during daytime
- Shutter Release/Wireless Intervalometer – Minimizes camera shake, provides convenience in taking slow shutter images and multiple frames (for time lapses, and HDRs), and enables shutter triggering from a distance
- Lightning Sensor and Trigger – Automatically triggers the camera shutter whenever it senses a flash of lightning
- Window Mount – Mounts your camera as close to a window as possible to allow you to take clear, sharp images from inside homes and cars
- Extra Batteries and Memory Cards
Set the Ideal Camera Settings
The key to finding the right camera settings for every shooting situation is knowing how to configure manual camera settings. When you understand what these settings are for and how they affect each other (and your image), you can start from scratch and experiment until you eventually figure out the right settings for your DSLR or mirrorless camera. At the same time, you can use the following recommended settings and tweak them to fit your specific shooting conditions:
Focus
The focal point of storms are usually faraway clouds and lightning bolts, so you can either set your focus to infinity and back a little bit or you can autofocus on distant lights or the moon. Remember, you can have well-exposed images, but having your stormy skies out of focus can make you miss the point of the shot.
Aperture
Your camera’s aperture (or lens opening) is another important camera setting that ensures that your scene is in focus. The rule of thumb is to keep it down at around f/7.1 to f/11, so the resulting depth of field will be large enough to keep your background and midground sharp.
Shutter Speed
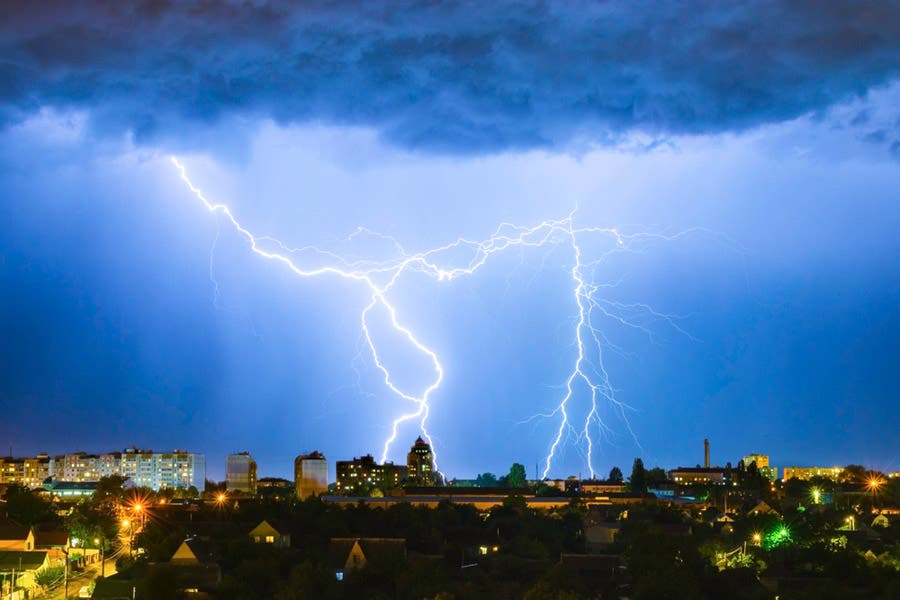
The shutter speed also helps keep your main image elements sharp, but there’s no ideal setting for it as it will depend on your aperture and the speed of your storm clouds—unless you’re shooting lightning bolts, in which case you’ll have better chances of capturing those by staying between the 5 to 10 second rule. As the skies get darker, you have the option to switch to bulb mode.
ISO Level
As a general rule, you’ll want to keep your ISO at its lowest possible setting (while considering your other settings) to keep image noise or grain from ruining your images. Start at ISO 100 and work your way up from there, especially if you need to use faster shutter speeds to match.
Start Shooting
Get to the location ahead of time, set your gear up, take your position, and aim. While you’re at it, let your instincts as an artist take the lead and try taking a variety of shots that will work well for your particular weather and subject.
Compose Your Shots
There may not always be time for careful framing and image composition when there’s a furious storm unfolding in front of you, but a few quick seconds may just be what you need to take that winning shot.
Instead of photographing the same exact scene, try zooming in, zooming out, and even placing your main storm cloud or thunderbolt off center. Also, look for an angle that offers a clear, unobstructed view of the storm. Such seemingly simple adjustments can do wonders for your composition.
Stack Your Images
A cool technique that you can try is to take multiple images (of the exact same scene using the same exposure settings) that you can combine later on using Photoshop or image stacking programs like StarTrails to create a spectacular image with multiple lightning bolts or a more cloudy sky.
Create a Time Lapse
Like image stacking, time lapse is about using multiple shots that you can stitch together using an app or program—this time, to create a short video that quickly shows the passage of time. You’ll need a little over 350 photos to produce just a 12-second time lapse video played back at 30 frames per second, but the breathtaking results are always worth it.
Stay Safe
Storms are best photographed from a distance, so as to show scale and the magnificent cloud formations in the sky. Therefore, there’s really no need for you to get too close and sacrifice your safety. If you can shoot from a shed or a car, or leave your camera out while you trigger it wirelessly, choose to do so.
At the same time, remember to dress warmly and to bring extra layers that you can add on as the temperature drops while shooting. As much as possible, stay away from deep grass, bushes, and weeds to avoid encountering any dangerous snakes and other animals that may be in the area.
For professional tips on how to capture weather photography and great images in inclement weather, check out this episode of AdoramaTV below:


