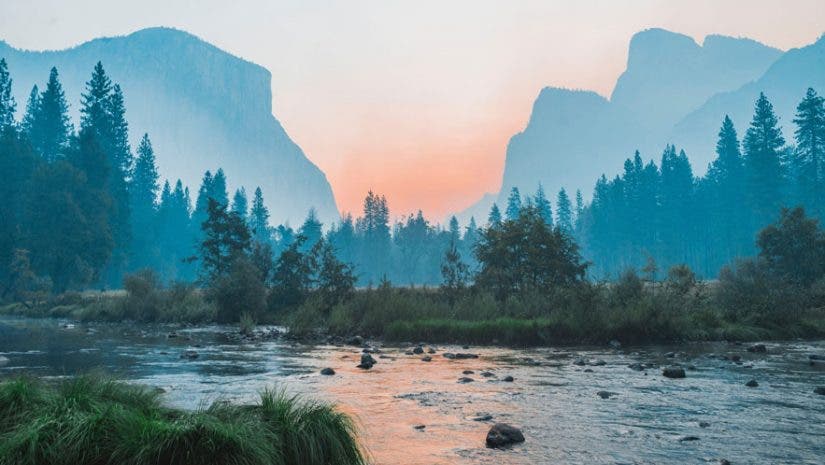
What makes landscape photography so beautiful? Believe it or not, it’s more than those breathtaking sunsets or vibrantly colored trees. It’s knowing how to make the best use of your camera. In this article, you’ll learn why smartphones and compact digital cameras often don’t do justice to the beauty of the outdoors and what you can do to produce the same stunning landscape photos that you normally see online or in galleries.
What is Landscape Photography?
Landscape photography is the practice of capturing a natural or outdoors scene in an artful or compelling way to engage the viewer’s eye and attention.
Landscape photography is one of the most appreciated genres of photography. As we explore and travel, it’s easy to become transfixed by a beautiful landscape. By learning to photograph it effectively, we can turn a memorable experience into a piece of fine art. While landscape photography is commonly joined with nature photography, a cityscape can also be considered a landscape in many circumstances.
Landscape photography doesn’t have to be composed in a horizontal format. In fact it is a common misconception that you can’t take a landscape photograph in the vertical orientation. Each scene will introduce its own elements that help dictate perspective, camera settings, and techniques for achieving the most compelling photograph possible.
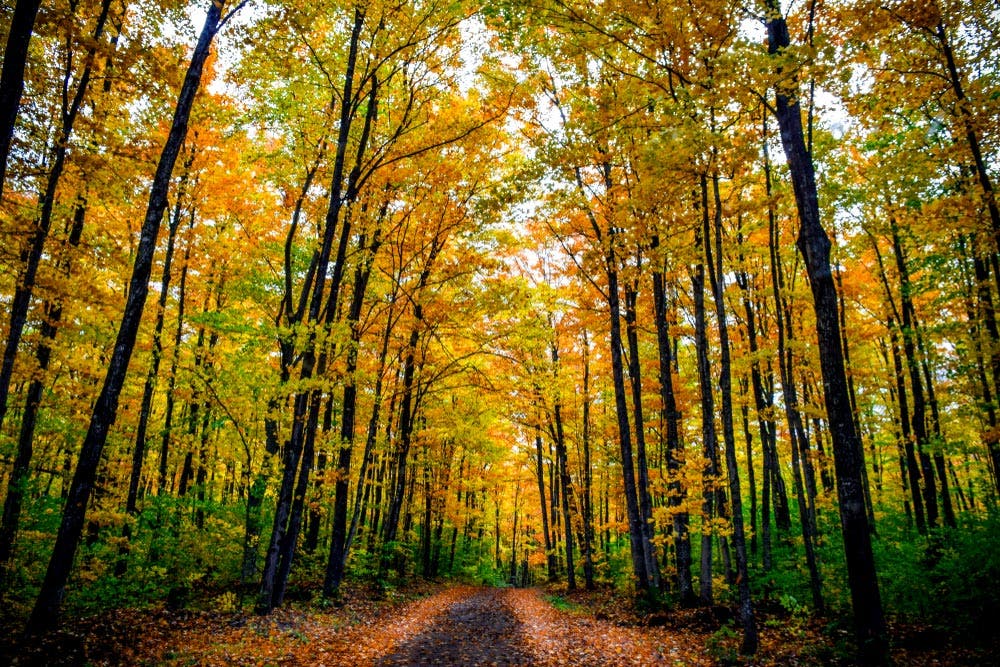
As with all types of photography, capturing great landscape photos involves putting a lot of thought into your shot before you actually click the shutter. Here are the steps that you will need to take in order to improve your landscape photography.
Top Landscape Photography Tips
- Use a Good Camera
- Equip Yourself with a Good Lens
- Invest in a Good Tripod
- Learn About the Basics of Manual Exposure
- Find Good Lighting
- Play with Filters
- Use a Shutter Release
- Create a Meaningful Composition
- Make Sure Your Focus is on Point
- Include an Interesting Foreground Element
- Shoot in RAW
- Get Creative
- Post-Process Your Images
- Explore and Improve
- Change Your Focus
- Get Closer
- Play With Depth
- Show Scale
- Pay Attention to the Sky
- Capture Contrast
- Use Water Reflections
- Don’t get “frame paralysis”
1. Use a Good Camera
The ideal cameras you can use for shooting landscapes — and lots of it — are DSLR and mirrorless cameras. While today’s most developed smartphone cameras are able to produce pretty nice landscape shots, they have yet to catch up to the quality of professional cameras.
What makes DSLRs and mirrorless cameras good for landscape photography, aside from their larger and more improved sensors size that produce higher-quality images, is that they have more settings that allow you to fully customize the exposure of your photos (more on this later). Our favorite landscape photography cameras include the Nikon D780, Sony Alpha a7S III, and the Canon EOS R5.
There are also a lot of affordable entry-level cameras on the market, if you don’t have one yet. But for best results, go for a full-frame camera with a 35mm sensor. This way, you’ll get the widest possible views with your lenses.
2. Equip Yourself with a Good Lens
Pair your camera with a compatible lens that is optimized for shooting landscapes. You’ll need a wide angle lens, which offers a wider perspective and therefore captures more of the scene. Wide angle lenses have smaller focal length numbers (35mm and below). But avid landscape shooters typically go shorter than 24mm (ultra-wide angle lens).
Using lenses shorter than 24mm will give you even wider and sometimes distorted views that some photographers don’t like, so it’s best to check out how a particular lens works for you and your camera. You can also choose from our list of the best lenses for landscape photography.
It’s also very important to keep your lenses clean. A dirty front element can shorten the life of important lens coatings and negatively impact your images. How to clean camera lens is very important. Camera lens cleaning is an essential skill to learn for all photographers.
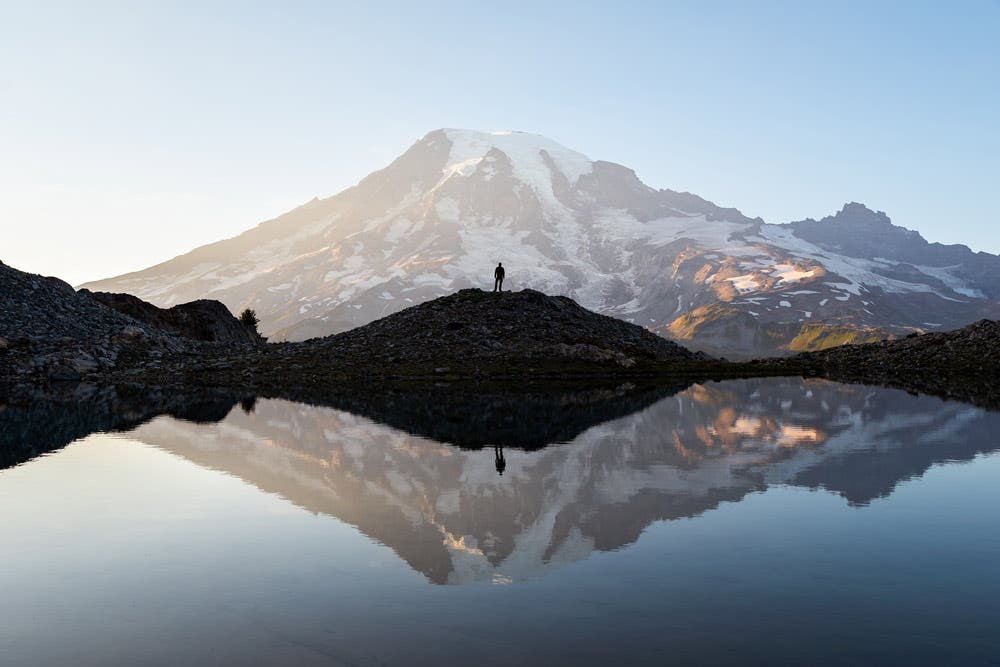
3. Invest in a Good Tripod
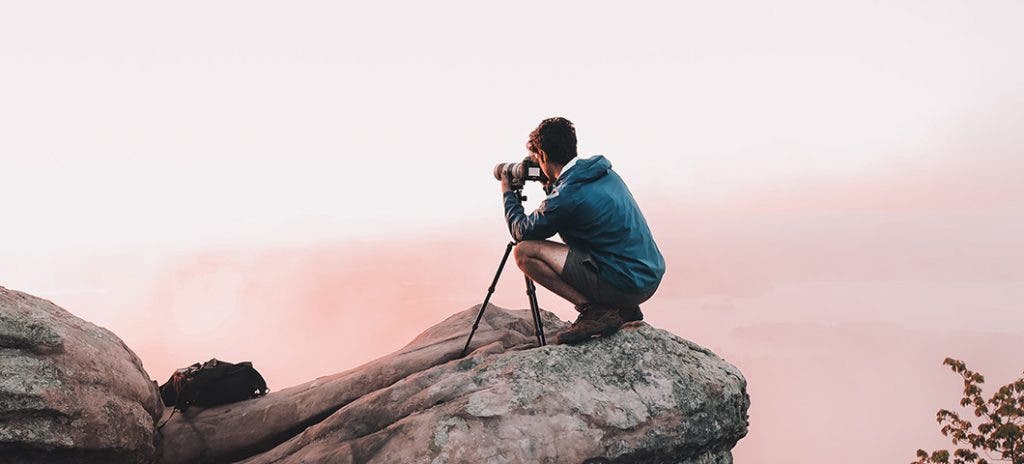
Many landscape photographers shoot handheld thinking that their images look sharp enough, only to be disappointed once the smaller details are magnified. Therefore, one of the most important pieces of equipment that you’ll need for landscape photography is a tripod. They help minimize camera shake so you don’t end up with blurry shots, particularly when using slower shutter speeds. A tripod will allow you to work with a low ISO to avoid noise in darker settings.
But don’t just buy any cheap tripod. When it comes to this type of photography gear, you’ll want to get the best tripod for your needs—it should be strong and stable enough to support your camera even in windy conditions yet lightweight so it’s not going to be a burden when traveling.
Another thing you’ll need to remember is that you won’t always get to prop it up on flat surfaces when you’re shooting outdoors. You’ll find that sometimes, you’ll have to set it up on rocks or soft grass, so look for a tripod with spiked feet and rubber overshoes.
4. Learn About the Basics of Manual Exposure
Here comes one of the most important tips that you will ever learn for landscape photography—and photography in general. With your DSLR or mirrorless camera on Manual Mode, familiarize yourself with the exposure triangle: shutter, aperture, and ISO. Each is measured by a numerical value and affects the amount of light that enters the lens.
Here are the basic descriptions for each:
- Shutter Speed: Determines how fast or slow the shutter closes to end the image capture after clicking the shutter button.
- Aperture: The theoretical value expressed as an f-number or “stops” to determine the size of the lens iris opening, regulating the amount of light that enters the lens and affecting the depth of field.
- ISO Level: Measures the camera’s sensitivity to available light.
Your camera allows you to dial each of these in and the right combination will help you get the right exposure for an image. So whether you’re shooting snapshots during the day or hoping to get spectacular night shots of the city, you will finally be able to get the right settings once you understand how these three work and affect each other.
Check out this AdoramaTV video to learn more:
5. Find Good Lighting
Thanks to your manual camera, you have more freedom to shoot under different lighting conditions. Nonetheless, the sun will be your main light source, so you’ll need to schedule your shoot when the light is not too harsh as subtle, diffused lighting helps reveal the true tones of colors and make your photos look more natural. Natural light in landscape photography, in particular, will require a little trial and error to master.
Landscape shooters typically head out during golden hour (right after sunrise and before sunset) to get beautiful mixes of blue and orange in the sky. We suggest you take the time to understand the characteristics of the lighting that you will get when shooting during different times of day so you can schedule your shoot accordingly. You may find that you prefer one time of day over another.
6. Play with Filters
There are two kinds of camera lens filters that landscape photographers typically use to improve their images. One is the polarizing filter, which manages reflections, suppresses glare, and darkens skies to a deep blue to make the clouds pop. The other is the neutral density filter, which filters out a certain amount of light from entering the lens to allow the use of slower shutter speeds, wider apertures, and/or higher ISO levels without overexposing the image.
Polarizing filters instantly improve the colors and overall appearance of your landscape photographs. The ND filter may need some getting used to in order to make the best use of it for common landscape photography techniques. If you’re on a budget, we suggest getting the circular polarizer first and then leveling up with an ND filter to enjoy motion blur effects and capture those velvety smooth streams.
7. Use a Shutter Release
An accessory that many beginner landscape shooters may not always remember to get but we (and many professional photographers) would recommend that you include in your camera bag is a shutter release, which can be very handy when you can’t use a fast shutter speed. This small remote or cabled control device connects to your camera so you don’t have to touch your camera and risk blurring your images when you click the shutter during long exposures.
Check out this AdoramaTV video to learn more:
8. Create a Meaningful Composition
The best professional landscape photography tip that you’ll ever get is to pay attention to your image composition. The same basic image can change drastically when photographed from slightly different vantage points. Thankfully, there are a few compositional techniques and rules that you can follow (and occasionally break) to ensure that you get an image that will pique the interest of your viewers and convey your desired message.
Some of the most common techniques include simplification, figuring out the right image orientation for your scene, the observance of the Rule of Thirds, the use of leading lines, and incorporating balance in your images. Once you get used to them, your photos will be noticeably better and more captivating.
9. Make Sure Your Focus is on Point
Part of composing your shot is ensuring accurate focus on your main subject. In most cases, this means making your subject tack sharp and leaving the rest of your frame sufficiently blurred out so your subject is highlighted. The key to this? Keep your lens diaphragm wide open, preferably with an aperture of f/2.8 or wider to have a shallower depth of field. Landscape shooters usually focus on either the foreground or the background. They don’t tend to focus on a smaller portion of the frame like with other photography genres.
Set your focus point—or several focus points—by selecting them within your viewfinder or by using the manual focus ring on your lens.
Shooting in aperture priority mode can help as you explore the f-stop setting that will give you the look you want for your images. Remember that a wider aperture will have a shallower depth of field, and a narrower aperture will provide a greater depth of field. For the sharpest focus throughout most of the scene, plan to shoot with a relatively narrow f-stop. F/11 is often a great starting point for landscape photography. See how that depth of field works for you and make adjustments as needed.
10. Include an Interesting Foreground Element
One problem with many landscape shots is that the subject is far away and there’s nothing to look at in the foreground. That gives landscape images a flat sameness that we want to avoid. As you look at some stunning vistas, pay attention to nearby rocks, plants, or even puddles of water that can add interest to your image and also create a stronger sense of the third dimension.
With a wide angle lens, you can get quite close to the foreground subject and still keep everything sharp, but you’ll also make the background less prominent. Try stepping back from your foreground subject enough so the landscape remains an important feature.
11. Shoot in RAW
For even better results, shoot in RAW image format than in the usual JPEG. When choosing RAW vs JEPG, RAW photos preserve all image information and help you capture higher quality images (like digital film). Meanwhile, JPEG compresses the files, resulting in less image data.
You’ll want to have RAW files that are easier to edit for color enhancements, white balance corrections, and other necessary digital adjustments until you get your desired results. By selecting RAW as one of your go-to camera settings, you’ll be able to approach your landscape photography post-processing workflow from a place of flexibility.
Check out this AdoramaTV video to learn more:
12. Get Creative
If you tend to shoot the same spots and sceneries as everyone else, then you’re likely to have the same photo as everyone else. So how do you set your photos apart? Aside from shooting with proper exposure and ensuring that it’s sharp and blurred in all the right places, the one thing that will make your photo stand out is your creativity. Instead of just capturing the scene in front of you, think of ways to tell a story or find a way to provide a different visual experience. Many full-time landscape photographers use a variety of these concepts to set their work apart. Here are some tips to help you create more compelling (and unique) landscape photos:
- Incorporate stunning water reflections
- Play around with “negative space”
- Add a human element
- Capture panoramic photos
- Shoot in less-than-ideal weather conditions
- Try sub-framing your scenes
- Experiment with infrared filters
13. Post-Process Your Images
Image post-processing programs like Adobe Photoshop and Lightroom are typically used for professional-level photo editing. You can use them to import your RAW images and make all sorts of edits to your photos. If you aren’t adept with photo editing, there are tons of online tutorials for photo editing and manipulation. We also have an article to help you learn some basic photo editing steps that all beginners should know.
Please remember that if you don’t practice good camera lens cleaning technique, you may be spending extra time in post processing getting rid of dust particles, smudges, and flare.
14 Explore and Improve
You can learn every photography style with the right tools and educational resources. With these tips, you will be able to practice landscape photography and earn more experience.
But don’t stop there—challenge yourself to mix landscape photography with other styles. Use some of these tips to try your hand in other niches. Work to find techniques and conditions that best serve your needs.
Eventually you may find that you’ve perfected your preferred method of achieving landscape photography. Over time and experience you may even come to think of what you do as fine art. As with every art form, photography is a continuous learning experience. It will give you a new pair of eyes to see and appreciate the world in a whole different way.
15. Change Your Focus
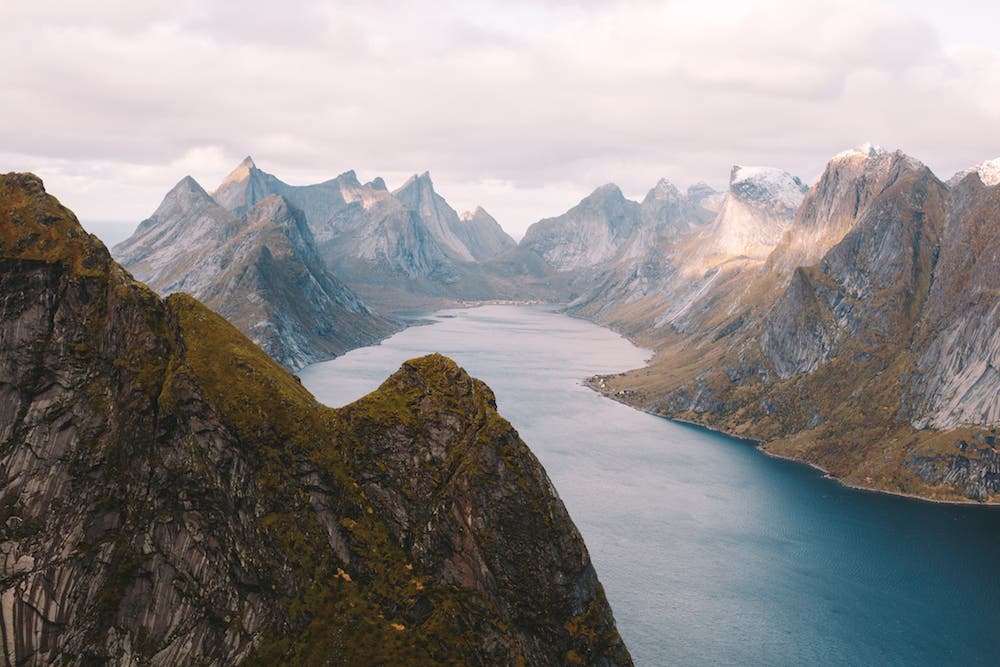
Changing your focus can be interpreted in two ways. First, you can take it literally and change what elements in your photograph you want to focus on. For example, learning the hyperfocal distance rule or focusing 1/3 of the way into scene. Experimenting with advanced techniques such as focus stacking to maximize your depth of field also falls into this category. There are many places you can focus in landscape photography — you just have to mix it up.
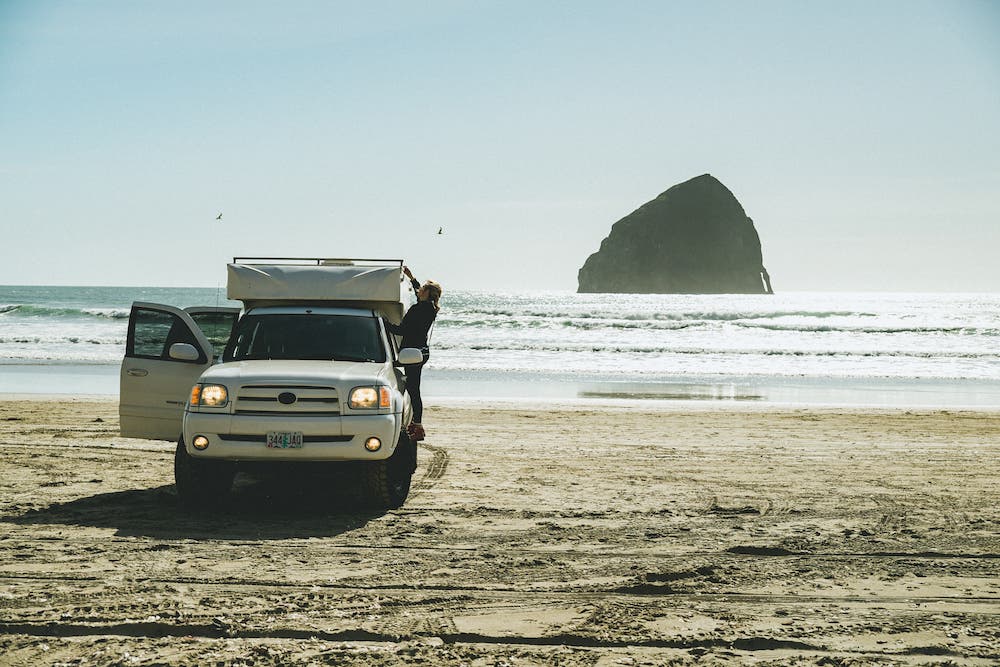
Changing your focus can also be thought of as varying the subject matter you photograph. For example, you might want to incorporate human elements into your landscape photography. This can include people, buildings, vehicles, and structures such as piers and brides. They add a sense of scale, allow for the juxtaposing of nature and human, and allow you to a different visual story.
16. Get Closer
As a final tip, we want to remind and encourage you to get close to other environments, cultures, and locations. Of course, you should do so in a safe manner and within the local guidelines, following the principles of Leave No Trace. Landscapes vary from location to location and from country to country. Just within the United States, you have the colored rocks and deserts of the Southwest, the lush greens of the Pacific Northwest, the vibrant fall colors of the Northeast, and the marshy beauty of the Southeast.
Traveling allows you to practice your landscape craft and test your equipment in different environments and climates. You’ll learn valuable lessons such as the usefulness of weather-sealed gear, the convenience of being able to charge your equipment with a power bank, and what to do when your lens fogs up.
17. Play With Depth
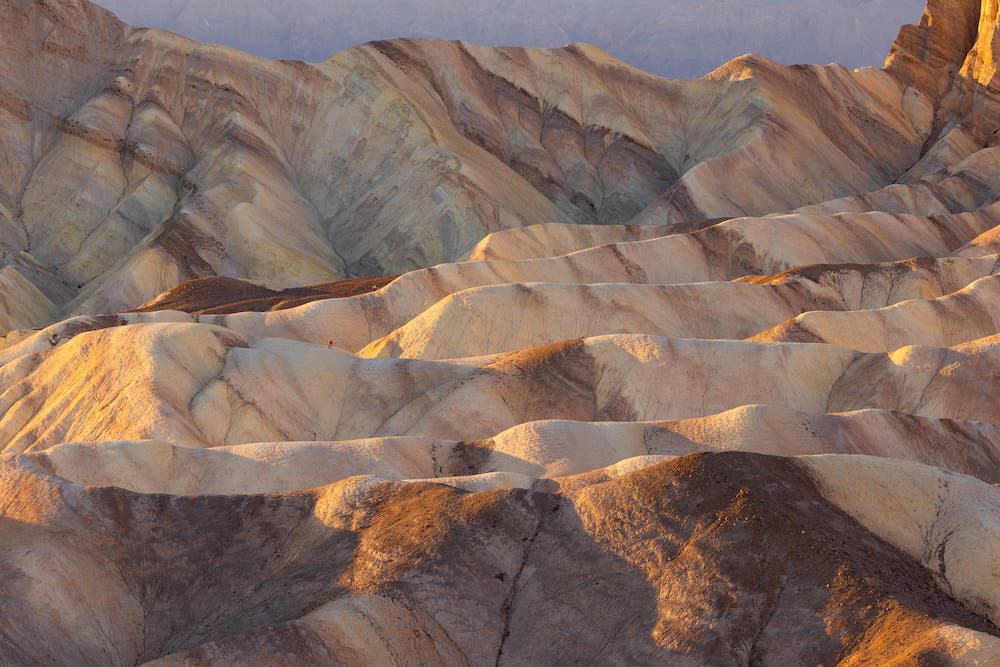
A lot of people will tell you that landscape photography is characterized by super wide images that show a vast, broad perspective. While that is important in many instances, incredible landscape photography can also be captured by using telephoto lenses, at long focal lengths, as well. It’s important to not put landscape photography in either box and to focus on another characteristic that is most important: depth, or depth of field.
Without depth in your landscape images, you fail at telling the true story and showing the incredible layers, textures, and features that are distinctive to the landscapes you shoot. Whether you shoot wide or tight, you must set up your camera to succeed in capturing powerful depth of field.
The best way to do this? Shoot at a higher f-stop value, which allows for a smaller aperture diameter, and greater depth of field. If the light conditions allow, try to stick between f/7.1-f/16. That will result in much more dramatic depth in your images, which is a defining element of landscape photography.
18. Show Scale
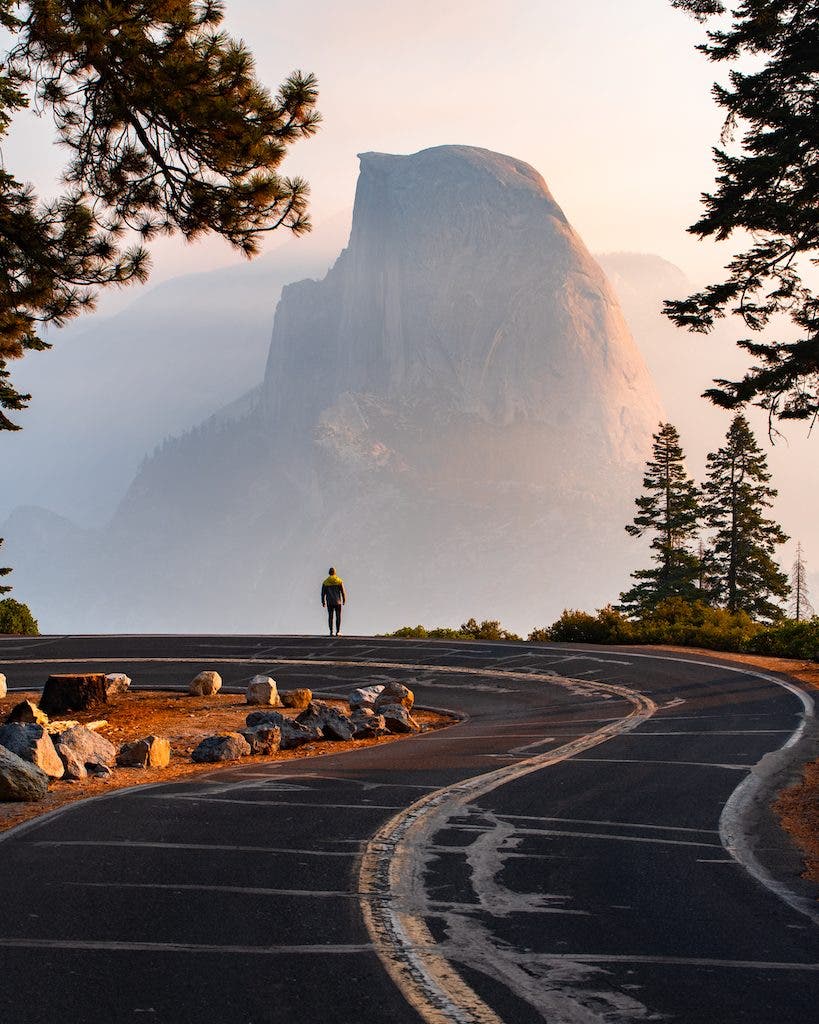
While landscapes on their own are beautiful, showing accurate and dramatic scale, especially with human subjects, is an incredibly powerful tool you can use.
This does require time to master, as it takes a careful eye to position people for a successful photo. You don’t want subjects getting lost in the shadows of a landscape. Instead, you want them framed and highlighted by a bright sky, feature of land, or ray of sunshine.
Once you master positioning of your subjects though, you can try different techniques, from shooting wide and capturing a vast landscape with your small human subject, to using your long lens to compress the landscape, and add a powerful perspective to your images, making the background landscape appear much closer, with rich, beautiful detail.
19. Pay Attention to the Sky
Composing a landscape means making decisions about how to deal with the sky. Finding the right balance between land and sky is often what makes of breaks a landscape image. A lot depends on what the sky looks like in any given situation. A blue sky or one with beautiful white clouds or threatening dark ones can be an asset to your image and you may want to include more sky and less land. You may even want to use a polarizing filter to deepen the blue and increase the contrast with white clouds.
But if the sky is a uniform dull gray, you’re better off minimizing the sky or eliminating it completely. Nothing spoils a landscape photo more than a swath of white where the sky would have been.
20. Capture Contrast
While this also depends on the photographer’s editing style, contrast is incredibly important when shooting landscapes. Whether it’s the contrast between a beautiful blue sky and a desert landscape, or a lush, green, temperate rainforest contrasted by turquoise waters, you need to be able to capture images that reflect that distinct contrast in landscapes.
A great tool that helps with capturing that contrast is a polarizing filter. Normally screwed onto the front of a lens, a polarizing filter will dramatically and incrementally increases contrast levels, based upon the photographer’s manual adjustments. It also decreases the amount of glare or reflection an image can have, as well, which means you have a lot of control when you shoot with a polarizing filter.
21. Use Water Reflections
Water is an incredibly important compound, and it is especially important in landscape photography. A body of water can allow for two important elements when shooting in the outdoors: movement and reflection.
Water can allow for opportunities to showcase movement in a landscape. Whether you’re photographing waterfalls or bubbling spring, if you have you tripod with you, you can set your camera to a lower shutter speed — around 1-3 seconds — and watch as your camera captures the smooth movement of the water. That movement contrasted with a sharp, still landscape is beautiful to capture.
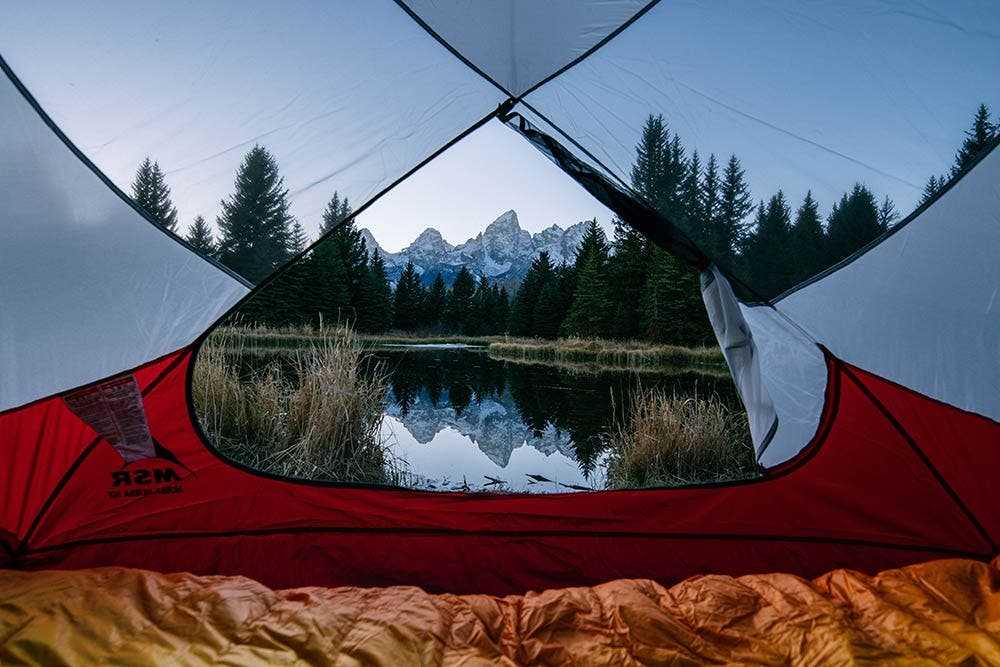
Water also provides the opportunity for reflection, which is incredibly beautiful to shoot and is quite popular in landscape photography. A still lake or stream reflecting a landscape is hard to beat. To achieve this effect, it’s best to shoot in the early morning or late in the evening, before the winds pick up or after they calm down.
Just remember: if you do buy a polarizing filter for increased contrast, as stated above, note that they also neutralize a reflection. So be sure to adjust when shooting water reflections and working with polarizing filters.
22. Don’t get “frame paralysis”
This is an issue for people just getting started, and even many professionals. A lot of photographers do a lot of research and put in the time and effort to shoot a certain frame or shot they have in mind, and that sometimes leads to an obsession to successfully capture a specific image. Then the day comes, and the weather is poor or the light doesn’t quite hit the spots you had planned. It’s important to not be so obsessed with your vision that you fail to see the opportunity around you.
Now, patience is incredibly important in landscape photography. But you should also be prepared for multiple frames and always be flexible. Constantly be alert of your surroundings when you’re in the field and see where light is hitting and how the landscape is changing. Don’t be so zeroed in on “one shot,” that you miss 10 other great shots that are around you.
Check out this AdoramaTV video to learn more:
This is why it’s important to have time to scout out an area you’re shooting to know the surroundings, so when the time comes and you’re ready to shoot, you’re always aware of opportunities around you. While commitment is great, don’t be committed to a fault and get frame paralysis.
Landscape Photography Frequently Asked Questions
What makes a good landscape photo?
Classically, a “proper” landscape photograph has a large depth of field (i.e, everything is in focus), contains something interesting in the foreground, midground, and background, and may incorporate majestic vistas. Frequently, this means using wide or ultra-wide-angle lenses. However, this is a very narrow definition, and is quite controversial.
Broadly speaking, a good landscape photograph is much like any other good photograph. It elicits an emotional reaction from the viewer but does so using the natural world around us as the predominant element. Now, that’s not to say that you can’t (or shouldn’t) include people, human-made elements, or animals in a good landscape shot. Far from it, in fact! Many amazing landscape photographs have such elements in them to emphasize scale, create a certain mood, and give context to a location.
How do you start landscape photography?
Well, this article is a great place to start. Although there is no single best answer, you probably want to start by looking at and examining with a critical eye landscape photographs you like. They don’t necessarily have to be taken by “famous” photographs such as Ansel Adams.
Find some photographers whose work you enjoy and ask yourself why you like them? Is it the composition, the light, the field of view, or something else entirely? Then think about how the image might have been captured. You want to consider aspects such as the lens that was used or the shutter speed. You can then go about trying to incorporate that knowledge into your own landscapes and modify them to create your unique vision.
What skills do you need to be a landscape photographer?
Patience is perhaps the most important skill and photography quality you need acquire (if you don’t have it already) to be a landscape photographer. You’ll often visit a location several times and during different seasons in order to get the proper lighting conditions and compositional elements. You’ll need to know how to use your equipment, including filters and adapters, to get just the desired effect.
Being a landscape photographer often means you’ll need to carry and know how to use several accessories such as a tripod, remote release, and charts. You’ll also have to test your lenses to find the aperture that provides the sharpest images. In addition, you’ll need to be fastidious about learning how to clean camera lens. Finally, you’ll need to learn advanced techniques such as focus stacking, image stitching, and blending exposures.
What is the difference between nature and landscape photography?
Simply put, landscape photography can be thought of as a subset of the overarching category of nature photography. Nature photography also includes genera such as macro, wildlife, and flowers. A landscape’s main subject matter is usually the land or terrain itself rather than an individual element. You can, however, use creative depth of field and clever composition in landscape photography in nature to give emphasis to certain elements like a lone bird or a single tree.
We’ve covered a lot of ground in this article, but landscape photography is a vast topic. As we mentioned, it’s not all just about gorgeous sunsets. You need to acquire a certain set of skills, learn to be patient, and practice good photographic technique. Also, we can’t forget about keeping your equipment is good clean condition.
Feature photo by Bailey Zindel on Unsplash
