Like photography, videography requires more than a high-end camera, lens, and an interesting subject matter. You also have to master composition, lighting design, and storytelling. There are also workflow adjustments that provide consistency and flow to perfect your content. This includes planning, finding the best location, avoiding mistakes, and adapting to unpredictable situations Fortunately, you can learn from others’ experiences to speed up your learning curve. And the first thing any videographer and filmmaker will tell you is to take B-roll. In this article, we will be discussing how to take B-roll so you are prepared for the unexpected.
What is B-Roll?
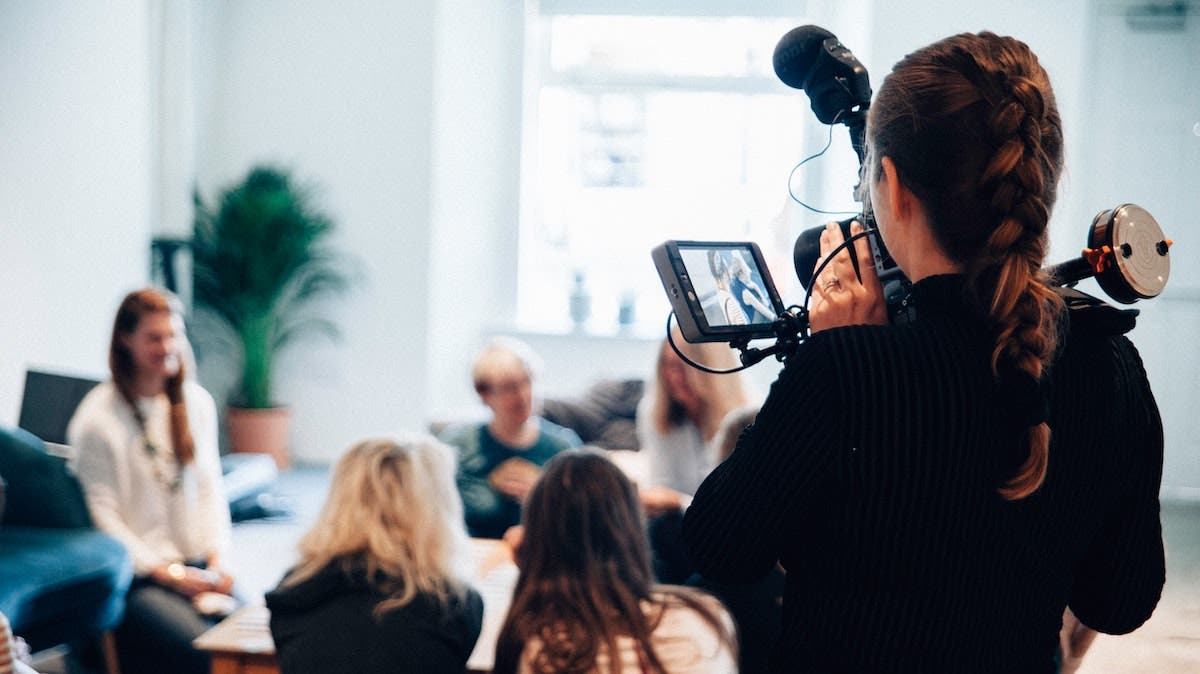
B-roll is footage taken to support the main narrative line. Think of the A-roll as the actor in the leading role and the B-roll as the actor in the supporting role. The primary camera focuses on the main action in the scene. Although, the secondary camera records alternative footage. While editing, B-roll will be interwoven with the main footage to enhance the story, provide details, and create diversity.
For example, when you record an interview, the primary camera focuses on the speaker. But long and uninterrupted footage of a person speaking will bore the audience. Therefore, you can take additional footage, such as establishing shots (i.e., capturing the location of the interview), close-ups of the speaker (e.g., eyes, hands), or atmospheric shots (i.e., capturing what happens around the speaker) that capture the entire video setup. The final video will alternate footage of the speaker with the B-roll and recreate the atmosphere of the interview.
If you are looking for more examples, read Types of Shots for Filmmakers for inspiration.
Why it’s Important to Take B-Roll
The first reason for taking B-roll for video is to break the monotony of the main footage and tell a better story. You want to alternate between different camera angles, perspectives, and even focal points to ensure the viewer receives a dynamic video to keep them watching. Also, when you cut out a part of the main video, you need something to make the transition smooth and invisible to the audience.
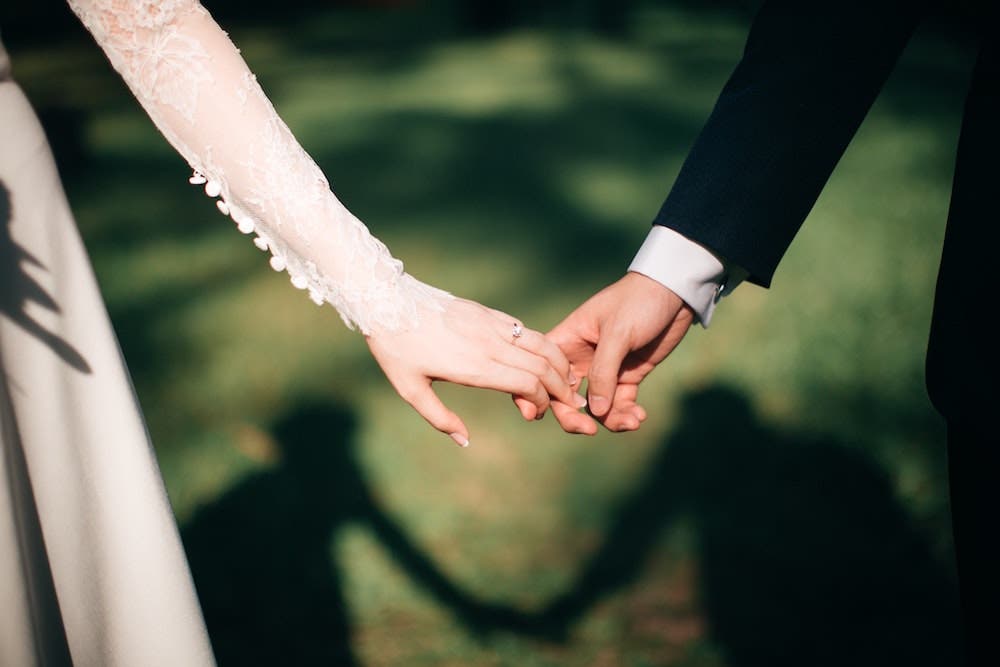
B-roll helps create an atmosphere, conveying a mood and establishing a video. It allows you to add details about the location and time of the shoot. At the same time, it develops your main character by letting you add subtle information about their lifestyle and habits. A close-up of a wedding ring or portrait shows their marital status. An environmental shot of an apartment or café speaks about their lifestyle, wealth, or health. With each detail, your visual story becomes richer and more authentic.
Last but not least, having B-roll gives you more space for editing and covering weird cuts in an interview, mistakes, gaps, or focus failures of the primary camera. Taking B-roll gives you more artistic freedom and flexibility. It also acts as a stress relief mechanism when you can only film a scene once.
How to Shoot the Best B-Roll for Video
Keep Everything Consistent
There are some simple rules to follow for shooting the best B-roll for your videos and films. The first and most important rule is to ensure the same quality for all the footage. It means you need cameras with similar features, resolution, video and audio quality, and setup. For example, if you handhold the primary camera, you would also want to shoot B-roll with a handheld camera. If you use a tripod for the primary camera, you should use one for the B-roll or at least stabilize the footage in post. The exception to this is, of course, if the main character is talking about a moment of crisis or in danger. In this case, a shaky handheld B-roll can support this story.
Inconsistency is the easiest mistake to spot in a video — and the most disturbing. make sure the main and secondary footage match as well as possible. Use the same aesthetic, light setup, filters, and visual effects unless the inconsistency is part of the plan.
For example, a person is speaking about trespassing and the B-roll shows images taken with a surveillance camera at the time of action. They won’t have the same quality, but they meet the brief. Or you use archive footage to add a temporal dimension to your story even though you include black-and-white footage in a color film.

Study the Location
To ensure consistency, plan as much as possible. Visit the location and make notes of a range of camera angles and light setups you can use. Consider the details that may add value to your story, the best time of the day for shooting, and the size of the space. The space dictates framing, lighting, and camera settings. Then, organize your gear, choose video and audio parameters, and synchronize the cameras. If possible, record both A-roll and B-roll at the same time or, at least, in similar conditions (e.g., time of the day, weather, etc.).
Experiment with Angles
The best B-roll for video complements the story and adds variety. Experiment with different compositions and camera angles. When you use a wide angle for the main footage, try close-ups, medium shots, or even macro shots for the B-roll. On the contrary, when you take an interview and film your subject from the waist up, use a wide angle or an extreme close-up for the B-roll. You may also want to try mixing video footage with photographs and add panning or zooming at post-processing.
Get the habit of creating a shotlist, noting the location, the “action” it should capture, point of view, and shot type (wide, medium, close-up, or extreme close-up). Planning and preparation will help you get home with all the footage you will actually need for creating an amazing video. A simple spreadsheet will do. The important thing is to create it and use it.
It’s hard to say how much B-roll to take, probably because you’ll never have enough. Therefore, take as much B-roll as you can. For some types of videos — such as documentaries and news footage — B-roll is essential. For others, such as YouTube video tutorials and short interviews, B-roll is good-to-have, but not mandatory.
Are you new to YouTube? Check out 10 Tips for Starting a YouTube Channel.
Types of B-Roll
To ensure the B-roll provides enough variety, record more than one type of B-roll. You can also use stock or archive footage to fill the gaps. However, as this type of B-roll is available to all filmmakers, chances are someone else has used it before you and the public already knows it. The most common types of B-roll are:
Atmospheric Footage
Atmospheric footage means capturing what happens around the main action of your scene. While the first main camera follows the action, the second camera wanders around and captures the environment. For example, you may focus the main camera on the sunset and use a secondary camera to film children running on the beach or a couple admiring the view.

Different Perspective of Subject Footage
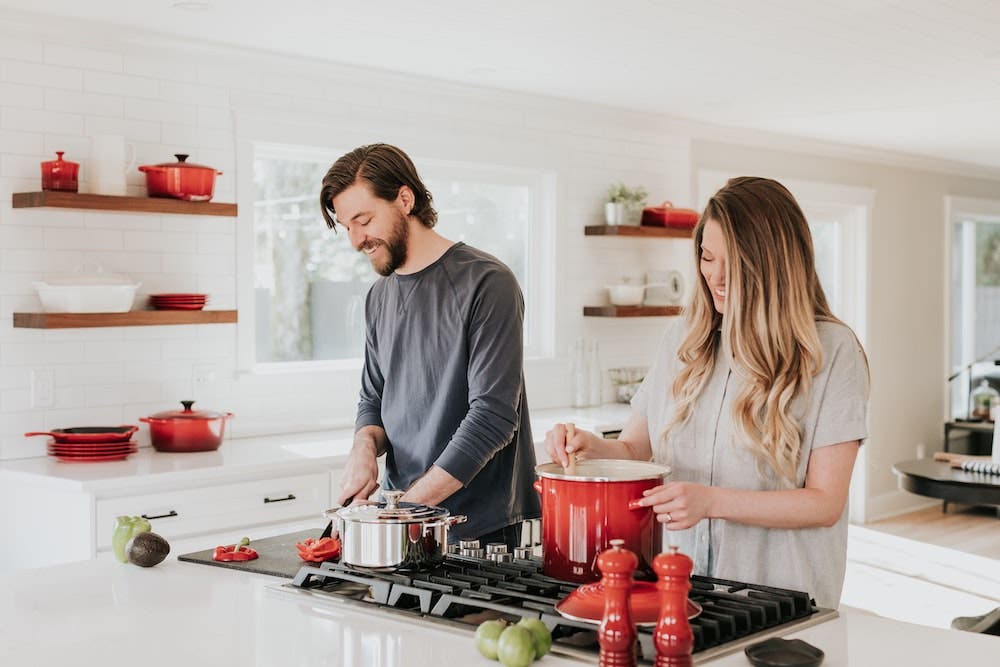
In some cases, all you want to film is your subject. Therefore, the B-roll also focuses on the subject but captures a different angle or perspective. For example, for filming a YouTube cooking video, you may want to place the first camera in front of the cook. The second one may be close to the working surface to show more detail. A third one may be far away from the action to capture a wider environmental view.
Detail Footage
Details are very useful for making a point and helping the video convey the right message. Often, these are close-up shots or even macro shots. For example, in a wedding video, you may include close-ups of the rings or macro shots of flowers to create a romantic mood. Likewise, you may add close-ups of the speaker’s hands or eyes in an interview to illustrate their attitude and personality.

Establishing Footage
Establishing footage places the video in space and time. Most documentaries and fictional movies start with footage of a relevant location and clues about the period. The audience knows from the beginning that the action is set in England and around Christmas, for example. Establishing footage may be used whenever the location and time of the movie change, representing the passing of time, traveling, or the development of the character.
Story Supporting Footage
Think about what you need to make the story more powerful and convincing. Then, think about how you can take the B-roll that best support your vision. For example, you may enhance the idea of using seasonal ingredients in a cooking video by including footage from a local market or vegetable garden. Or, you may increase the drama of an interview by including pictures of your subject as a child or footage showing their way of life. A video about a city may be more interesting if you add archive footage from 50 years ago or revisit a location multiple times to film it in different seasons or stages of decay.
Conclusion
Take B-roll for video whether you think you may need it or not. Long footage is rarely used in one piece. And once you’ve cut your main video, you need something to cover the gap and maintain the consistency of the video. Just for that, you need B-roll.
However, the advantages of a rich and diverse B-roll cover all expenses and extra effort. You will have professional-looking videos, able to capture the audience, and convey a message. The narrative line will be stronger, and you’ll be able to make a point even in short videos. By interweaving a simple photograph of an object in a video, you change the viewer’s perception, raise questions, and influence the mood of the video.