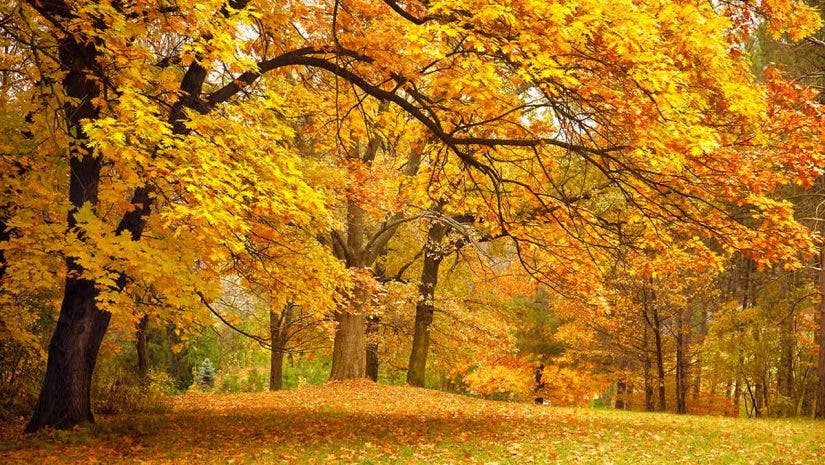
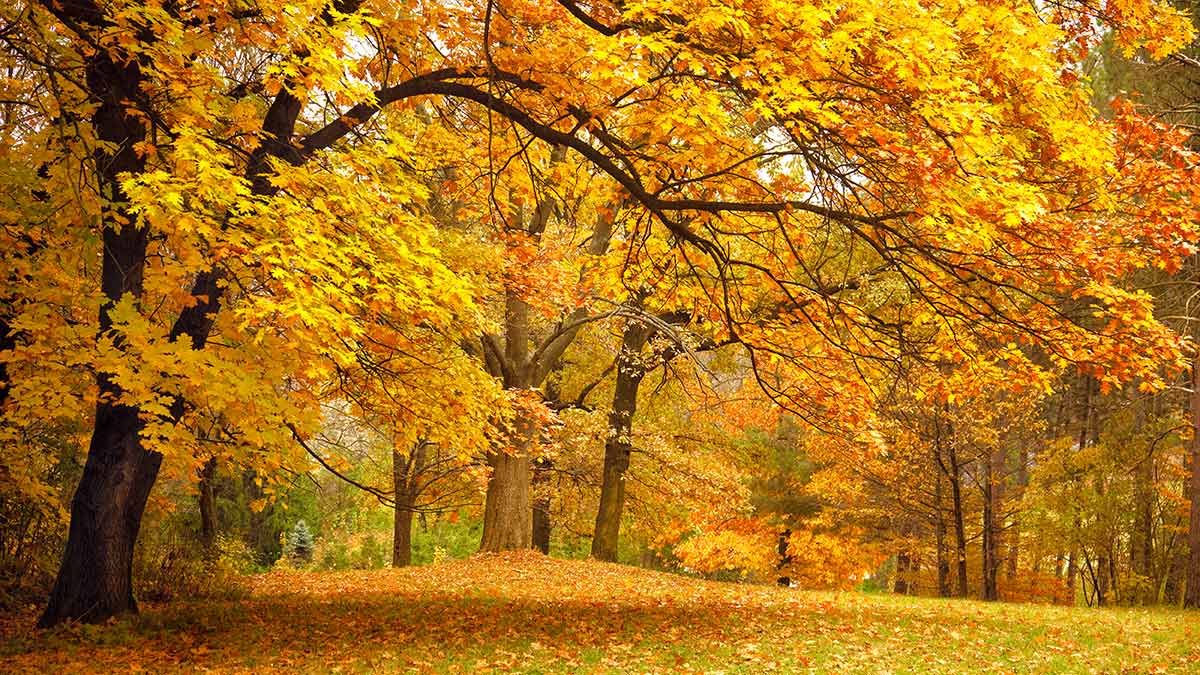
Are you a leaf peeper? Turn your passion into photographic unreality by following these five basic, practical autumn leaf photography tips.
Fall is a great time of year for photographers as autumn leaves turn from summer green into a palatte of warm colors. Here are 5 tips—timeless advice—prepared exclusively for Adorama by veteran professional photographer Allen Rokach, to help you capture the beauty of fall foliage.
1. Capture the mood with diffused light

In the early morning mist, I could capture the muted tones of the yellow foliage by metering the leaves and shooting with my Hasselblad H1 camera and Hasselblad 150mm f/4 Sonnar T lens (available at Adorama’s Hasselblad store) at the metered reading. But I wanted to enhance the color further by massing the group of trees. To do this, I used a moderate telephoto lens, focused on the closest tree and shot at f/11 for extra sharpness.
2. Go with backlight for radiant leaves

It’s almost a cliché to use backlight coming through leaves to make them more radiant. But you don’t need bright sun to get the backlight effect. This image of an alley of birch trees at the Stan Hewett Garden in Akron, Ohio was taken on a bright overcast day.
To enhance the sense of light coming through the leaves, I angled my Hasselblad medium-format film camera slightly upward, and using my 50mm Hasselblad lens from Adorama’s Hasselblad store filled the frame with foliage to obscure the pale sky. Then I metered the leaves and overexposed 3/4-stop to brighten them.

3. Come in on a detail for color
Even a small patch of rich color can save an otherwise dull fall image.
In this shot, a clump of ferns along the Maine coast was all I had to go with.
To make the image work, I used a Nikon 24mm f/2.8D wide angle lens from the Adorama Nikon store on my Nikon F5 SLR camera (I used film, but you can use the same lens on any full-frame DSLR, or a 16mm lens on a APS DSLR) so I could set the ferns against the distant curve of coastline and still get close enough to make the ferns my focal point and keep them sharp. Slight underexposure from a meter reading on the ferns helped to saturate the color.
4. Use a Polarizing filter to remove glare from leaves

On bright sunny days, a polarizing filter is invaluable for removing glare and deepening the blue of the sky. That’s why I turned to my polarizer for this image, taken with a Hasselblad H1 and 80mm lens outside Baltimore, Maryland. Most trees in area were either bare or their leaves had turned an unattractive brown. When I saw this sugar maple, I knew I had hit paydirt.
My polarizing filter turned the cloudless late morning sky a brilliant blue. By cutting the glare off the ground and leaves, it also turned the sugar maple a fiery orange. With my polarizer in place over my Hasselblad H1‘s Hasselblad 80mm f/2.8 lens, I took general meter reading and shot at that reading.
5. Saturate fall colors

For most fall foliage photography, the name of the game is color saturation. That’s easier said than done on bright overcast days that can make colors appear washed out. To get this shot of a grist mill in West Virginia, I had to use every trick in the book to get the strong colors I wanted in the foliage.
First, using my tripod-mounted Nikon DSLR and Nikon 105mm f/2.8 ED-IF AF-S VR Micro Nikkor lens, available at the Adorama Nikon store, I underexposed by 1/2 to 3/4 stop from a meter reading on the mill. Then I composed the shot tightly to eliminate what would have been an unattractive pale sky. I also composed the shot so the warm foliage colors contrasted nicely against the mill and cataract. Finally, I polarized to eliminate glare from the rocks and leaves. Since I was shooting at f/22 to maximize sharpness, the polarizer also allowed me to use a slow 1/2 second shutter speed to blur the flowing water.
To view more of Allen Rokach’s work, visit AllenRokach.com. Check Workshops@Adorama for opportunities to learn in person with Allen at Adorama’s New York City headquarters


