David Hobby once said you have two lights if you have a flash on your camera. This simple idea can transform the way you think about photography and lighting. David meant that in addition to any light you bring to a job, you have the light already there, the ambient light. In this article, we will break down ambient lighting to help you understand how to use this available resource to elevate your photography.
What is Ambient Light?
Ambient light is the light that generally lights the space in which you are shooting. This could be any number of things, from a streetlight to an LED billboard to the sun. Often referred to as available light, ambient also implies that it is not intentionally lighting your subject, though it may light them.
We will refer to a light that intentionally lights a subject as an accent light. The sun coming through a window is generally ambient light, but reflecting the sun onto a person standing in a specific spot in the room is considered accent light. For an interior designer, the lamp on the end table near your couch is an accent light; it would be ambient light for a photographer making a portrait in that room. That is, the lamp is part of what lights the space.
Ambient Light vs Natural Light
One thing that can confuse new creatives is the idea of natural light and how it differs from ambient light. There can be times when natural light may be or create the ambient light. A moonlit field would be drenched in ambient natural light, and the sun coming through a window would be ambient natural light. However, ambient light does not need to be natural light. The fluorescent lights in a subway station are ambient light, and the neon signs in a bar provide ambient light. Neither of these is natural. Natural light is produced by the sun, the moon, or the stars.
Different Types of Ambient Light
Here, I will give a few examples to give you an idea of ambient light.
Imagine you are filming an action scene in an old warehouse. Vast banks of fluorescent tubes hang from the ceiling, flickering and giving the scene an eerie feel. Those fluorescent banks are ambient light.
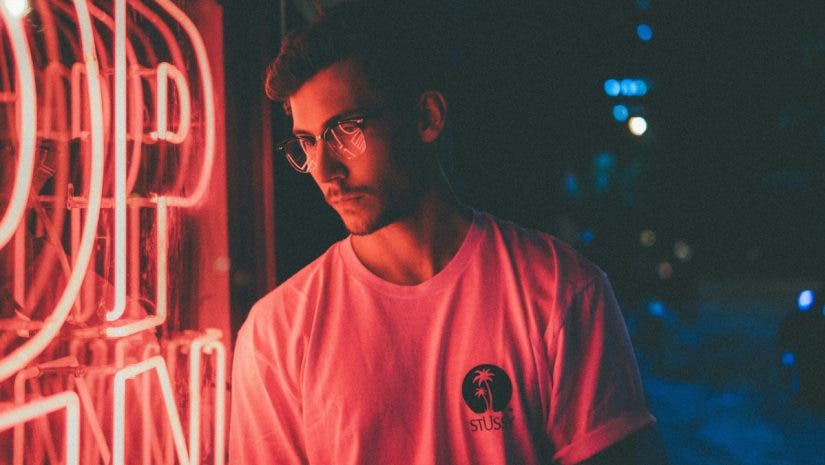
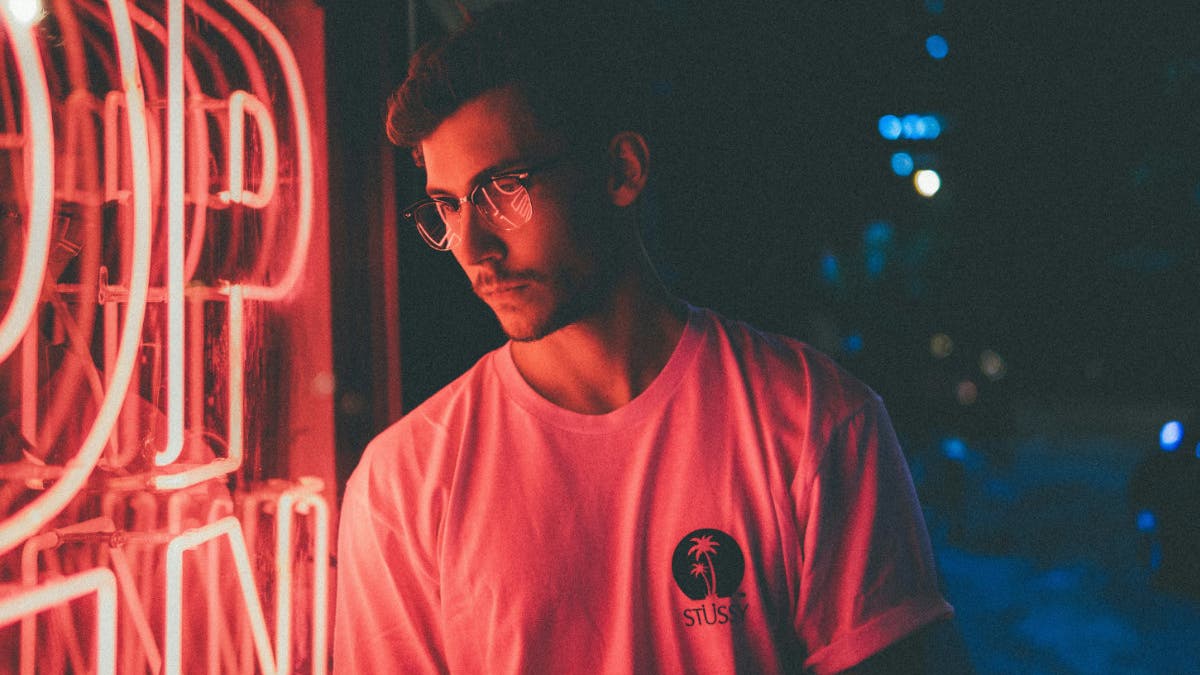
You are shooting a wide scene of a man standing on a deserted street checking their phone late at night. The street is lined with street lamps, but no traffic or buildings nearby. The street lamps are the ambient light.
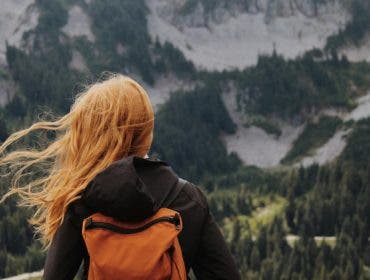
A group of teenagers sit on a large living room floor, playing a board game. The picture windows allow sunlight to stream in and light the space. The sunlight is the ambient light.
For an interesting twist, imagine you are shooting in an art gallery. Each piece of art is lit individually with a precise spotlight. Your subject is a couple looking at art. The spotlights provide ambient light, but if you were photographing the art, they would be accent light.
A woman sits in bed reading a novel; next to her, a table lamp sheds warm light on the scene. The table lamp is ambient light.
Three children gather around the tree on Christmas morning, opening gifts. Bright and colorful lights cover the branches. The early blue light of dawn creeps through the window, and a warm ceiling lamp shines through the doorway from the kitchen beyond. The tree, the sun, and the kitchen light are all ambient.
Why You Should Use Ambient Lighting
Using ambient light as part of your scene has several benefits. The first is that when appropriately balanced with any accent lighting you add, ambient light makes an image feel more natural. We’ve all seen the portrait shot with a flash at a party, and the rest of the room goes black, completely killing the party’s feel.
In some situations, you have little choice but to use ambient light simply because the scene itself covers too large of an area to be able to accent light.
Imagine photographing a little league team on a summer afternoon before their game. Having the fields and stands, maybe an ice cream truck in the background, sets the scene. The ambient light will cover all that. You just need to add some accent light on the team itself, and you can create a meaningful portrait of the team.
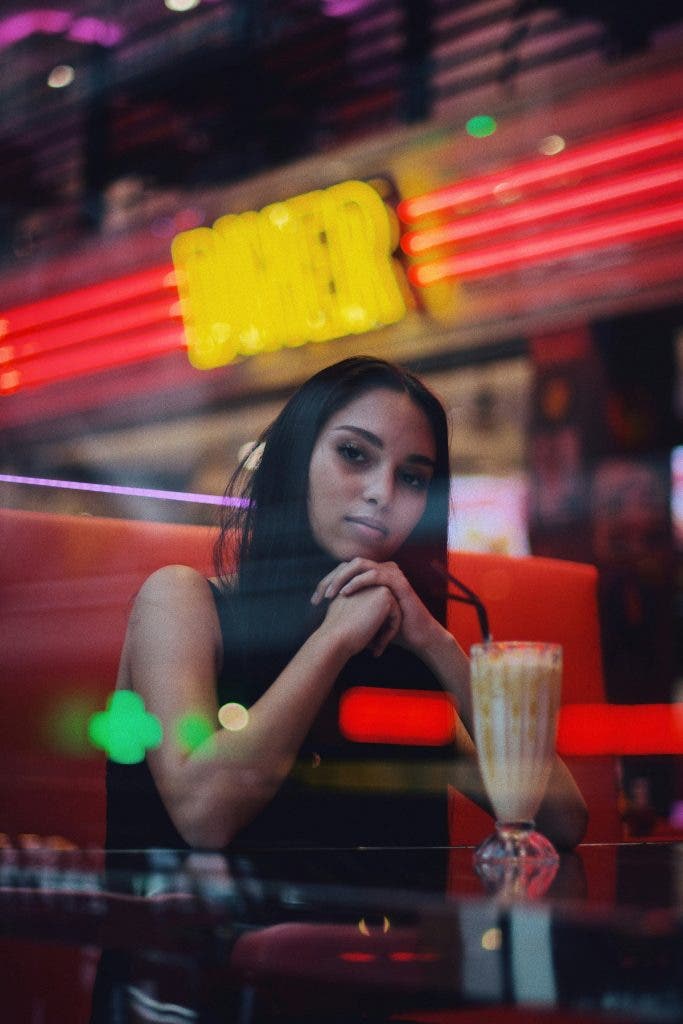
What about a scene through the window of a diner? Our subject can be lit to match the scene, filled with soft fluorescent lights and neon. Again, let the ambient light do the heavy lifting when creating environmental portraits.
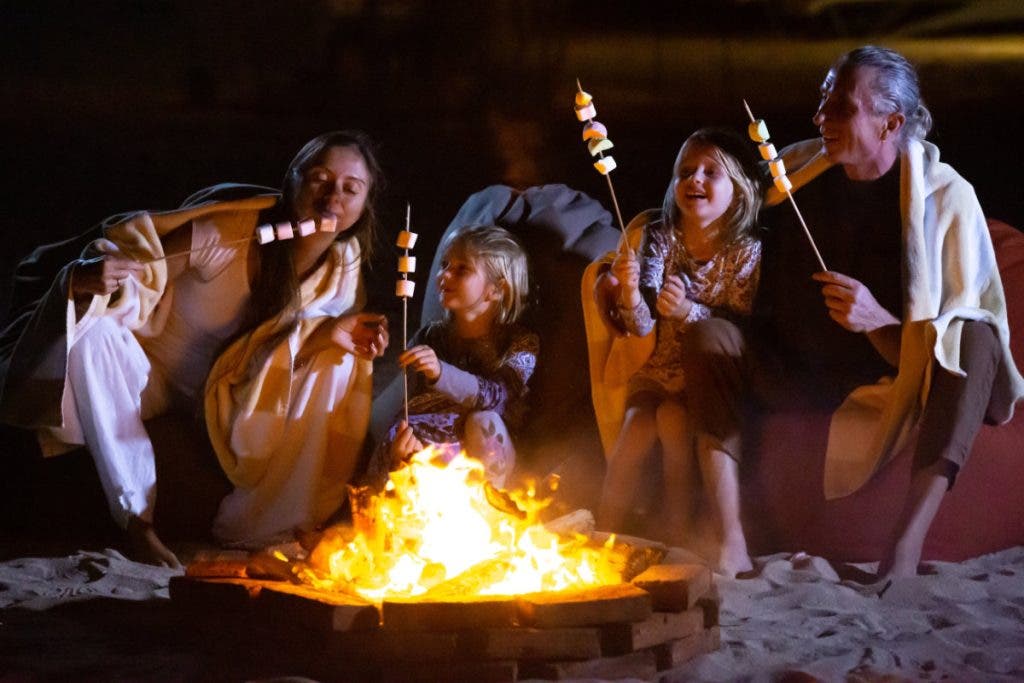
Here’s one we don’t always think of: a group of children around a campfire, toasting marshmallows. Let the fire, which is the ambient light, do most of the work here. Maybe add a bit of fill light. This extends to the camp itself. If there are lanterns hanging near the tents, etc., this is how we know the scene is authentic.
Where Should Ambient Lighting Be Placed?
It’s important to remember that even though ambient light is often considered the light already present, we can still work with it to craft images that match our unique style.
Typically, when working with ambient light as our primary, if not only source, we want to consider its position in relation to our subject. For these examples, I will assume a portrait is our goal. First, we can consider placing the source of the light outside our frame; this has two major benefits. You won’t have to worry about the light becoming an overexposed area in your image. A portrait may seem more intentional if the beautiful light falls into the frame from an unknown source.
Window light is ideal for this type of work. If you have bright windows, you will have little problem moving the subject far enough away to have the source out of the image. A large window with a thin white drape can easily replicate the look of a studio portrait made with a softbox. This makes sense, as softboxes are meant to replicate window light.
Sometimes, it is beneficial to place the source of the ambient light in the frame, such as the family around the campfire discussed above. Another time this might be useful is an intimate dinner with candles lighting most of the scene.

How Bright Should Ambient Lighting Be?
How we expose the ambient light in our scene depends greatly on the feel we want to achieve. If we are looking for a more natural scene, we will want to allow our ambient light to be at the same exposure as the camera. For instance, if we are out in the bright sun and meter f16, we should set our cameras to f16, and any other light we bring in should more or less match that exposure. Using constant light sources makes this difficult, but a powerful flash can work well in these situations.
If we want a more dramatic feel, we might underexpose the ambient light, sometimes called overpowering it with flash. This can achieve a surreal look with deeply saturated skies and high contrast in clouds. Of course, we can also do this inside; perhaps you are making portraits at a wedding. By underexposing the background a little bit, maybe 2 stops. We retain the location’s details but focus on our portrait subject.
Finally, we may want to overexpose the ambient light to create a light and joyful mood. This is a classic technique for fashion and travel photography. Place the subject in a darkened area, such as in the shade, and allow the ambient background light to overexpose. Your fill light on the subject then exposes them properly.

Conclusion
Ambient light is light that is always at your disposal. How you use it can significantly affect your images. You can under or overexpose it, use it to set a mood or feeling, or even use ambient light as the only light in the image. All of these options are great, and which you choose will be based on your creative vision.