A lot of people would agree that the best photos of redwood trees are the ones where the photographer is looking up, enveloped by the giant products of nature. They evoke a sense of awe and wonder in the audience, making them feel small in comparison.
Capturing this feeling in a photograph is made possible thanks to worm’s eye view photography – a technique that we will be breaking down below.
What is worm’s eye view photography?

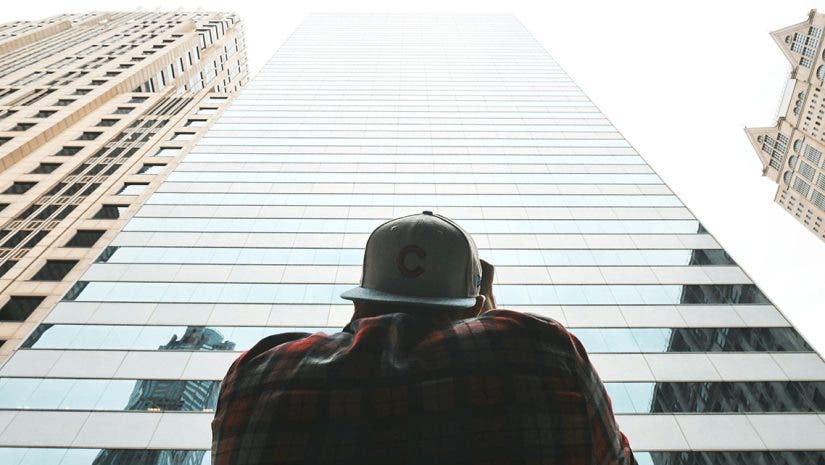
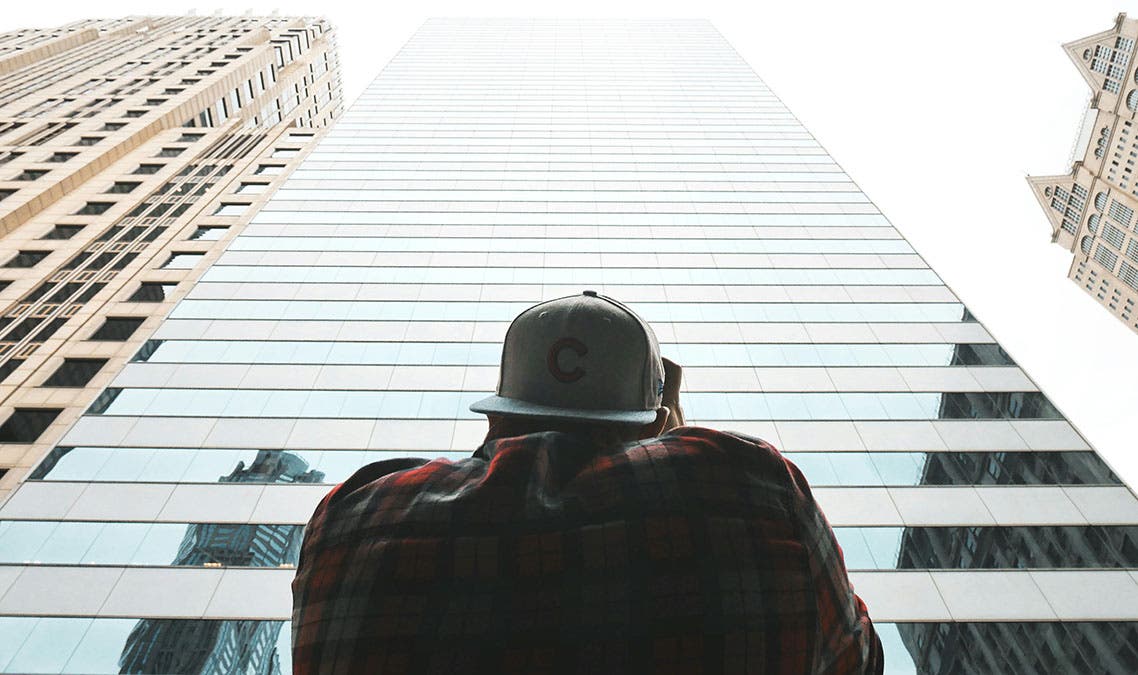
Worm’s eye view photography is one of the best photography techniques to emphasize a subject’s size. It’s why the best pictures of skyscrapers and redwood trees are from a low angle, intentionally making the viewer feel tiny – like a worm!
While less common than some other techniques, worm’s-eye view photography offers a unique way to capture a subject and can be a valuable skill to add to one’s skillset.
How is worm’s eye view different than bird’s eye view?
Let’s look into what makes worm’s eye view and bird’s eye view so different.
Perspective
Fundamentally, the difference between both views is the camera position each one needs.
Worm’s eye view needs an extremely low camera angle, like pointing directly at the sky. When you see worm’s eye view photos, you might think that the photographer is lying flat on their back and just pointing their lens to the heavens – and that’s probably what’s going on!
Meanwhile, bird’s eye view takes the opposite approach. Bird’s eye view photos are captured from high camera angles, meaning they always look down on a subject. Such photos can be taken from rooftops that the photographer dared to climb, a drone, a helicopter, or just from a high floor of a tall building.
Meaning to the Viewer
The two different perspectives or camera angles instill different emotions or meanings in the viewer.
Thanks to its low-angle approach, worm’s eye view can be used to make the viewer feel intimidated. From below, the subject appears absolutely monumental, blocking most of the foreground and emphasizing the subject’s size and power.
On the other hand, we have bird’s eye view, which gives viewers a more authoritative feel of the subject. The panoramic view reveals the entire layout and how each element blends and works together. With it, viewers feel an immense understanding of the bigger picture.
A Beginner’s Guide to Worm’s Eye View Photography
Let’s get down to business: How do you actually shoot in worm’s eye view? What are the necessary tools to be ready beforehand? What else do I need to know? There’s no need to wonder anymore, for below are the answers:
Master the Angle
Right from the get-go, you know that you’ll need to shoot from a very low angle. You need to get down on your knees, lie flat on your stomach, or any way you can position your camera low enough for your satisfaction.
Tripods or Platforms
One needs good equipment to ensure the utmost stability in every shot – this goes for almost every technique in photography. To ensure stability and therefore sharp images, you need to use the following:
- Tripods: A firm tripod stands its ground and helps lessen any motion blur that your photo could be subjected to. Choose tripods that are good for the outdoors such as landscape photography tripods or travel tripods.
- Platforms: Maybe you’re out for a spontaneous shoot or you’ve found yourself at the perfect spot with no tripods. Get resourceful and create a makeshift platform for your camera with a camera bag, maybe a few books, or lean your camera against a stable nearby object.
Composition, Composition, Composition!
Create truly eye-catching worm’s eye view photos by nailing the composition. Here are a few famous tips you can follow to ensure amazing composition for maximum impact:
- Learn Leading Lines: Leading lines are elements in the frame that take charge and draw the viewer’s gaze to the subject. In worm’s eye view photos, these lines become much more important as the goal is to guide the gaze upwards.
- Practice the Rule of Thirds: Divide your frame into a 3 by 3 grid, with two horizontal and vertical lines crossing at four points. The tip is to position your subject off-center, perfectly placing it along one of the intersecting points or along a line within the grid.
Don’t Be Afraid of Negative Space
Worm’s eye view photography is a lot of things, especially being prone to negative space. Negative space is what you call the empty areas surrounding your subject.
Don’t fear the presence of negative space. Instead, learn to use it to your advantage. Too much in the background can distract viewers from your subject. Therefore, look for clean lines, interesting shapes, or any complementary textures that lead your viewers to focus on the subject without overwhelming them.
Conclusion: Stand Out with Worm’s Eye View
Show the world around you from a unique perspective and make your viewers in awe with your worm’s eye view photography. By getting down and looking up (and snapping a pic!), everyone is reminded to look up and be in awe of the world around us, even when things get so hectic.
So, go on and grab your camera. Embrace this new perspective and see the world through the eyes of the creatures that live beneath the soil we walk on.
