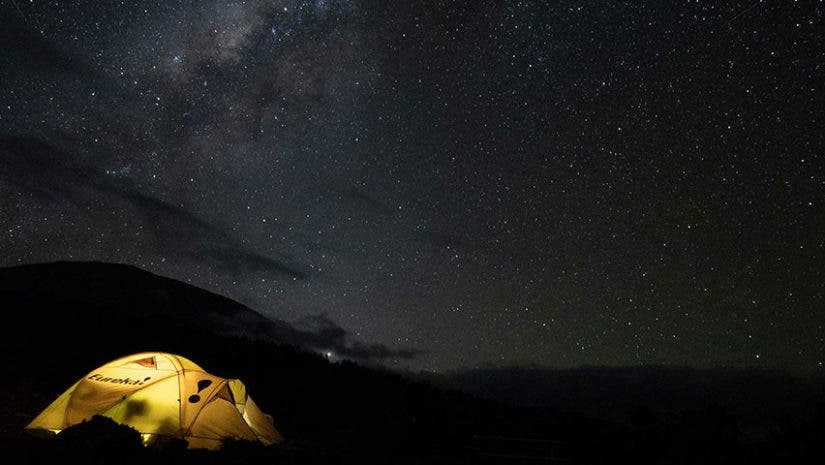
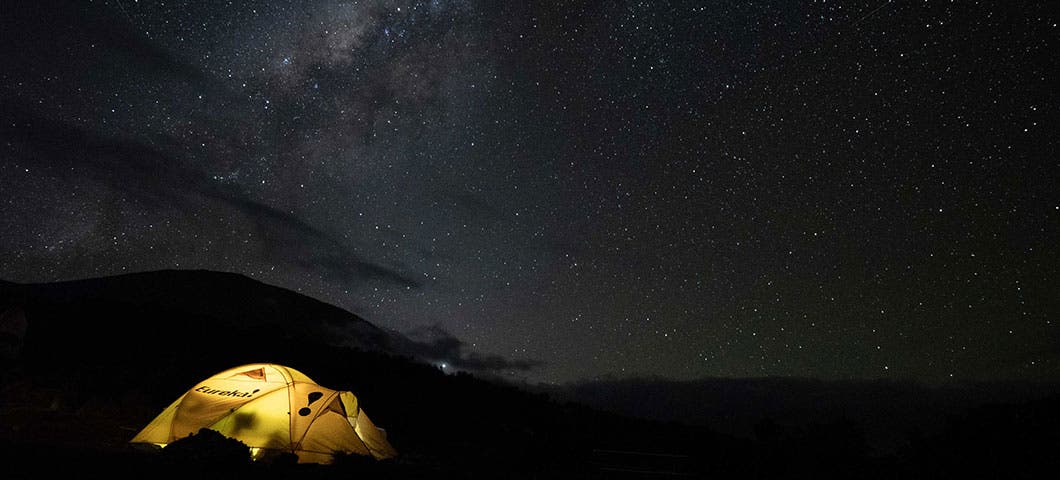
Few natural wonders can amplify an outdoor experience like star-speckled skies or a Milky Way view — and the same goes for photographs. While my day and summit morning photographs on Mount Kilimanjaro turned out great, my favorites were those with a starry backdrop.
My fiancé and I planned our Kilimanjaro trek for mid-October to avoid November’s rainy season, and coincidentally selected to climb during a new moon (the best time for star photography because there’s no light from the moon). As a photographer with the Sony A7Sii and A7iii — cameras known for great low-light performance — I was giddy with excitement.
When nightfall hit during our first day of climbing, I grabbed my camera and tripod for an incessant amount of shots. I spent half the time taking my own photos and the other half teaching fellow climbers how to use their new DSLR cameras to capture the night scene. Today, I’ll share these five beginner night sky photography tips with you, because my mountain “students” actually ended up with some great star shots of their own!
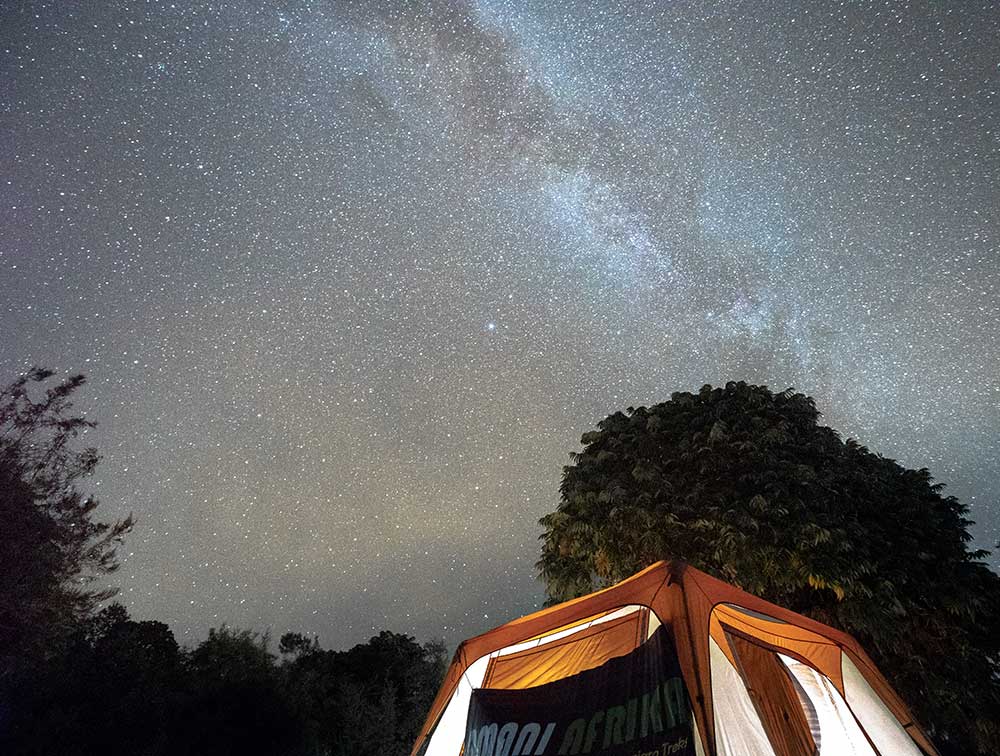
1. Slow your shutter speed
First, slow your shutter speed down to 10, 15, or 30 seconds. This will allow more light into your camera so it can capture darker scenes. I like to start at 10 seconds to see if it’s enough light before going lower because the slower your shutter speed goes, the more likely you are to capture star trails (which is completely fine if that’s what you’re going for). Play around with the settings to see what looks best; I probably go through five or 10 lackluster shots before I start getting somewhere.
2. Stabilize your camera
Once you get below about 1/60 on your shutter speed, you need stabilization in order to keep the image crisp. It’s easy at home when you can grab your favorite handy tripod, but what about on a remote mountain two international flights away?
My favorite tool is the Joby GorillaPod because it’s both portable and functional. The tripod is short, giving you low-to-the-ground angles, which actually work really well for star shots. If you want a more professional tripod, another option is the MeFoto Road Trip Travel Tripod. I actually brought both along for separate projects, but used the GorillaPod for all my star shots.
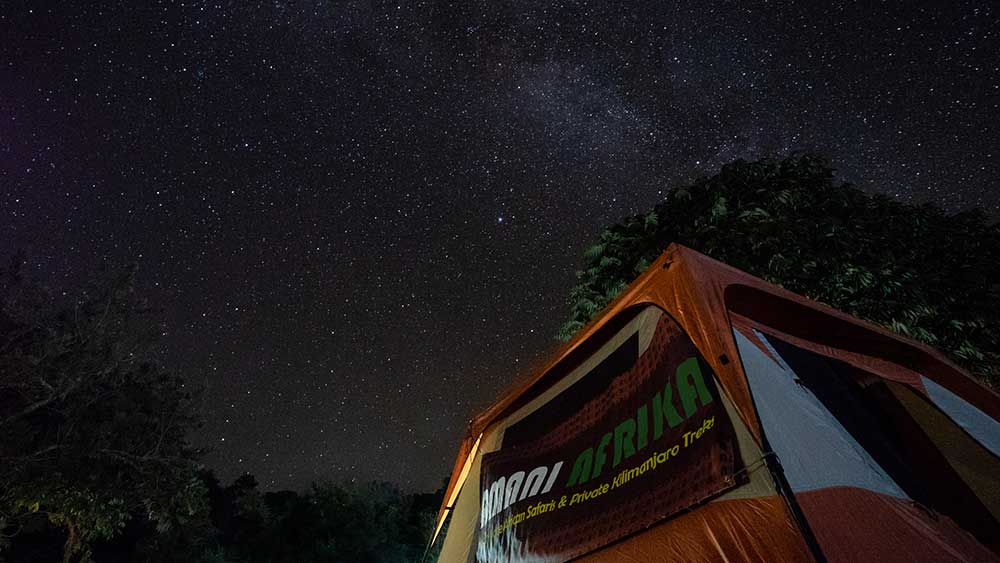
3. Widen your aperture
Another way to let in more light without adding grain to the image is opening your aperture, or f-stop. The wider your aperture (the lower the f-stop number) the more light you’re letting into your camera. This is an especially great way to get the most out of your top-quality lenses such as the Sony 16-35mm Zeiss lens, which goes down to f/2.8.
4. Use manual focus
Focus is tough with star photography because, well, you basically can’t see anything. I always use manual focus with focus peaking to at least attempt to outline the subject. I also started using my flashlight to illuminate the subject (e.g., a tent) for focusing with some sort of light. If you’re shooting just into the stars — not a subject in the foreground — take a few test shots with your focus tweaked differently to see which looks best.
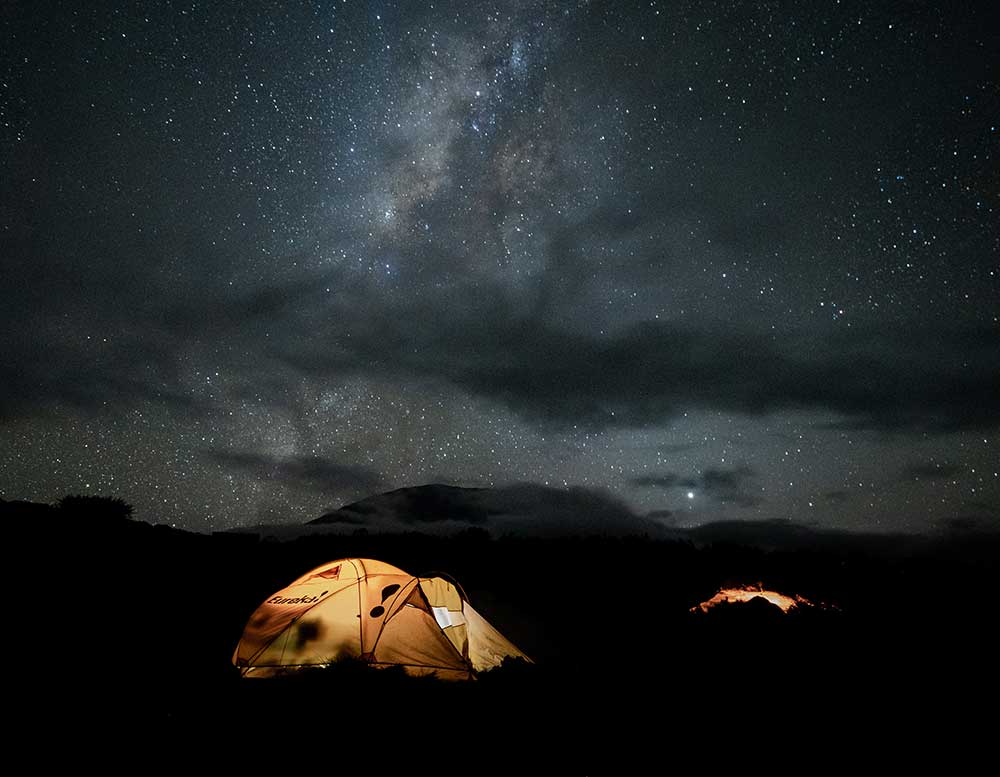
5. Increase your ISO — within reason
I like to start with my ISO around 3200 to 6400 to see how things are looking, and then I’ll bump it up as needed to get the look I’m going for. I have this here as the last step, because you should try every other lightening option first to retain quality. The higher you go in ISO, the noisier your photo will be.
While night sky photography may seem like something only experts can do, it’s actually fairly simple — and doable on many DSLR and mirrorless cameras. Just try to plan your big stargazing outing around a new moon for the most impressive skies. We saw a major difference between night one (new moon) and our last night on the mountain.
